How to Draw a Paper Airplane: Simple 10-Step Guide
Ready to take flight? This tutorial is perfect for young artists ages 5 and up who want to master the art of drawing simple geometric shapes. All you need is a pencil, an eraser, and a piece of paper to bring this classic toy to life. By the end, you'll understand how to use overlapping lines to create a sense of depth and dimension.
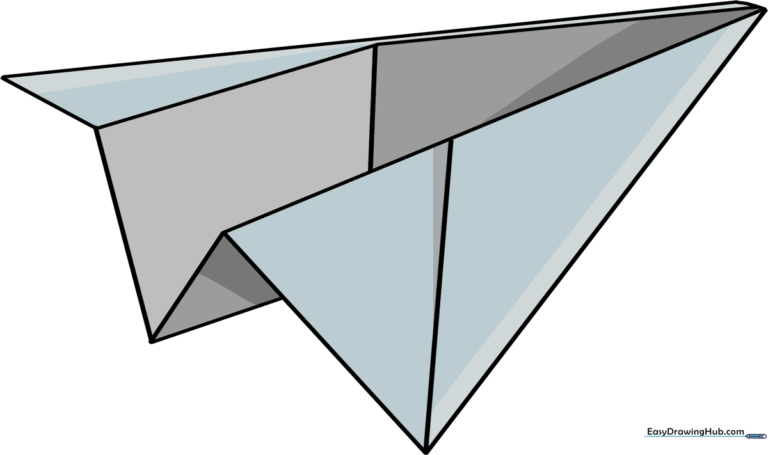
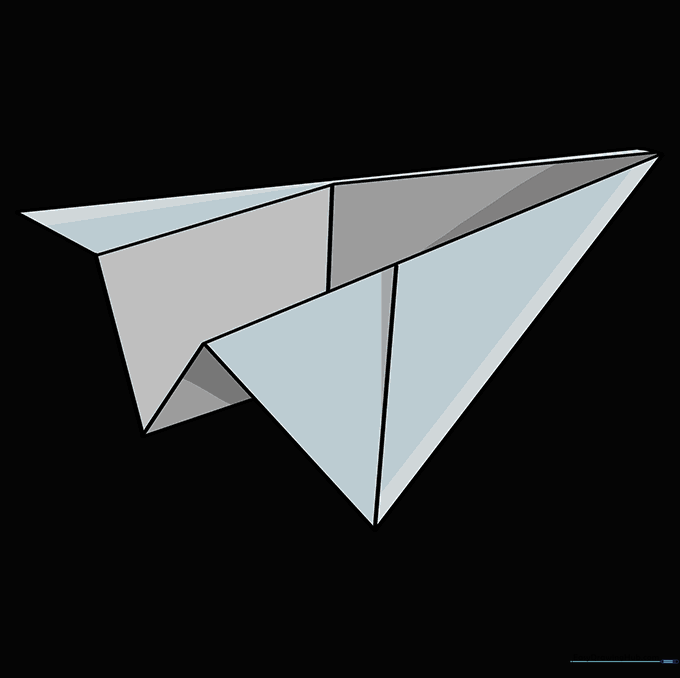
🎯 Final Result
Step-by-Step Instructions
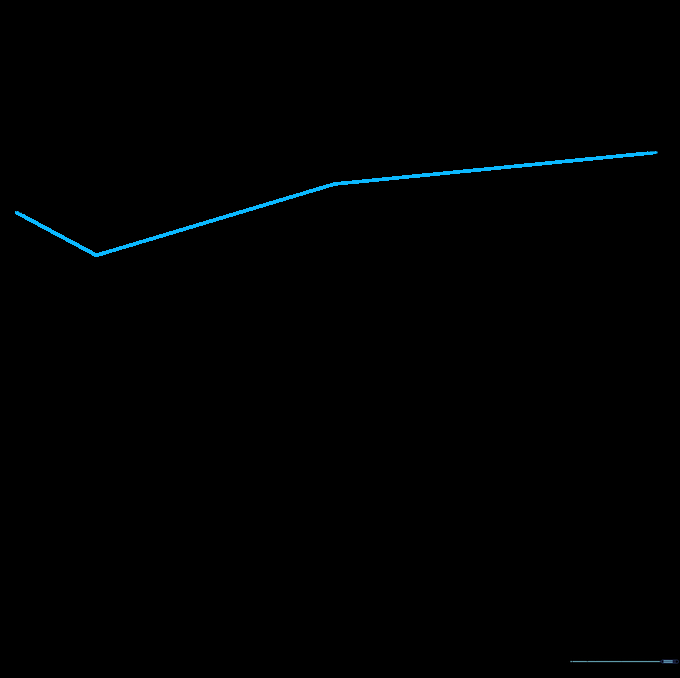
Step 1: Establishing the Centerline
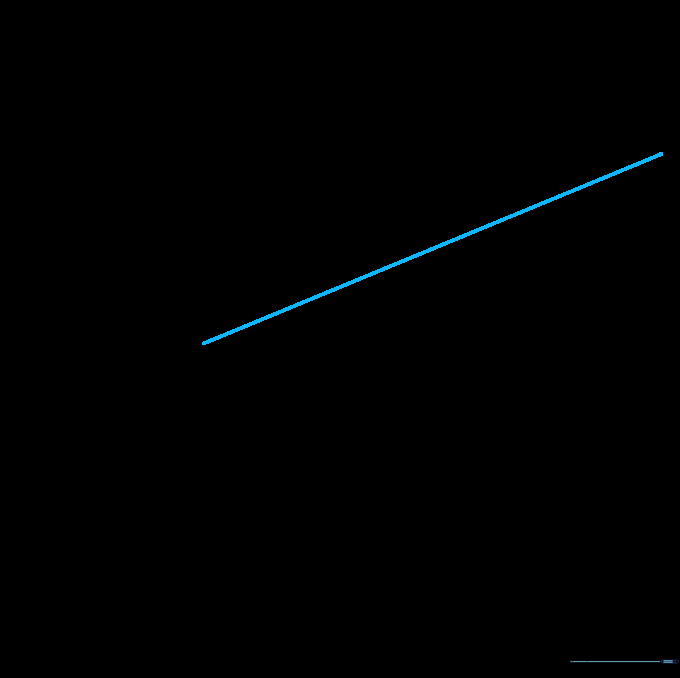
Draw a light, diagonal line across your page. Teacher's Tip: This acts as the 'spine' of your plane, helping you keep the wings symmetrical later on.
Step 2: Outlining the Far Wing
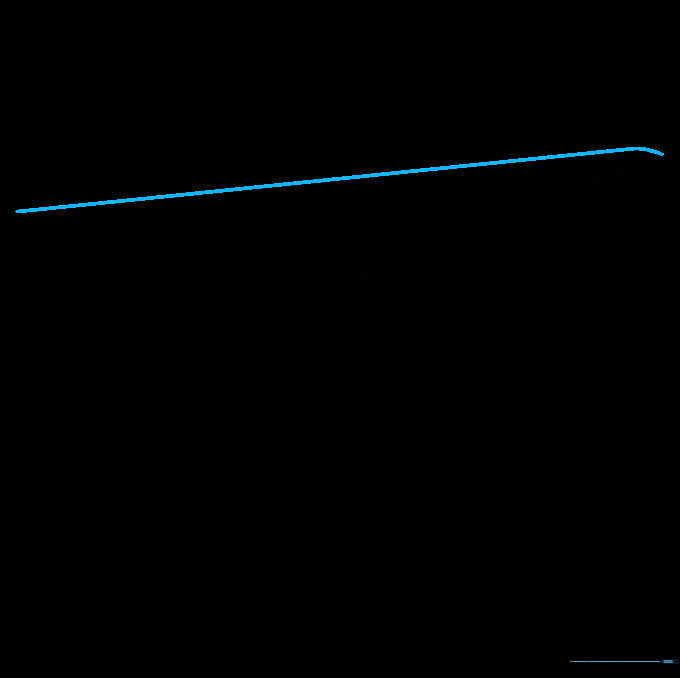
Draw a second diagonal line that meets the first at a sharp point. Tip: Imagine you are drawing the top edge of a triangle; keep the angle narrow to make the plane look aerodynamic.
Step 3: Defining the Near Wing
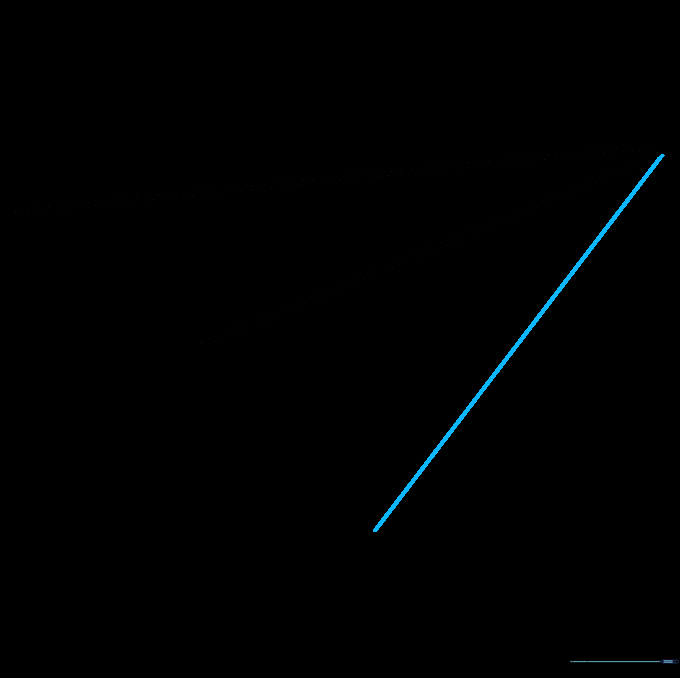
Add a third line to complete the triangle shape of the near wing. Tip: Ensure all three lines meet perfectly at the nose of the plane for a clean, sharp point.
Step 4: Closing the Wing Shape
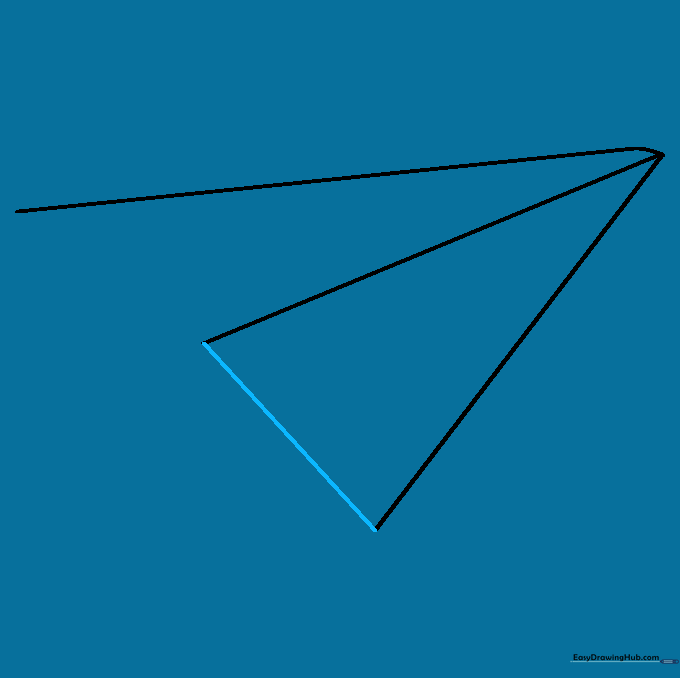
Connect the outer tip of the near wing back to the central line. Tip: Use a steady hand to make this line straight; it defines the base of your wing.
Step 5: Adding the Fuselage
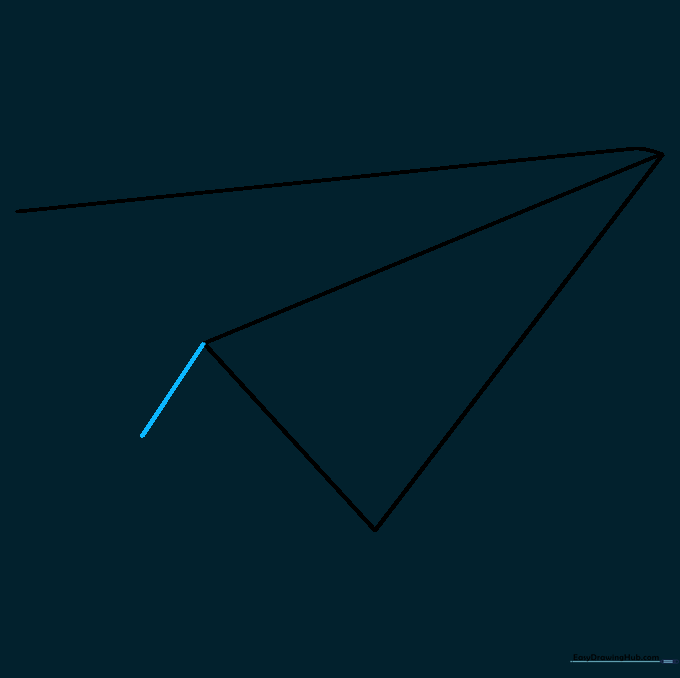
Draw a short diagonal line downward from the center. Tip: This creates the side profile of the plane, giving it a 3D look.
Step 6: Creating the Side Panel

Connect the fuselage line to the wing. Tip: This forms a small triangle that represents the side of the paper body.
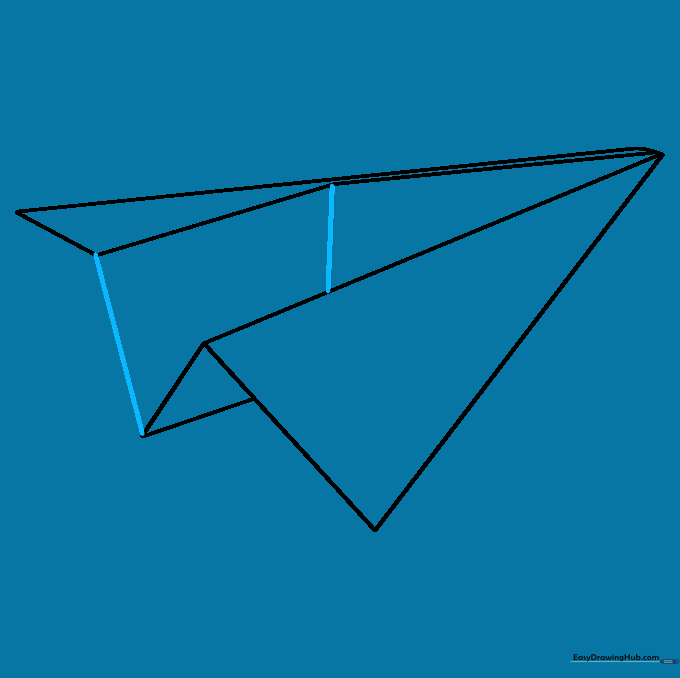
Step 7: Detailing the Far Wing
Draw lines parallel to the wing edge to indicate a paper fold. Tip: Keep these lines narrow to suggest the thickness of the paper.
Step 8: Enclosing the Structure
Connect the inner corner of the far wing to the rear. Tip: This 'locks' the shape together, making the plane look solid.
Step 9: Adding Final Folds

Add a diagonal line across the near wing. Tip: This simple detail adds realism by showing where the paper was bent.
Step 10: Shading and Finishing
Add light shading under the wings. Tip: Use the side of your pencil lead to create soft, smooth shadows that make your drawing look like it's lifting off the page.
More Tutorials


