How to Draw a Papaya: Easy 9-Step Art Guide for Kids
Looking for a fun, healthy art project? This tutorial is perfect for young artists ages 5+ to practice organic shapes and textures. All you need is a pencil, an eraser, and your favorite coloring tools to bring this tropical fruit to life.
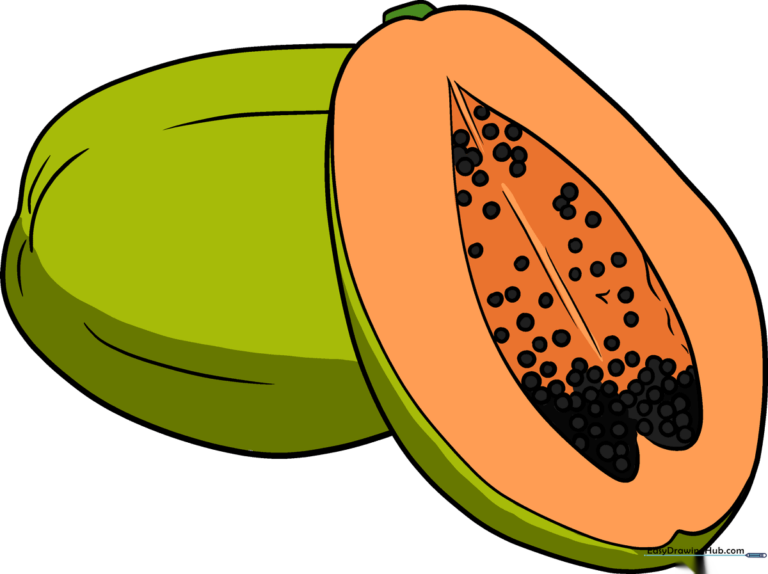
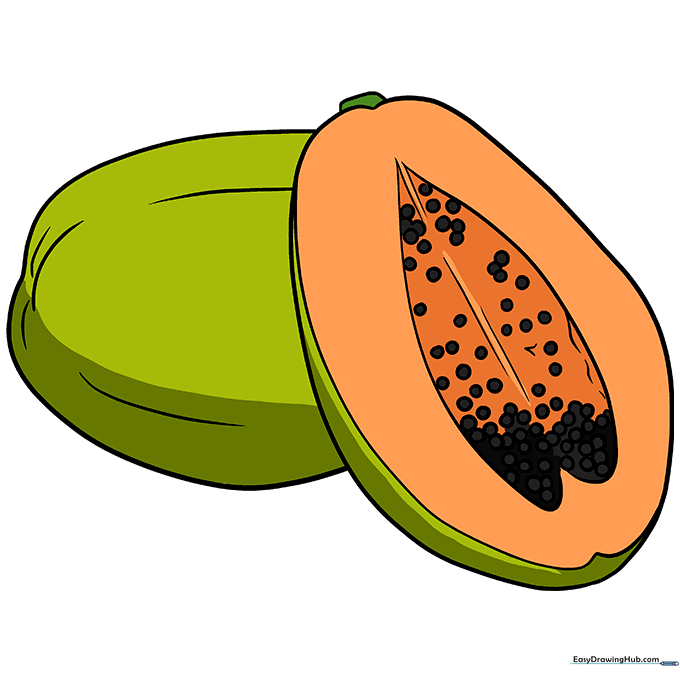
🎯 Final Result
Step-by-Step Instructions
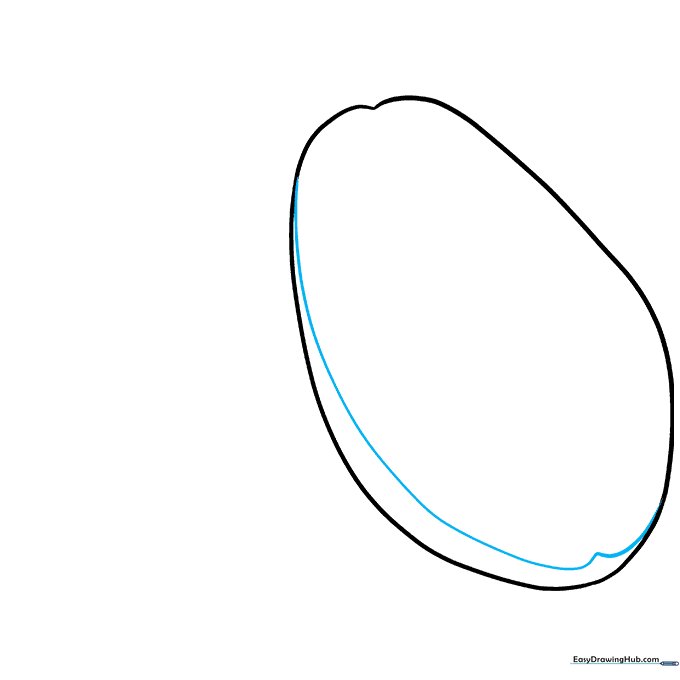
Step 1: Sketching the First Curve

Draw a long, gentle curved line to create the left side of your papaya. Teacher's Tip: Keep your pencil pressure light so you can easily adjust the shape if it looks a bit too pointy!
Step 2: Closing the Fruit Shape

Draw a matching curved line on the right to close the shape. Notice how the lines taper inward slightly at the top, giving the fruit its natural, teardrop-like silhouette.
Step 3: Defining the Cut Edge
Draw a long, wavy line running from the top to the bottom of the fruit. Teacher's Tip: Add small 'bumps' along this line to show the thickness of the fruit's skin versus the inner flesh.
Step 4: Sketching the Seed Cavity
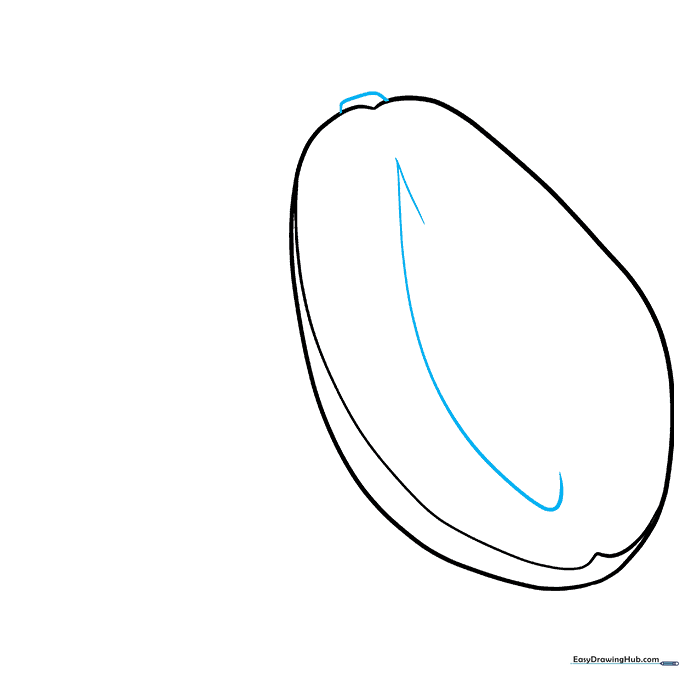
Draw a curved, heart-like shape inside the fruit to mark where the seeds live. Add a small, rounded rectangle at the very top for the stem. This gives your drawing a professional look!
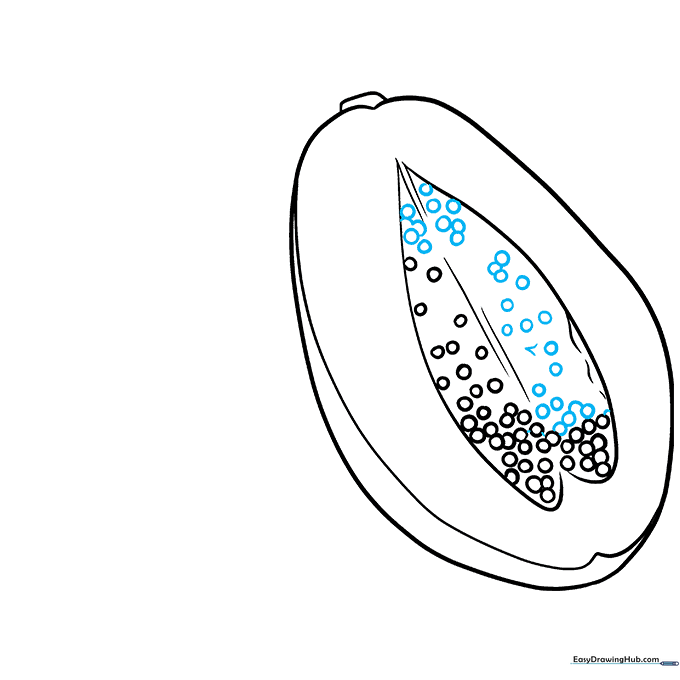
Step 5: Adding Texture to the Flesh
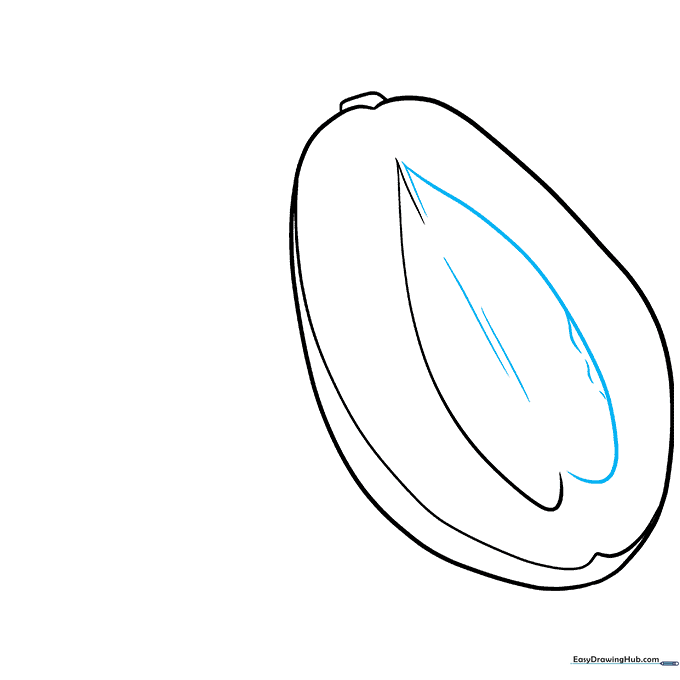
Refine the seed cavity with small, short strokes. Teacher's Tip: Use straight lines in the center and curved lines on the sides to create the illusion of depth and texture inside the fruit.
Step 6: Drawing the Seeds
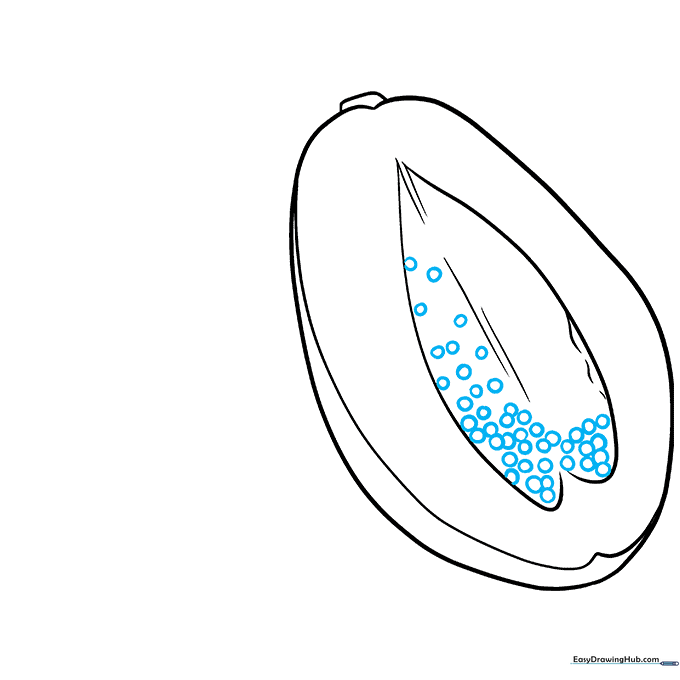
Fill the cavity with small, irregular circles. Make them cluster together at the bottom—this makes your drawing look much more realistic!
Step 7: Filling the Cavity
Continue adding more small circles throughout the cavity. Don't worry about making them perfect; real papaya seeds are all different shapes and sizes.
Step 8: Adding a Second Fruit
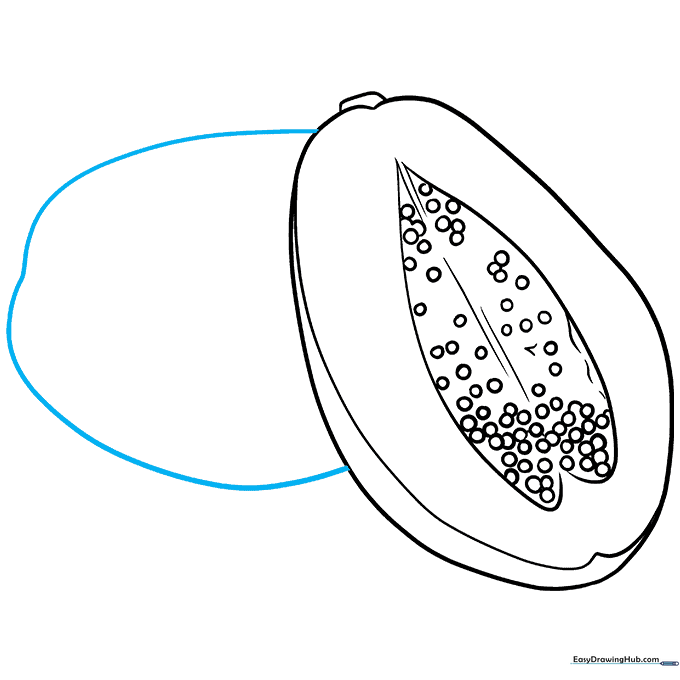
Draw another papaya shape behind the first one. By overlapping the lines, you create a sense of space and composition in your art.
Step 9: Final Details
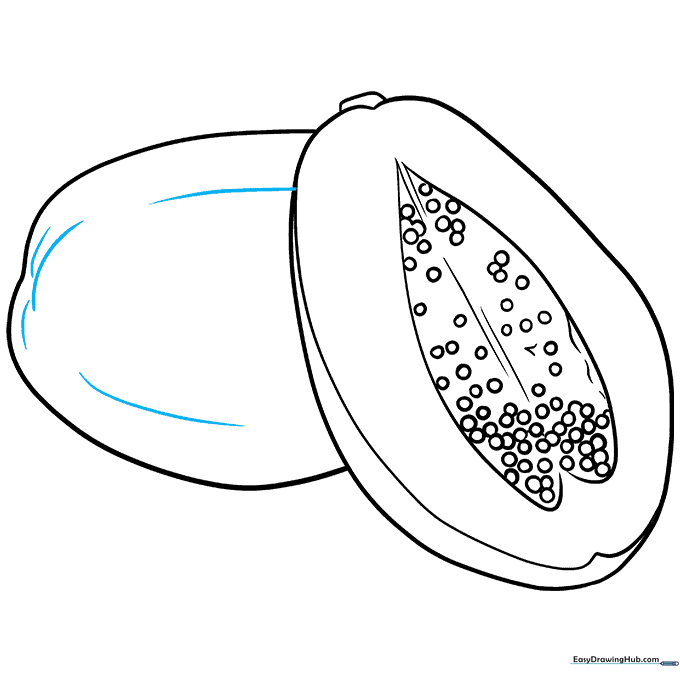
Add a few curved lines to the skin of the fruit to show its natural shape. Your outline is now ready for color!
Step 10: Bringing It to Life with Color
Time to color! Use shades of green or yellow for the skin. For the inside, try a warm salmon or orange, and use a dark black for those seeds. Mixing your colors will make it look delicious!
More Tutorials


