How to Draw a Papaya Tree: Easy 9-Step Guide for Kids
Bring a touch of the tropics to your sketchbook! This tutorial is designed for young artists ages 5 and up to practice organic shapes and layering. You will need a pencil, an eraser, and your favorite coloring markers to complete this vibrant fruit tree.
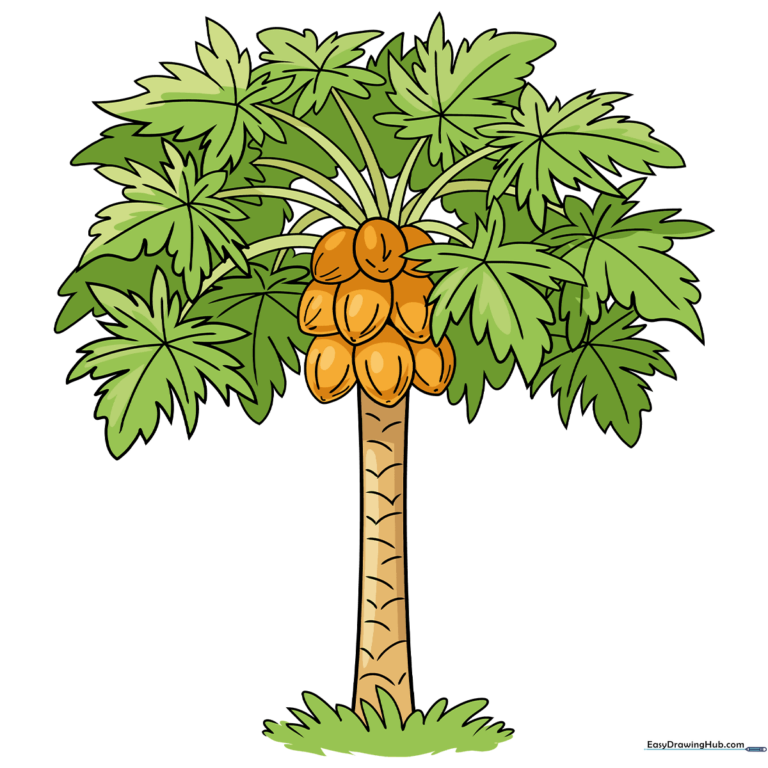
🎯 Final Result
Step-by-Step Instructions
Step 1: Establishing the Base
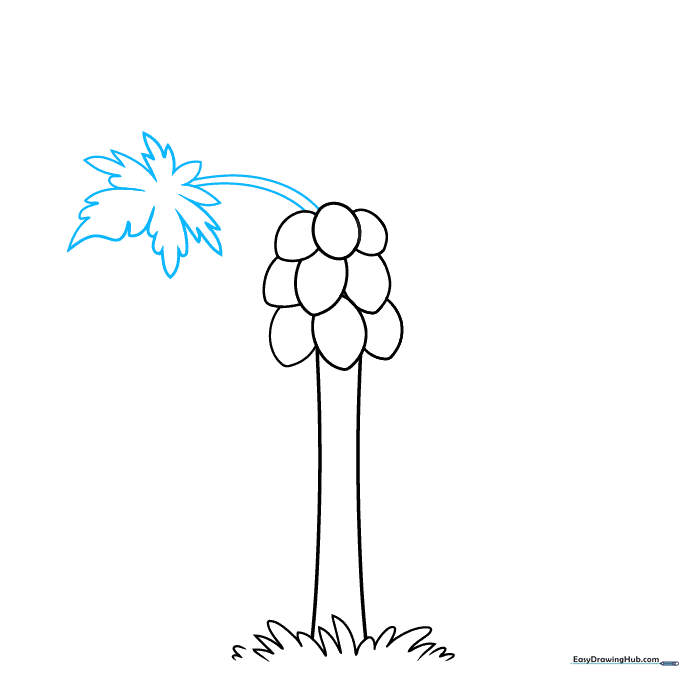
Start by drawing small, connected 'U' shapes at the bottom to create a grassy patch. Then, draw two vertical lines rising from the grass to form the trunk. Teacher's Tip: Keep your pencil lines light so you can easily adjust the width of the trunk later.
Step 2: Sketching the Fruit

Draw a circle at the top of the trunk to anchor your fruit cluster. Add oval shapes on either side and below this circle to represent the papayas. Teacher's Tip: Vary the size of your ovals slightly to make the fruit look more natural and realistic.
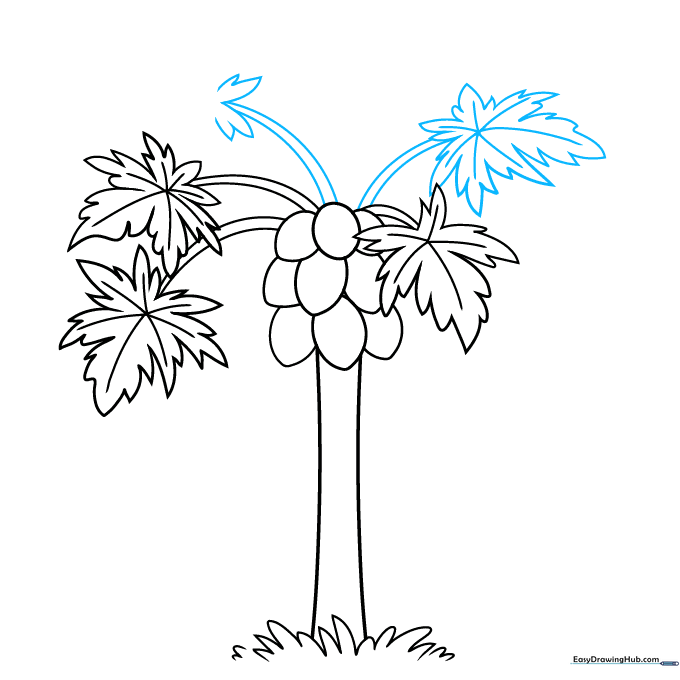
Step 3: Drawing the First Leaf
Extend two curved lines from the fruit cluster to create a leaf stem. Use jagged, pointed lines to outline the large, lobed papaya leaf. Teacher's Tip: Papaya leaves are star-shaped; don't worry about making the points perfectly symmetrical!
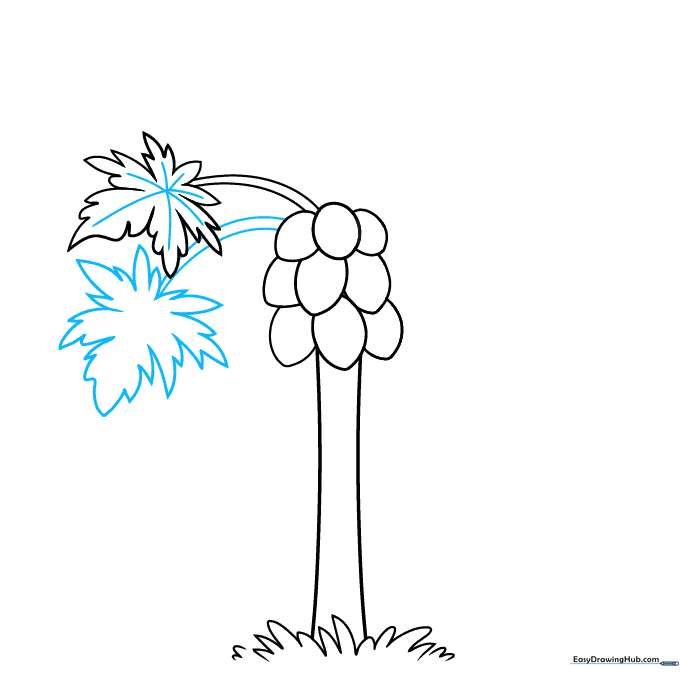
Step 4: Adding Leaf Veins
Draw lines inside your leaf to represent the central veins. Then, add a second leaf using the same jagged technique. Teacher's Tip: Use a slightly darker pressure for the veins to make them stand out from the leaf edges.
Step 5: Overlapping Leaves
Draw an overlapping leaf that partially hides some of the fruit. Erase any lines behind the leaf to show depth. Teacher's Tip: Overlapping is a great way to make your drawing look 3D instead of flat.
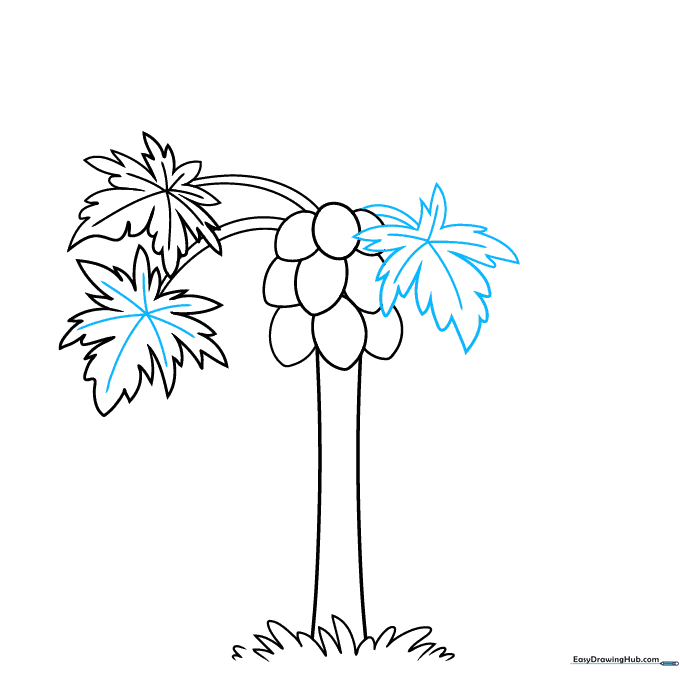
Step 6: Expanding the Canopy
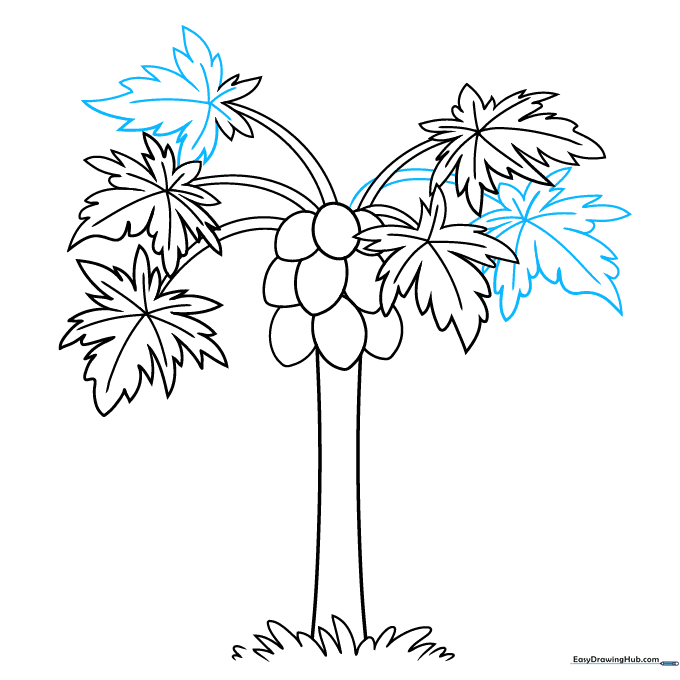
Continue adding more leaves around the fruit cluster. Remember to draw the stems first, then the jagged leaf shapes. Teacher's Tip: Try to point your leaves in different directions to make the tree look full and healthy.
Step 7: Adding More Foliage
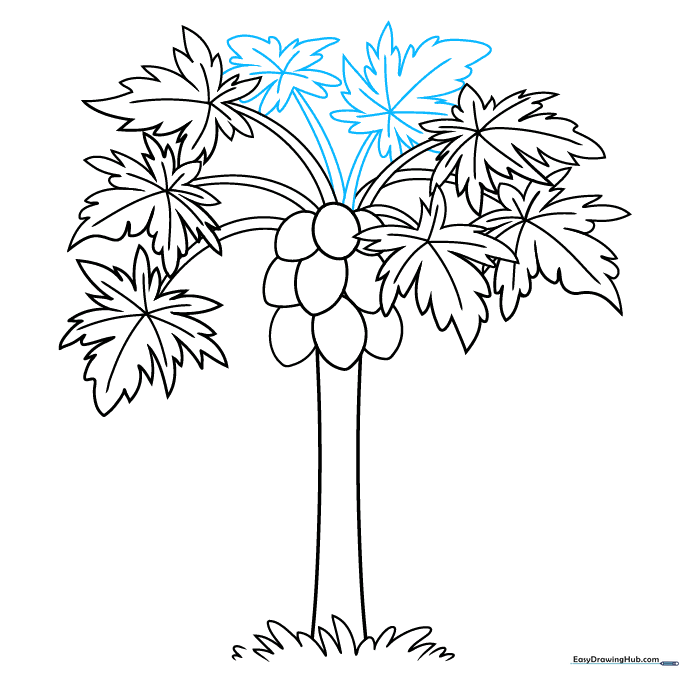
Add two more leaves to the sides of the tree. Ensure you draw the vein lines extending into the lobes of each new leaf. Teacher's Tip: If you run out of space, it's okay to let some leaves go off the edge of the paper!
Step 8: Background Leaves
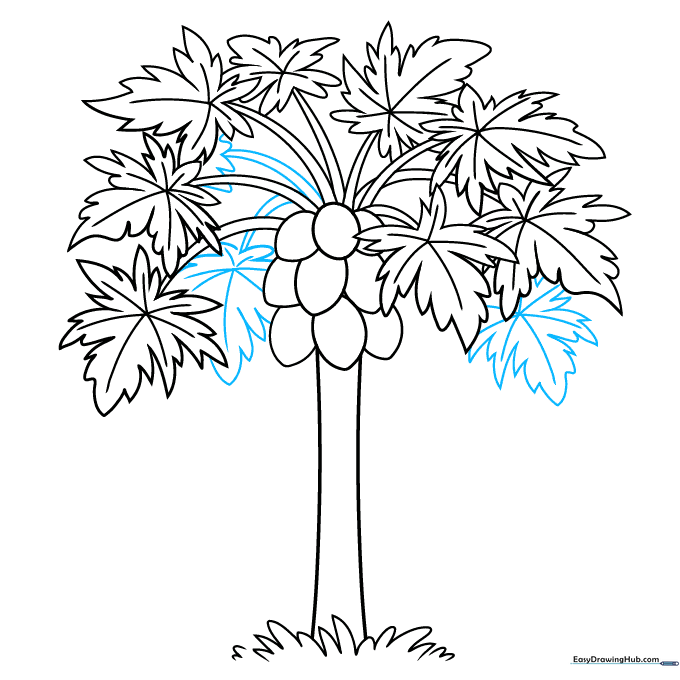
Draw a few leaves tucked behind the main ones to add volume. Use simpler, smaller jagged lines for these background leaves. Teacher's Tip: Background leaves don't need as much detail as the ones in the front.
Step 9: Final Textures
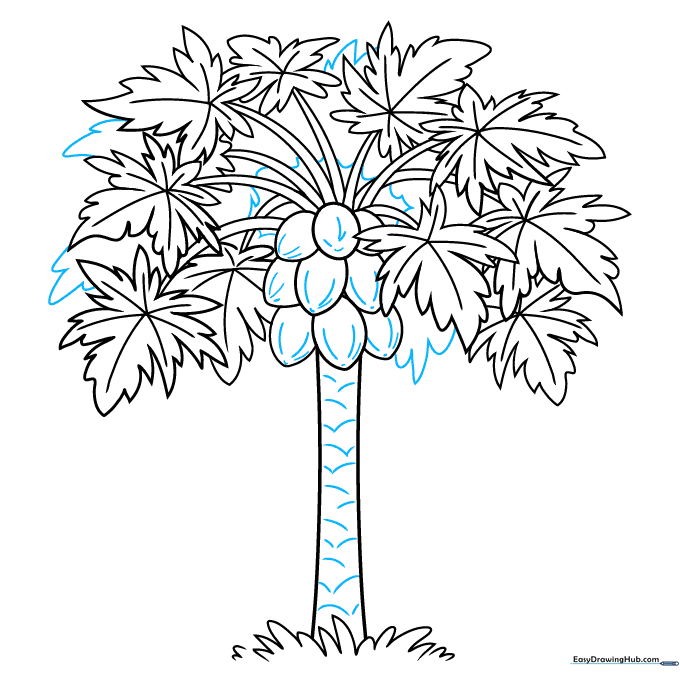
Finish by adding 'V' shaped lines to the trunk for bark texture and curved lines on the fruit. Outline the canopy with soft, rounded lines. Teacher's Tip: Use a fine-liner pen to trace your final lines before erasing your initial pencil sketch.
Step 10: Bringing it to Life with Color
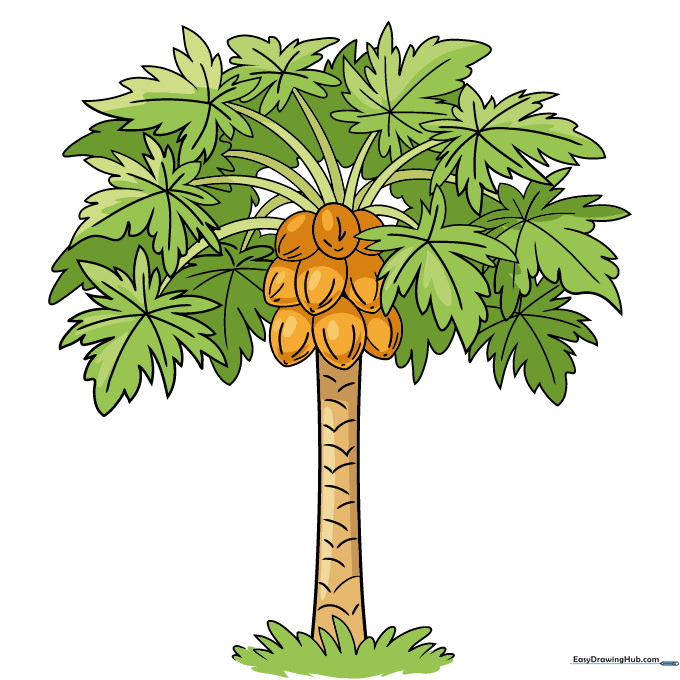
Time to color! Use bright greens for the leaves and transition from green to yellow or orange for the ripening papayas. Teacher's Tip: Try using a light brown for the trunk and add small dots to show the texture of the bark.
More Tutorials


