How to Draw a Paintbrush: Easy 9-Step Guide for Kids
Ready to bring your art supplies to life? This guide is perfect for young artists ages 5 and up to practice basic shapes and line control. All you need is a pencil, an eraser, and your favorite markers to create a colorful paintbrush illustration.
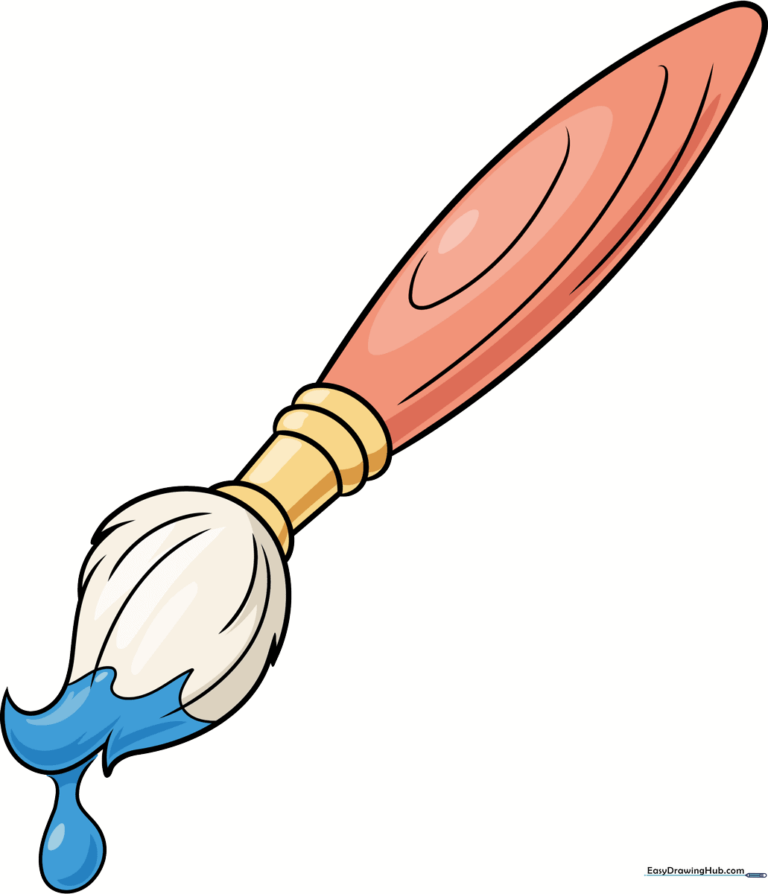
🎯 Final Result
Step-by-Step Instructions
Step 1: Sketching the Ferrule Base

Start by drawing a narrow, vertical oval on the right side of your paper. Teacher's Tip: Keep this shape light; it’s the metal band that holds the bristles to the handle, so keep it neat!
Step 2: Adding Depth to the Ferrule
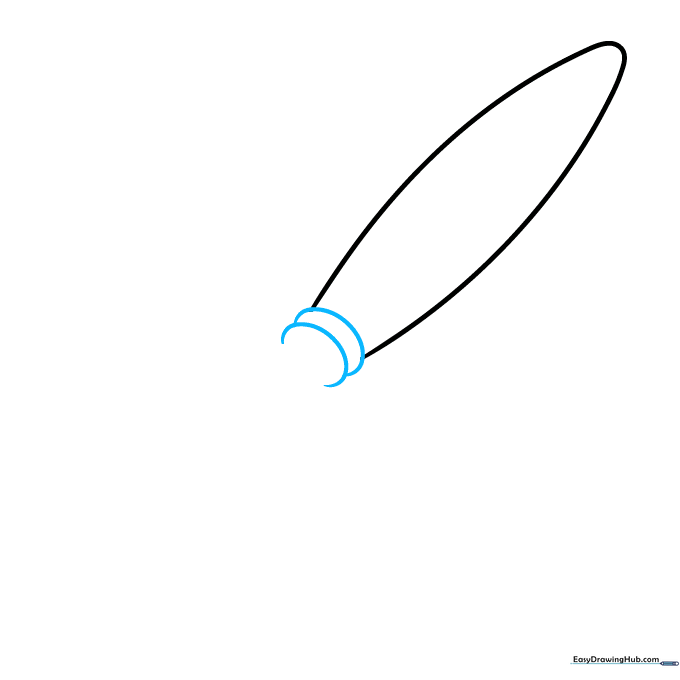
Close the bottom of the oval with two overlapping C-shapes. Teacher's Tip: These curves create a 3D effect, making the metal band look like it wraps around the handle.
Step 3: Connecting the Handle
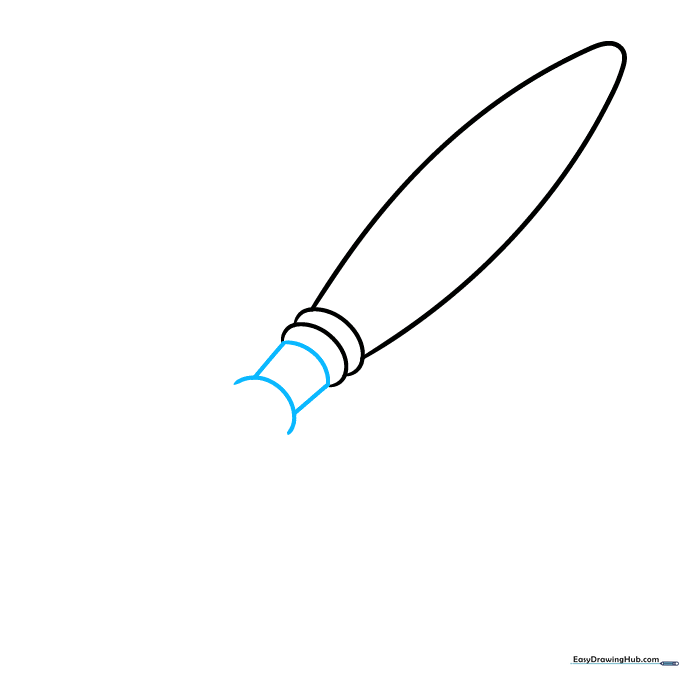
Draw a curved line to finish the ring, then add another C-shape further down. Connect them with two diagonal lines. Teacher's Tip: Use a ruler if you struggle with straight lines, but freehand is great for practice!
Step 4: Shaping the Bristles
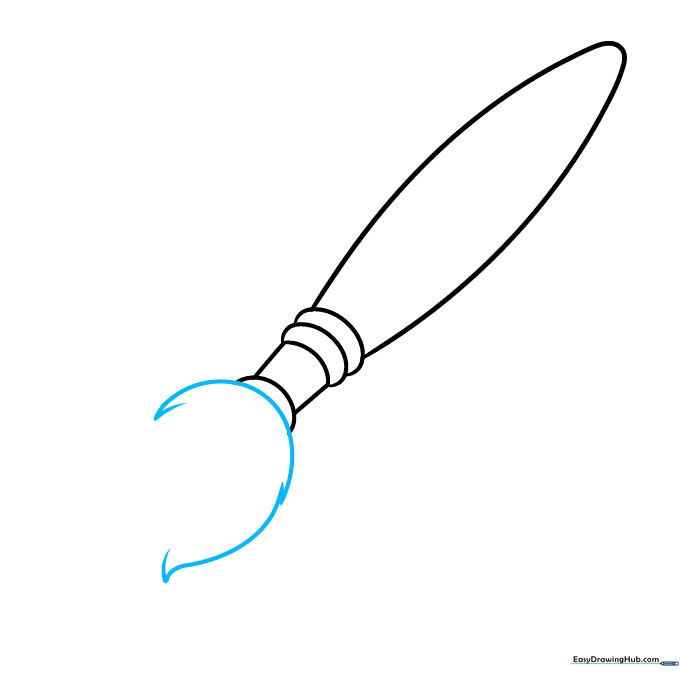
Draw a small triangle on the left side, followed by a curve and two more small triangles. Teacher's Tip: These triangles act as the 'roots' of your bristles, giving them a natural, fanned-out look.
Step 5: Extending the Bristles

Continue the bristle shape by adding more triangles. Teacher's Tip: Vary the size of your triangles slightly to make the brush look more realistic and less like a perfect machine-made object.
Step 6: Adding Texture
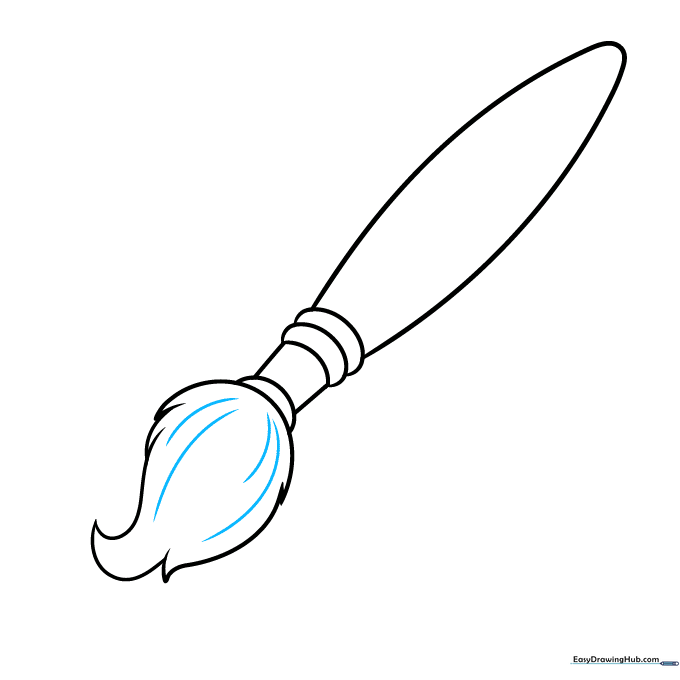
Sketch four curved lines inside the bristle shape. Teacher's Tip: Think of these as individual hairs. The curves help show the volume and movement of the bristles.
Step 7: Detailing the Handle
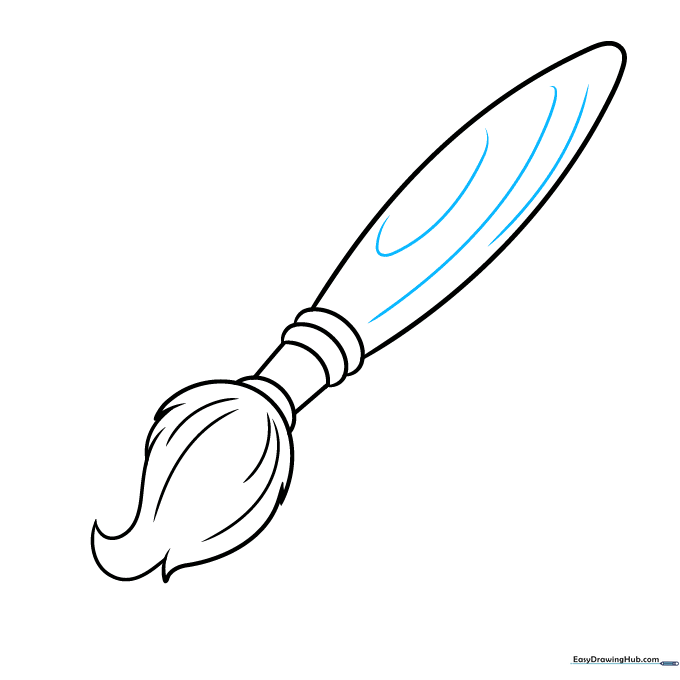
Draw a semi-oval and two long curves inside the handle. Teacher's Tip: These lines represent the wood grain. Keep them smooth and flowing, not jagged.
Step 8: Adding a Splash of Paint
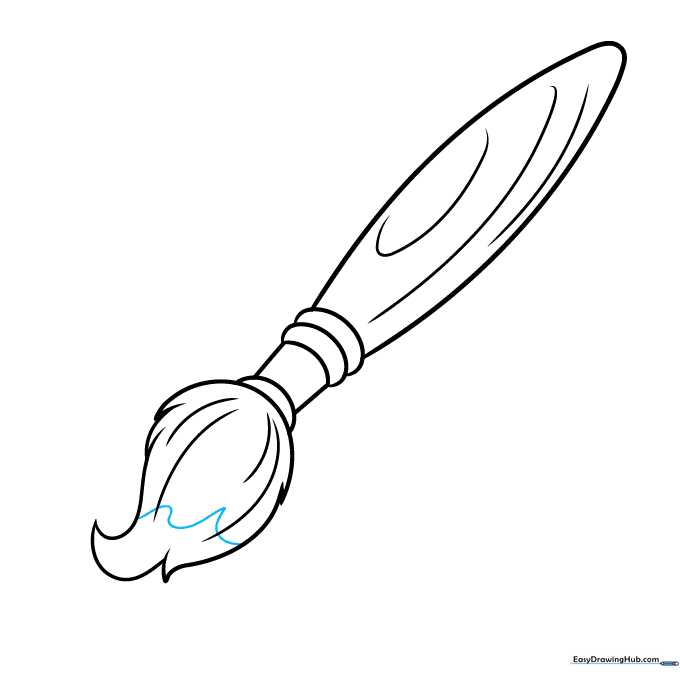
Draw a wavy, squiggly line at the very tip of the bristles. Teacher's Tip: This represents wet paint! Make the waves irregular to look like a natural drip.
Step 9: Final Touches
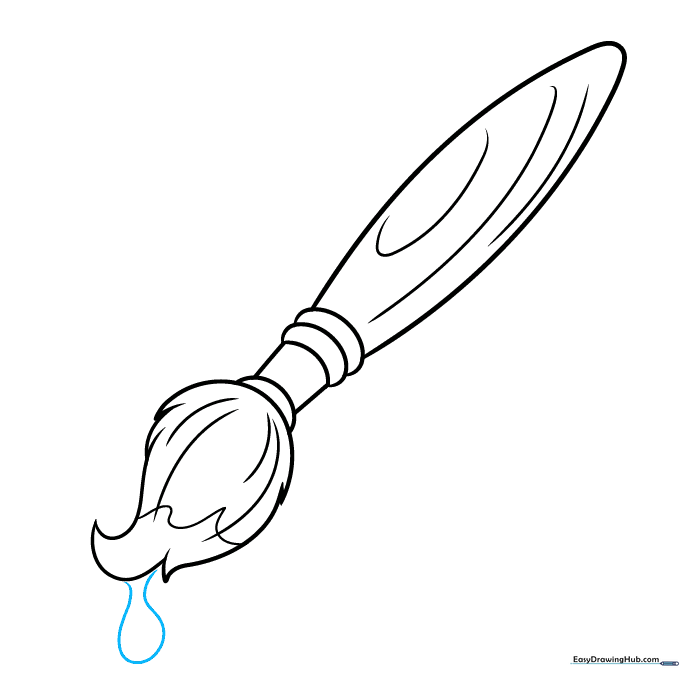
Add an S-shape near the bristles and connect it to the main body with a curve. Teacher's Tip: This adds a final detail to the paint glob, making it look thick and glossy.
Step 10: Coloring Your Masterpiece
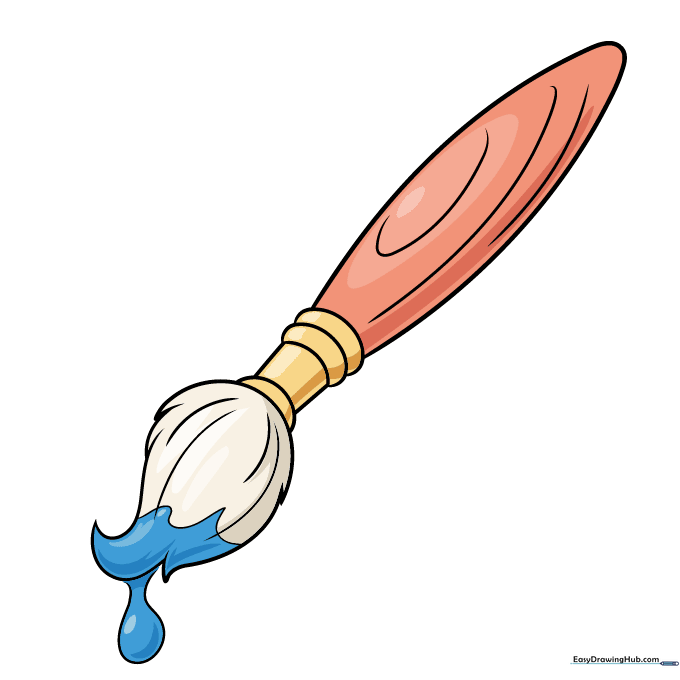
Outline your drawing with a black pen. Once the ink is dry, erase your pencil lines. Color the handle a warm reddish-orange, the ferrule gold, and the bristles a soft grey. Use blue for the paint! Teacher's Tip: Use light pressure with your colored pencils to create smooth gradients.
More Tutorials


