How to Draw a Realistic Nose: Simple 10-Step Guide
Drawing a nose is often the trickiest part of a portrait, but it becomes simple when you break it down into basic shapes. This tutorial is perfect for young artists and beginners looking to add realism to their character designs. All you need is a pencil, an eraser, and a piece of paper to get started.
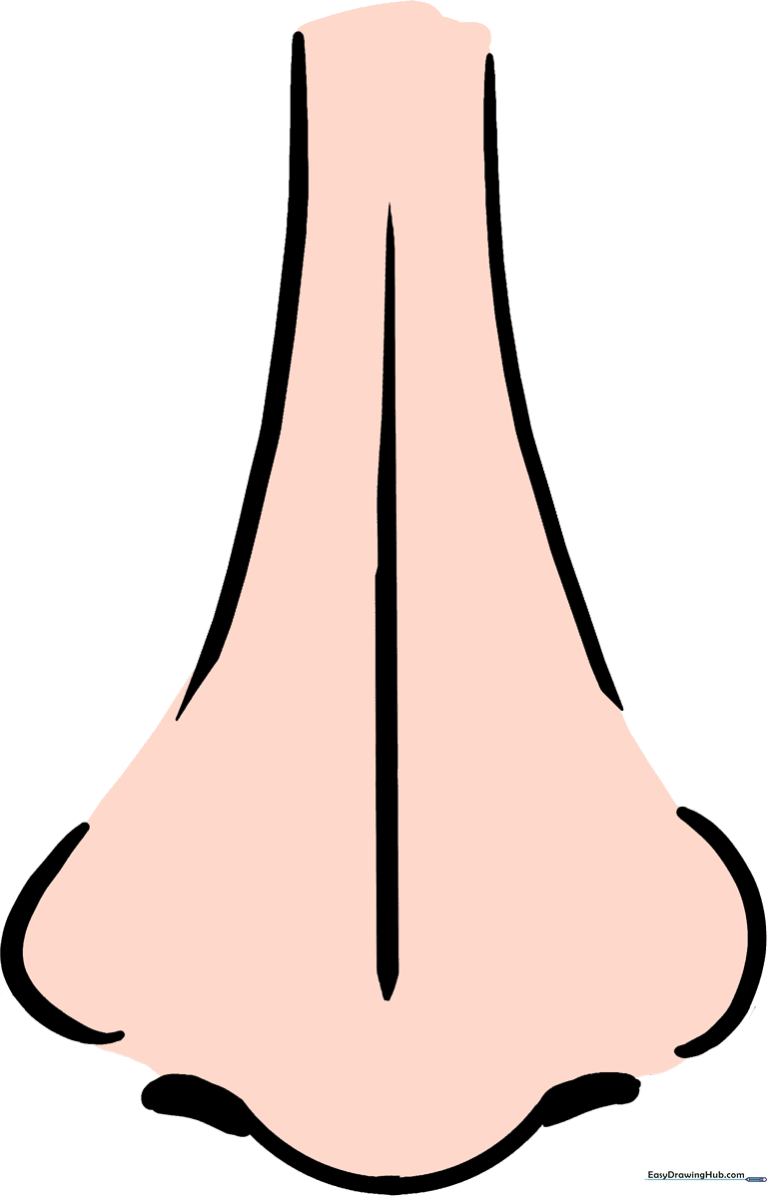
🎯 Final Result
Step-by-Step Instructions
Step 1: Establishing the Bridge

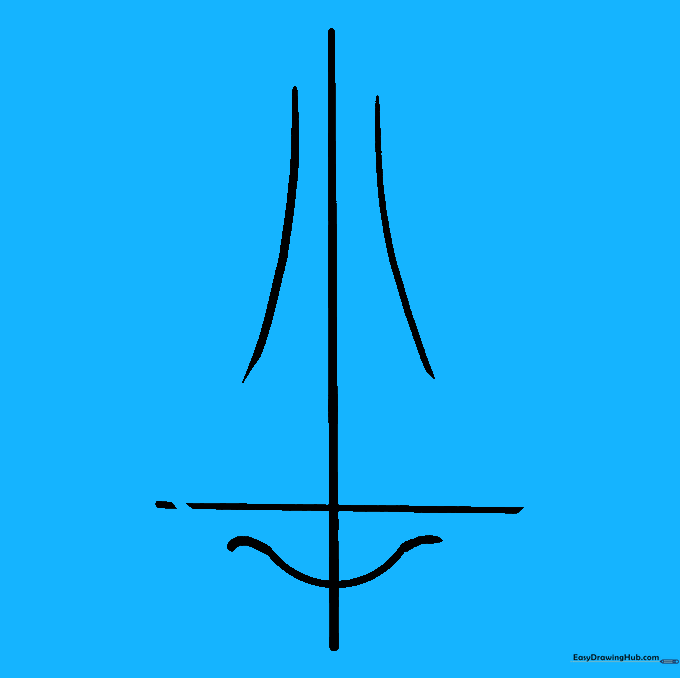
Draw a light, vertical line to serve as the bridge of the nose. Teacher's Tip: Keep your pencil pressure very light here; this is just a structural guide that we will refine later.
Step 2: Adding the Horizontal Guide

Draw a horizontal line crossing the bottom of your vertical line. This creates a 'T' shape, which helps you align the nostrils. Tip: Use a ruler if you struggle with straight lines, but freehand is great for practice!
Step 3: Shaping the Bridge
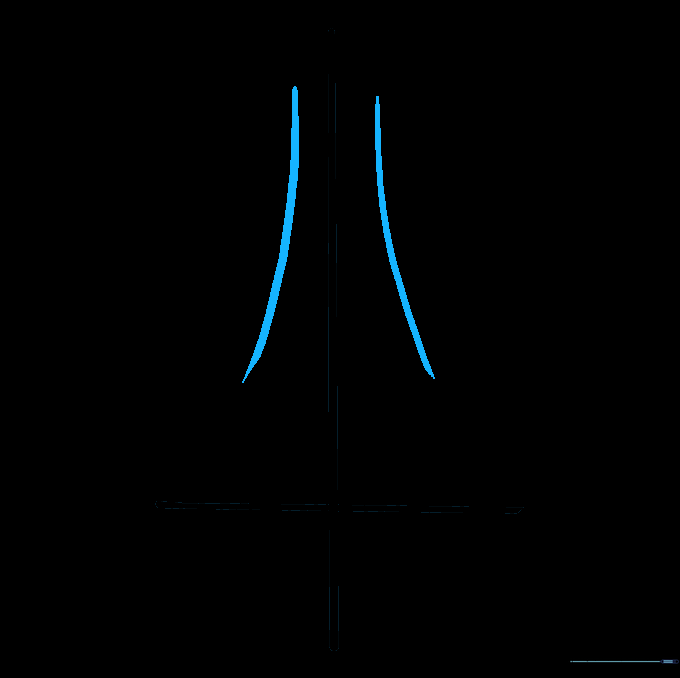
Add two soft, curved lines flanking the vertical bridge. Make them narrow at the top and wider at the bottom. Tip: Think of this as drawing the 'slope' of the nose.
Step 4: Defining the Tip

Sketch a circle where the two guide lines intersect. This circle represents the bulb of the nose. Tip: Keep it light—this is a temporary shape we will erase later.
Step 5: Starting the Nostrils
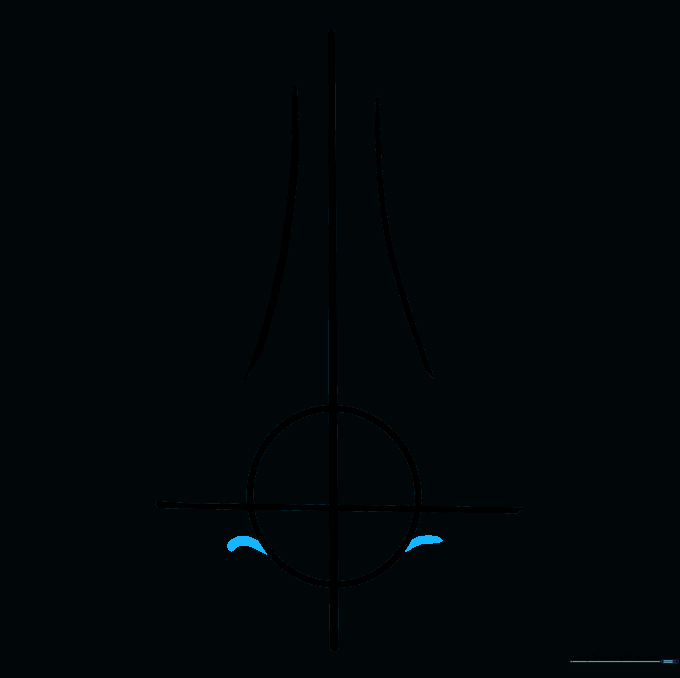
Draw two small, comma-shaped curves at the bottom of your circle. These are the base of the nostrils. Tip: Symmetry is key here, so take your time to make them look balanced.
Step 6: Cleaning the Guide
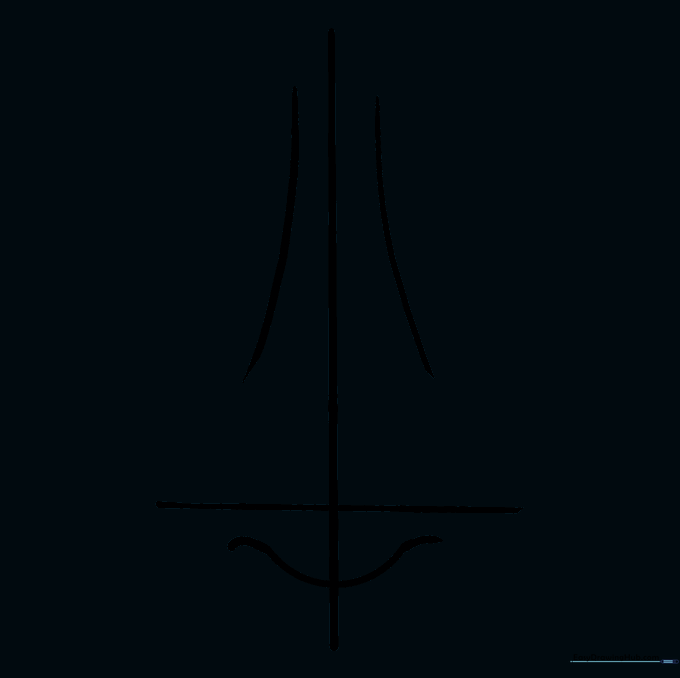
Carefully erase the circle guide lines, leaving only the nostril shapes. Tip: Use a soft eraser to avoid smudging your work.
Step 7: Detailing the First Nostril
Draw a curved line extending from the nostril base toward the bridge. This defines the side of the nose. Tip: Imagine the curve of a seashell to get the right shape.
Step 8: Mirroring the Detail

Repeat the previous step on the opposite side to create a symmetrical nostril wing. Tip: Check your work by holding the paper at arm's length to see if it looks balanced.
Step 9: Finalizing the Structure

Erase remaining guide lines, leaving a clean outline. Add a bit of shading inside the nostrils to give the nose depth. Tip: Use a darker pencil stroke for the nostrils to make them 'pop'.
Step 10: Adding Color

Bring your drawing to life with skin-tone pencils or markers. Tip: Use a lighter shade on the bridge of the nose to suggest a highlight, which makes it look more 3D!
More Tutorials


