How to Draw a Nine-Tailed Fox: Easy 9-Step Anime Guide
Bring a legendary creature to life with this step-by-step guide, perfect for artists ages 8 and up. You will need a pencil, an eraser, and your favorite coloring markers to complete this mythical fox. By breaking down the complex tails into simple, overlapping shapes, you'll build confidence in drawing dynamic anime characters.
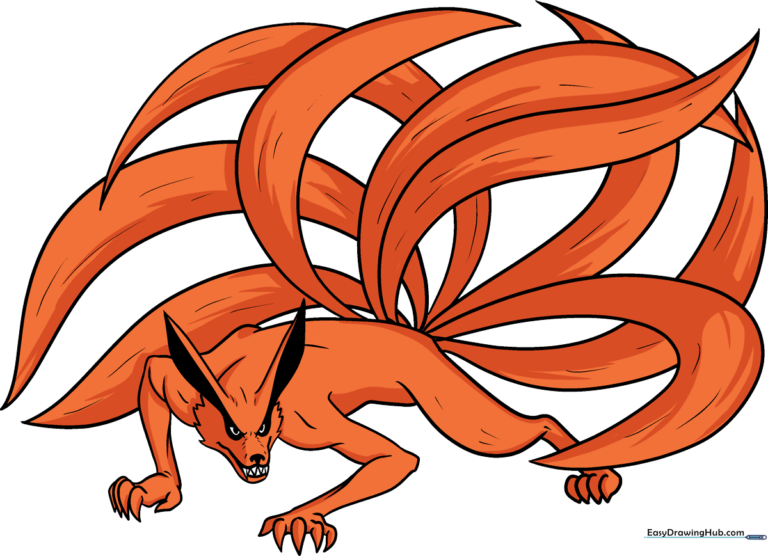
🎯 Final Result
Step-by-Step Instructions
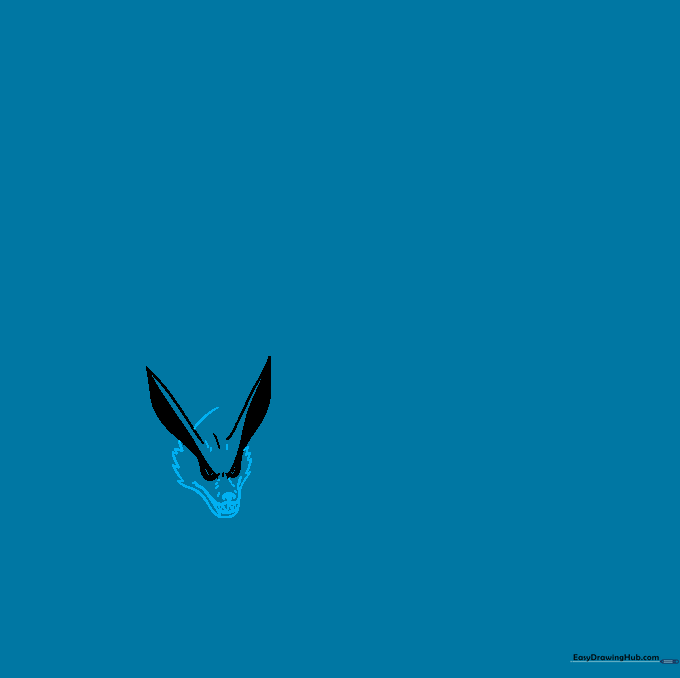
Step 1: Sketching the Ears and Eyes

Start by drawing two curved, triangular shapes for the ears. Connect them with a soft arch to form the top of the head. Below, sketch two almond-shaped eyes. Teacher's Tip: Keep your pencil lines very light here; you'll want to erase the inner guidelines later to make the eyes pop.
Step 2: Defining the Muzzle and Fur
Use short, jagged strokes to create the fluffy cheeks and a curved line for the snout. Add a small, shaded triangle for the nose and tiny teeth inside the open mouth. Teacher's Tip: Use 'flicking' motions with your pencil to make the fur look soft and realistic rather than stiff.
Step 3: Drawing the First Foreleg
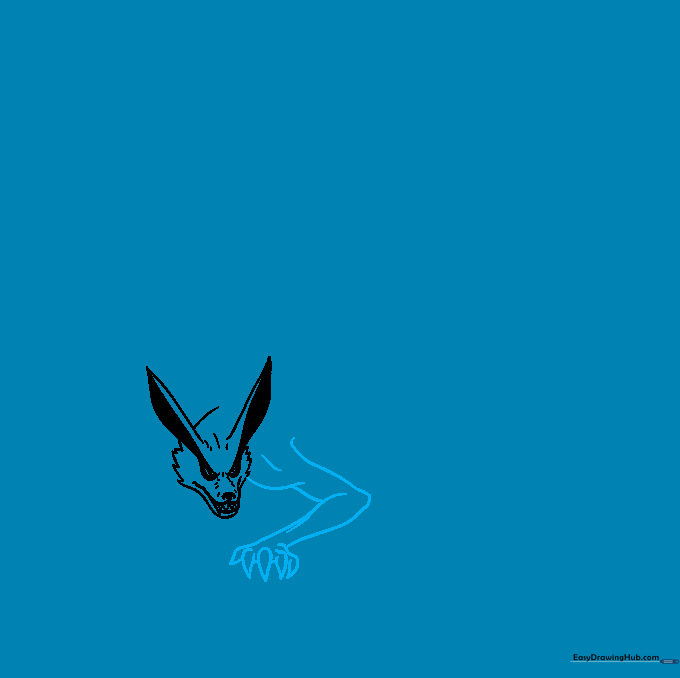
Sketch the first front leg using smooth, overlapping curves to show muscle. End the leg with sharp, pointed claws. Teacher's Tip: Imagine the leg is a tube; drawing it slightly wider at the shoulder and thinner at the paw creates a natural look.
Step 4: Adding the Second Foreleg
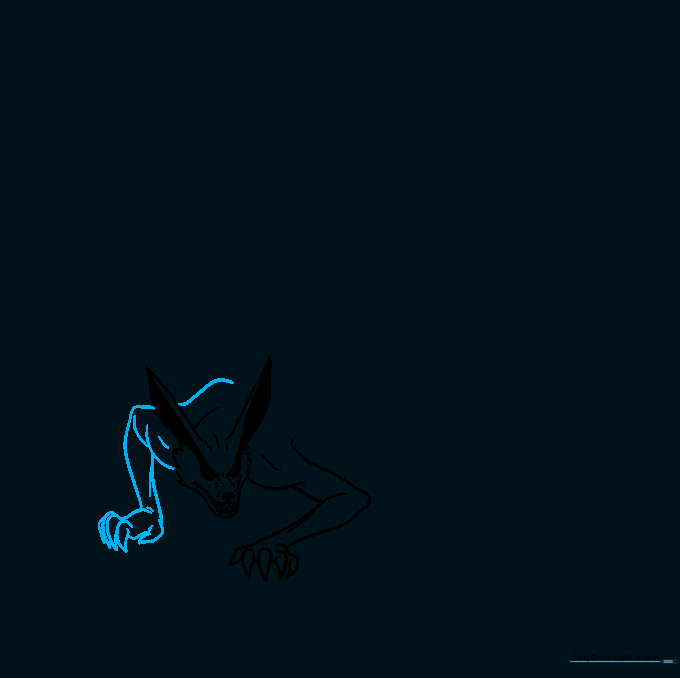
Repeat the process for the second foreleg, positioning it slightly behind the first to show depth. Ensure the claws match the angle of the first paw. Teacher's Tip: If the legs look too symmetrical, try tilting one slightly to give your fox a more active, ready-to-pounce pose.
Step 5: Sketching the Body and Rear Leg
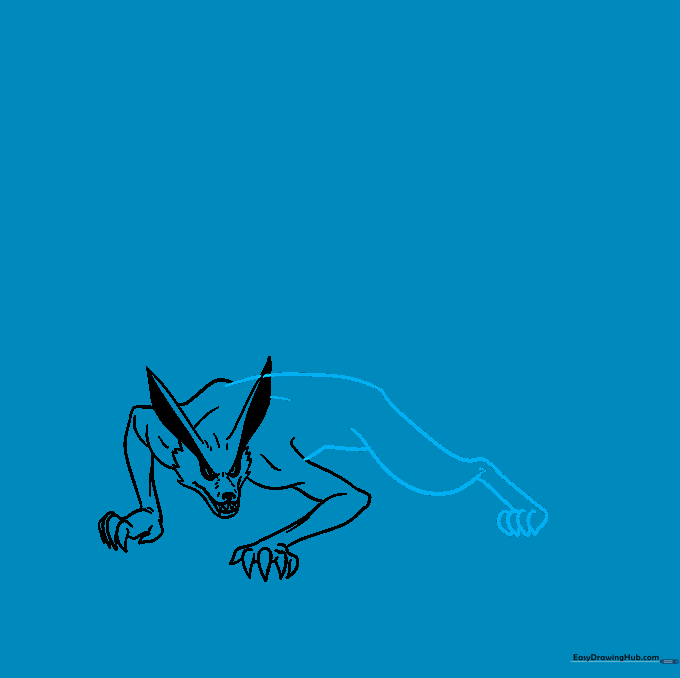
Draw a long, sweeping line for the back and a rounded shape for the haunch. Add the rear leg tucked underneath. Teacher's Tip: Keep the belly line curved to suggest the fox is crouching, which adds energy to your drawing.
Step 6: Starting the Tails

Now for the fun part! Draw the first three long, flowing tails using curved lines that taper to sharp points. Teacher's Tip: Make these tails look like flames or ribbons to give your fox a magical, mystical feel.
Step 7: Layering More Tails
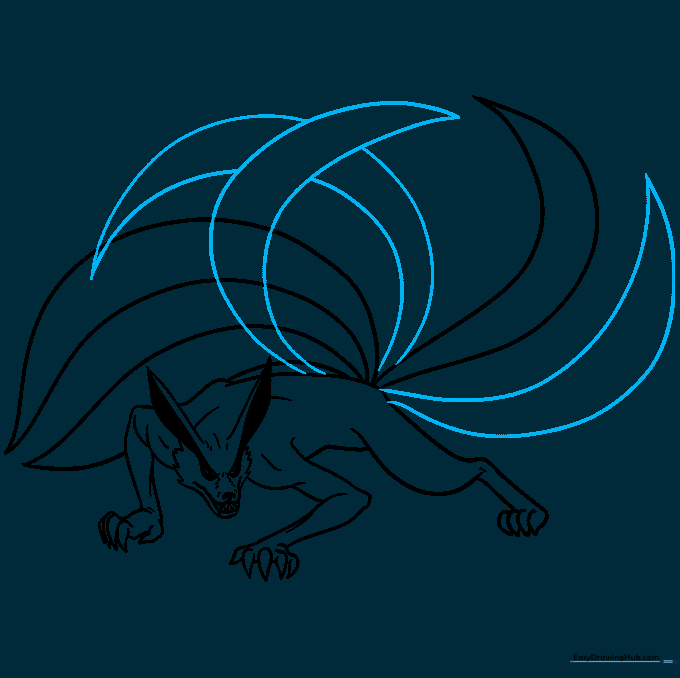
Add three more tails behind the first set. Let them overlap to create a sense of volume. Teacher's Tip: Don't worry if they cross over each other; that's exactly what makes the 'nine-tailed' look so impressive!
Step 8: Completing the Nine Tails
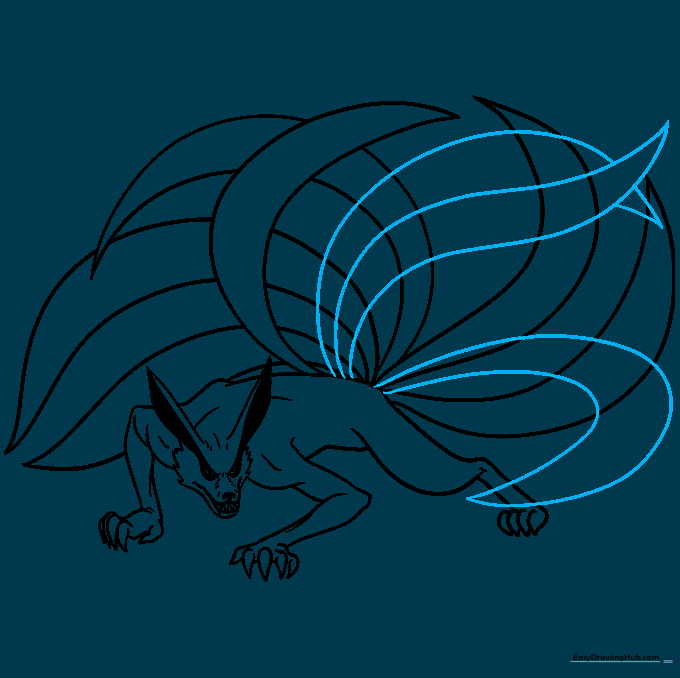
Draw the final three tails to reach the total of nine. Erase any lines from the body that are hidden behind the tails. Teacher's Tip: Use your eraser to clean up the intersections so the tails look like they are fanning out from the fox's back.
Step 9: Adding Fur Texture
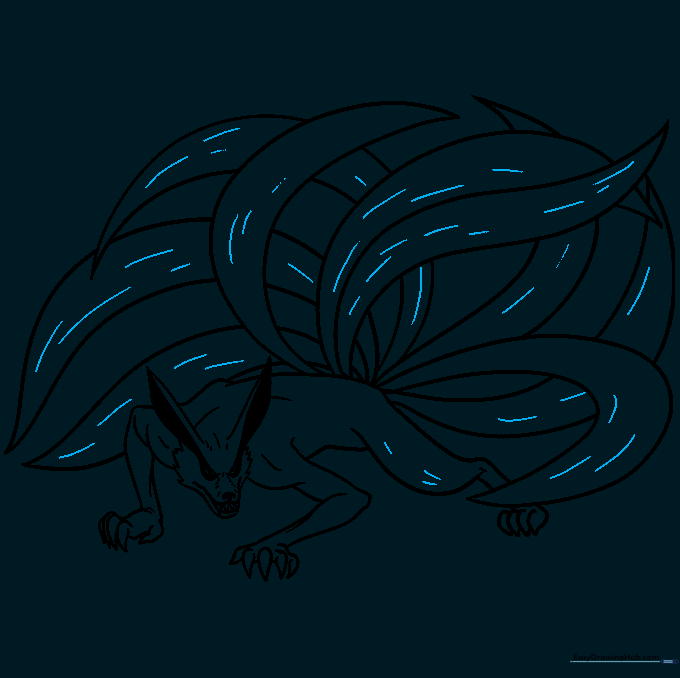
Add small, curved lines along the tails and legs to represent fur texture. This adds detail and makes your drawing look professional. Teacher's Tip: Vary the length of your fur lines—some short, some slightly longer—to make the coat look natural.
Step 10: Coloring Your Masterpiece
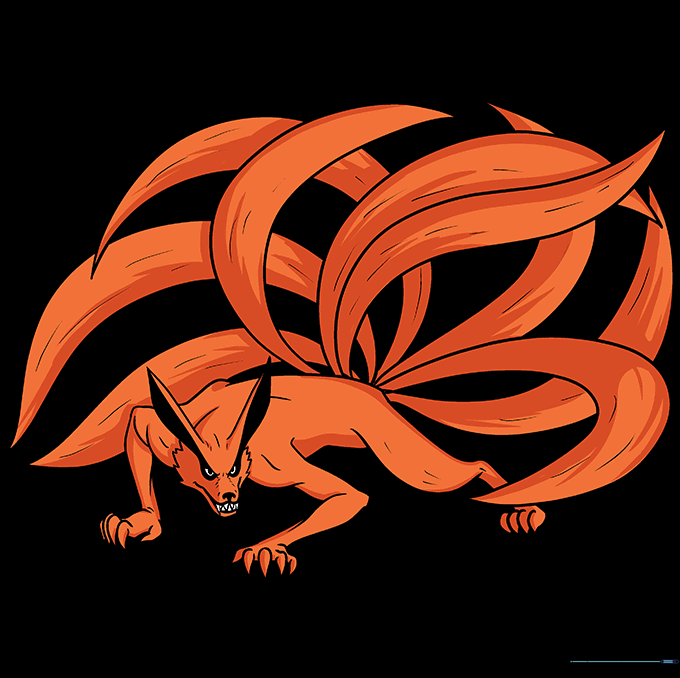
Time to color! Use warm orange and brown tones for a classic look, or try icy blues and whites for a magical, arctic-themed fox. Teacher's Tip: Use a darker shade of your main color to add shadows under the tails to make them look 3D.
More Tutorials


