How to Draw a Nike Dunk Shoe: Easy 10-Step Guide
Ready to design your own kicks? This tutorial is perfect for young sneakerheads and budding artists ages 7+. All you need is a pencil, an eraser, and a piece of paper to bring this iconic silhouette to life.
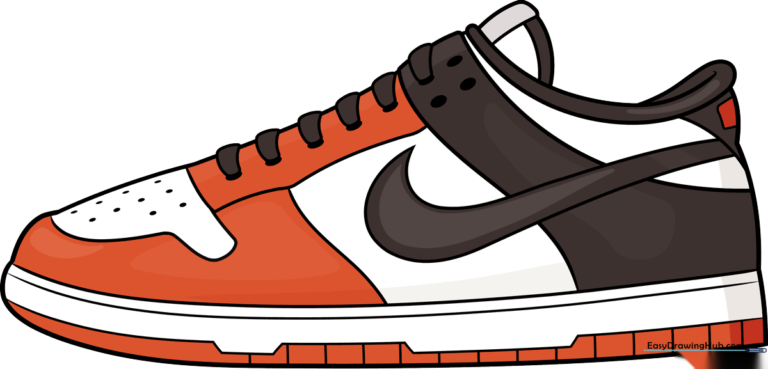
🎯 Final Result
Step-by-Step Instructions
Step 1: Sketching the Base
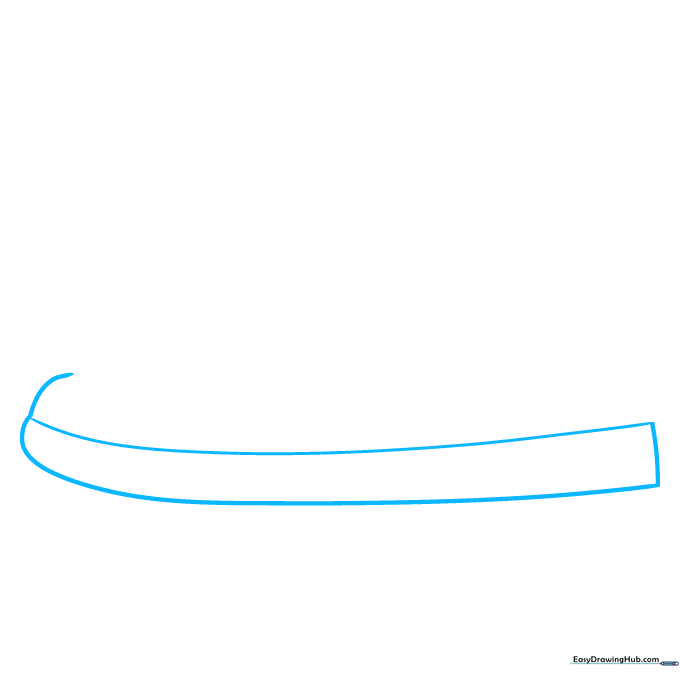
Draw a long, gentle curve to form the bottom sole of the shoe. Add a second parallel curve above it for the midsole. Tip: Keep your pencil pressure light so you can easily adjust the shape later.
Step 2: Defining the Upper

Extend the toe line upward to create the front of the shoe. Add two lines for the side panel and a vertical line for the heel. Tip: Think of this as building the 'frame' of the shoe before adding details.
Step 3: The Ankle Opening
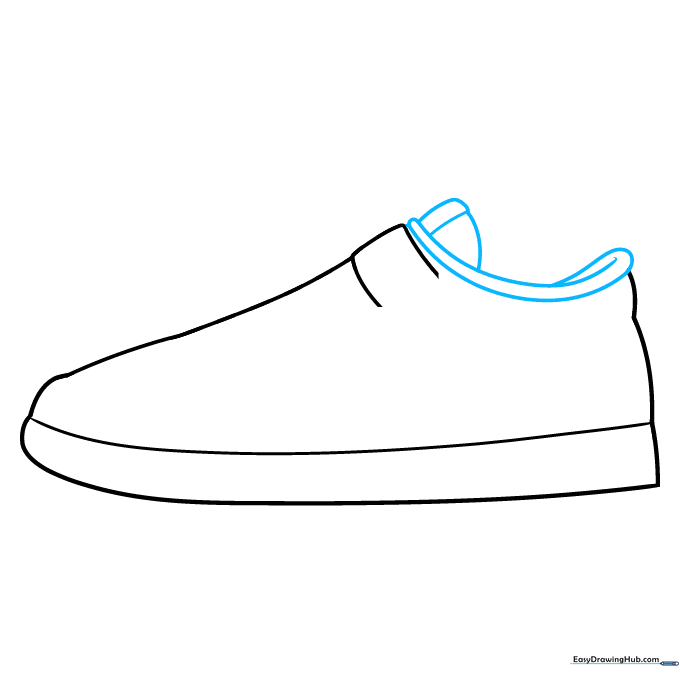
Draw a spiral-like curve to define the ankle collar. Add small shapes for the tongue. Tip: Make the opening look soft and padded by using rounded, rather than sharp, lines.
Step 4: Toe and Lace Box
Sketch the irregular shape on the toe and the rectangular area for the laces. Tip: Keep your shapes symmetrical to make the shoe look balanced.
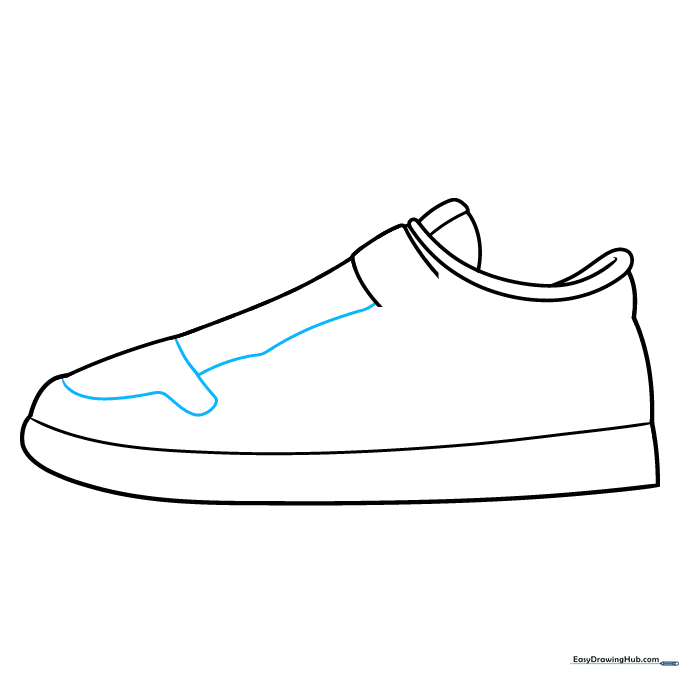
Step 5: The Iconic Swoosh
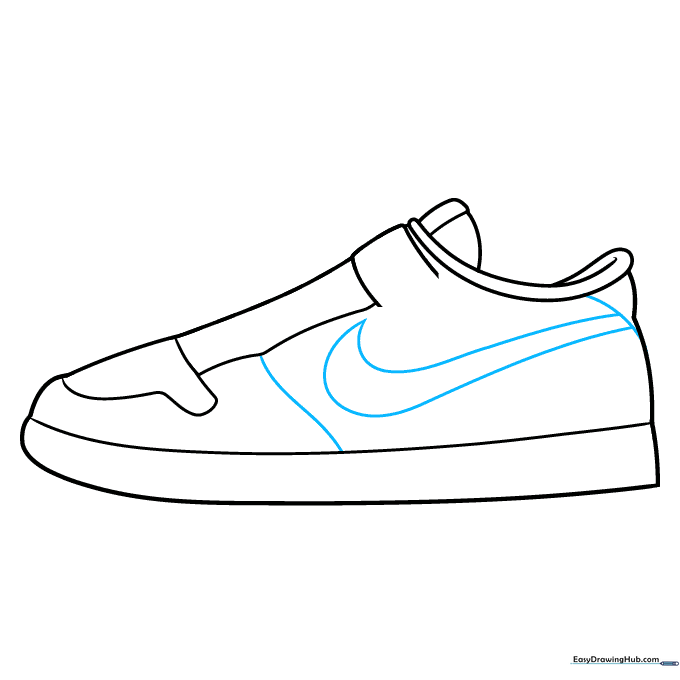
Draw the Nike Swoosh logo on the side panel. Connect it from the lace area down to the sole. Tip: The Swoosh should look like a long, graceful checkmark.
Step 6: Adding Eyelets and Laces
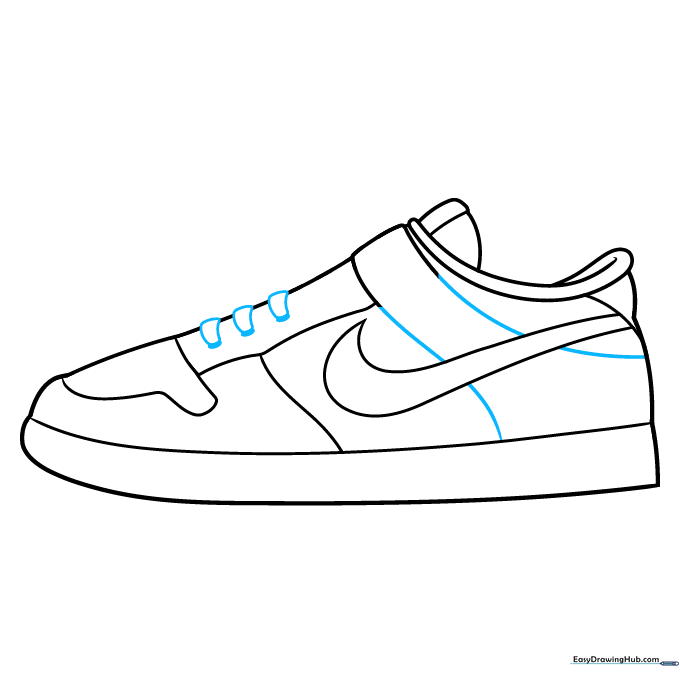
Draw three small ovals for eyelets and sketch the laces looping through them. Tip: Use your eraser to remove any overlapping lines so the laces look like they are sitting on top of the shoe.
Step 7: Completing the Laces
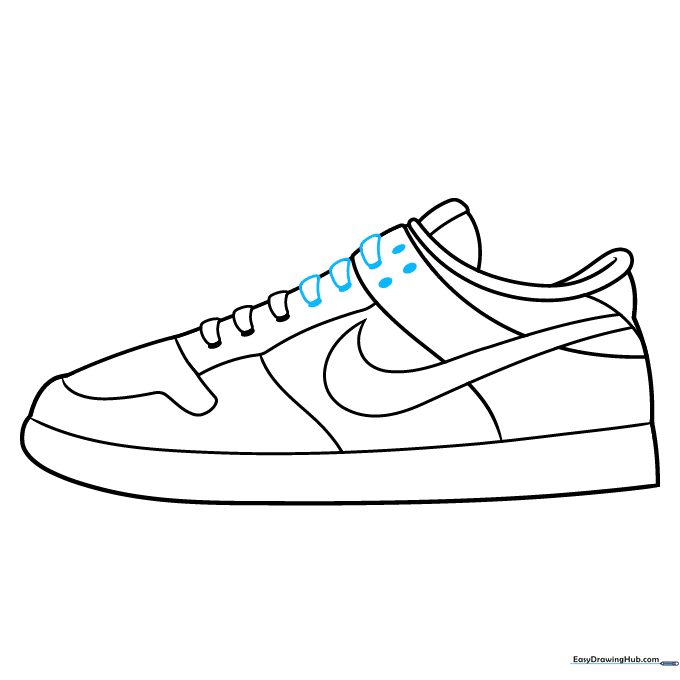
Add six more eyelets and continue the lace pattern. Tip: Vary the curves of the laces to make them look realistic and tied.
Step 8: Refining the Texture
Add curved lines to the sole and tongue to show texture. Tip: Use short, quick strokes to suggest the fabric or leather material.
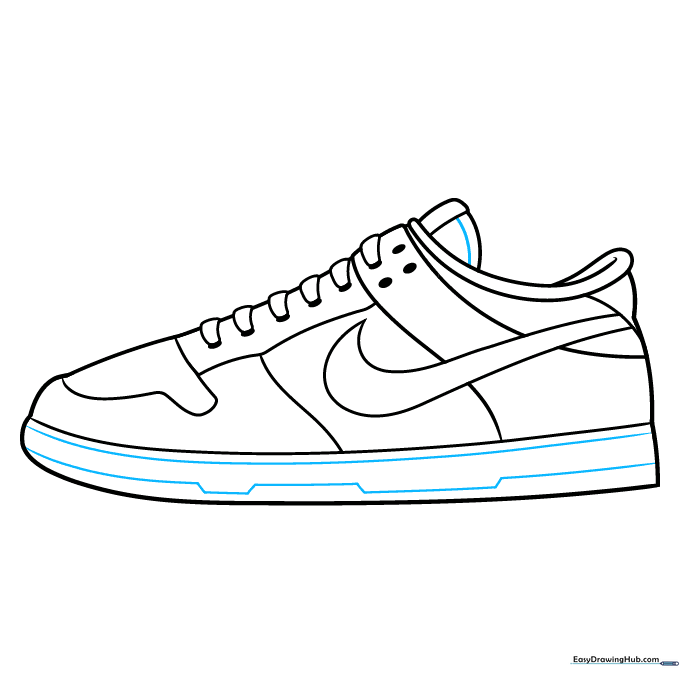
Step 9: Final Details
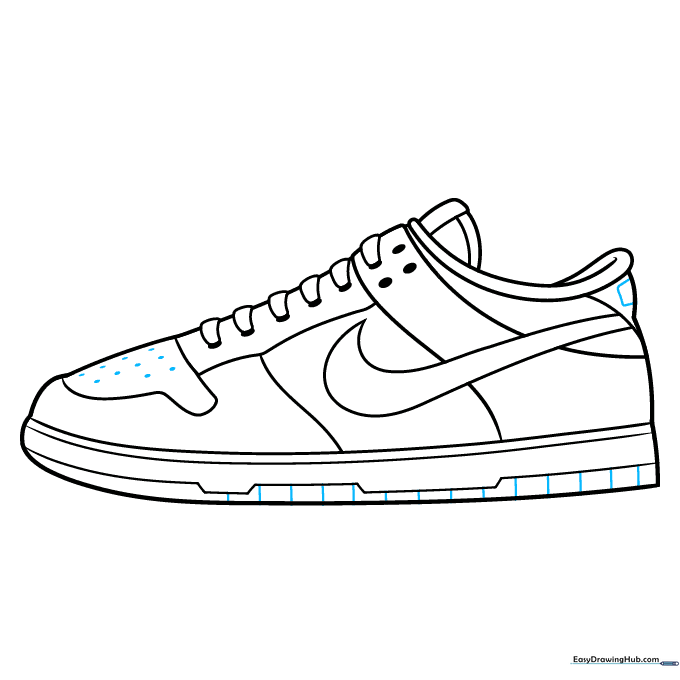
Add small dots to the toe box and vertical lines to the sole for a professional look. Tip: These small details make your drawing look like a real, high-quality sneaker.
Step 10: Bring It to Life with Color
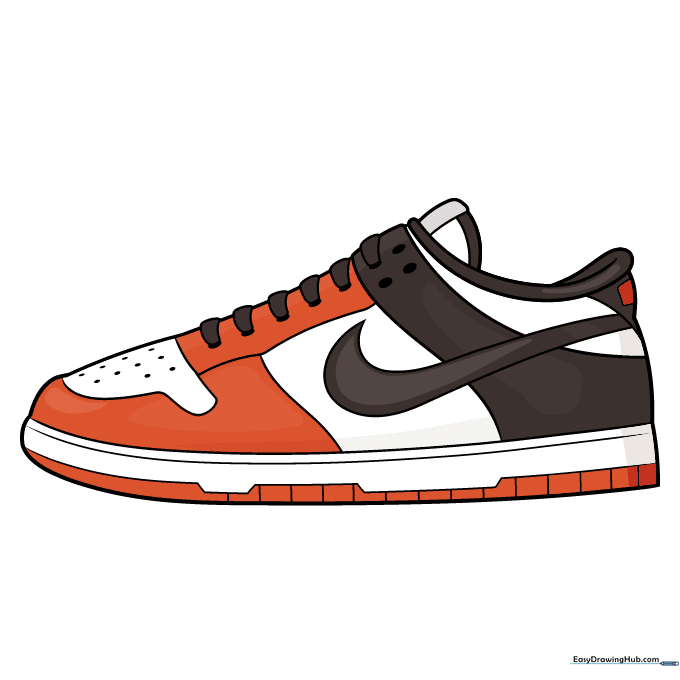
Time to color! Use bold markers or pencils to fill in your design. Tip: Think about color blocking—Dunks are famous for having different colors on the toe, heel, and Swoosh.
More Tutorials


