How to Draw a Necklace: Easy 10-Step Guide for Beginners
Looking for a fun, creative project? This necklace drawing tutorial is perfect for young artists ages 5 and up. All you need is a pencil, an eraser, and your favorite coloring tools to design a custom piece of jewelry.
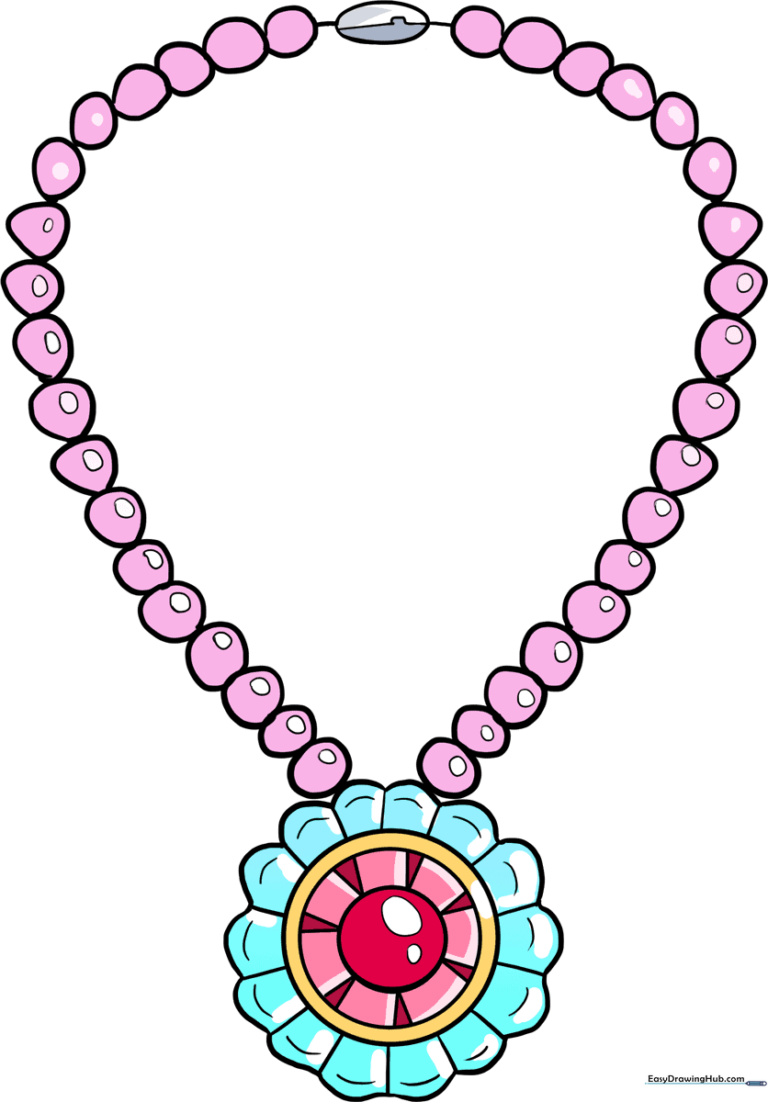
🎯 Final Result
Step-by-Step Instructions
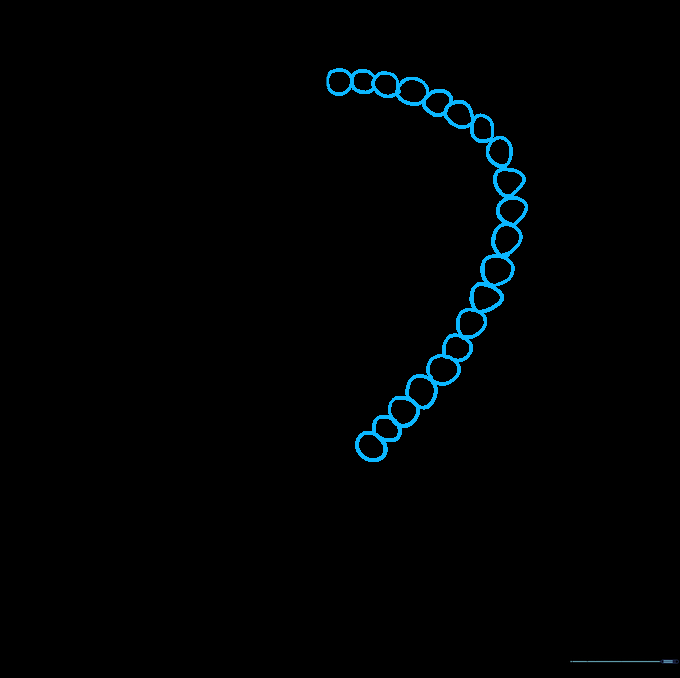
Step 1: Sketching the Beaded Chain

Start by drawing a series of small, connected, irregular circles to form the chain. Tip: Imagine you are drawing a soft 'C' shape; keep your pencil pressure light so you can easily adjust the curve later.
Step 2: Completing the Loop
Continue adding small, rounded shapes until the chain almost forms a complete circle. Tip: Don't worry about making the beads perfectly uniform; real pearls have slight variations that make them look authentic.
Step 3: Designing the Pendant
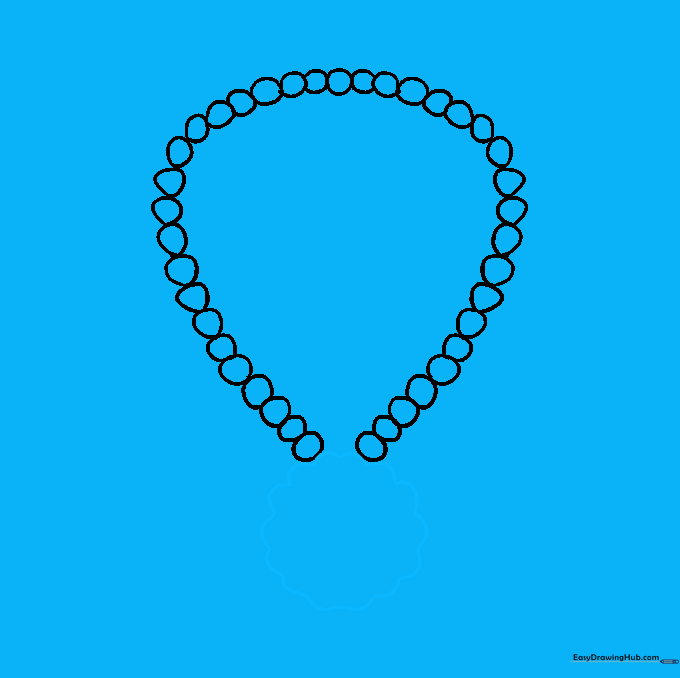
Connect the two ends of your chain with a decorative pendant. Use a wavy, scalloped line to create the outer edge. Tip: Use a steady hand to make the scallops look even and symmetrical.
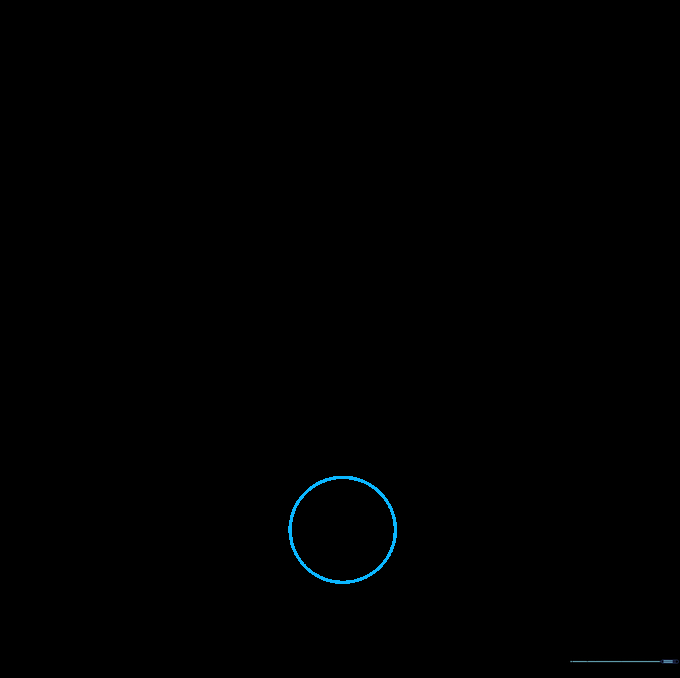
Step 4: Adding the Centerpiece
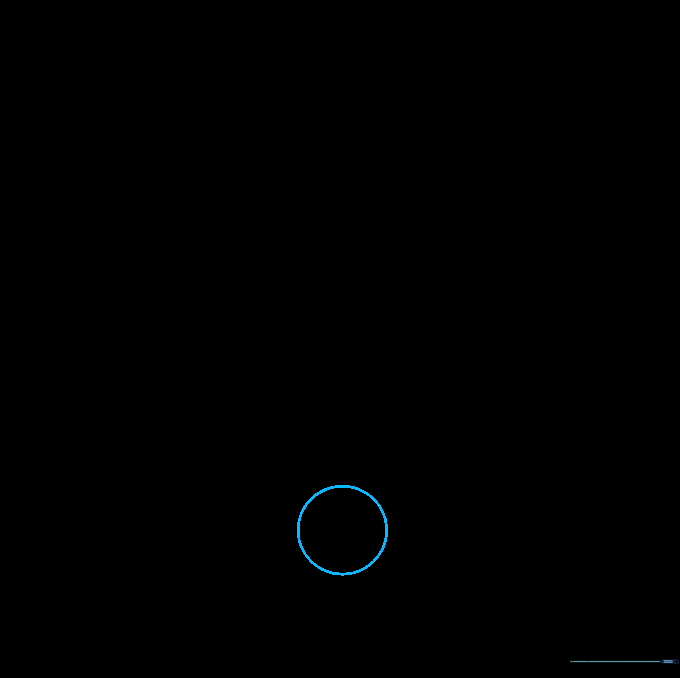
Draw a circle right in the middle of your pendant. Tip: If you have trouble drawing a perfect circle, trace the edge of a small coin.
Step 5: Layering the Gemstone
Draw a second, slightly larger circle around the first one. Tip: This creates a 'halo' effect, making your gemstone look more professional and layered.
Step 6: Defining the Texture
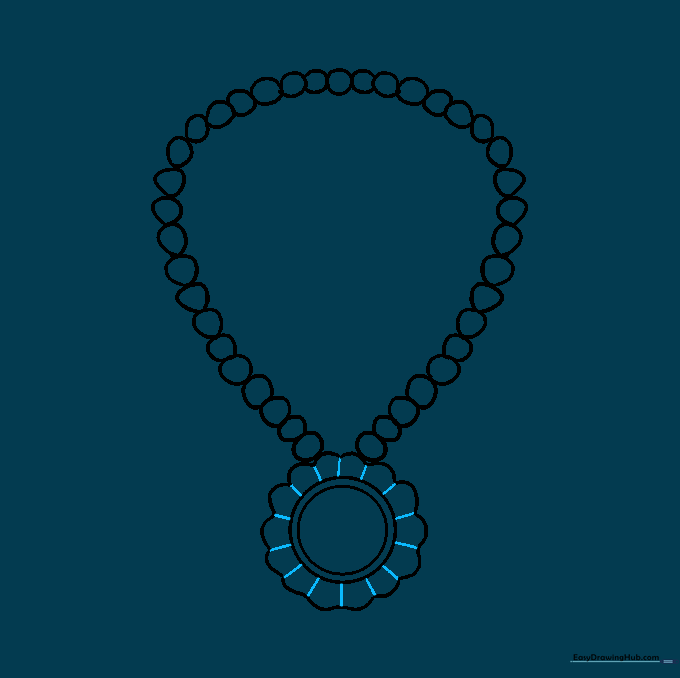
Draw short, straight lines from the outer circle to the valleys of the scalloped edges. Tip: These lines act as 'connectors' that give your pendant a realistic, metallic structure.
Step 7: Faceting the Gem
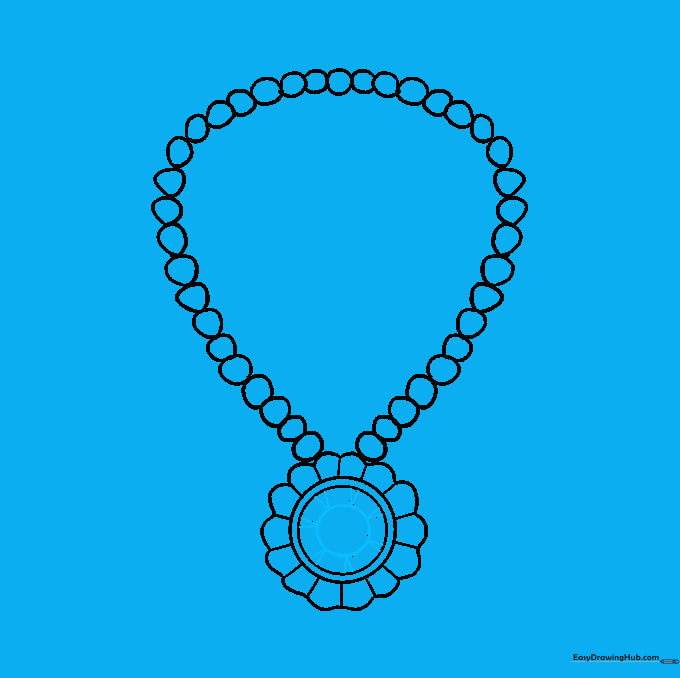
Draw a smaller circle in the very center and add lines connecting it to the next circle to form triangles. Tip: These triangles represent the 'facets' of a gem, which catch the light and make it sparkle.
Step 8: Adding Highlights
Draw tiny circles inside the beads and the gem to represent light reflections. Tip: Leave these small circles white when you color to make your necklace look shiny and polished.
Step 9: Drawing the Clasp

Erase a small section at the top of the chain and draw an oval to represent the clasp. Tip: This adds a realistic touch, showing how the necklace actually stays closed.
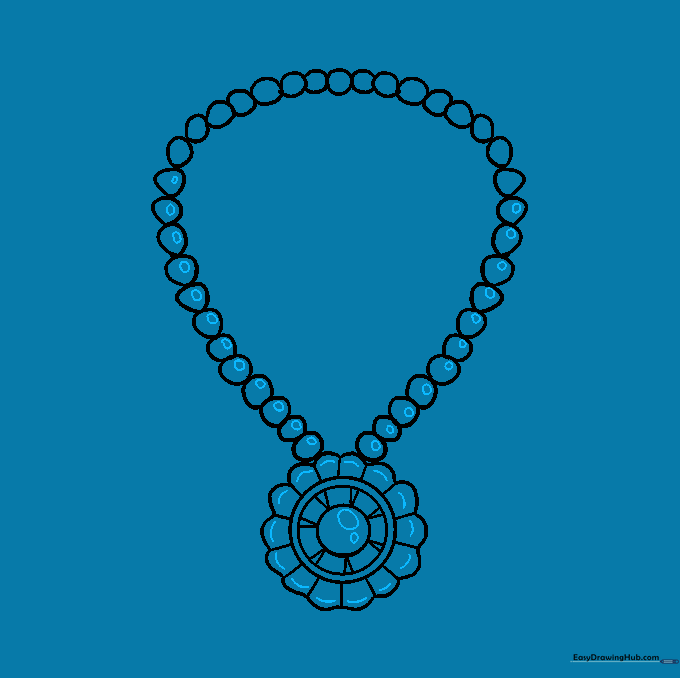
Step 10: Adding Color
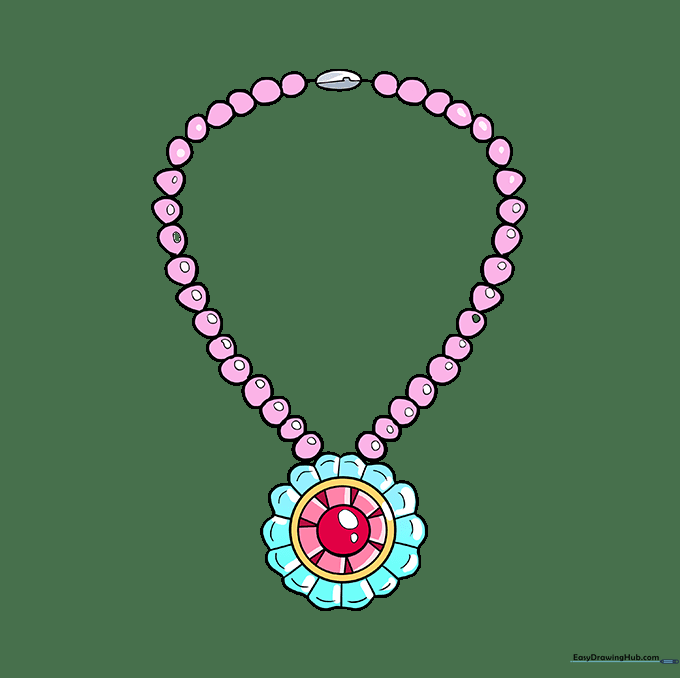
Bring your drawing to life with color! Use soft pinks for pearls or vibrant greens and blues for gemstones. Tip: Use a darker shade on one side of each bead to create a 3D shadow effect.
More Tutorials


