How to Draw a National Siblings Day Poster: Easy 10-Step Guide
Celebrate the bond between brothers and sisters with this fun, screen-free art project! Designed for ages 5 and up, this tutorial uses simple shapes to help young artists build confidence. All you need is a pencil, an eraser, and your favorite markers or crayons to bring your siblings to life.
🎯 Final Result

Step-by-Step Instructions
Step 1: Sketching the Sister's Face

Start by drawing the sister's face using soft, curved lines to outline her chin and ear. Add her hair using flowing, curved strokes. Teacher's Tip: Keep your pencil pressure light so you can easily erase any stray lines later!
Step 2: Adding Facial Expressions

Give your character personality by drawing arched eyebrows, closed eyes, and a wide, laughing mouth. Don't forget to add the tongue and teeth for a joyful look. Teacher's Tip: Use a 'C' shape for the neck to help the head sit naturally on the shoulders.
Step 3: Drawing the Sister's Outfit
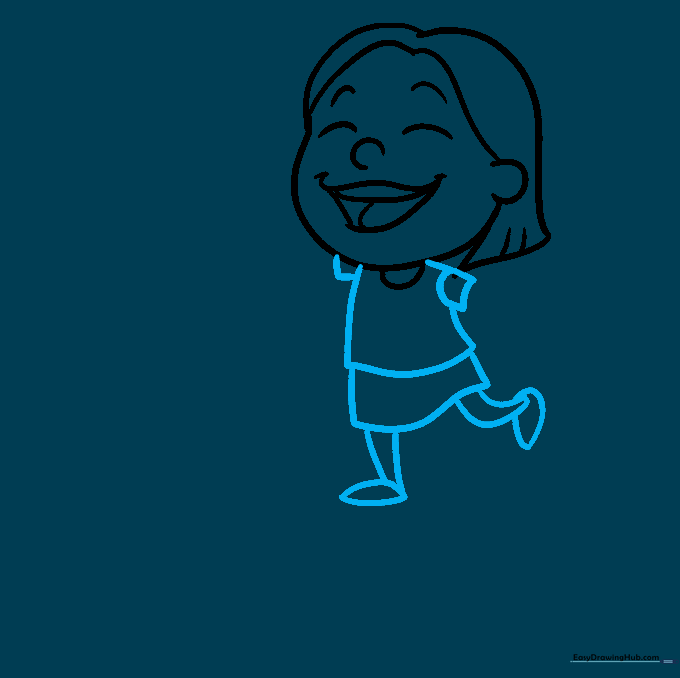
Draw the torso and sleeves using simple, irregular square shapes, then add a curved rectangle for the skirt. Finish the legs with two pairs of lines and teardrop-shaped shoes. Teacher's Tip: Keep the legs parallel to make the character look like she is standing firmly.
Step 4: Adding Arms and Hands
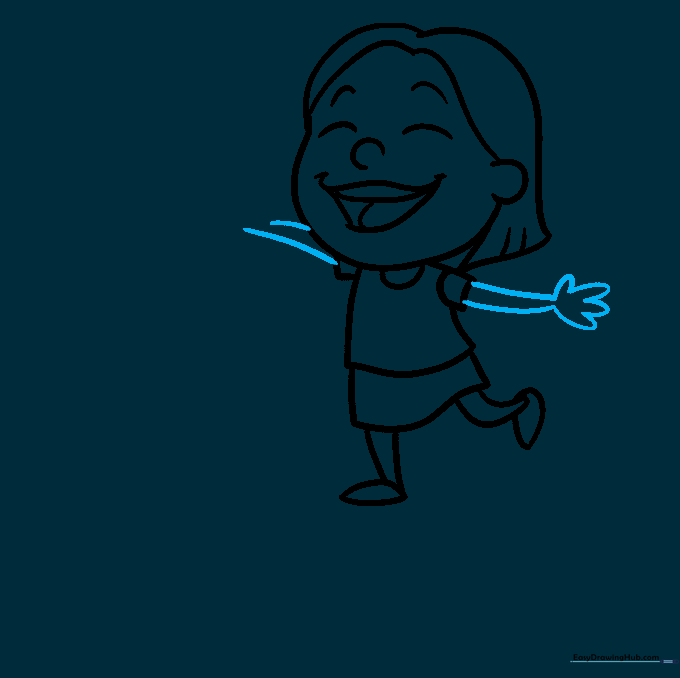
Extend curved lines from the torso to create arms. At the end of one arm, use small 'U' shapes to form the fingers. Teacher's Tip: If the fingers look tricky, start with a mitten shape first, then add the 'U' lines on top.
Step 5: Starting the Brother's Head
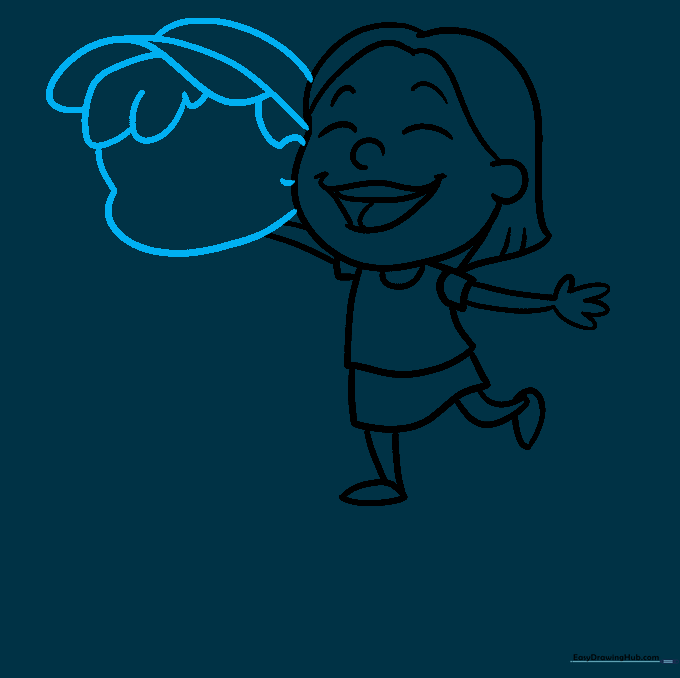
Now, let's draw the brother next to her. Use overlapping curved lines to outline his baseball cap, hair, and face. Teacher's Tip: Drawing the cap first helps anchor the rest of his head shape.
Step 6: Detailing the Brother's Face and Arms
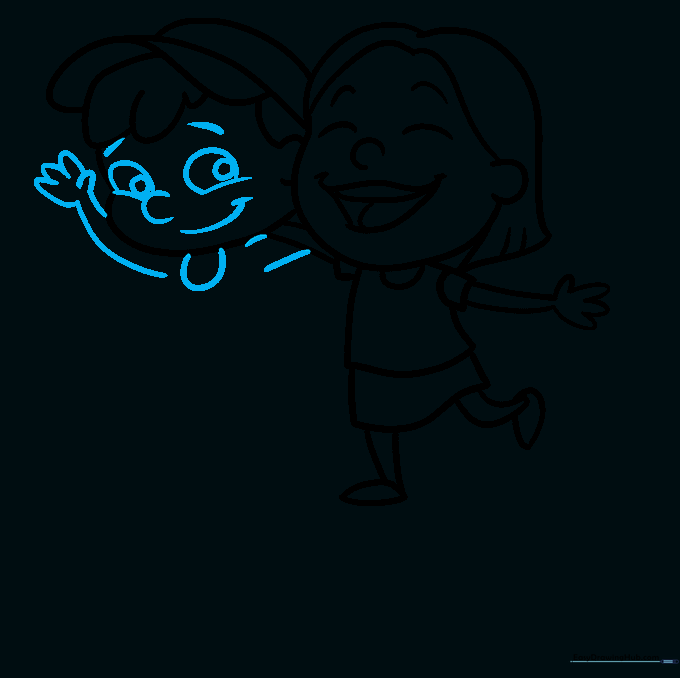
Add his eyes with small pupils, eyebrows, and a happy smile. Draw his arms extending from his body, ending with hands. Teacher's Tip: Make sure his eyes are roughly the same size as the sister's to keep the drawing balanced.
Step 7: Completing the Brother's Body

Draw his shirt, shorts, and legs using simple rectangular and curved lines. Finish with oval-shaped shoes. Teacher's Tip: Use a ruler if you struggle with the straight lines of the shirt, but freehand is great for a cartoon style!
Step 8: Adding the 'Happy' Text
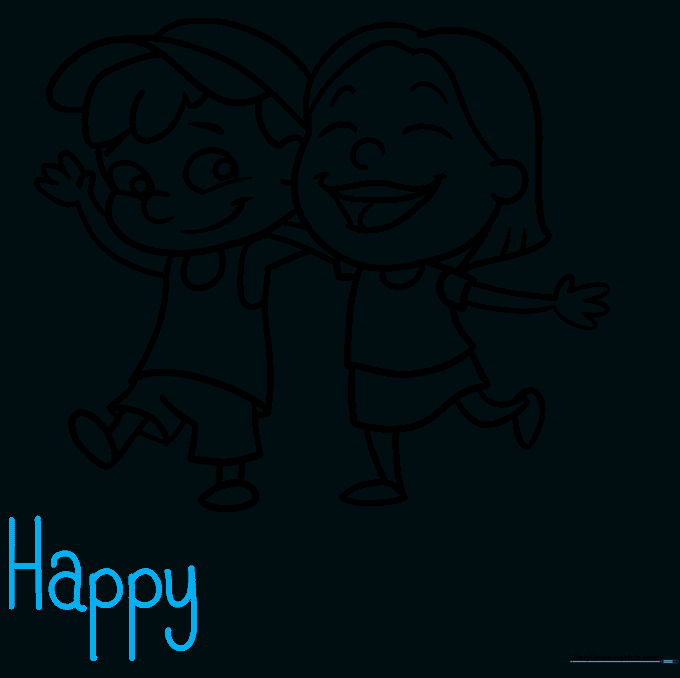
Now, let's turn this into a poster! Write the word 'Happy' in large, bold block letters above the characters. Teacher's Tip: Lightly draw horizontal guidelines with a ruler first to keep your text straight.
Step 9: Completing the Poster Message
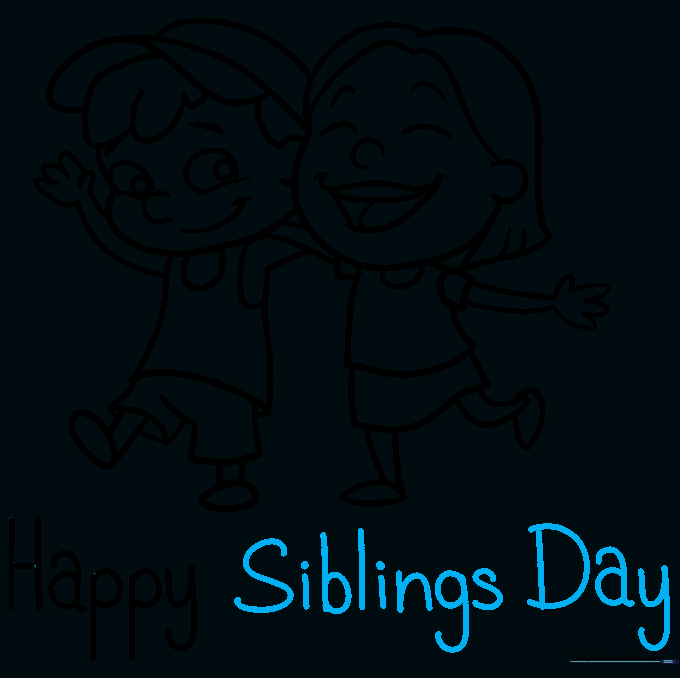
Finish your poster by writing 'Siblings Day' underneath 'Happy'. Teacher's Tip: Use a different color marker for the text to make it pop against the drawing!
Step 10: Adding Color

Bring your poster to life with bright colors! Use markers or colored pencils to fill in the characters and text. Teacher's Tip: Try using colors that represent your own family's favorite outfits.
More Tutorials


