How to Draw a Mushroom: Simple 10-Step Guide for Kids
Bring the magic of the forest to your sketchbook! This tutorial is perfect for artists ages 5 and up, requiring only a pencil, paper, and an eraser. Follow these simple steps to build confidence and master basic organic shapes.
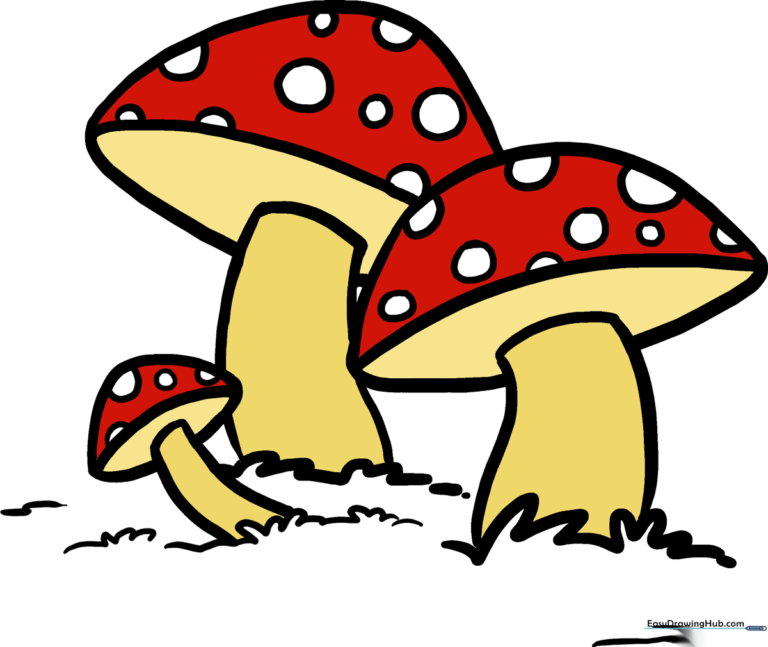
🎯 Final Result
Step-by-Step Instructions
Step 1: Sketching the Mushroom Cap

Draw a wide, gentle curve like a rainbow, then close it with a flat line at the bottom. Teacher's Tip: Keep your pencil pressure light so you can easily adjust the shape if it looks a bit lopsided.
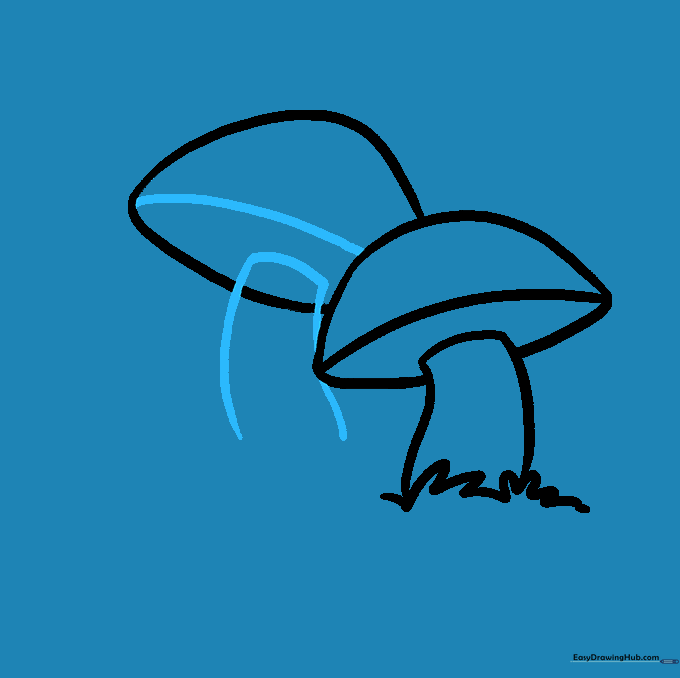
Step 2: Adding the Gills and Stem
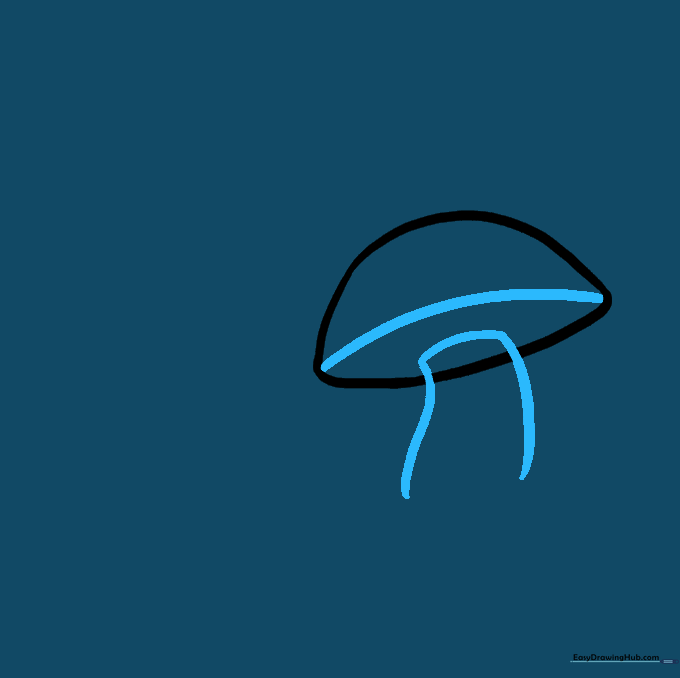
Draw a horizontal line inside the cap to define the gills, then drop two parallel lines down to create the stem. Teacher's Tip: Make the stem slightly narrower at the top than the bottom for a more realistic look.
Step 3: Creating the Forest Floor
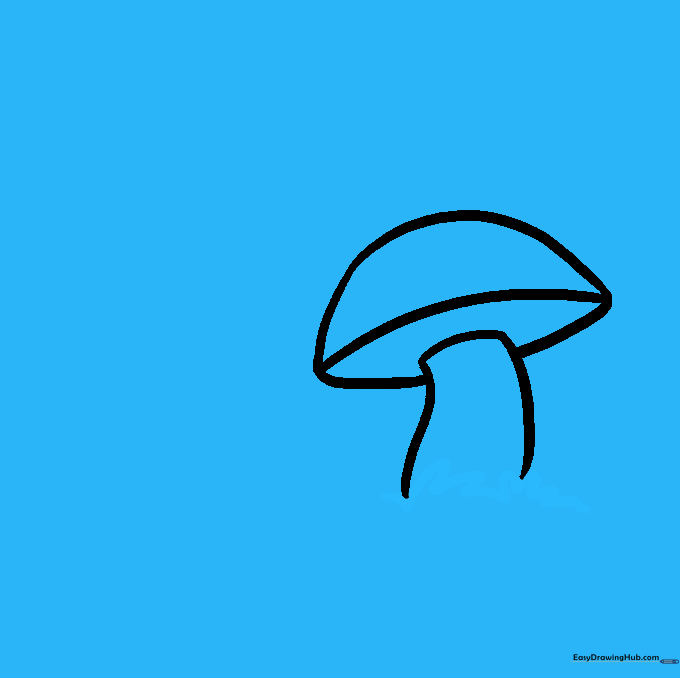
Add small, jagged 'V' shapes at the base to represent grass. Teacher's Tip: Vary the height of your grass blades to make the ground look natural and uneven.
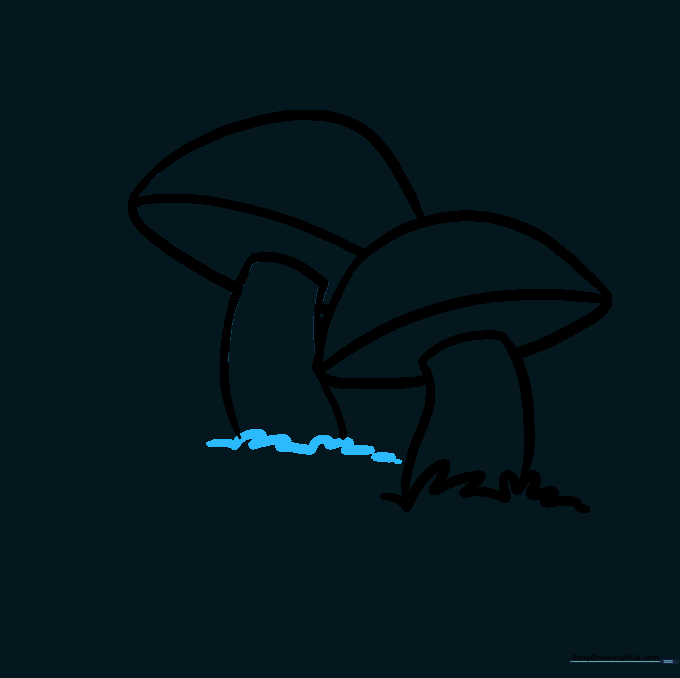
Step 4: Drawing the Second Mushroom Cap
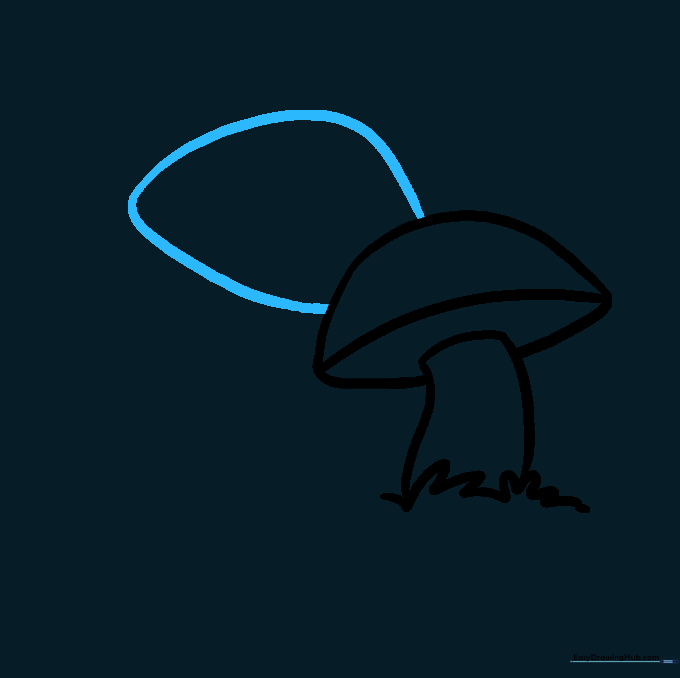
Sketch a second, slightly smaller cap overlapping the first. Teacher's Tip: Overlapping shapes is a great way to create depth in your drawing.
Step 5: Defining the Second Stem
Add the stem for your second mushroom using the same technique as before. Teacher's Tip: Ensure the stem looks like it is emerging from behind the grass.
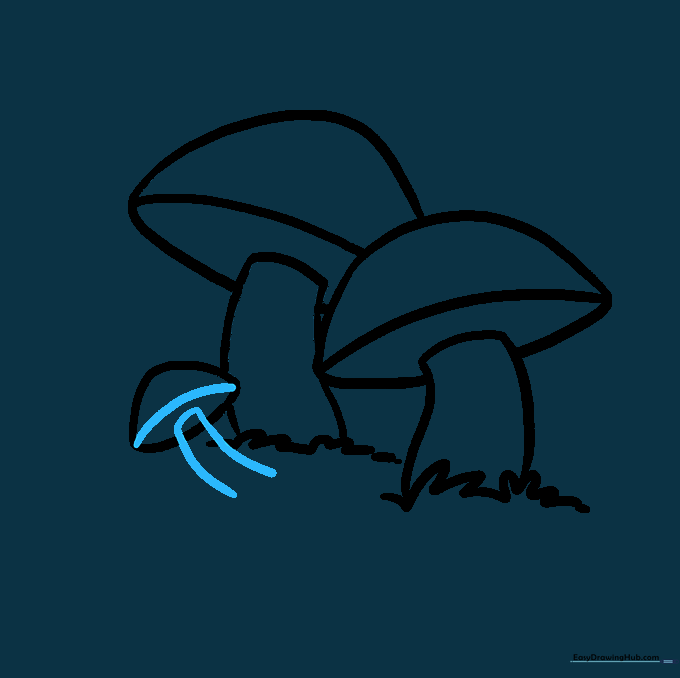
Step 6: Adding More Grass
Draw more grass blades around the second mushroom. Teacher's Tip: Try drawing some blades at an angle to make the scene look wind-blown.
Step 7: The Smallest Mushroom
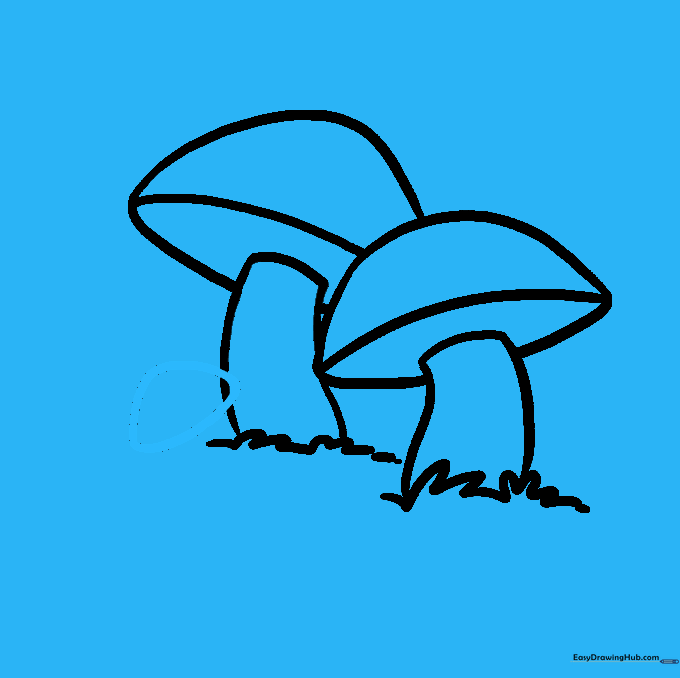
Draw a tiny, rounded cap for a baby mushroom. Teacher's Tip: Small details like this make your drawing look like a real forest scene.
Step 8: Completing the Third Mushroom
Add the stem to your tiny mushroom. Teacher's Tip: Don't worry if it's not perfect; mushrooms in nature come in all sorts of wonky shapes!
Step 9: Adding Texture and Spots
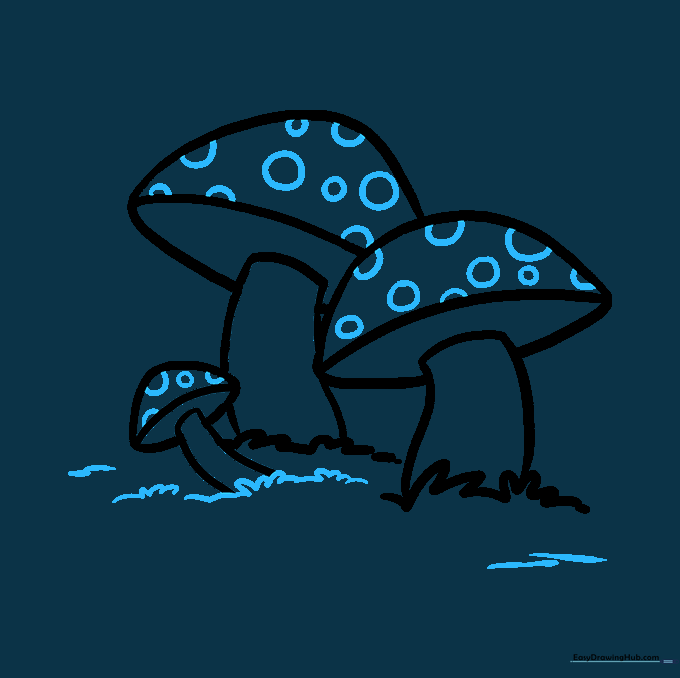
Draw small circles on the caps for spots and add a few extra grass blades. Teacher's Tip: Vary the size of the circles to make the mushroom look more organic.
Step 10: Bringing it to Life with Color
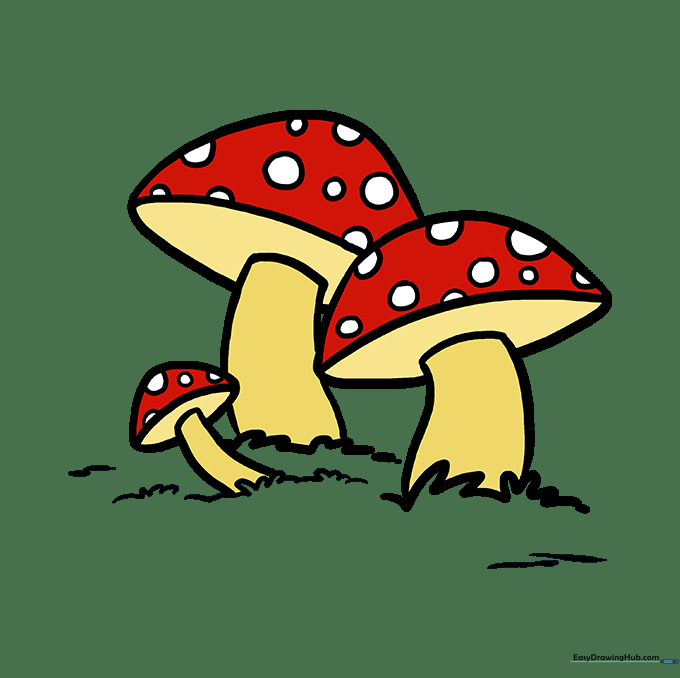
Color your mushrooms! Use bright reds for a classic look, or earthy browns and tans. Teacher's Tip: Remember, bright colors in nature often warn animals that a mushroom might be poisonous—a fun fact to share while you color!
More Tutorials


