How to Draw a Museum: Easy Step-by-Step Guide for Kids
Bring history to life with this fun, screen-free drawing activity perfect for ages 6 and up. You will only need a pencil, an eraser, and a piece of paper to construct your own grand building. Follow these steps to master architectural shapes and symmetry while creating a masterpiece worthy of a gallery wall.
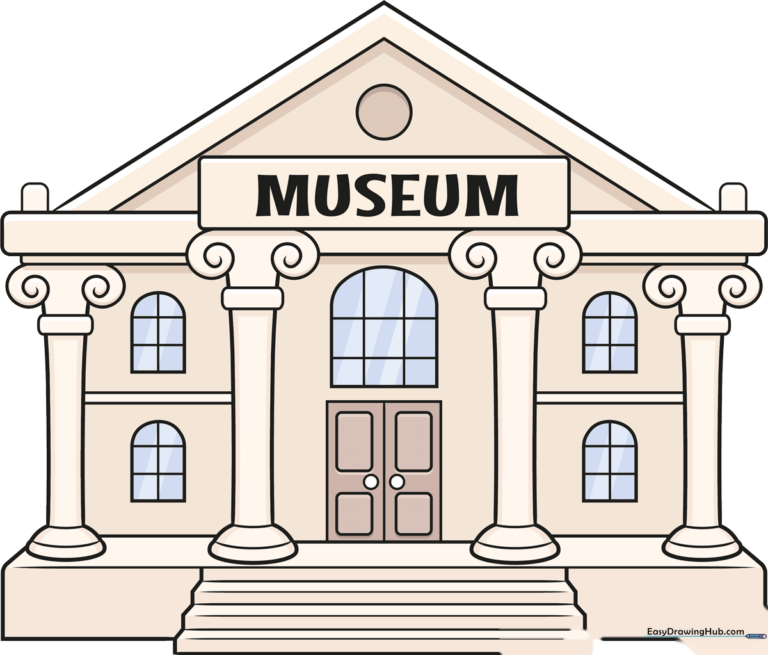
🎯 Final Result
Step-by-Step Instructions
Step 1: Sketching the Foundation

Start by drawing a long horizontal line for the base. Add two zigzag lines from the center to create the steps. Teacher's Tip: Keep your ruler handy if you want perfectly straight lines, or embrace the 'sketchy' look for a more organic feel.
Step 2: Defining the Stairs and Columns
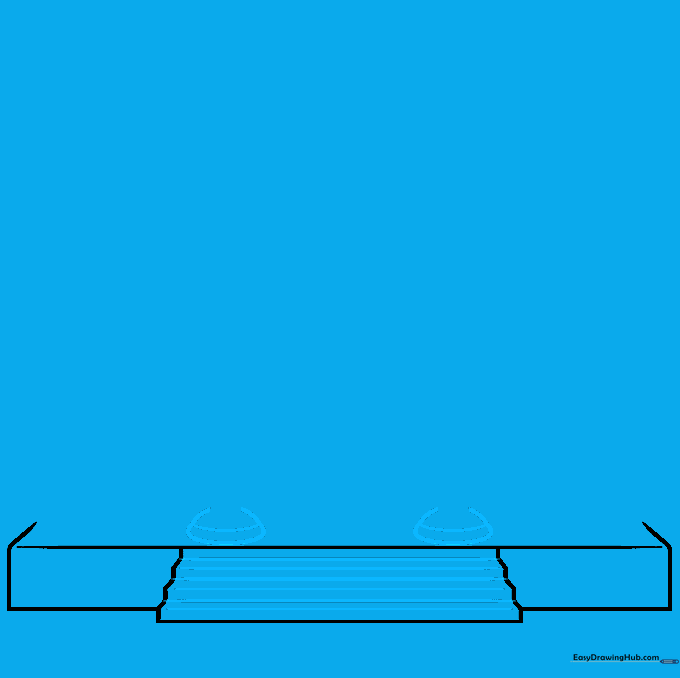
Add horizontal lines across your zigzag to define the individual steps. Then, draw small semicircles where the columns will stand. Tip: Make sure your semicircles are evenly spaced to keep the building looking balanced.
Step 3: Building the Columns
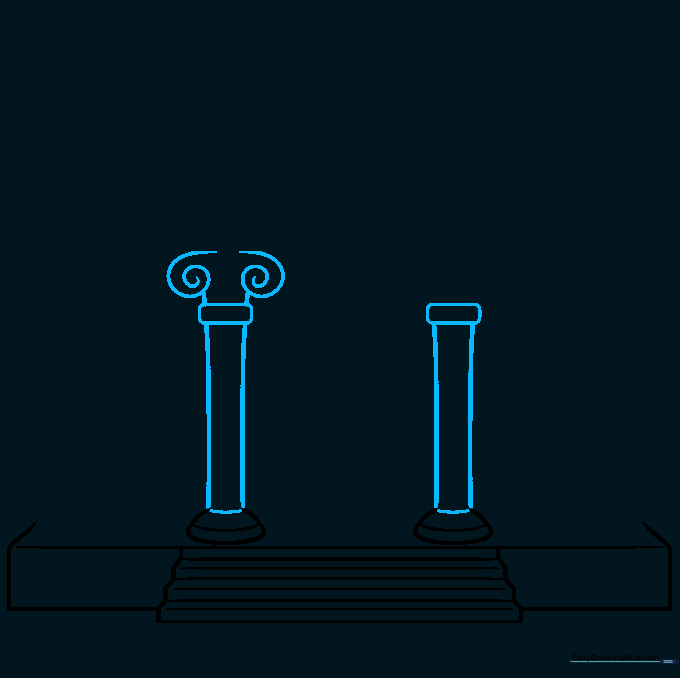
Extend two vertical lines upward from each base to form the columns. Top them with small rectangles. Tip: Use a light touch; these columns are the 'bones' of your building.
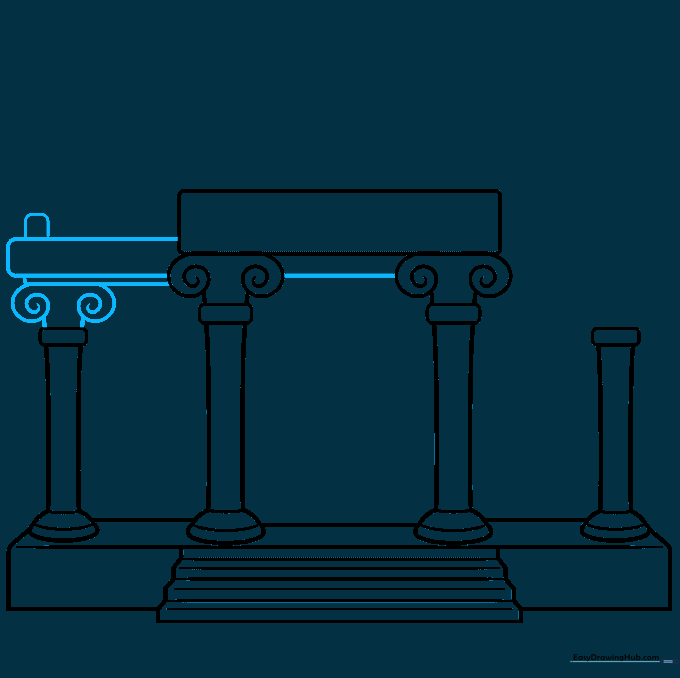
Step 4: Adding Architectural Detail

Complete the second column and add a large rectangle spanning the top. Tip: If your lines aren't perfectly straight, don't worry—museums have lots of character!
Step 5: Completing the Porch

Add the remaining columns and connect the bases with straight lines. This creates the 'porch' area of your museum. Tip: Check that your columns are all the same height.
Step 6: Adding Decorative Filigree
Draw small spirals at the top of your columns. This adds a fancy, classical look. Tip: Practice your spirals on a scrap piece of paper first to get the flow right.
Step 7: Refining the Roofline
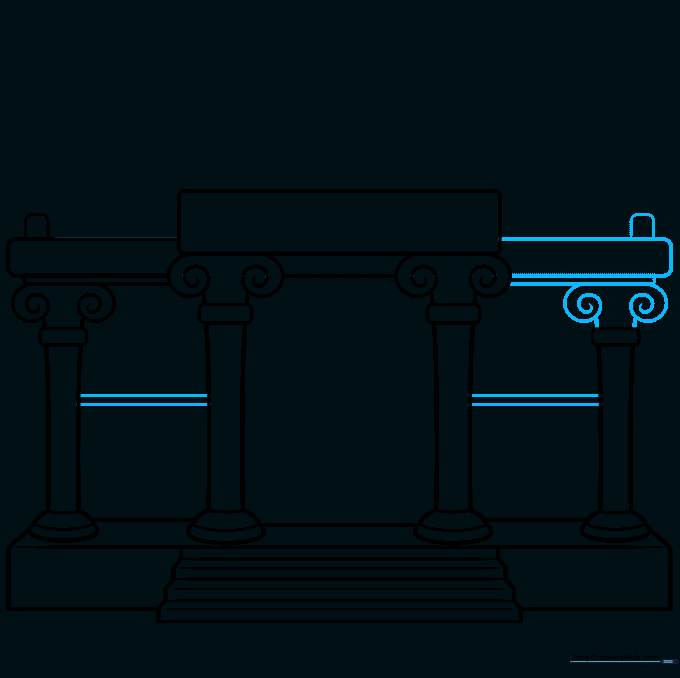
Add the final decorative elements and horizontal lines between the columns. Tip: Use a steady hand to keep these lines parallel.
Step 8: Doors and Windows
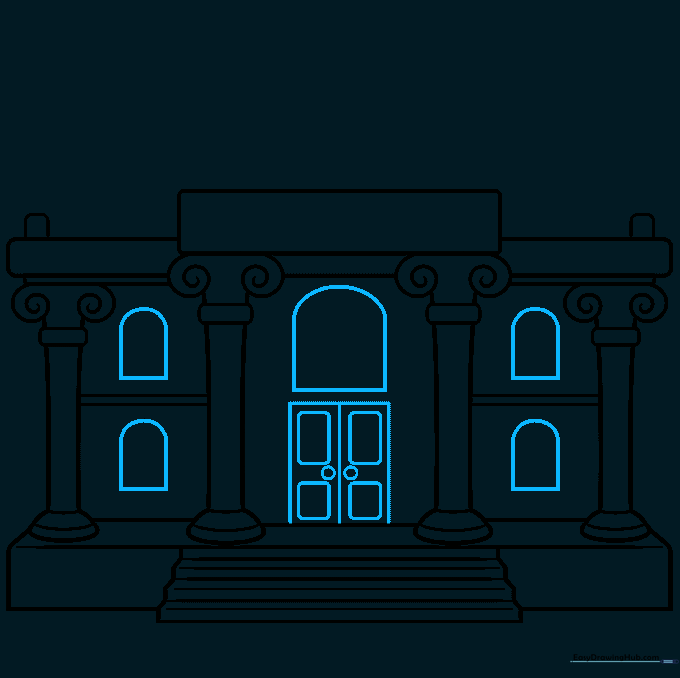
Draw the main entrance doors and arched windows. Tip: For the windows, draw the rectangle first, then add the curve on top to get the perfect arch shape.
Step 9: Final Touches
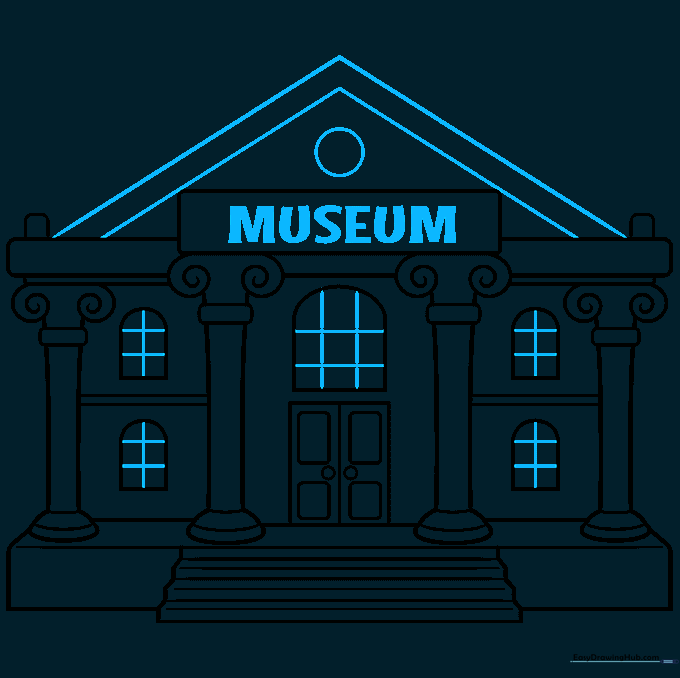
Add the triangular roof detail and the word 'MUSEUM' above the door. Tip: Use a ruler for the lettering to make it look professional.
Step 10: Bring It to Life with Color
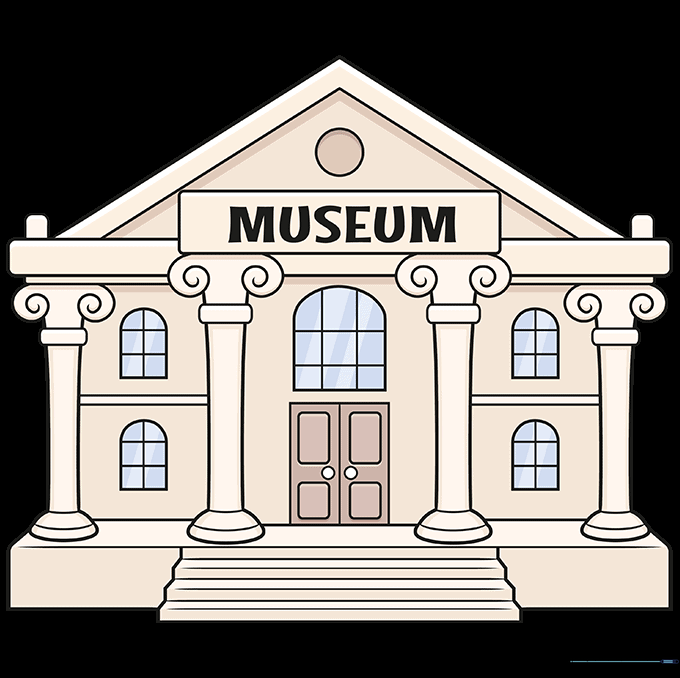
Time to color! Use shades of cream or grey for stone, or warm browns for brick. Tip: Use a darker shade to add shadows under the roof for a 3D effect.
More Tutorials


