How to Draw a Mouth Anatomy Diagram: Easy Science Art Lesson
Perfect for students and young artists, this lesson combines biology with art to help you visualize the human mouth. All you need is a pencil, paper, and an eraser to get started. By the end of this activity, you will have a labeled, accurate diagram of the oral cavity.
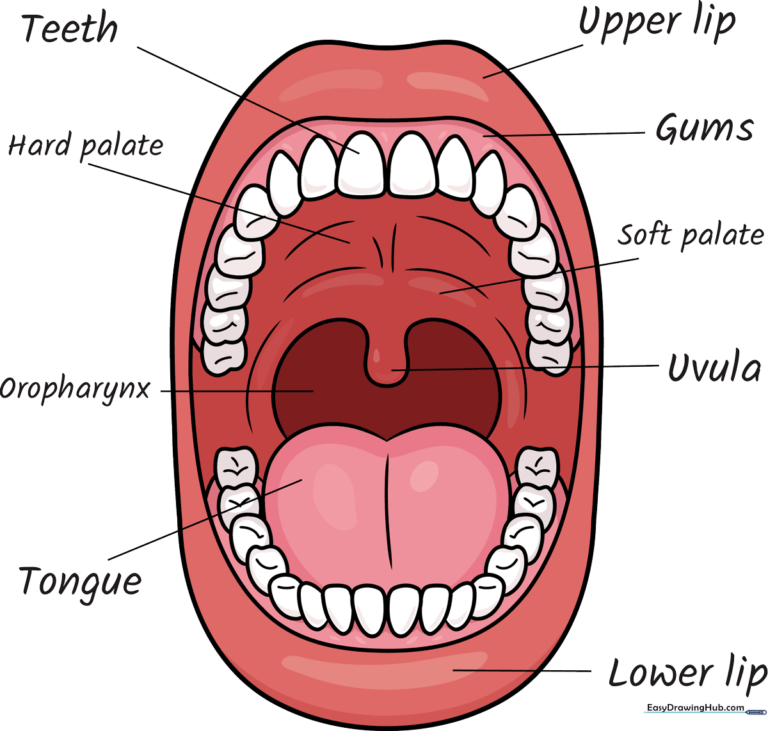
🎯 Final Result
Step-by-Step Instructions
Step 1: Sketching the Outer Lips
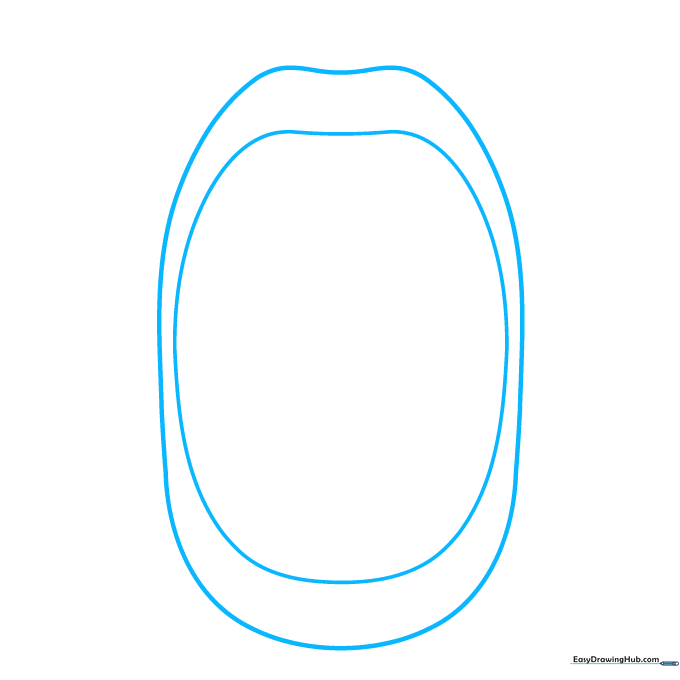
Start by drawing a large, irregular rounded shape to represent the open mouth. Then, draw a larger shape around it to form the lips. Teacher's Tip: Keep your pencil lines light and loose so you can easily adjust the shape if needed.
Step 2: Placing the Top Teeth
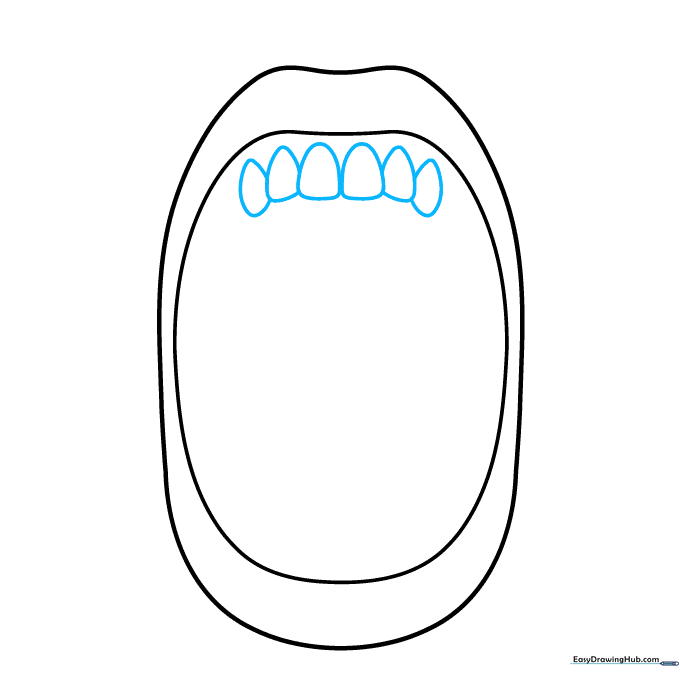
Draw a series of flattened teardrop shapes along the top inner edge of the mouth. These represent your upper teeth. Teacher's Tip: Don't worry about making them perfect; teeth have natural, slight variations in shape.
Step 3: Filling the Dental Arch
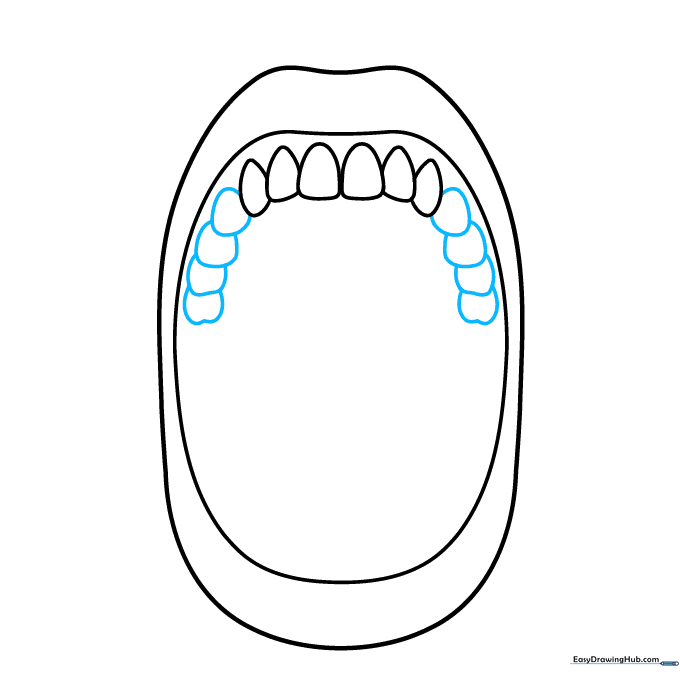
Continue adding overlapping rounded shapes to complete the row of teeth. Teacher's Tip: Overlapping your lines helps create depth, making the teeth look like they are sitting side-by-side in the jaw.
Step 4: Drawing the Lower Teeth
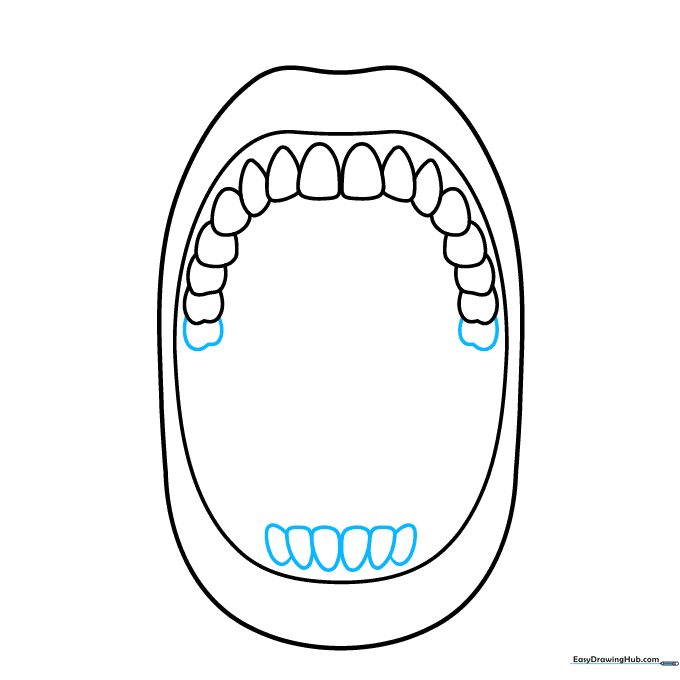
Draw irregular oval shapes at the bottom of the mouth for the lower teeth, and add a larger molar shape on each side of the top row. Teacher's Tip: Molars are wider and flatter than front teeth, so draw these shapes slightly broader.
Step 5: Completing the Lower Dental Row
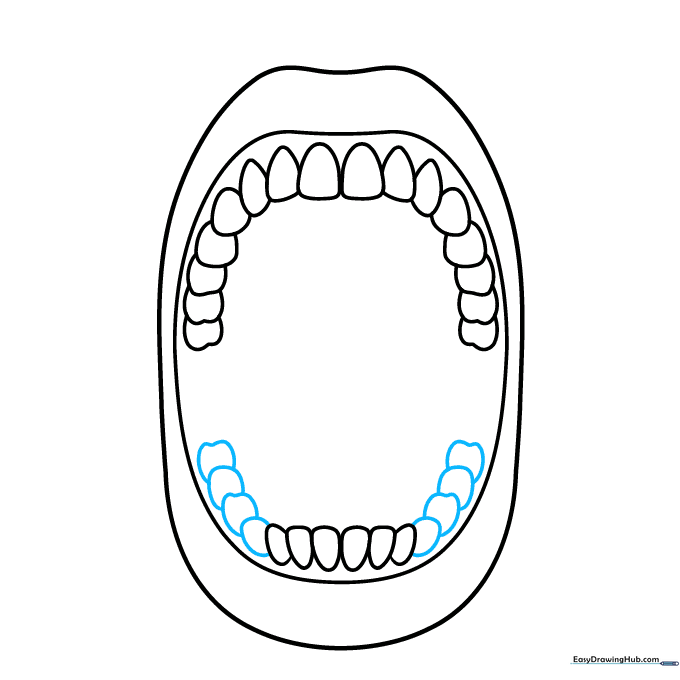
Continue enclosing the overlapping shapes for the bottom teeth. Teacher's Tip: Ensure these shapes touch the bottom lip line to show they are anchored in the jaw.
Step 6: Adding the Tongue and Gums
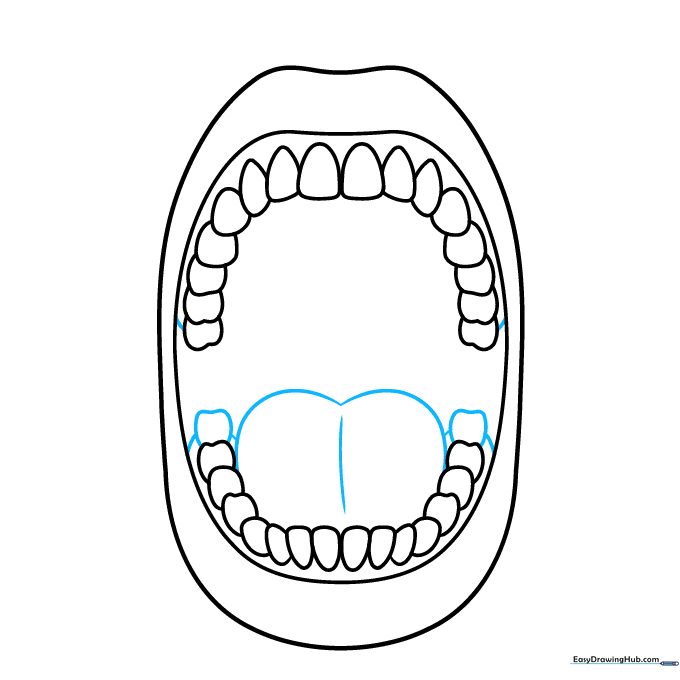
Draw a heart-like shape for the tongue and add short lines near the teeth to represent the gums. Teacher's Tip: A curved line down the center of the tongue adds a realistic contour.
Step 7: Sketching the Throat and Palate
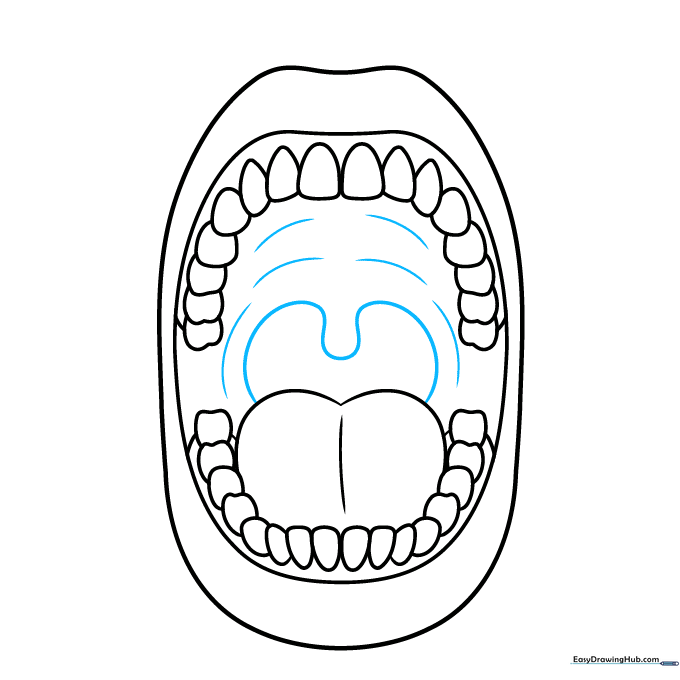
Draw a long curved line to show the throat and uvula. Add curved lines to the roof of the mouth to represent the soft palate. Teacher's Tip: The uvula is the small, teardrop-shaped piece hanging at the back of the throat.
Step 8: Adding Detail and Labels

Add curved lines to the teeth for texture. Now, draw straight lines from the parts of the mouth to the edges of your paper to prepare for labeling. Teacher's Tip: Use a ruler for your label lines to keep the diagram looking clean and professional.
Step 9: Finalizing the Labels
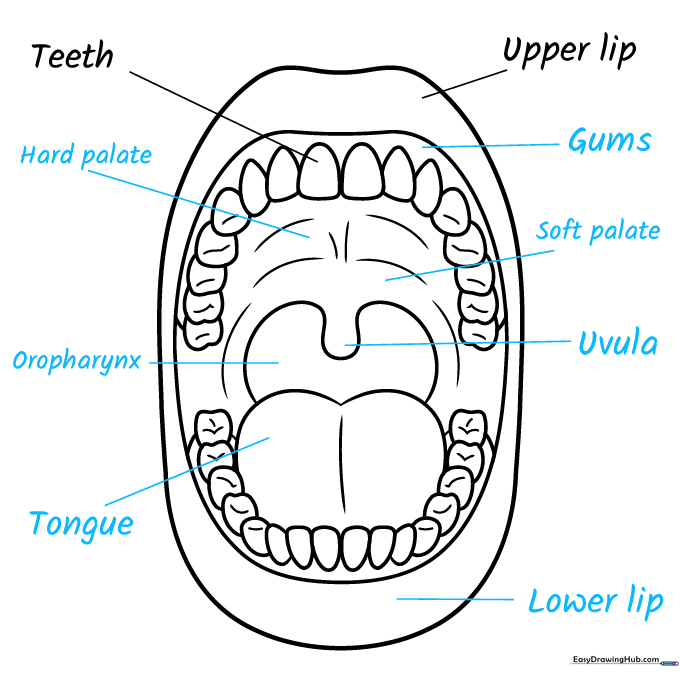
Write the names of the parts: gums, soft palate, uvula, lower lip, tongue, oropharynx, and hard palate. Teacher's Tip: Check your spelling carefully—this is a great way to reinforce science vocabulary!
Step 10: Adding Color
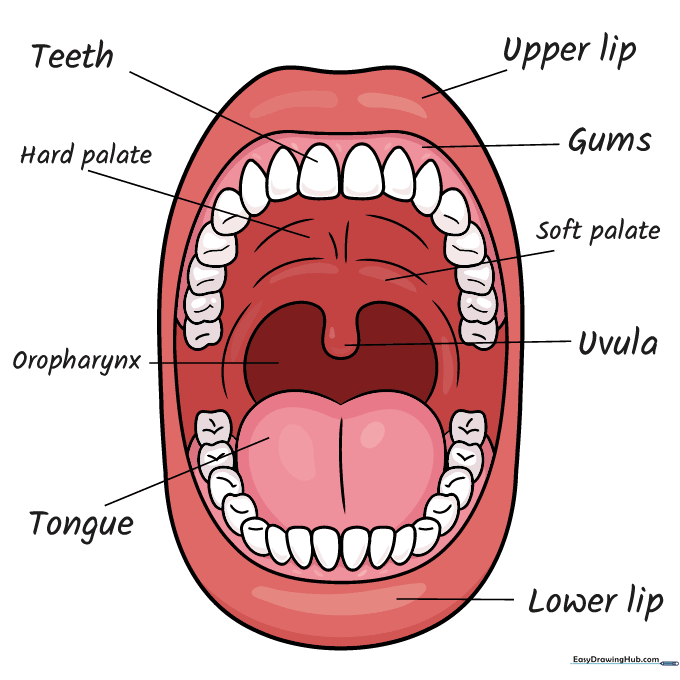
Bring your diagram to life with color. Use soft pinks for the gums, tongue, and palate, and keep the teeth white or off-white. Teacher's Tip: Use light pressure with your colored pencils to create a soft, natural look.
More Tutorials


