How to Draw a Mouse: Easy 9-Step Guide for Kids
This friendly mouse tutorial is perfect for budding artists ages 5 and up. All you need is a pencil, an eraser, and a piece of paper to bring this little character to life. Follow along to build confidence in your sketching skills while creating a charming animal friend.
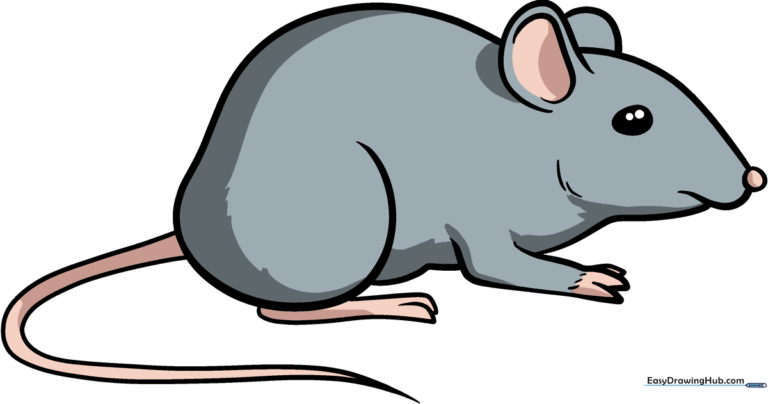
🎯 Final Result
Step-by-Step Instructions
Step 1: Sketching the Face
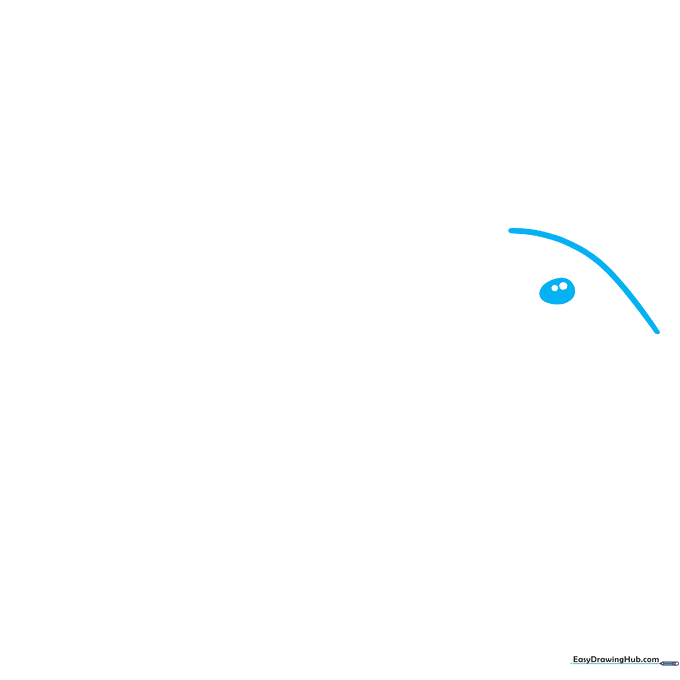
Start by drawing a gentle curved line for the snout. Add an oval with two smaller circles inside for the eye, shading the space between them. Teacher's Tip: Keep your pencil pressure light so you can easily erase any stray marks later.
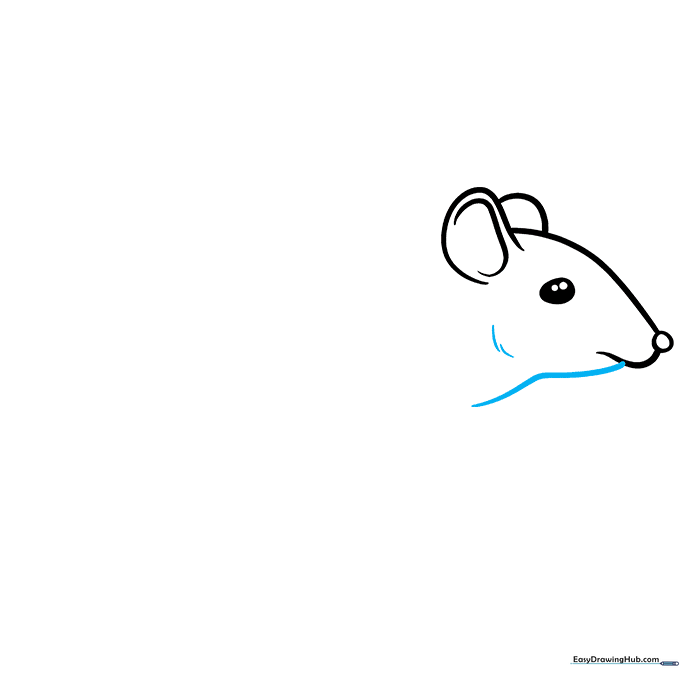
Step 2: Adding the Ear and Nose
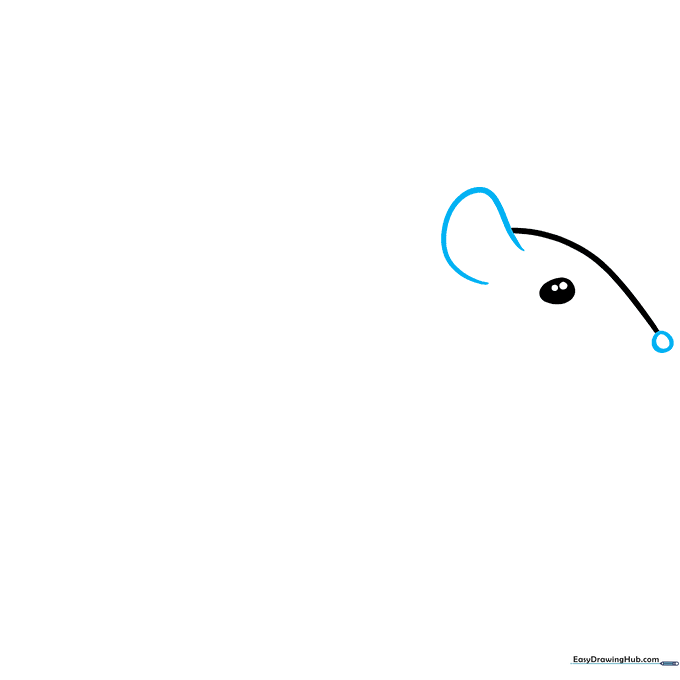
Draw a large 'C' shaped line for the ear, letting it overlap slightly with the face. Add a small circle for the nose. Teacher's Tip: Don't worry if the ear isn't perfectly round; mouse ears are naturally a bit floppy!
Step 3: Defining the Ear and Mouth
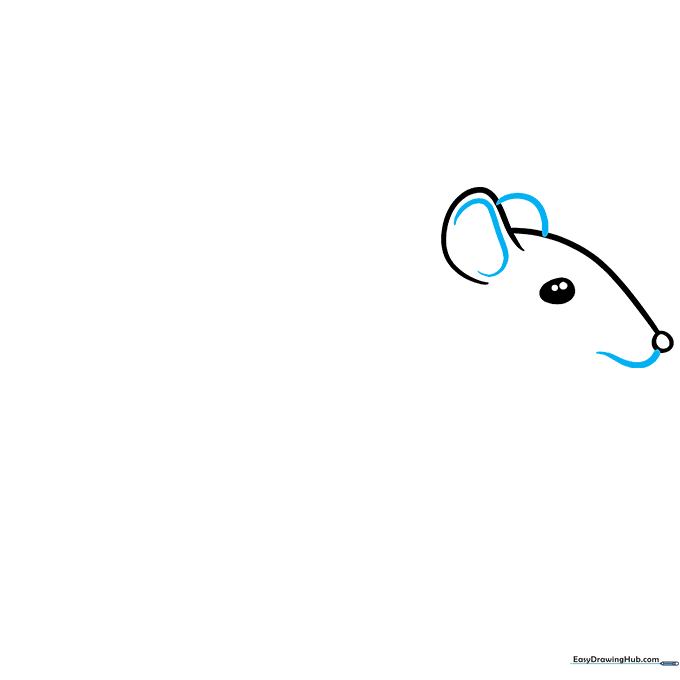
Add curved lines inside the ear to give it depth, and draw a small curved line beneath the nose for the mouth. Teacher's Tip: Use a light touch for the mouth to keep the mouse looking sweet and friendly.
Step 4: Shaping the Neck and Jaw
Extend a curved line from the mouth to form the neck, and contour the jawline. Teacher's Tip: Think of this as the 'chin' area; keep the curve smooth to help the head transition into the body.
Step 5: Sketching the Front Leg

Draw the front leg and paw using curved lines, adding tiny strokes at the top of the paw to suggest fur. Teacher's Tip: Small, quick pencil strokes create a great 'fuzzy' texture.
Step 6: Drawing the Back
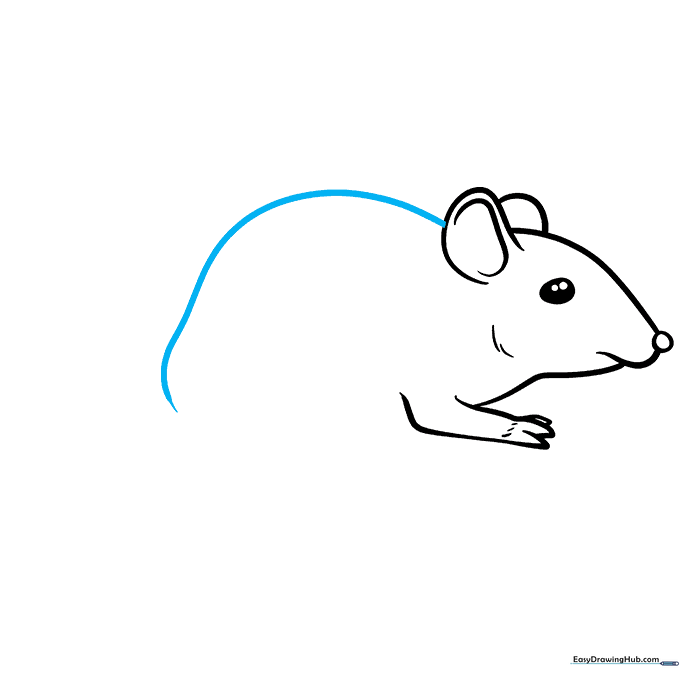
Extend a long, graceful curved line from the base of the ear to form the mouse's back. Teacher's Tip: Try to draw this in one fluid motion to keep the line looking natural.
Step 7: Creating the Hip and Belly
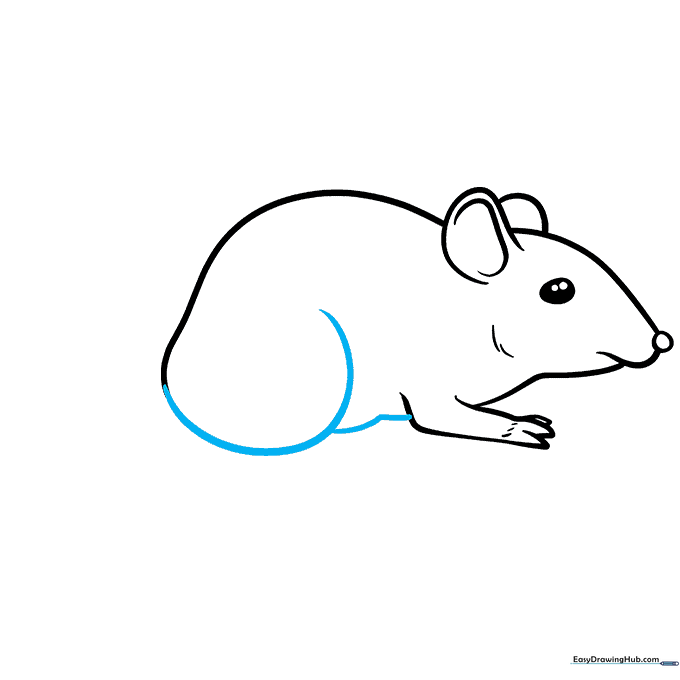
Continue the back line into a spiral for the hip, then connect it to the front leg to complete the belly. Teacher's Tip: This 'spiral' technique is a classic way to show a sitting posture.
Step 8: Adding the Rear Paw
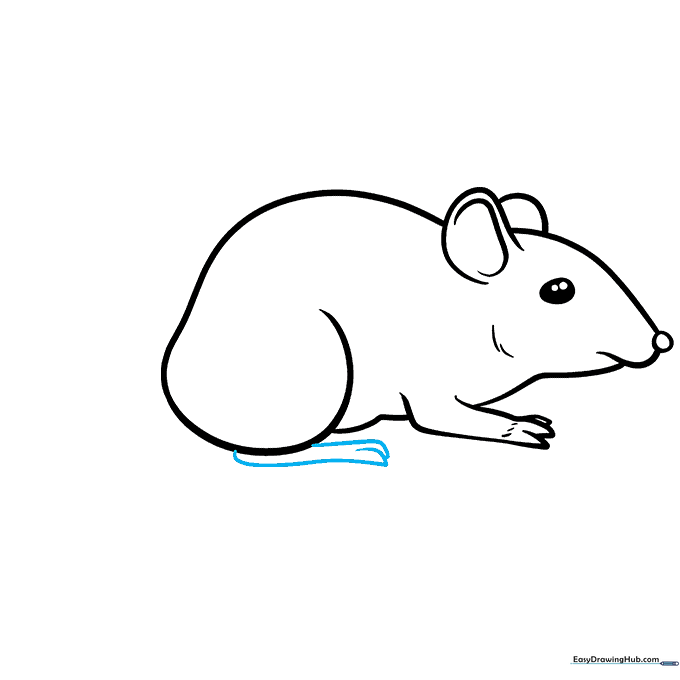
Use overlapping curved lines to sketch the rear paw tucked under the body. Teacher's Tip: Overlapping lines are the secret to making your drawing look 3D rather than flat.
Step 9: Drawing the Tail
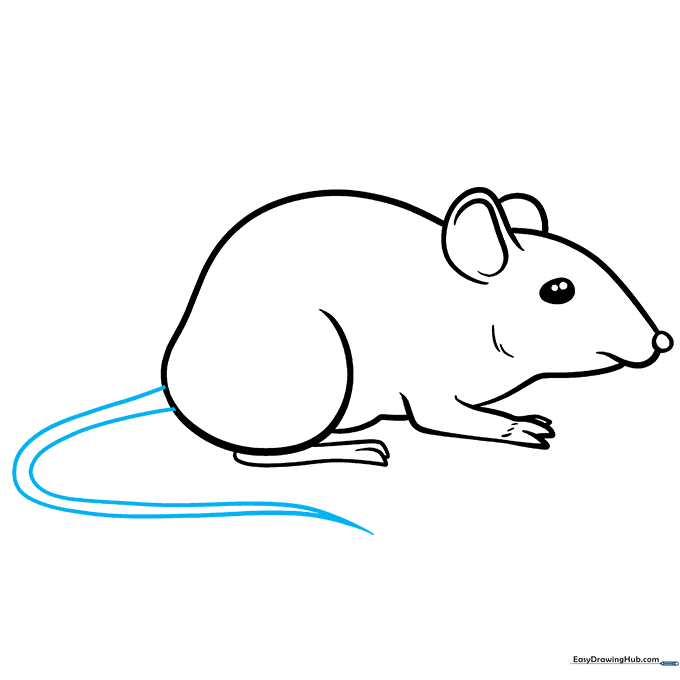
Draw two parallel curved lines extending from the back, tapering to a sharp point for the tail. Teacher's Tip: A long, slightly wiggly tail adds character and movement to your mouse.
Step 10: Adding Color

Bring your mouse to life with color! Try soft grays or browns for a wild mouse, or keep it classic white with pink accents for the ears and nose. Teacher's Tip: Use light, circular motions with your colored pencils for an even, smooth finish.
More Tutorials


