How to Draw a Mother’s Day Flower: Easy 10-Step Guide
Looking for the perfect screen-free activity for Mother's Day? This beginner-friendly tutorial helps children ages 5+ draw a beautiful, personalized flower card. All you need is a pencil, an eraser, and some colored pencils to create a gift that shows how much you care.
🎯 Final Result

Step-by-Step Instructions
Step 1: Sketching the Stem

Draw two long, slightly curved lines close together to form the stem. Teacher's Tip: Keep your pencil pressure light so you can easily adjust the curve if it looks a bit wobbly!
Step 2: Adding the Sepals

Draw small, leaf-like shapes at the top of the stem. These are the sepals that cradle the bloom. Make sure the points are sharp to give your flower a realistic look.
Step 3: Forming the Petals

Extend long, graceful curves upward from the sepals to create the main petals. Tip: Imagine you are drawing a soft 'U' shape for each petal to keep them looking rounded and organic.
Step 4: Sketching the Leaf

Add a leaf to the side of the stem using two curved lines that meet at a point. Draw a small line down the center of the leaf to act as the vein. This adds great texture!
Step 5: Adding 'Mom' Text
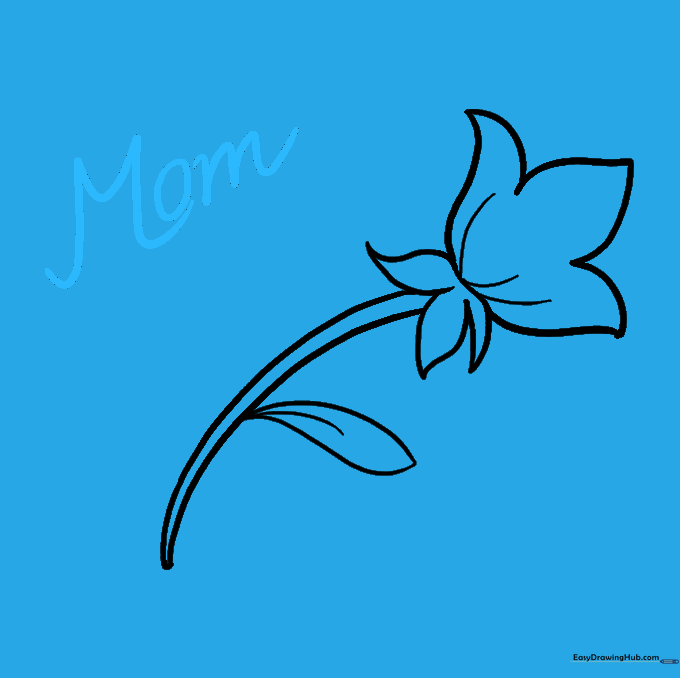
Carefully write 'Mom' in a bubbly, cursive style above the flower. Tip: Use a pencil first so you can space the letters out evenly before committing with a marker.
Step 6: Creating the Banner
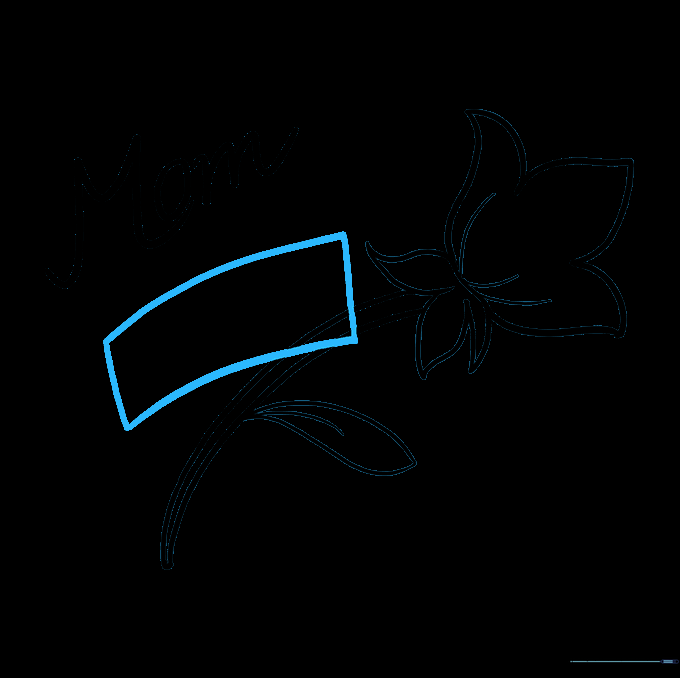
Draw a curved rectangle shape that overlaps the stem. This will serve as the banner for your special message. Keep the lines smooth and flowing.
Step 7: Cleaning Up

Use your eraser to remove the stem lines inside the banner. This makes it look like the banner is resting on top of the flower stem.
Step 8: Adding Your Message
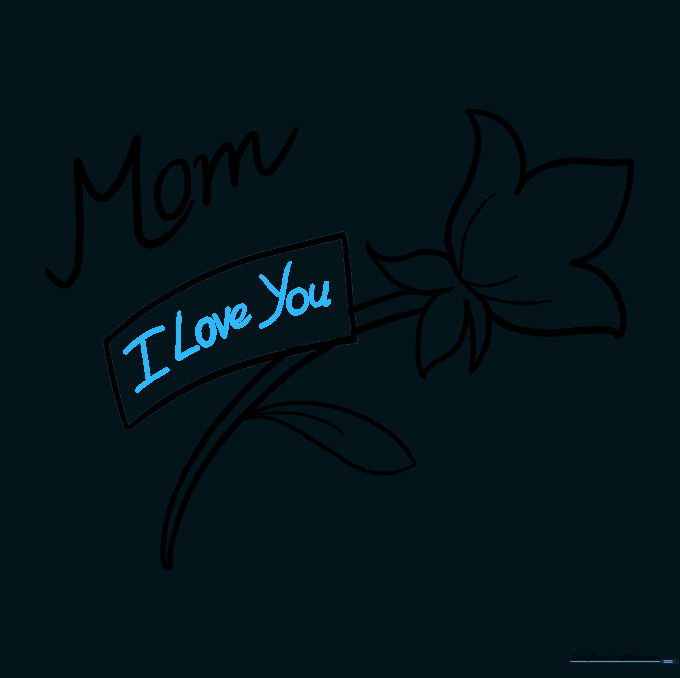
Write 'I Love You' inside the banner. Take your time with the lettering—it's the most important part of the card!
Step 9: Adding Decorative Flourishes
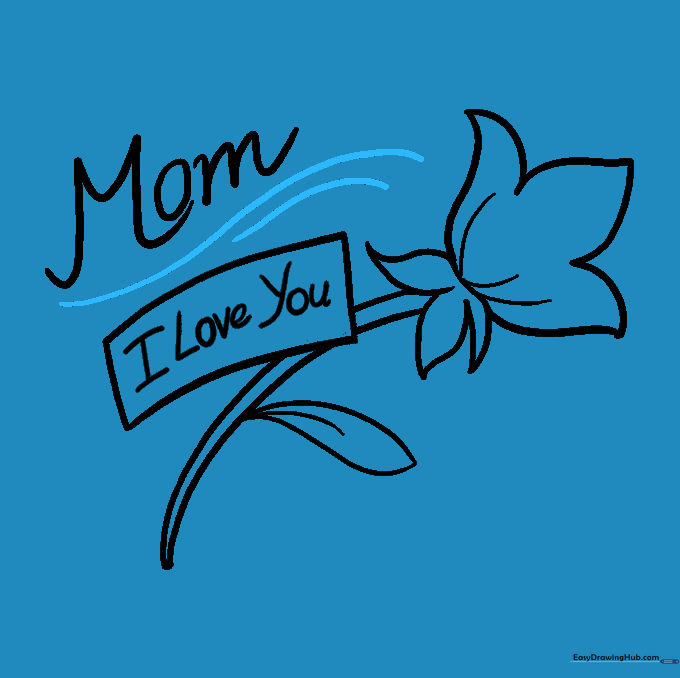
Add small, decorative curved lines around the text to make it look fancy. These little details really make the drawing pop.
Step 10: Bringing It to Life with Color
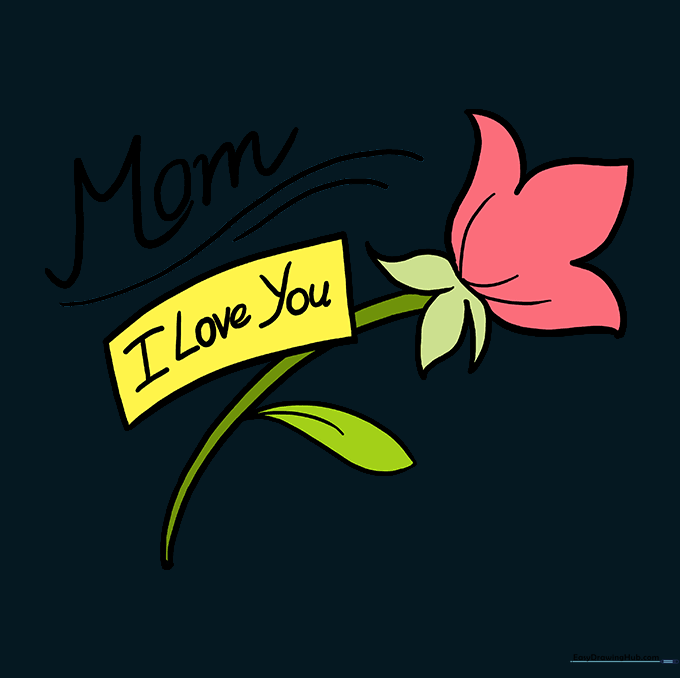
Time to color! Use bright, cheerful colors. Carnations are traditional for Mother's Day, but feel free to use your mom's favorite colors to make it truly special.
More Tutorials


