How to Draw a Mother Hugging a Daughter: Easy 10-Step Guide
Capture a special moment with this sweet drawing tutorial, perfect for ages 7 and up. You will only need a pencil, an eraser, and your favorite coloring supplies to bring this hug to life. This project is a wonderful way to practice drawing human figures and expressive poses for handmade greeting cards.
🎯 Final Result

Step-by-Step Instructions
Step 1: Sketching the Mother's Head

Draw a soft, open oval for the mother's face and add curved lines for the neck. Teacher's Tip: Keep your pencil pressure light here—you'll want to refine the hairline and braid details in the next step.
Step 2: Adding the Daughter's Head

Draw a smaller oval next to the mother for the daughter's head. Add a small rounded shape for her hair tie and a ponytail. Tip: Make sure the daughter's head is slightly lower than the mother's to show the height difference.
Step 3: Creating the Mother's Arm

Draw the mother's sleeve using long, curved lines and add small 'U' shapes for the fingers. Tip: Use gentle, rounded lines to suggest fabric folds at the elbow to make the arm look natural.
Step 4: Drawing the Daughter's Sleeve
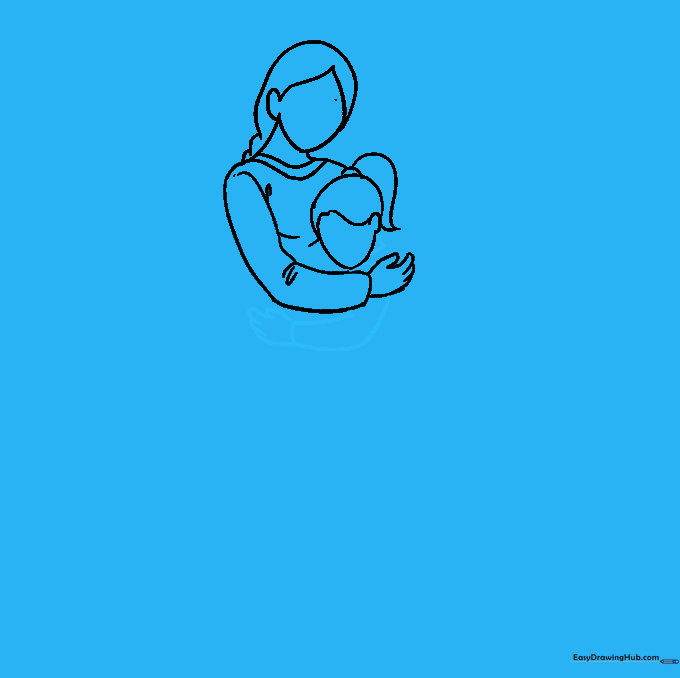
Sketch the daughter's sleeve and hand using similar curved lines. Add a small triangle for her neck. Tip: Keep the hand small to maintain the correct proportions between the mother and child.
Step 5: Outlining the Daughter's Dress
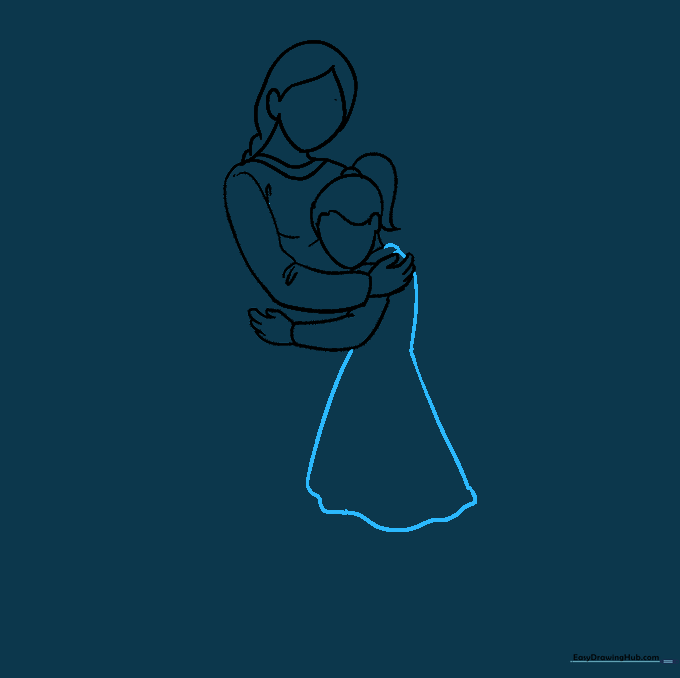
Draw the shape of the daughter's dress, narrowing it at the waist before flaring it out. Tip: Think of the dress as a bell shape to get that natural flow.
Step 6: Adding Legs and Shoes
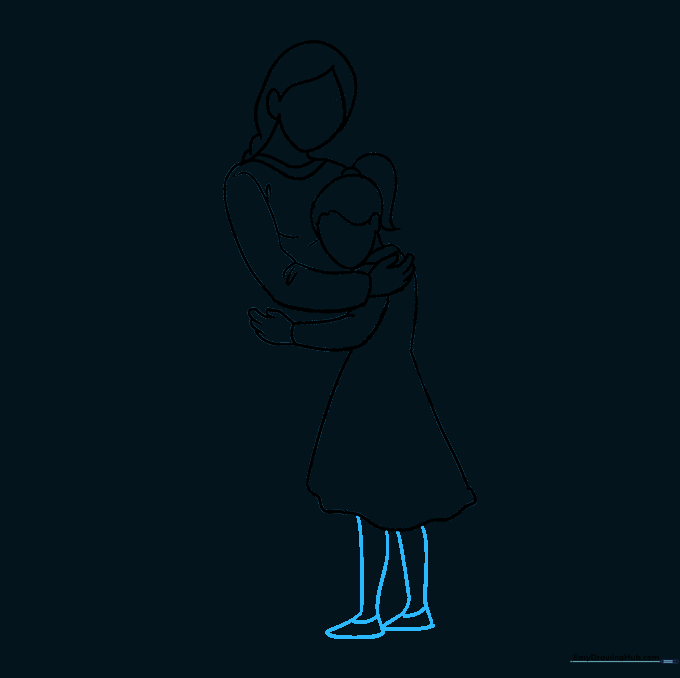
Draw the daughter's legs coming out from under the dress, ending in simple shoe shapes. Tip: Keep the ankles narrow to make the shoes look distinct.
Step 7: Drawing the Mother's Skirt
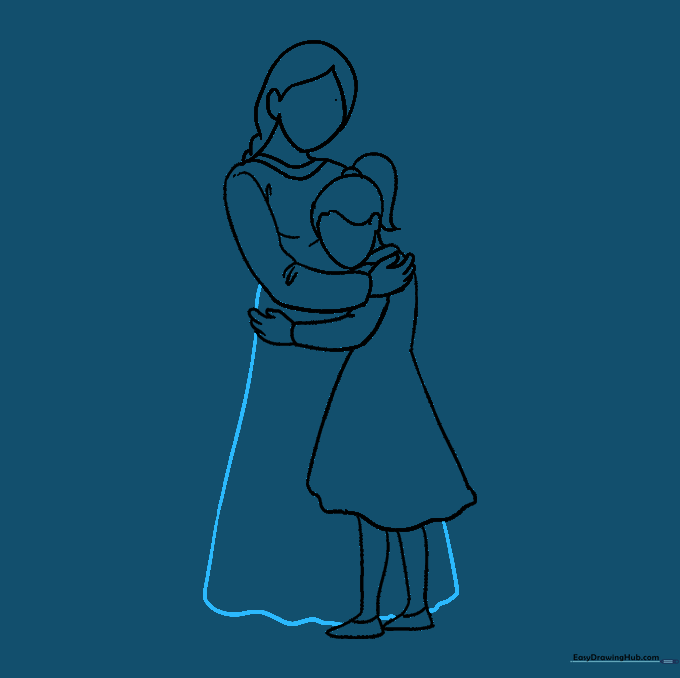
Use long, sweeping curved lines to outline the mother's skirt. Tip: Make the lines flow downward to suggest the weight of the fabric.
Step 8: Completing the Hug
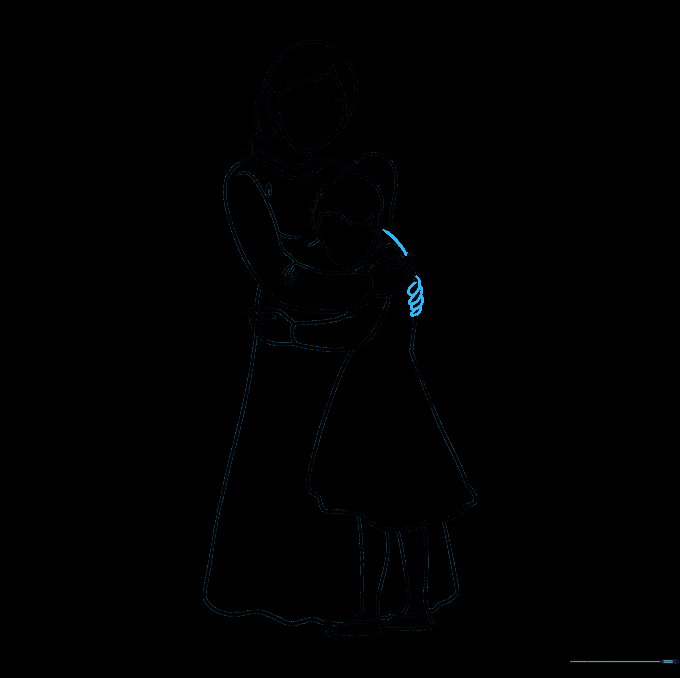
Draw the mother's other hand resting on the daughter's back. Tip: Erase any overlapping lines from the daughter's dress to make it look like the hand is truly in front.
Step 9: Adding Facial Expressions
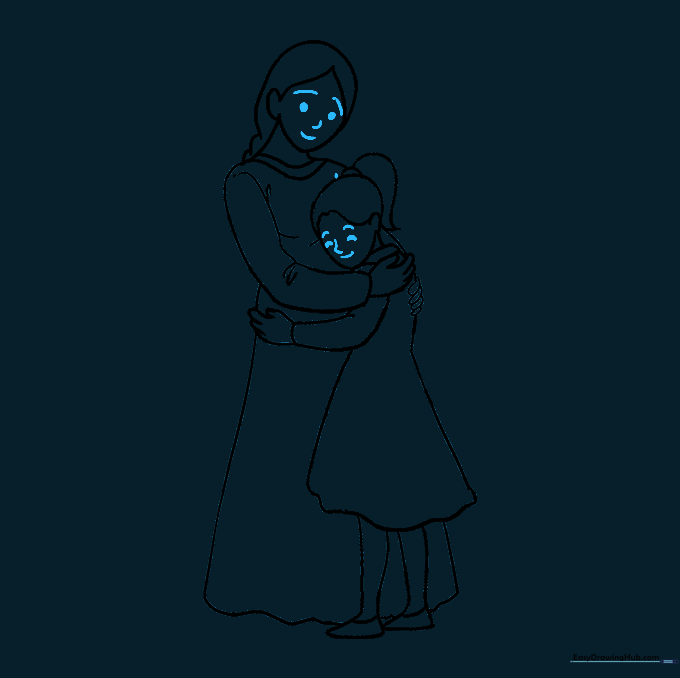
Add simple circles for eyes and curved lines for happy, smiling mouths. Tip: Use closed-eye curves to show the characters are enjoying the hug!
Step 10: Adding Color
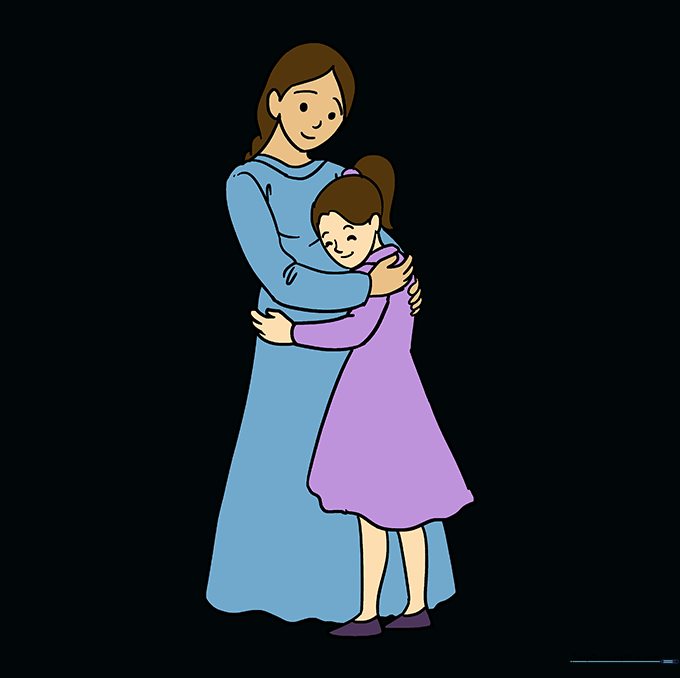
Bring your drawing to life with color! Tip: Use warm colors for the clothing to emphasize the loving, cozy feeling of the hug.
More Tutorials