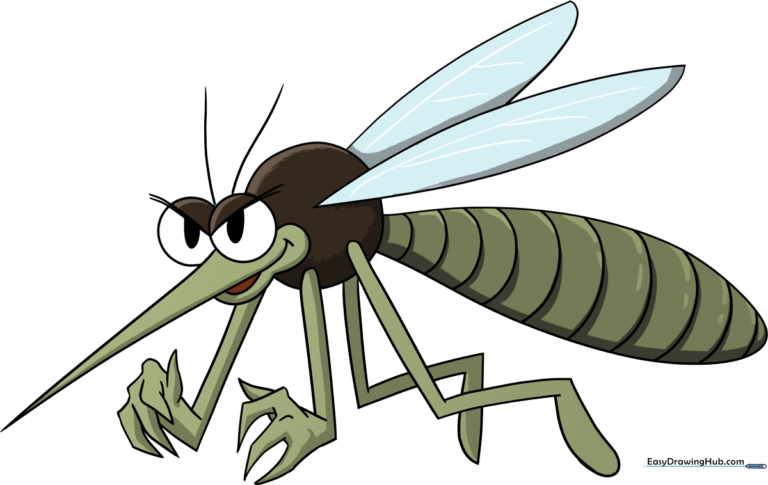
How to Draw a Mosquito: Easy 10-Step Cartoon Guide
This mosquito drawing tutorial is perfect for young artists ages 5 and up. You will only need a pencil, an eraser, and a piece of paper to bring this buzzy insect to life. Follow along to practice basic shapes and build confidence in your character design skills.
🎯 Final Result
Step-by-Step Instructions
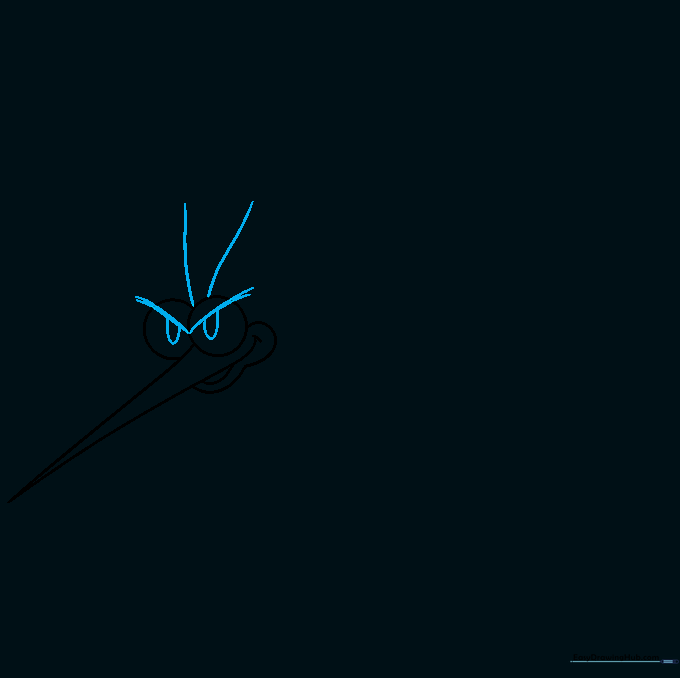
Step 1: Sketching the Eyes

Draw two overlapping circles to form the mosquito's large, expressive eyes. Teacher's Tip: Keep these circles rounded and light; they serve as the anchor for the rest of the face.
Step 2: Adding the Proboscis

Extend two straight lines from between the eyes to meet at a sharp point, creating the proboscis. Add a small curved line for the mouth. Teacher's Tip: Use a ruler if you struggle with straight lines, but freehand is great for practice!
Step 3: Defining the Face
Add curved lines across the eyes for eyelids and U-shaped lines for pupils. Add two antennae on top. Teacher's Tip: The antennae should look like thin, delicate wires—don't press too hard!
Step 4: Drawing the Body
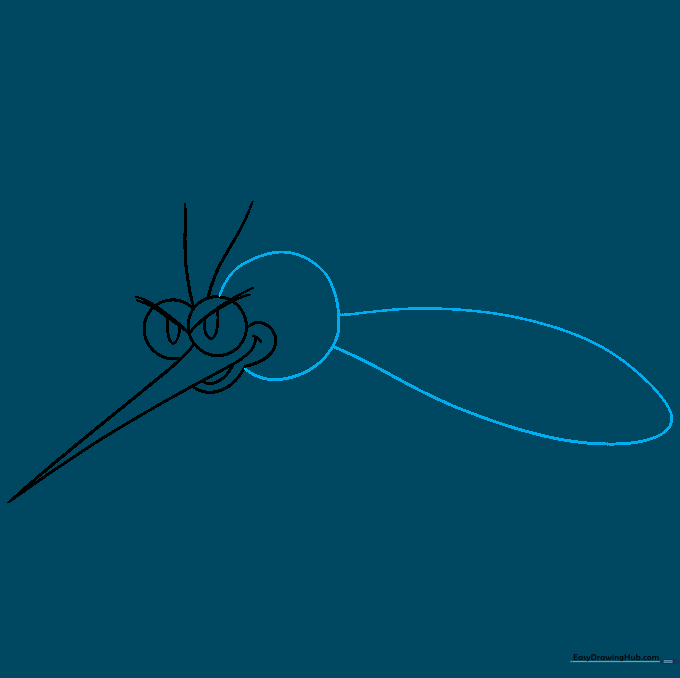
Sketch a large circle for the thorax and a long, curved shape for the abdomen. Teacher's Tip: Think of the abdomen as a teardrop shape to give it a natural, insect-like flow.
Step 5: Adding Wings
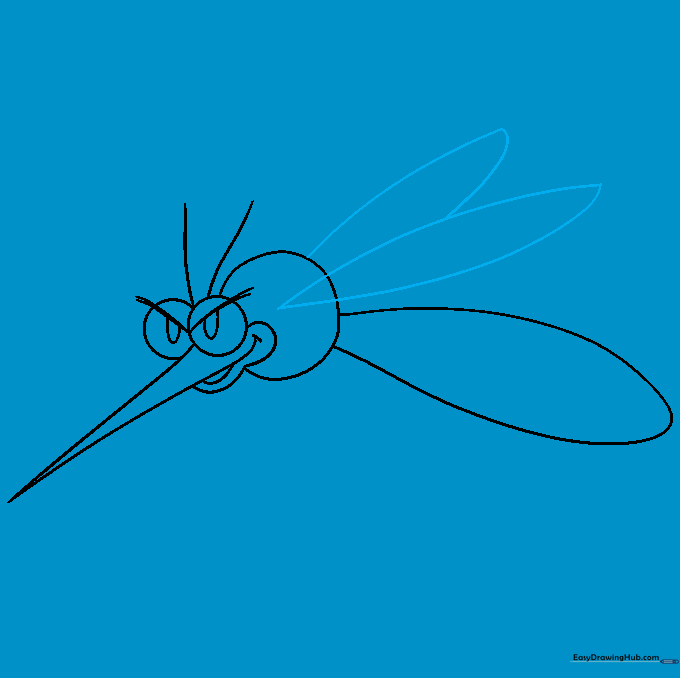
Draw two large, teardrop-shaped wings extending from the thorax. Teacher's Tip: Make the wings slightly transparent-looking by keeping the lines smooth and continuous.
Step 6: First Set of Legs
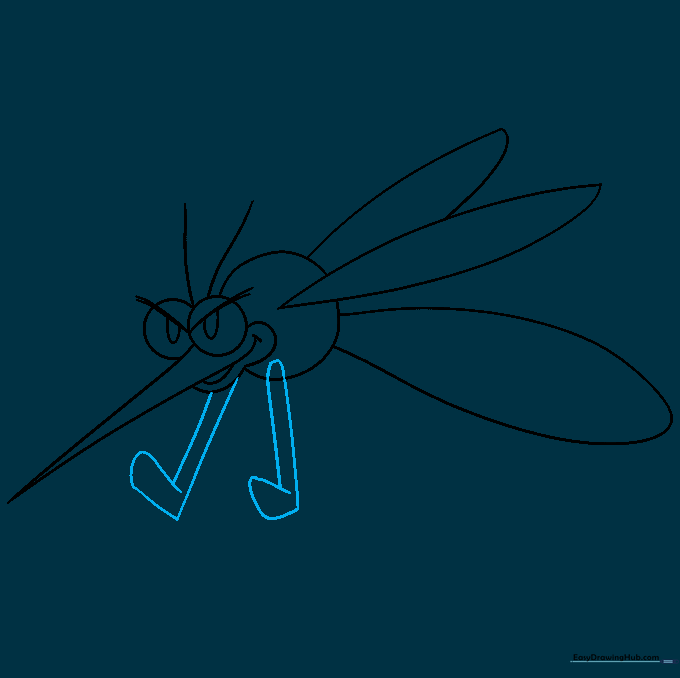
Draw two thin legs extending from the body with curved feet at the ends. Teacher's Tip: Mosquito legs are very spindly; keep your lines thin and graceful.
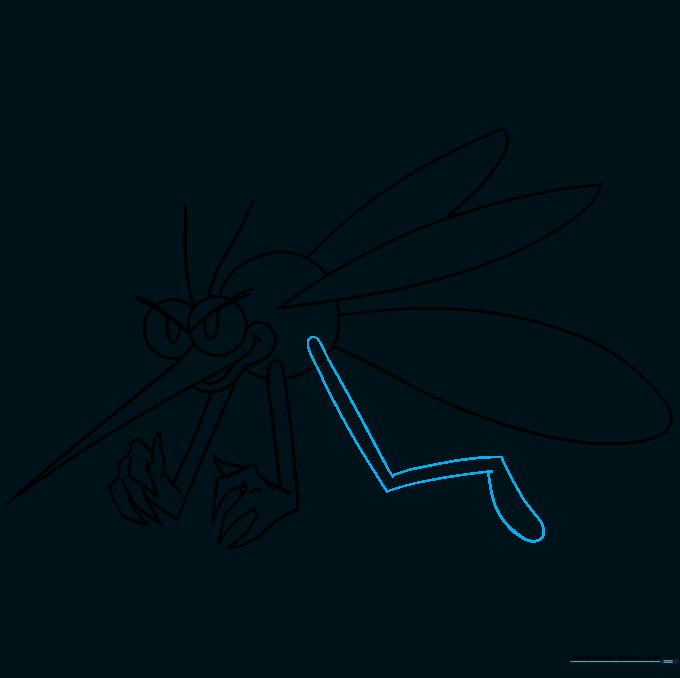
Step 7: Adding Detail to Appendages

Add pointed segments to the legs to give them a realistic, jointed insect appearance. Teacher's Tip: Focus on the 'elbows' of the legs to make them look more active.
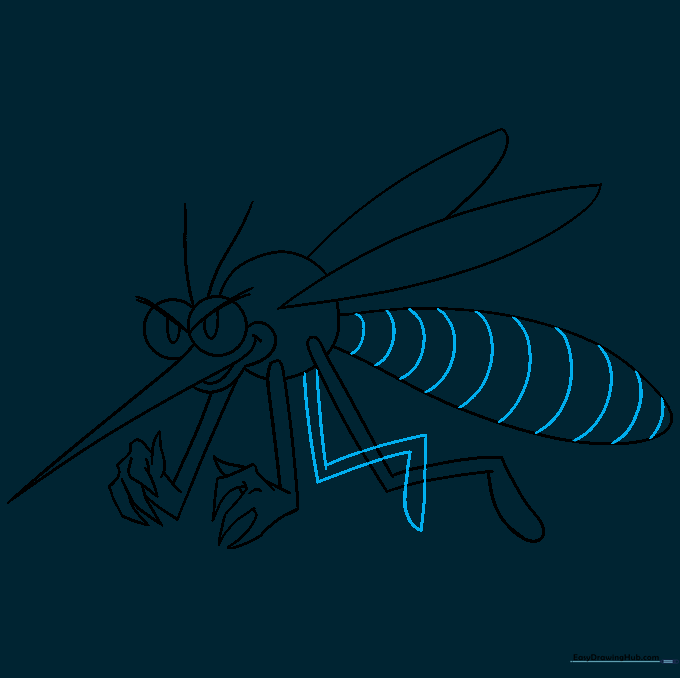
Step 8: More Leg Details
Add another pair of legs with distinct knee joints. Teacher's Tip: Ensure the legs are balanced so the mosquito looks like it's standing on a surface.
Step 9: Finalizing the Outline
Draw the final leg and add curved bands to the abdomen. Erase any overlapping guidelines. Teacher's Tip: Use your eraser to clean up the joints where the legs meet the body.
Step 10: Adding Color

Bring your mosquito to life with color! Use greys, browns, or even stripes. Teacher's Tip: Try using a light blue for the wings to give them a glassy, translucent effect.
More Tutorials


