How to Draw a Mosque: Easy 10-Step Guide for Kids
This guided drawing lesson is perfect for young artists ages 6+ looking to explore architectural shapes. You will need a pencil, eraser, and paper to build this structure layer by layer. By the end, you’ll have a stunning, symmetrical mosque drawing to color and display.
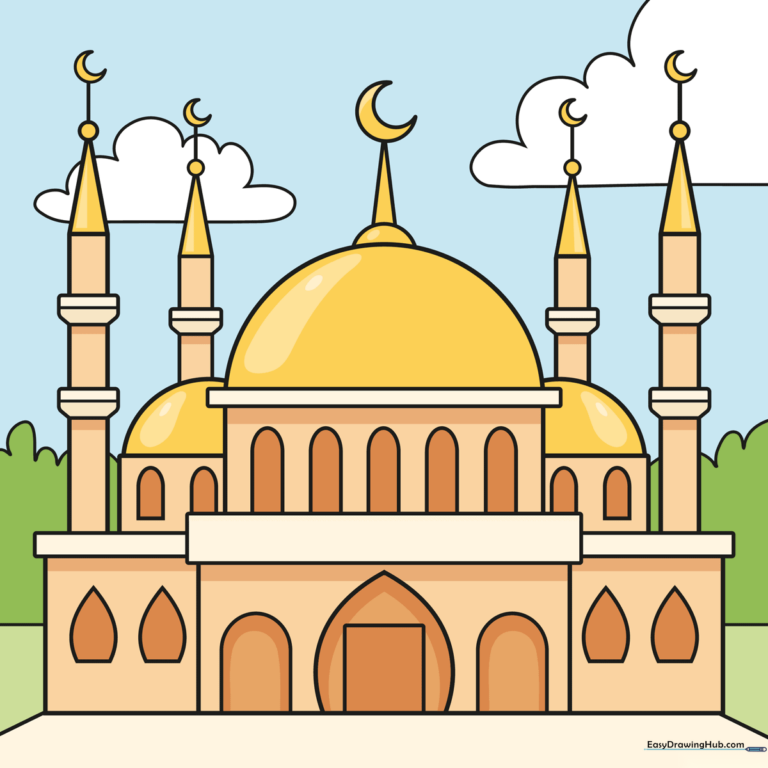
🎯 Final Result
Step-by-Step Instructions
Step 1: Sketching the Main Structure

Start by sketching the central building block. Draw a large rectangle for the main hall, then add a narrower rectangle on top. Add two smaller rectangles on either side for the wings. Teacher's Tip: Keep your lines light so you can easily adjust the proportions later.
Step 2: Adding the Iconic Domes
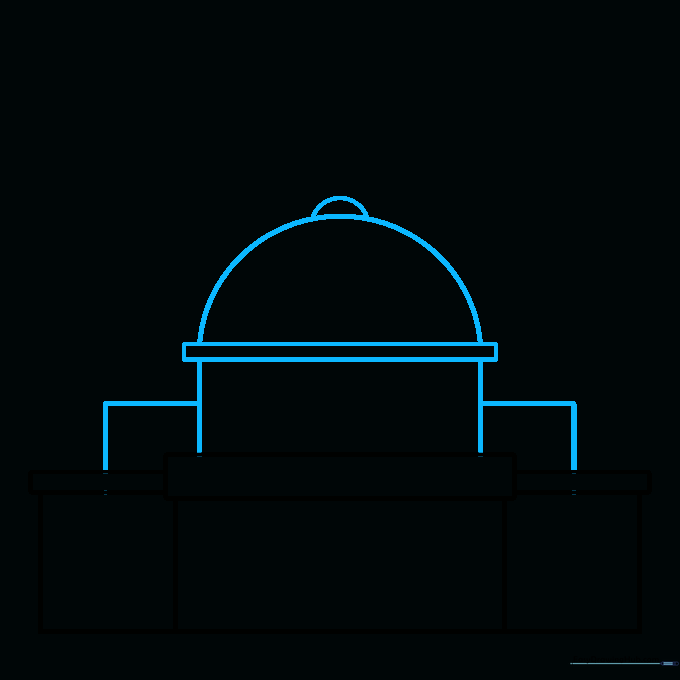
Draw a narrow horizontal rectangle across the center roof. Above this, sketch one large half-circle and a smaller one next to it. These will become your main domes. Tip: Use a circular object like a bottle cap as a guide if you find freehand curves tricky!
Step 3: Adding Domes and Entrance
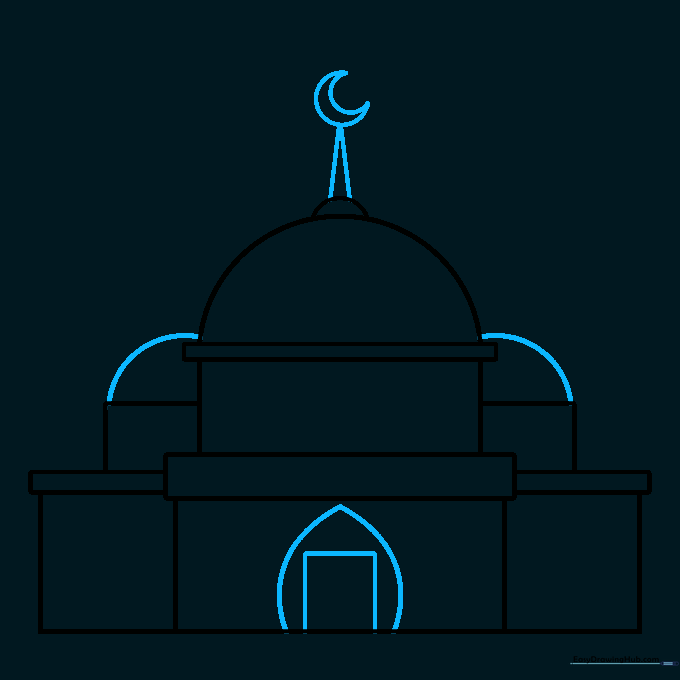
Add two more smaller domes to the sides. On the peak of the main dome, draw a narrow triangle topped with a crescent moon. For the entrance, draw a rectangle with a teardrop-shaped arch around it. Tip: The crescent moon is a classic symbol—take your time to make it look sharp.
Step 4: Detailing Doors and Windows
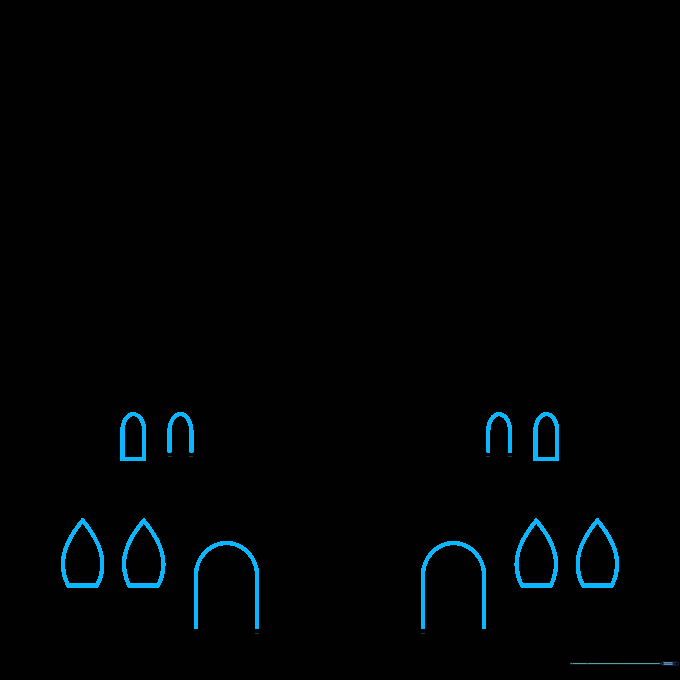
Draw arched doorways on the front and teardrop-shaped windows on the levels above. Tip: Keep the windows consistent in size to make the building look professional and balanced.
Step 5: Constructing the Minarets
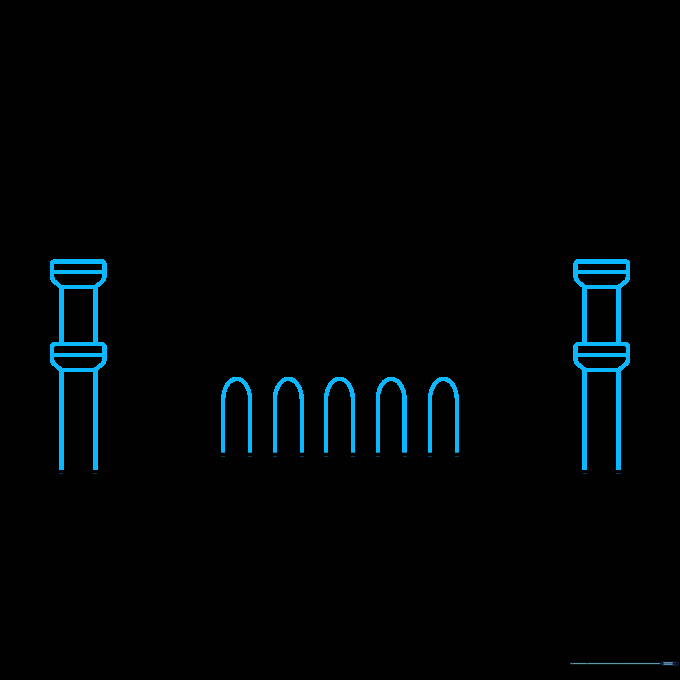
Add arched openings on the second level. Now, let's build the minarets (towers). Draw a vertical rectangle with an inverted trapezoid on top, then add a horizontal rectangle. Repeat this stack to create height. Tip: Use a ruler if you want your towers to look perfectly straight!
Step 6: Finishing the Minaret Tops
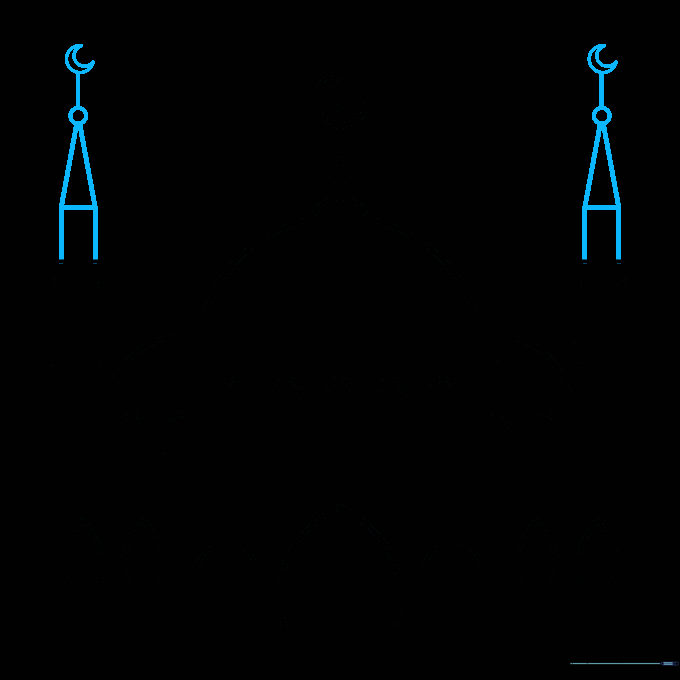
Top each minaret with a rectangle, a small triangle, and a circle. Draw a vertical line from the circle and cap it with a crescent moon. Tip: Make sure the crescent moons on the towers match the one on the main dome for a cohesive look.
Step 7: Adding Background Minarets
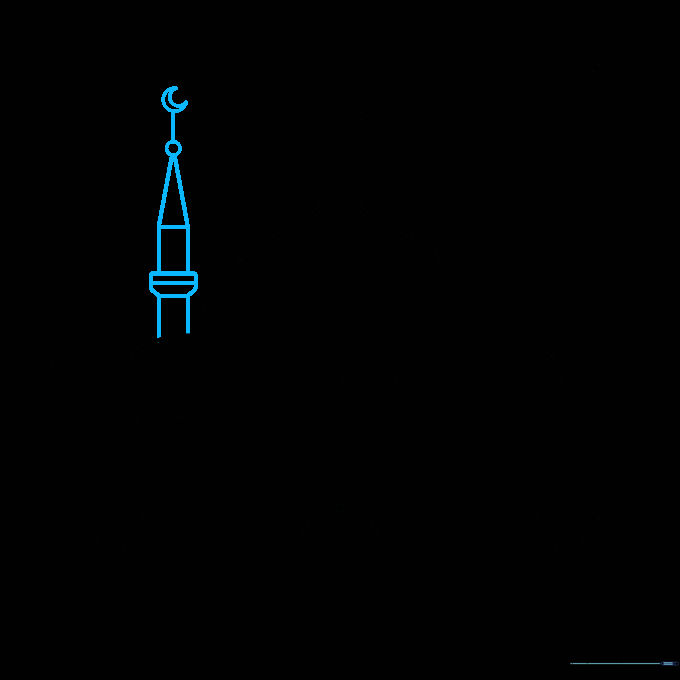
Draw another minaret in the background using the same stack of shapes: rectangle, trapezoid, rectangle, triangle, circle, and crescent. Tip: Placing it slightly higher on the page makes it look further away.
Step 8: Completing the Towers
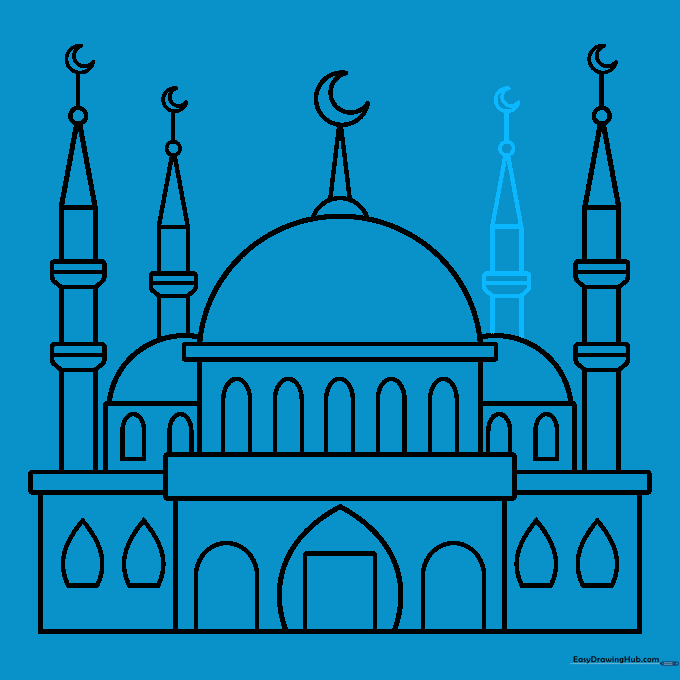
Add a fourth minaret in the background to balance the composition. Use the same geometric sequence as before. Tip: Don't worry if they aren't identical; real buildings often have slight variations!
Step 9: Adding the Landscape
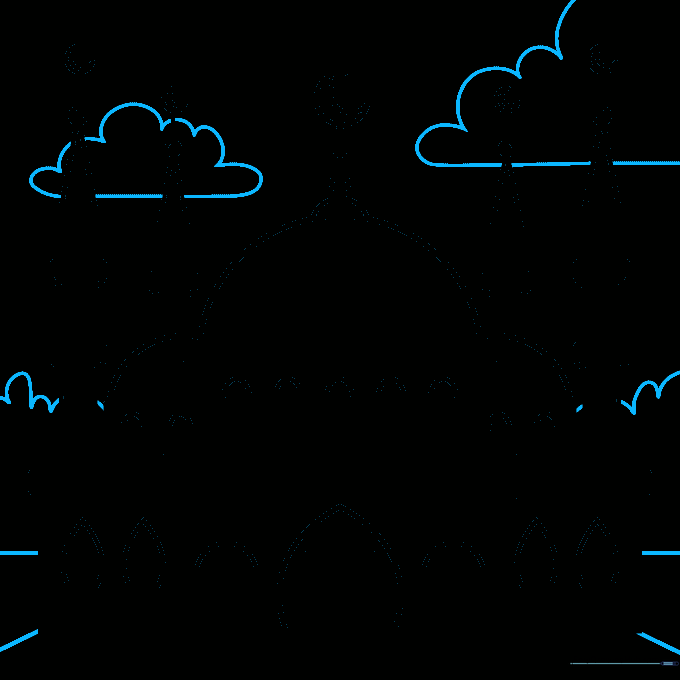
Draw a horizon line and a path leading to the entrance. Add some soft, curved lines for distant trees and fluffy clouds in the sky. Tip: Use light, wavy lines for clouds to contrast with the straight lines of the building.
Step 10: Bringing it to Life with Color
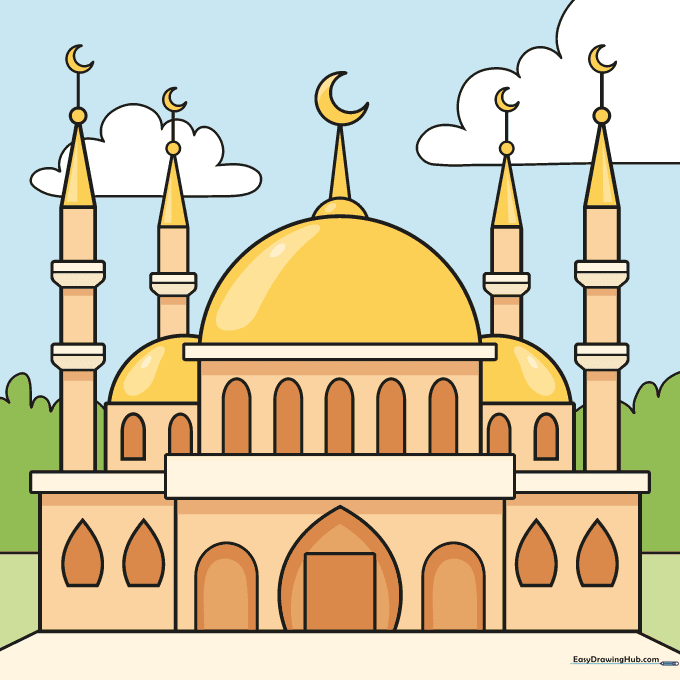
Time to color! We used tans and golds for a warm, classic look, but feel free to use bright blues or greens for the domes. Tip: Use a darker shade of your chosen color near the base of the domes to create a sense of shadow and depth.
More Tutorials


