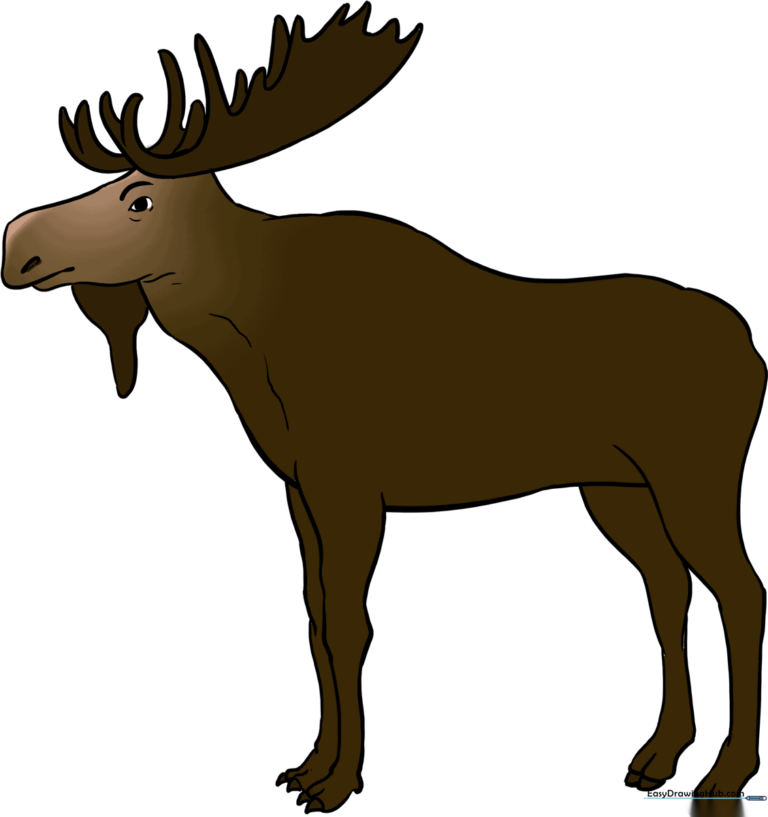
How to Draw a Moose: Easy 10-Step Guide for Kids
Bring the wilderness to your sketchbook with this fun, step-by-step moose drawing guide. Designed for young artists and beginners, this activity requires only a pencil, paper, and an eraser. Follow along to build confidence in your animal anatomy skills while creating a woodland masterpiece.
🎯 Final Result
Step-by-Step Instructions
Step 1: Sketching the Base Shapes

Start by drawing a small circle for the head and a larger, peanut-shaped oval for the body. Teacher's Tip: Keep these shapes loose and light; they are just your map for the final drawing.
Step 2: Defining the Neck and Snout
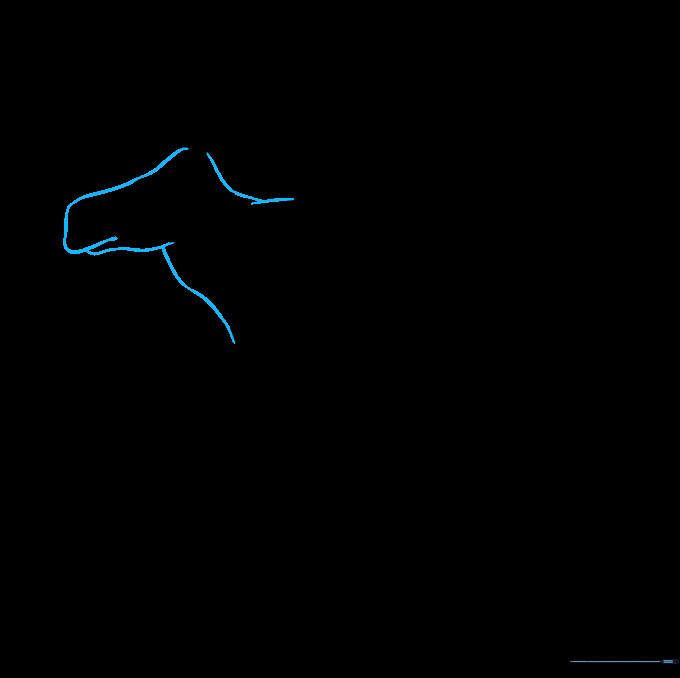
Connect the head and body with two smooth, curved lines for the neck. Extend the snout outward from the circle with a rounded rectangular shape. Teacher's Tip: Moose have long, boxy noses, so don't be afraid to make it look a bit chunky!
Step 3: Sketching the Front Legs
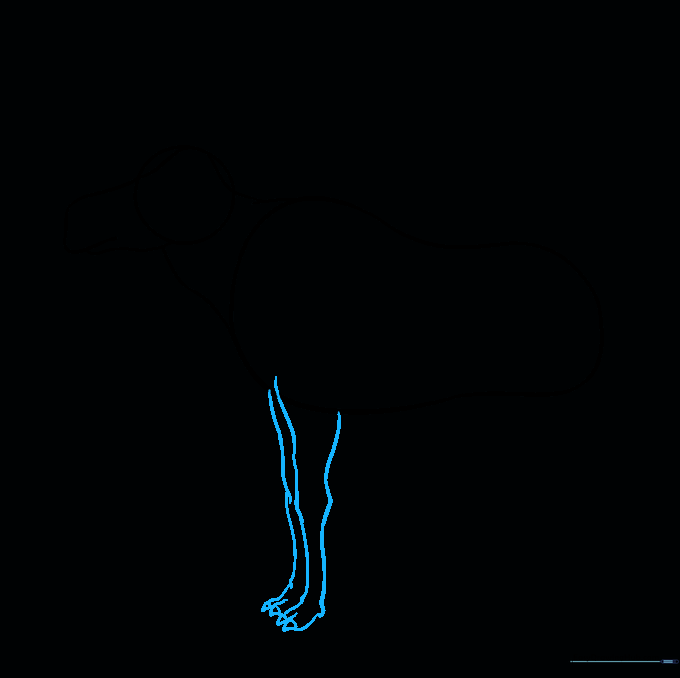
Draw two front legs using curved lines that taper downward. Add small, curved shapes at the bottom for the hooves. Teacher's Tip: Overlap the legs slightly to give your moose a sense of depth and movement.
Step 4: Adding the Back Leg
Sketch the back leg with a slight curve to represent the knee joint. Ensure the hoof matches the style of the front legs. Teacher's Tip: Look at the angle of the back leg; it should look sturdy and strong.
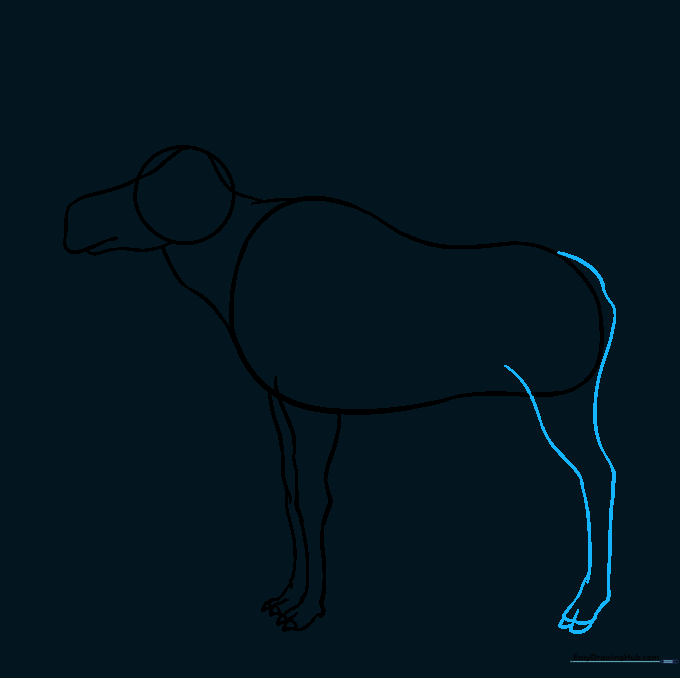
Step 5: Completing the Legs
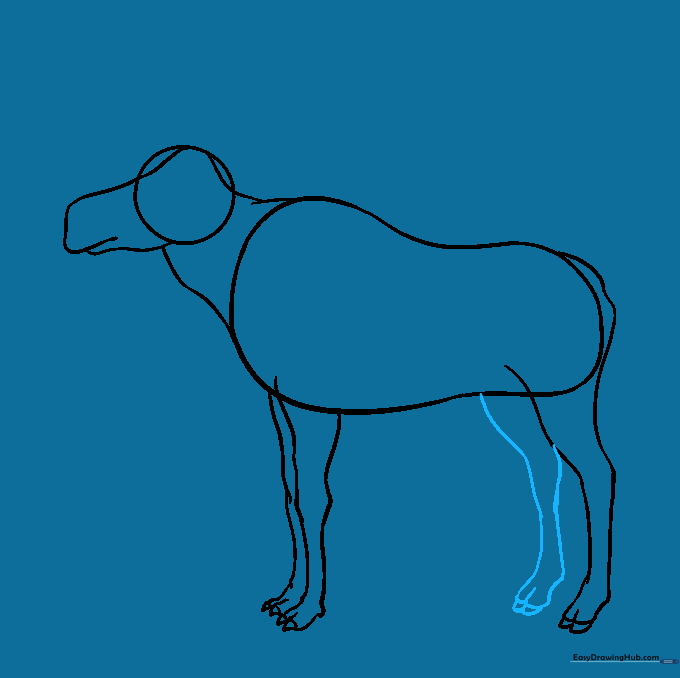
Add the far rear leg using a pair of curved lines. This creates the illusion that the moose is standing in a natural position. Teacher's Tip: Keep the lines parallel to the other legs to maintain correct perspective.
Step 6: Cleaning the Outline

Carefully erase your original guide circles and ovals. You should now have a clean, clear silhouette of your moose. Teacher's Tip: Use a soft eraser to avoid tearing the paper.
Step 7: Drawing the Antlers
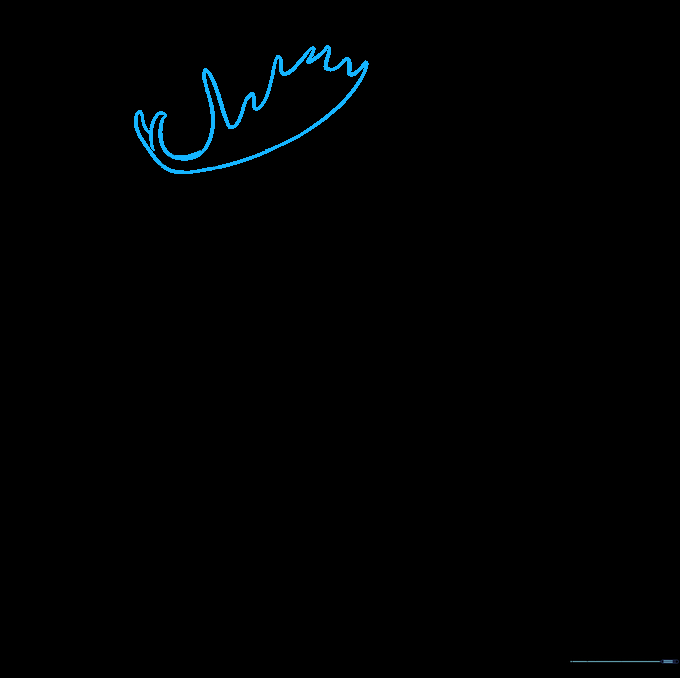
Draw the iconic, wide antlers using a wavy, organic line. Make them look like large, flat paddles. Teacher's Tip: Moose antlers are asymmetrical, so don't worry about making them perfectly identical on both sides.
Step 8: Detailing the Antlers
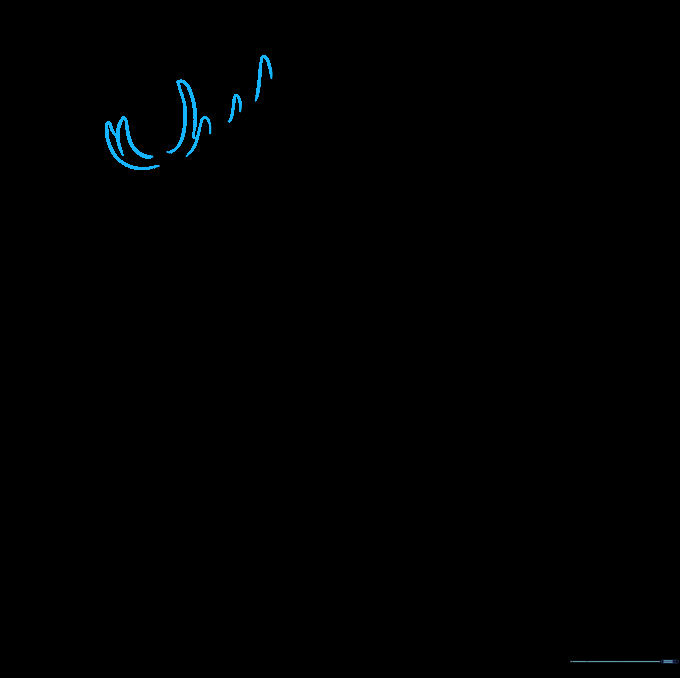
Add the far antler peeking out from behind the first one. This adds a 3D effect to your drawing. Teacher's Tip: Use shorter, sharper curves to show the points of the antlers.
Step 9: Final Facial Details
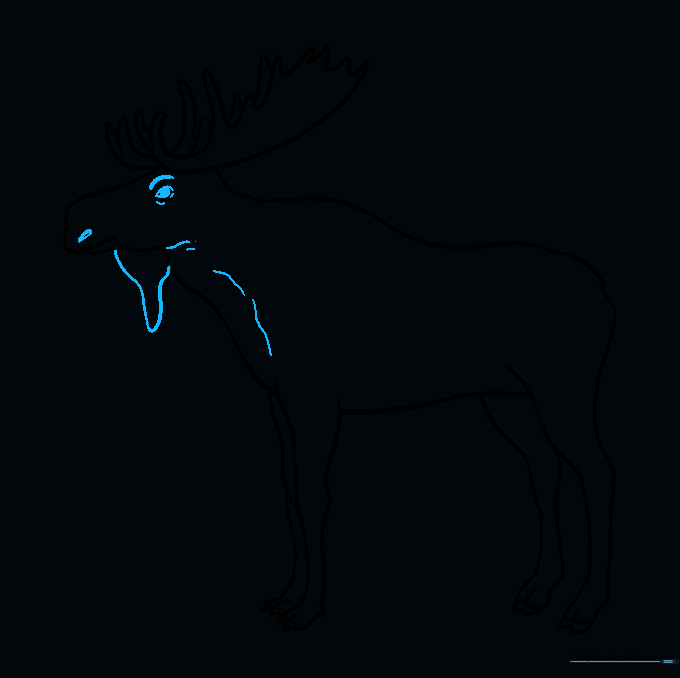
Add the eye, a nostril, and the characteristic 'beard' (dewlap) under the chin. Teacher's Tip: A small, dark dot for the eye and a simple curved line for the eyebrow gives your moose a friendly expression.
Step 10: Bring Your Moose to Life with Color
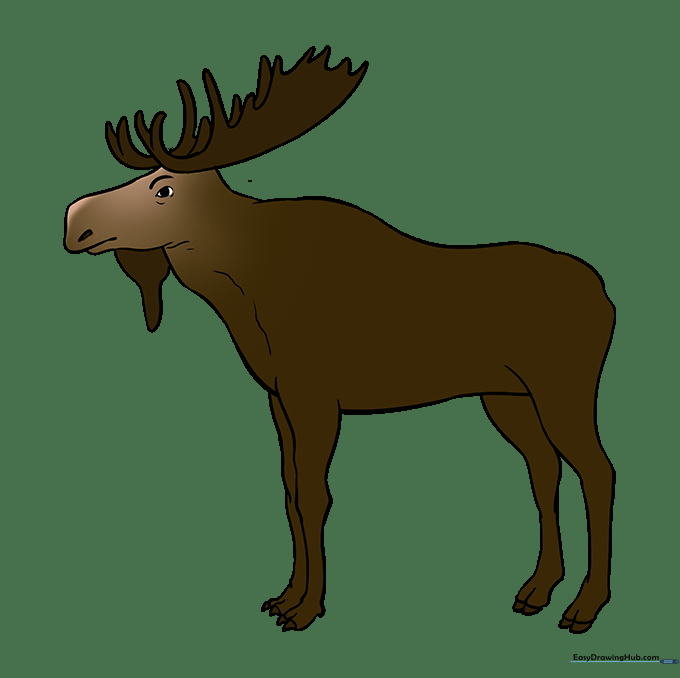
Color your moose in shades of deep brown and tan. Use lighter browns for the snout and darker browns for the body. Teacher's Tip: Use short, light strokes to mimic the texture of fur.
More Tutorials


