How to Draw a Monster Truck: Easy 20-Step Guide
Ready to design your own high-flying monster truck? This tutorial is perfect for young artists ages 7+ who want to master vehicle proportions. Grab a pencil, an eraser, and a piece of paper to start building your truck from the ground up.
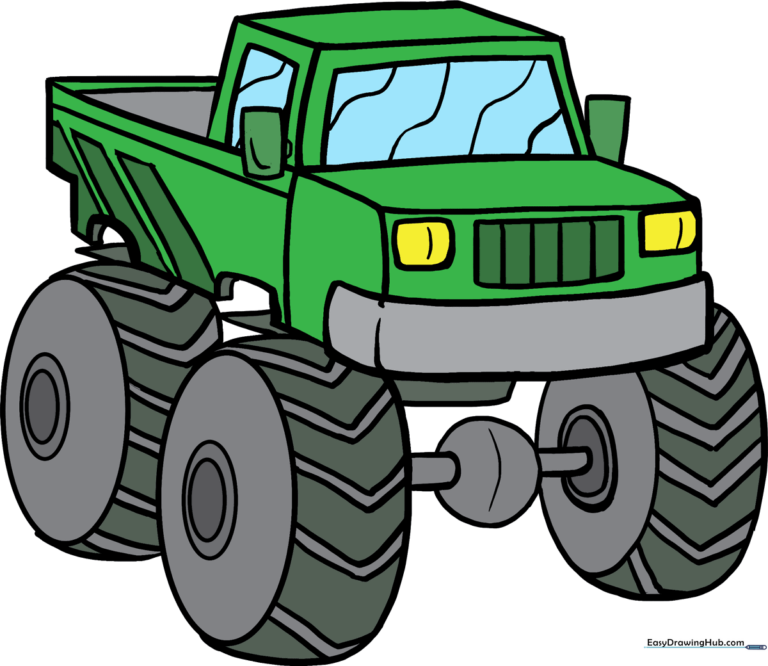
🎯 Final Result
Step-by-Step Instructions
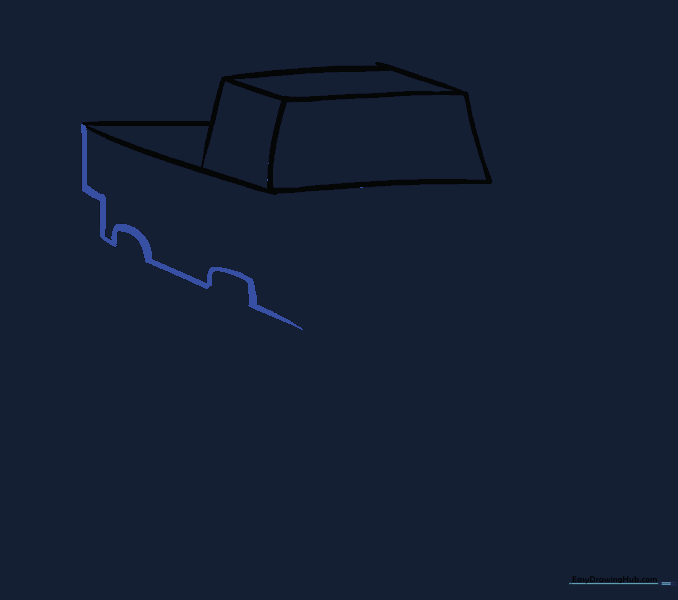
Step 1: Sketching the Windshield
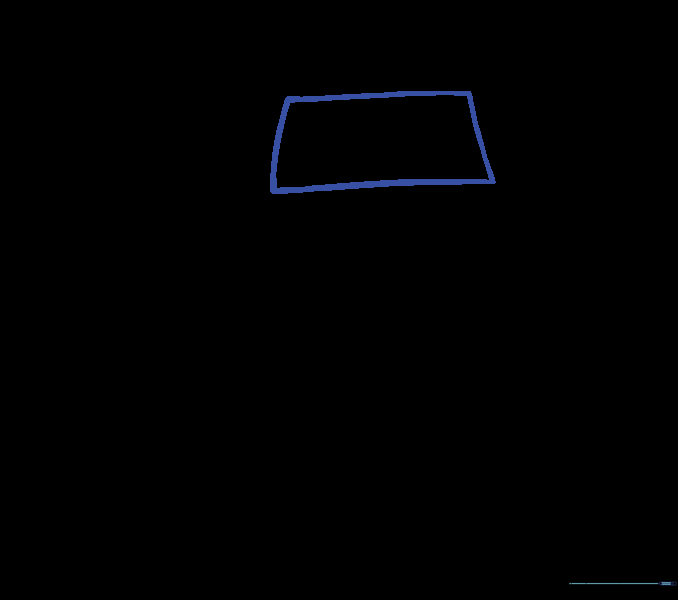
Draw a parallelogram—a rectangle with a slanted top. Teacher's Tip: Keep the top line shorter than the bottom to give the windshield a realistic, angled look.
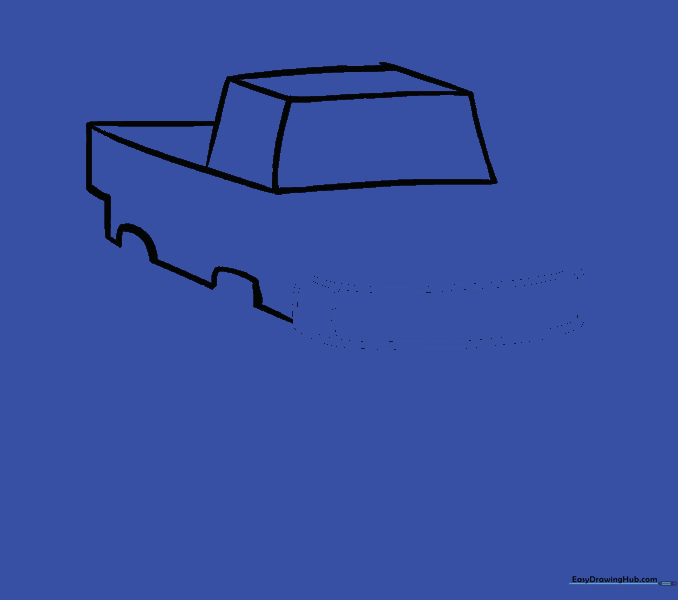
Step 2: Defining the Cab
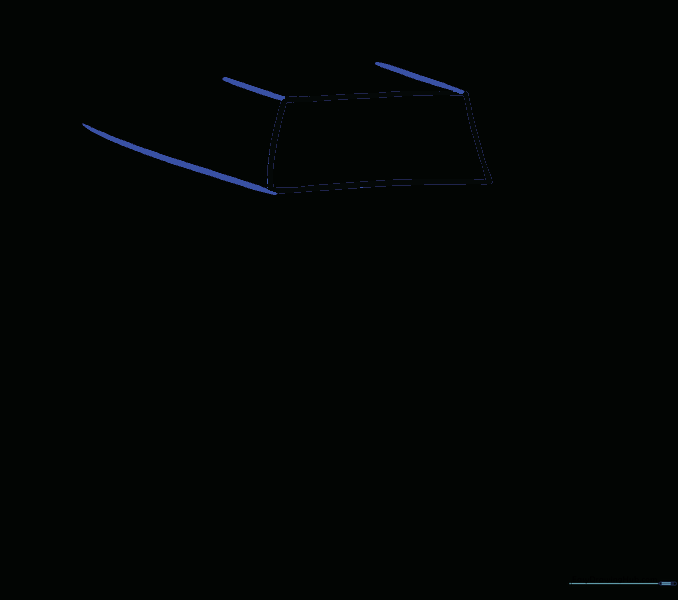
Extend parallel lines from the corners of your windshield. This creates the 3D depth of the truck's cabin. Tip: Use a ruler if you struggle with straight lines, but try freehand for a more natural feel.
Step 3: Closing the Truck Bed
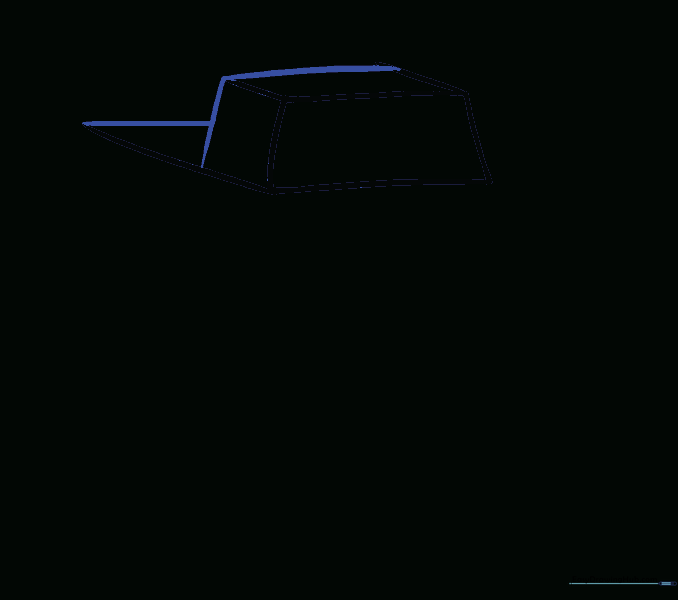
Connect your lines to enclose the cab and the truck bed. Ensure the lines are crisp and clean.
Step 4: Forming the Frame
Draw the back of the truck and the wheel wells using a mix of straight and curved lines. Tip: The curved lines for the wheel wells should look like upside-down 'U' shapes.
Step 5: Adding the Bumper
Sketch the front bumper using two parallel curved lines. Connect them at the ends. Tip: Make the bumper look sturdy—it's a monster truck, after all!
Step 6: Hood and Front Details
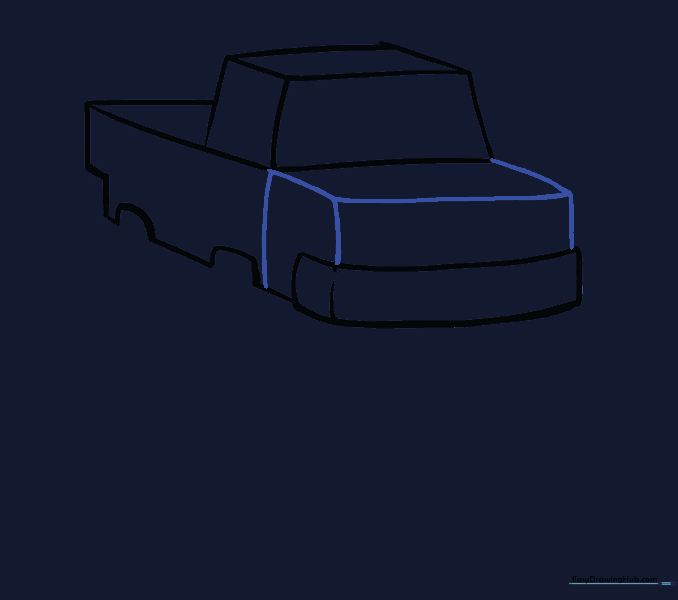
Connect the bumper to the windshield area to form the hood. This gives the truck its aggressive, sloped front profile.
Step 7: Window Details
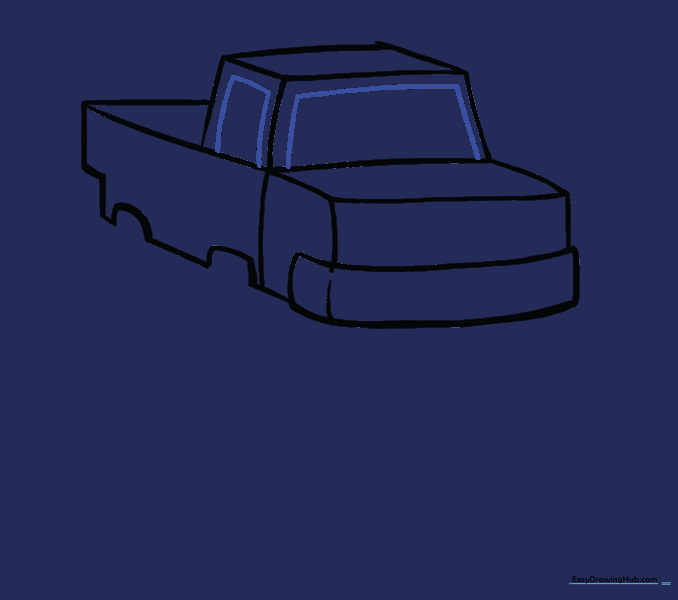
Draw smaller shapes inside the windshield and side window to represent the glass frames.
Step 8: Window Reflections
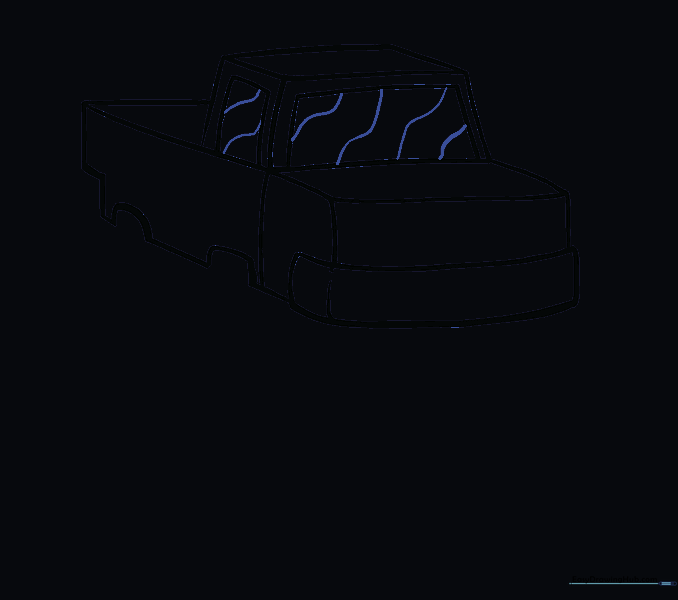
Add wavy lines across the windows. Tip: These represent light reflecting off the glass, making your drawing look more professional.
Step 9: The Big Tires
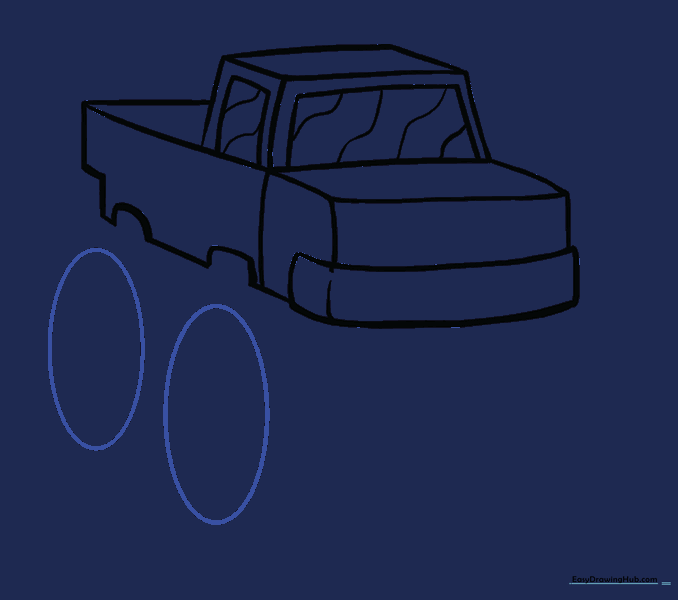
Draw two large ovals beneath the wheel wells. Tip: Make them nice and big—monster trucks are famous for their oversized tires!
Step 10: Tire Thickness
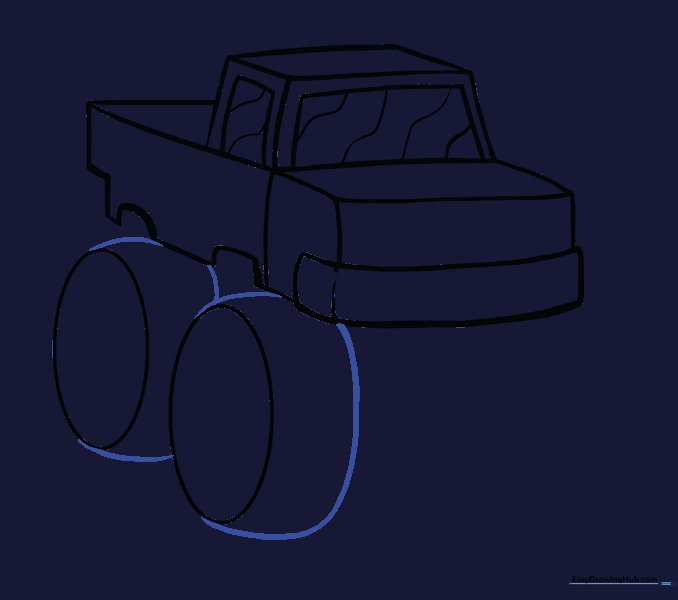
Add curved lines to give the tires a 3D, chunky appearance.
Step 11: Far-Side Tires
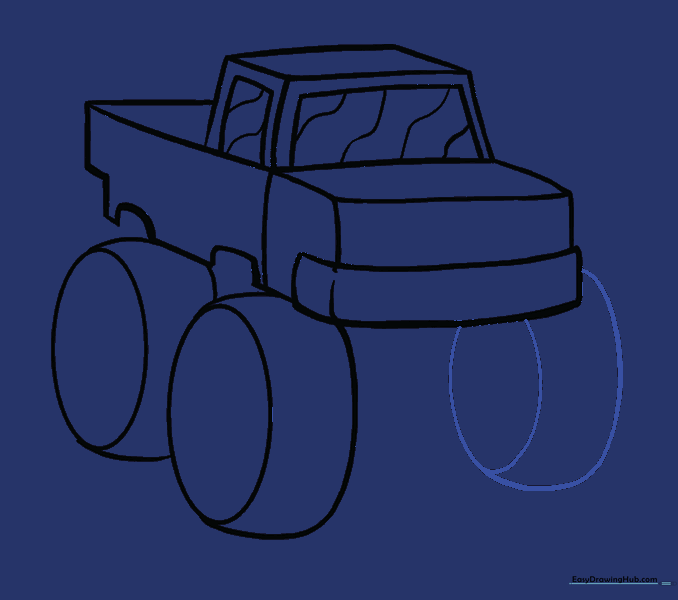
Draw a smaller oval behind the front tire to show the tires on the other side of the truck.
Step 12: Hubcaps
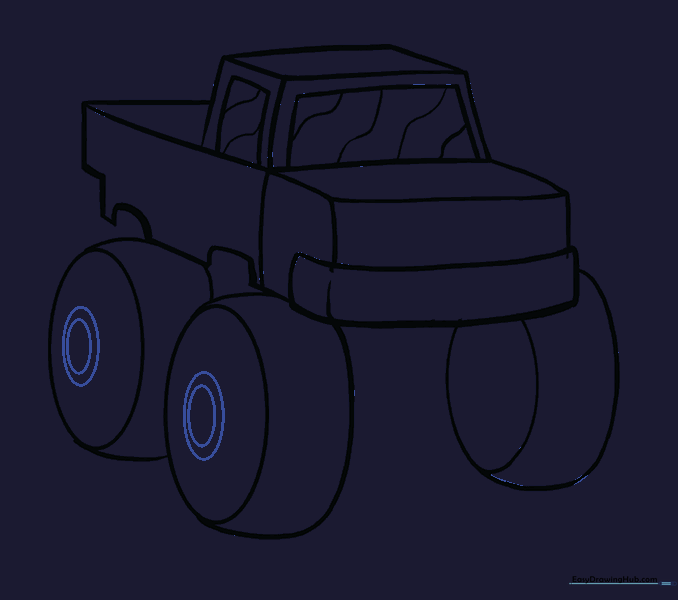
Draw two small circles in the center of each tire to create the hubcaps.
Step 13: Tire Tread
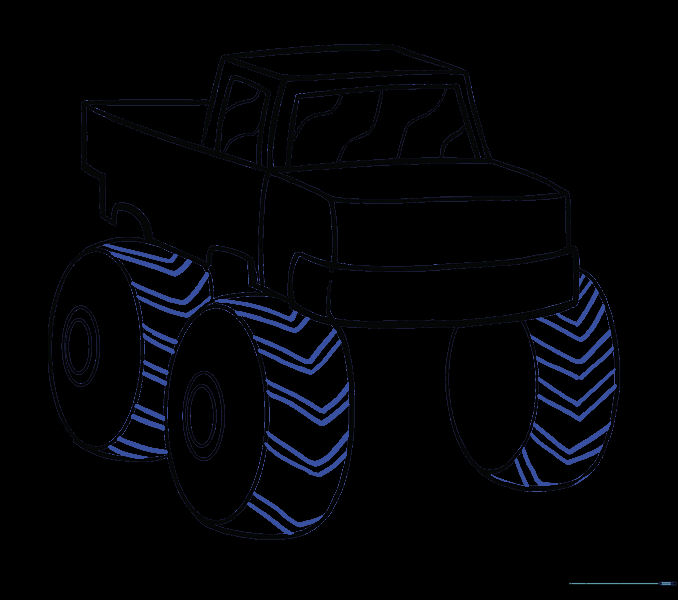
Draw a chevron pattern on the tires. Tip: Keep the 'V' shapes consistent to make the tires look like they have real off-road grip.
Step 14: Side Mirrors
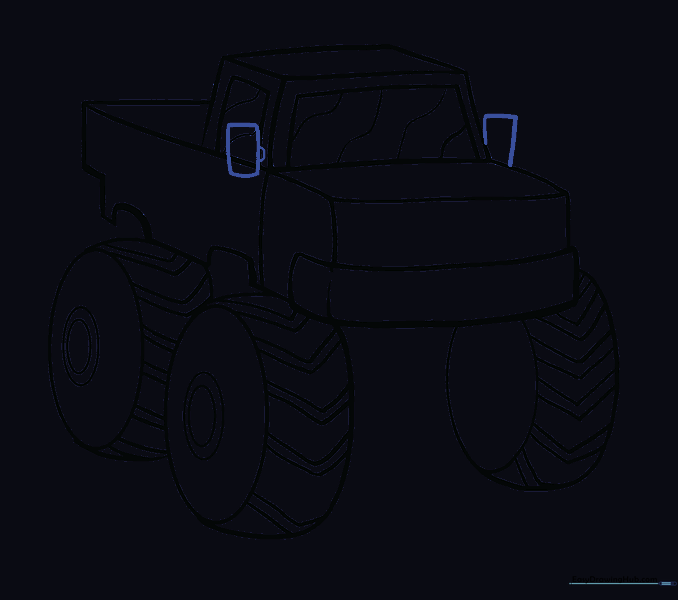
Add small rectangles on the sides of the cabin for the rearview mirrors.
Step 15: Headlights and Grill
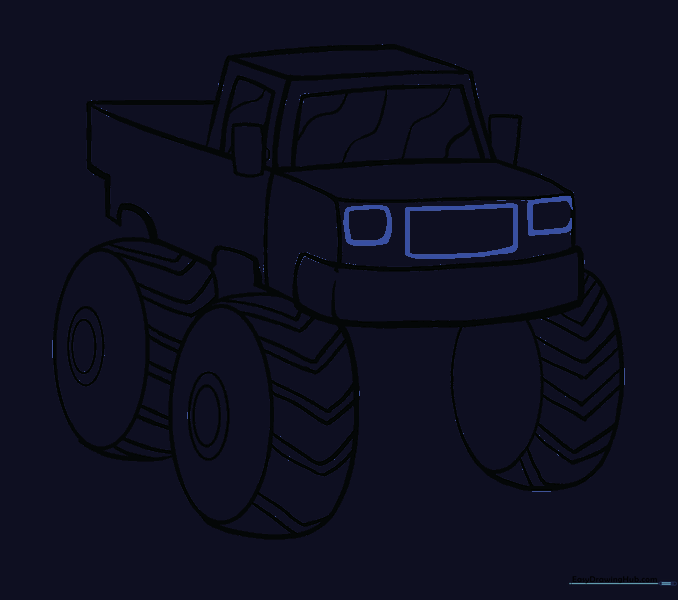
Draw two small rectangles for headlights and a larger one in the middle for the front grill.
Step 16: Adding Grill Detail
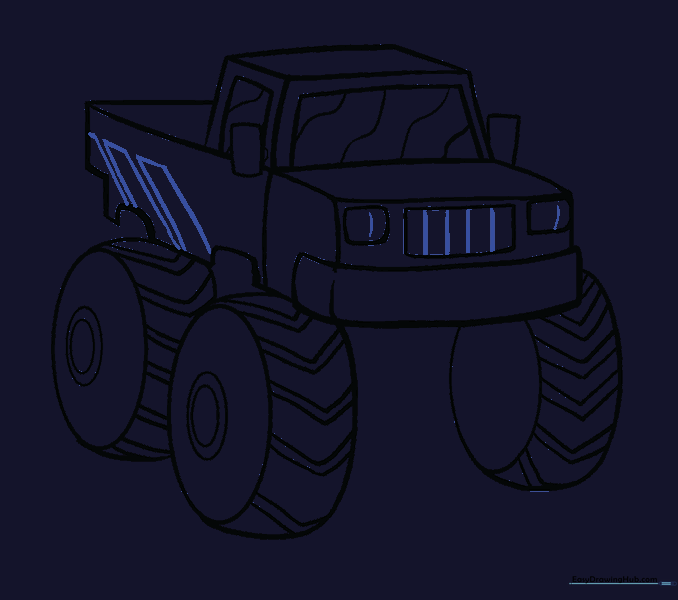
Add vertical lines to the grill and diagonal shapes to the side body for extra flair.
Step 17: The Axle
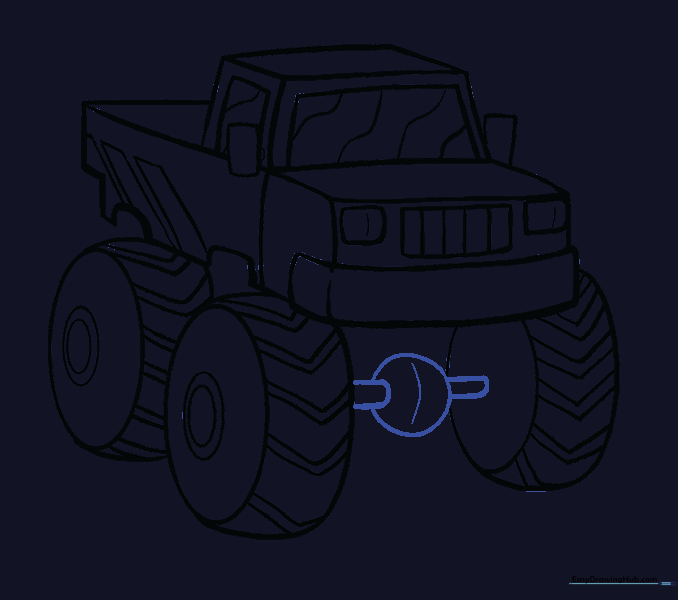
Draw the axle connecting the wheels. Tip: Use a circle as the base and extend lines outward to the tires.
Step 18: Undercarriage Details
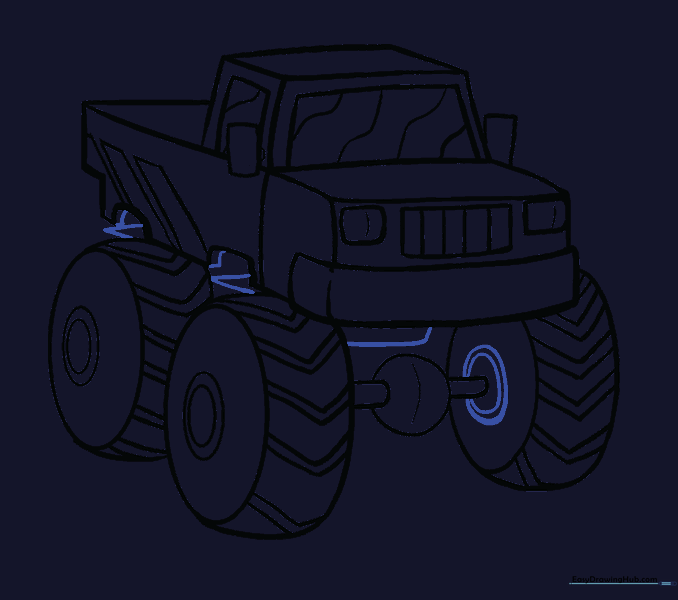
Add details to the underside of the truck to show the suspension and frame.
Step 19: Finalizing Lines
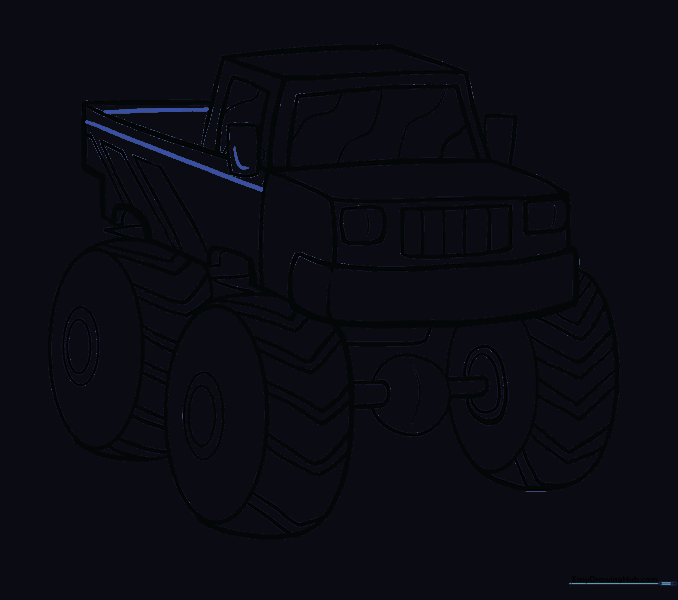
Go over your main outlines with a darker pencil or pen to make the truck pop.
Step 20: Color Your Truck
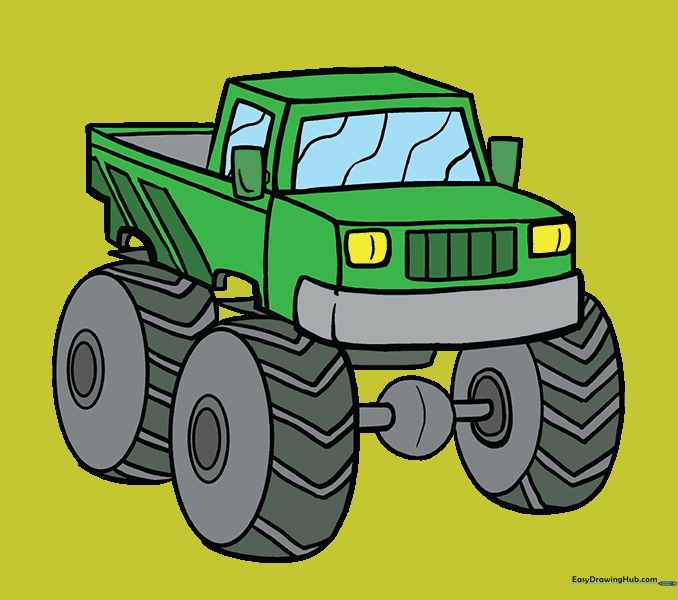
Bring your truck to life with bright colors! Tip: Use bold colors like red or blue for the body and dark grey for the tires.
More Tutorials


