How to Draw a Mockingbird: Simple 10-Step Guide
Ready to bring a songbird to life? This tutorial is perfect for young artists ages 5 and up. You will only need a pencil, an eraser, and some paper to practice capturing the graceful form of a mockingbird. Follow along to build your confidence and improve your observational drawing skills.
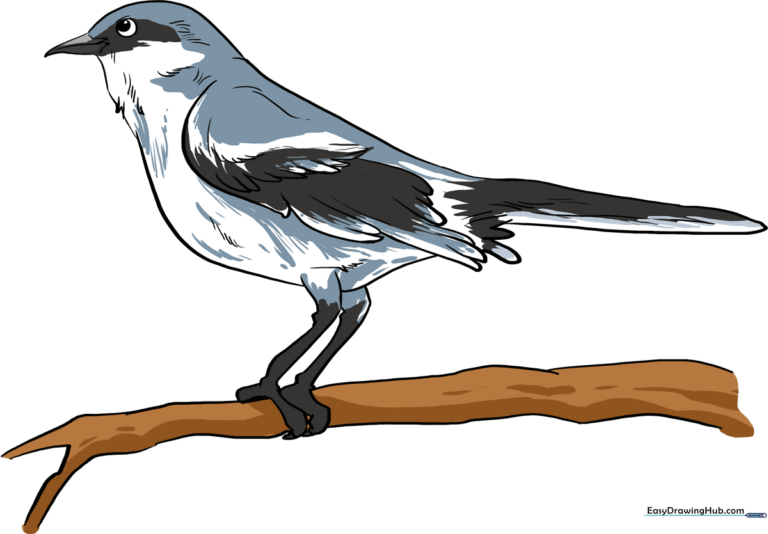
🎯 Final Result
Step-by-Step Instructions
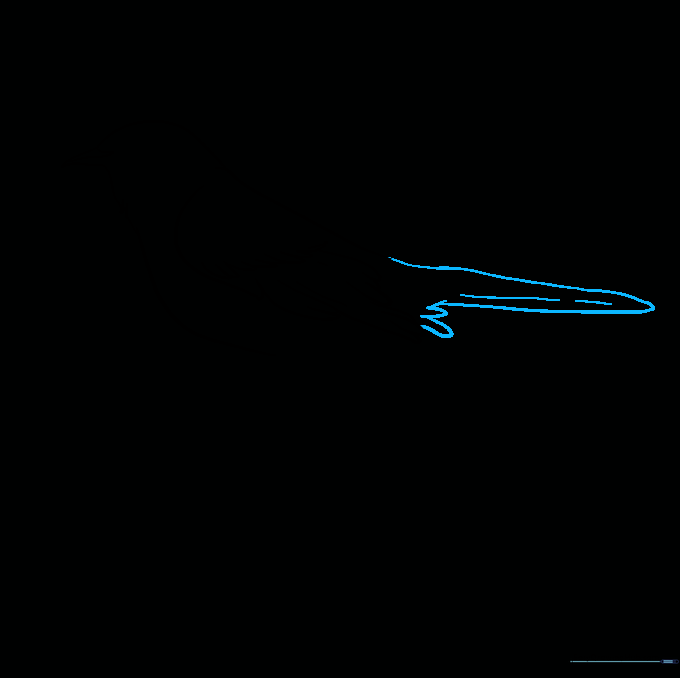
Step 1: Sketching the Head and Beak
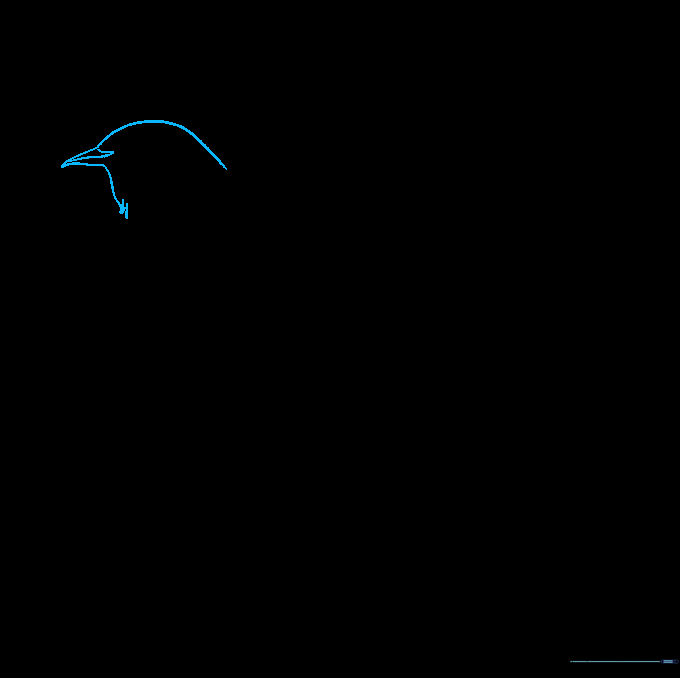
Draw a light, rounded shape for the head and a gentle curve for the neck. Connect them at a sharp, pointed angle to form the beak. Teacher's Tip: Keep your pencil pressure light here; you'll want to refine these lines later!
Step 2: Defining the Back and Chest
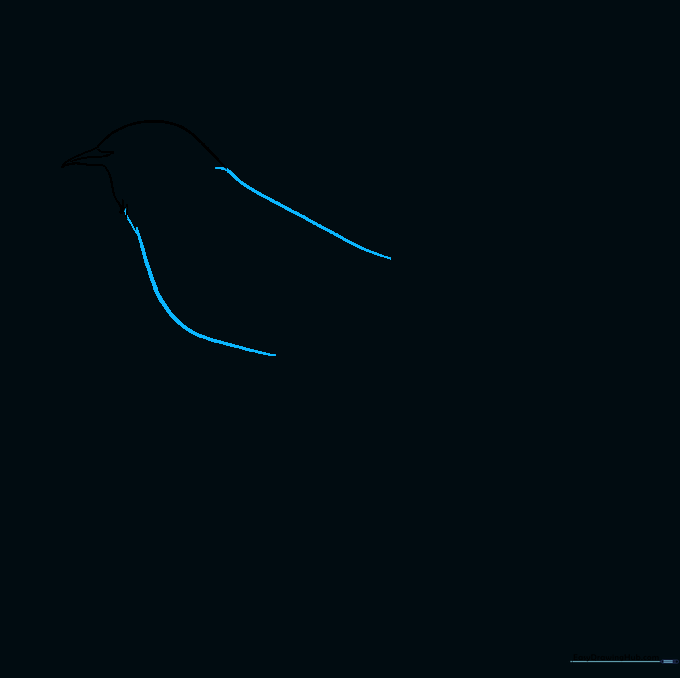
Extend long, sweeping curved lines from the neck to create the bird's back and chest. Teacher's Tip: Use a fluid motion with your wrist to get a smooth, natural curve rather than a jagged line.
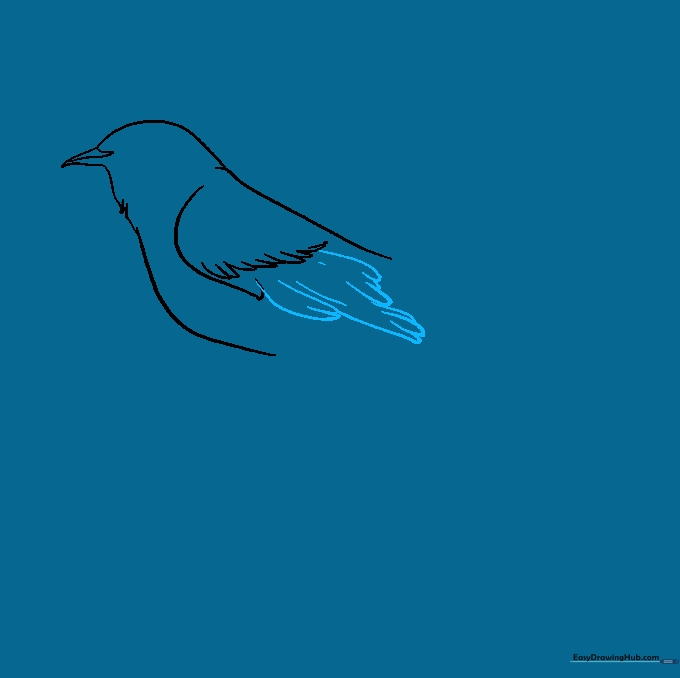
Step 3: Starting the Wing

Sketch the upper wing using a long, curved line that doubles back at the tip. Add a row of 'U' shaped lines to represent the primary feathers. Teacher's Tip: Keep your 'U' shapes consistent in size to make the feathers look organized.
Step 4: Extending the Wing
Continue the wing by adding longer, overlapping curved lines. Use more 'U' shapes to fill in the wing structure. Teacher's Tip: Overlapping your lines slightly creates a sense of depth and realism.
Step 5: Drawing the Tail
Draw a long, curved line from the back to form the tail, doubling it back to meet the wing. Add a few light lines for texture. Teacher's Tip: The tail should look like a natural extension of the back line.
Step 6: Adding the Legs
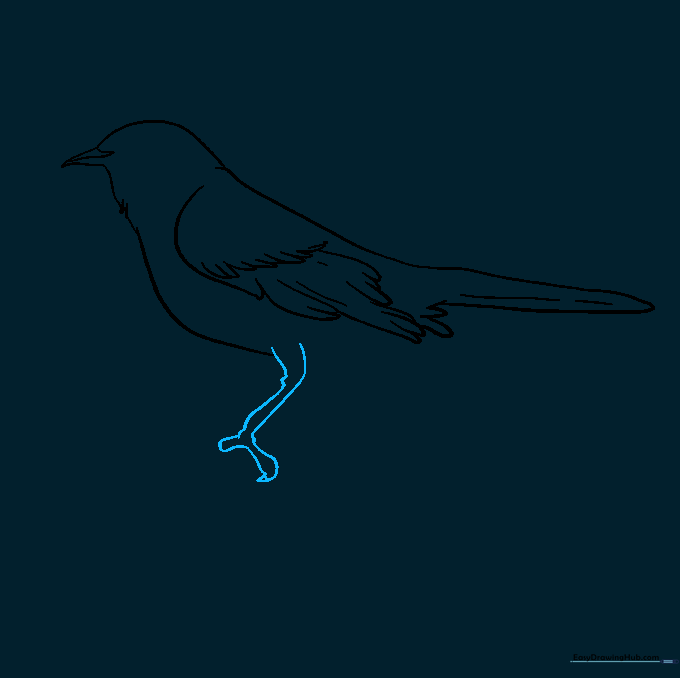
Sketch the legs using parallel curved lines, widening them at the base where they attach to the body. Add small 'U' shapes for the toes. Teacher's Tip: Think of the legs as two small sticks supporting the bird's weight.
Step 7: Connecting the Body
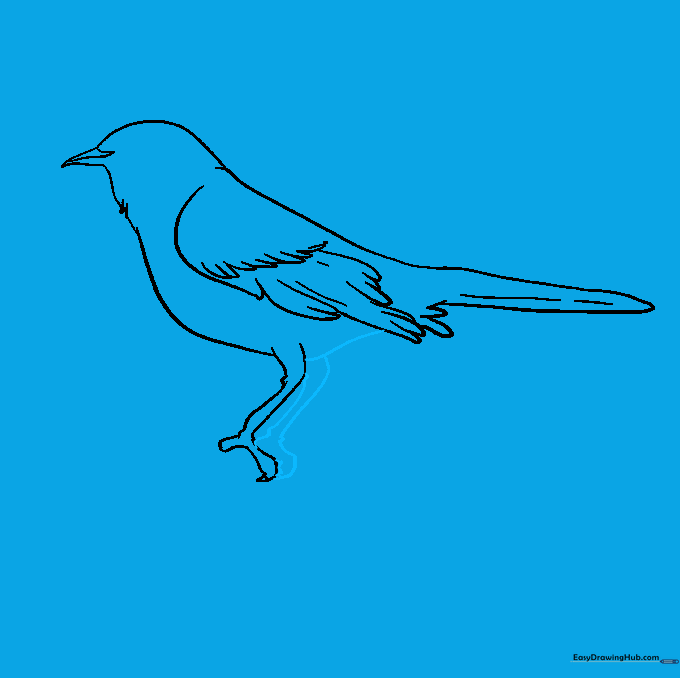
Close the body shape by connecting the legs to the wing with a smooth line. Add the second leg behind the first. Teacher's Tip: Ensure the body looks solid and connected to the legs.
Step 8: Adding Details and Texture
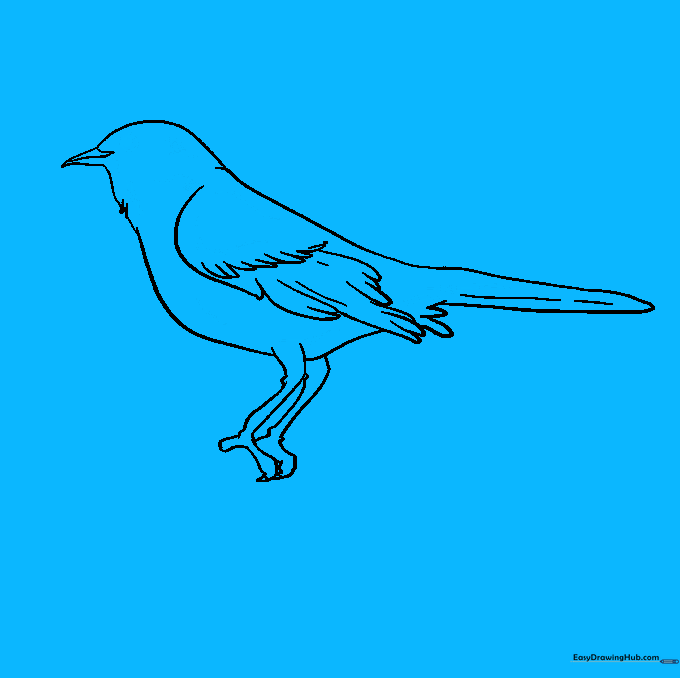
Draw a small circle for the eye with a dark pupil. Add short, quick lines across the body to simulate feathers. Teacher's Tip: Use short, flicking pencil strokes to make the feathers look fluffy.
Step 9: Drawing the Perch
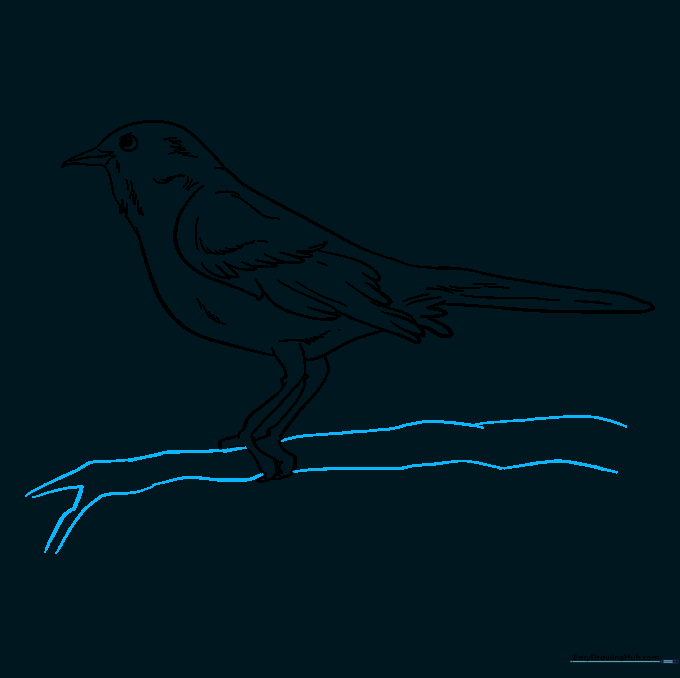
Draw a branch beneath the bird using two curved lines. Add a 'V' shape at the end to show a twig splitting off. Teacher's Tip: Vary the thickness of the branch to make it look more natural.
Step 10: Bringing it to Life with Color
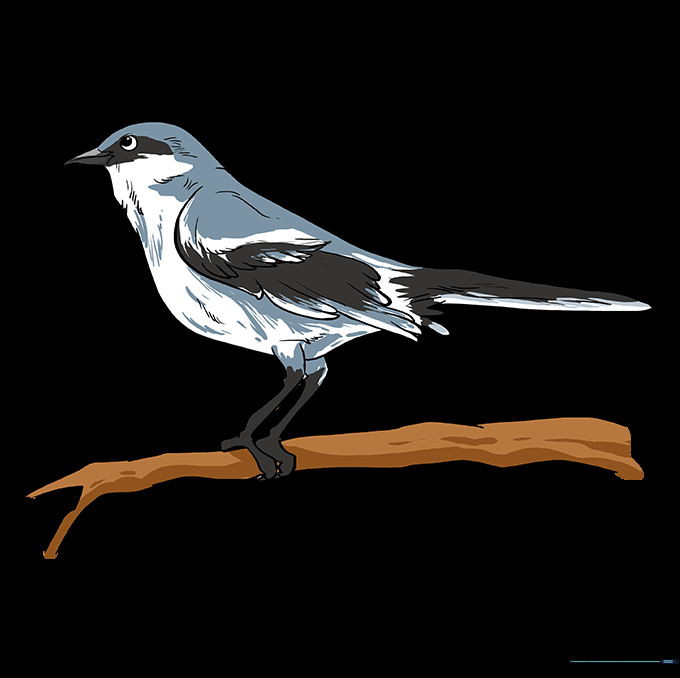
Color your mockingbird using shades of gray, brown, and cream. Keep the belly lighter to match real-life markings. Teacher's Tip: Use light pressure with your colored pencils to blend the gray and white areas smoothly.
More Tutorials


