How to Draw Mint Chocolate Chip Ice Cream: Easy 10-Step Guide
Ready to create a sweet treat? This tutorial is perfect for young artists ages 5 and up to practice basic shapes and textures. All you need is a pencil, an eraser, and your favorite coloring markers to bring this minty masterpiece to life.
🎯 Final Result

Step-by-Step Instructions
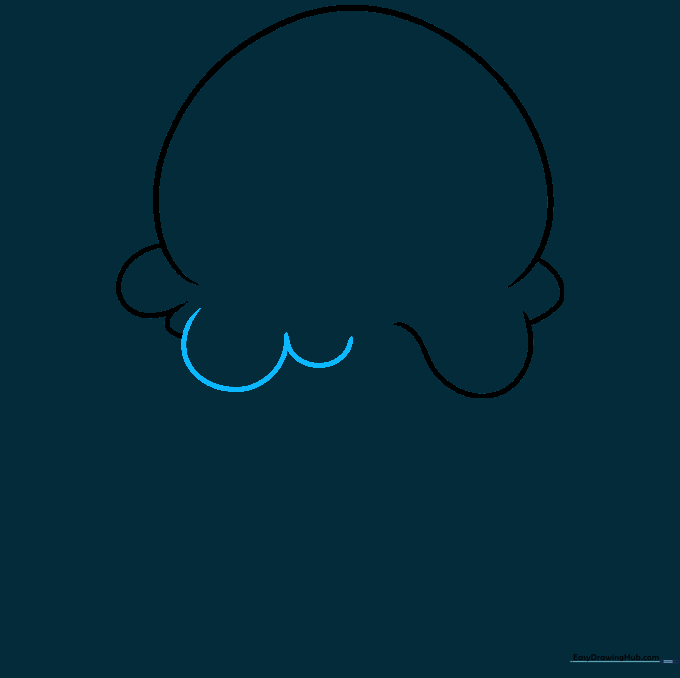
Step 1: Sketching the Scoop Base

Draw a long, gentle curved line to form the top of your scoop. Leave a small gap at the bottom for the texture. Teacher's Tip: Keep your pencil pressure light so you can easily adjust the shape if it looks a bit lopsided!
Step 2: Adding Scalloped Edges

Add overlapping curved lines along the sides of your scoop to create that 'drippy' ice cream look. Teacher's Tip: Think of these as little 'U' shapes connected together; keep them rounded to make the ice cream look soft and creamy.
Step 3: Defining the Bottom Scoop
Continue adding overlapping curved lines around the base of the scoop. Teacher's Tip: Vary the size of your curves slightly to make the ice cream look more natural and less like a perfect machine-made circle.
Step 4: Drawing the Cone
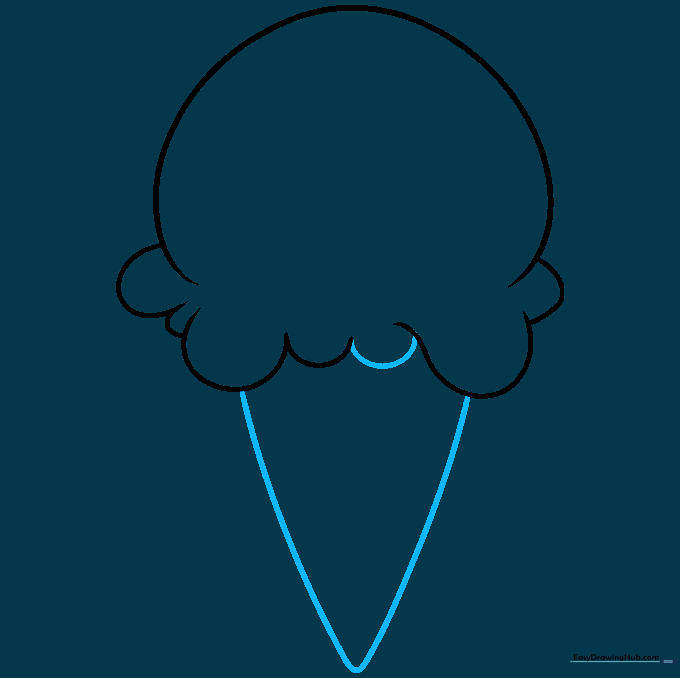
Close the scoop with a final curve, then draw two lines extending downward that meet at a point to form the cone. Teacher's Tip: Use a ruler if you struggle with straight lines, but freehand is better for a 'cartoon' style!
Step 5: Adding Scoop Texture
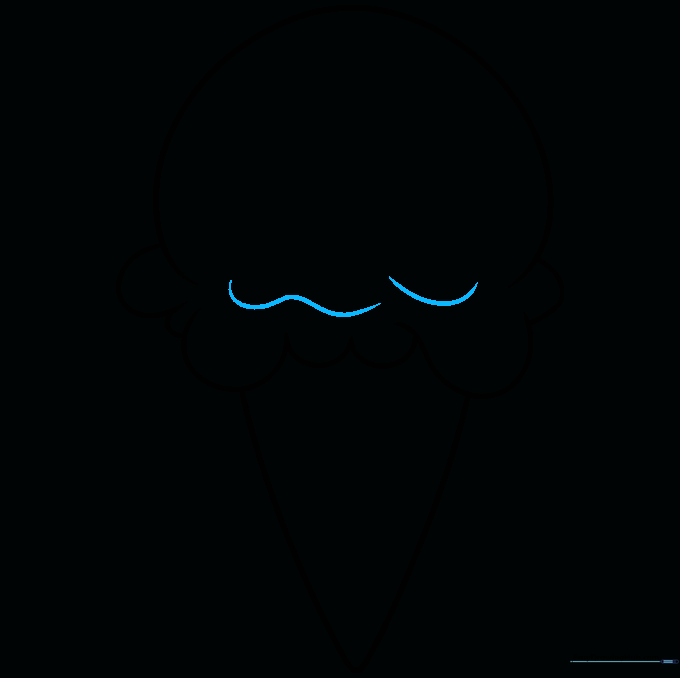
Add a few more curved lines along the bottom of the scoop to show depth. Teacher's Tip: These lines help the ice cream look like it's sitting heavily inside the cone.
Step 6: Creating the Waffle Pattern
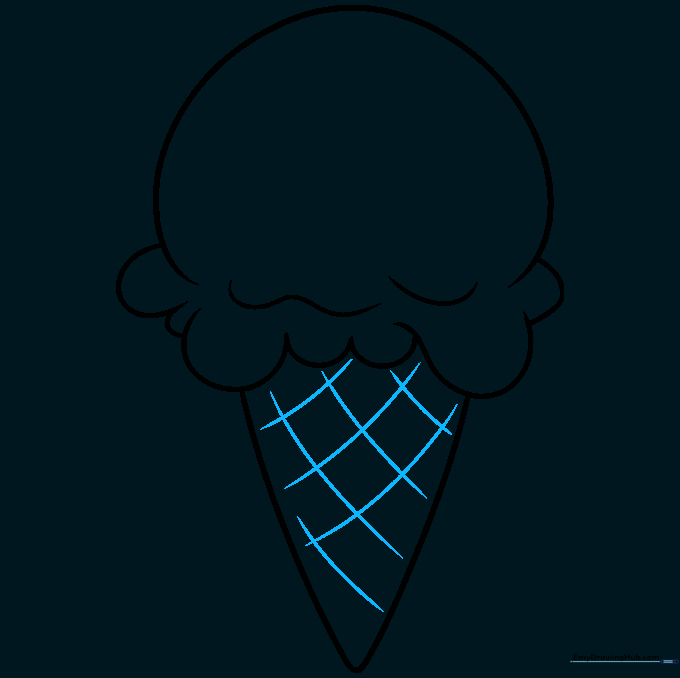
Draw diagonal lines across the cone in one direction, then repeat in the opposite direction to create a cross-hatch pattern. Teacher's Tip: Keep your spacing consistent to make the waffle pattern look professional.
Step 7: Adding Chocolate Chips
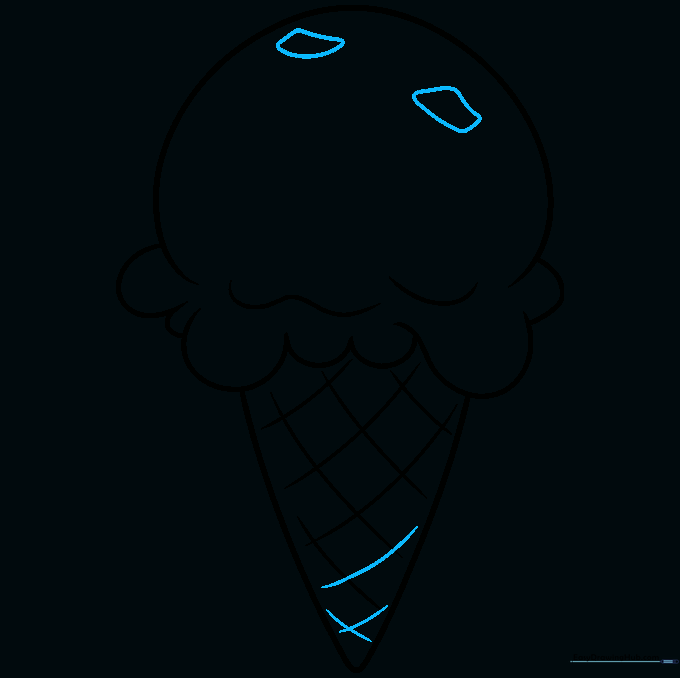
Start adding small, irregular shapes on the scoop to represent chocolate chips. Teacher's Tip: Don't make them perfect circles! Chips are jagged, so draw them with slightly uneven edges.
Step 8: More Chocolatey Goodness
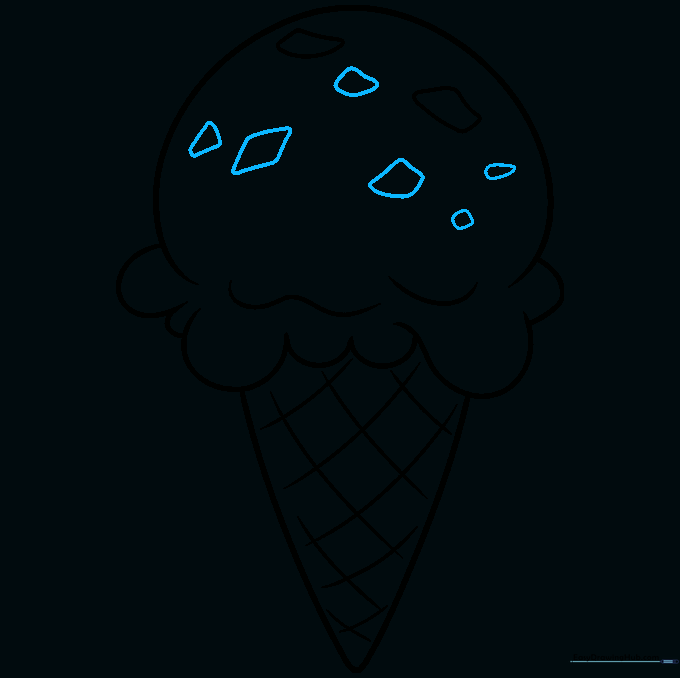
Fill in more of the scoop with additional chocolate chip shapes. Teacher's Tip: Vary the size of the chips—some big, some small—to make it look realistic.
Step 9: Final Touches
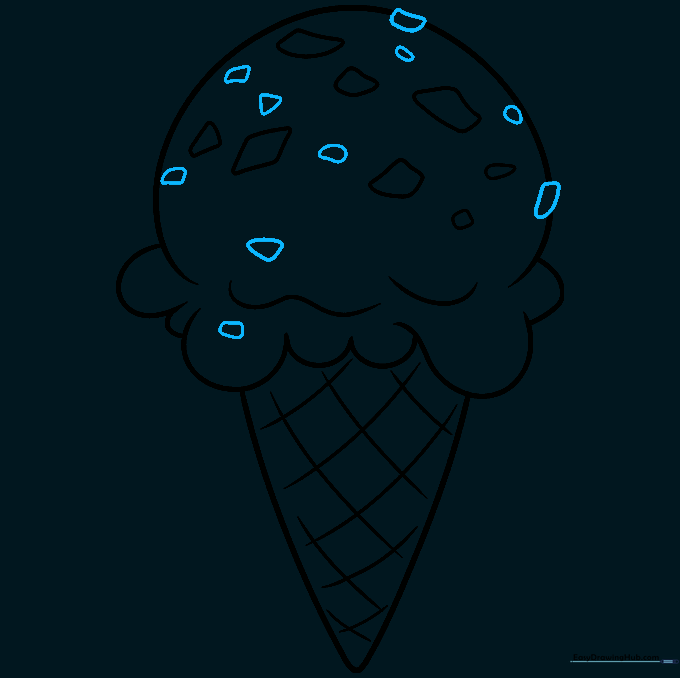
Add a few final chips near the edges and erase any overlapping lines to clean up your drawing. Teacher's Tip: Use a kneaded eraser if you have one; it's great for picking up small graphite smudges.
Step 10: Bring It to Life with Color

Time to color! Use a soft mint green for the ice cream and a rich brown for the chips. Teacher's Tip: Try using two shades of green—a lighter one for the base and a slightly darker one for shadows—to give your drawing a 3D look!
More Tutorials


