How to Draw a Minion: Easy 10-Step Guide for Kids
Ready to bring a mischievous Minion to life? This tutorial is perfect for ages 5 and up, requiring only a pencil, paper, and an eraser. Follow these simple steps to build confidence in your drawing skills while creating your very own yellow sidekick.
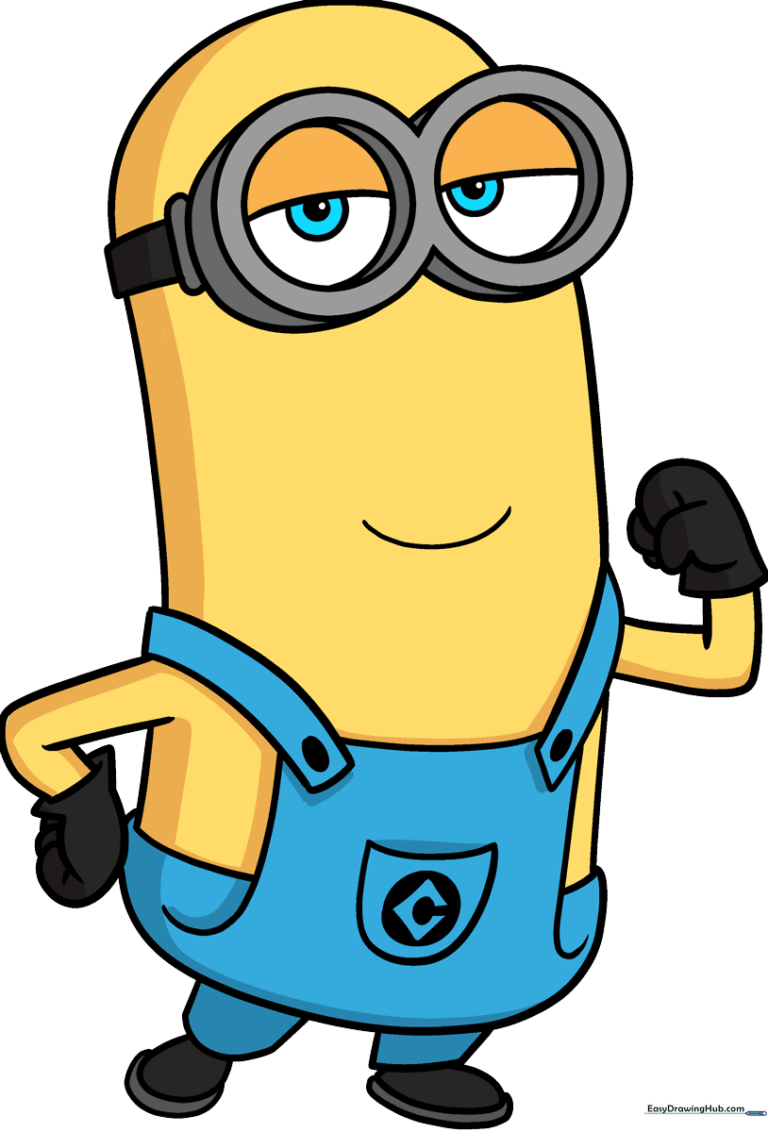
🎯 Final Result
Step-by-Step Instructions
Step 1: Sketching the Eyes
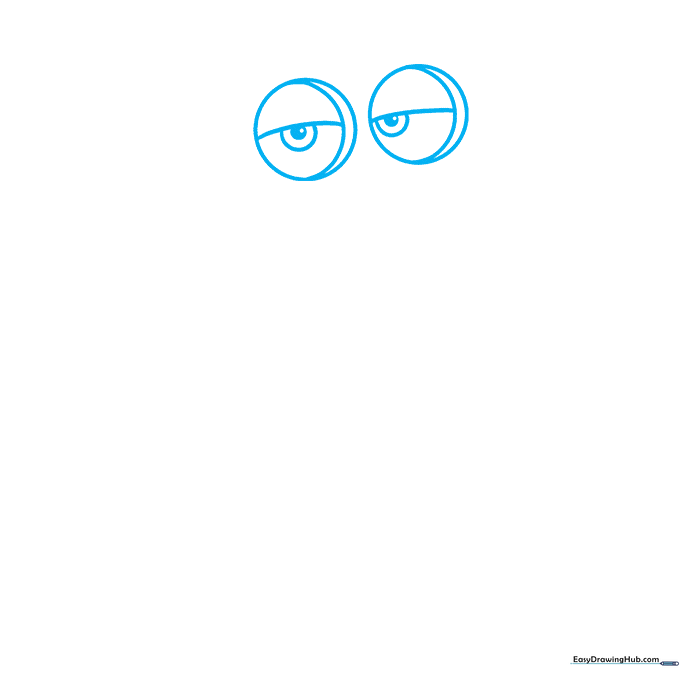
Start by drawing two large circles for the goggles. Add a curved line inside each to create the eyelids. Tip: Draw these lightly—if they aren't perfectly symmetrical, it just adds character to your Minion!
Step 2: Defining the Goggles
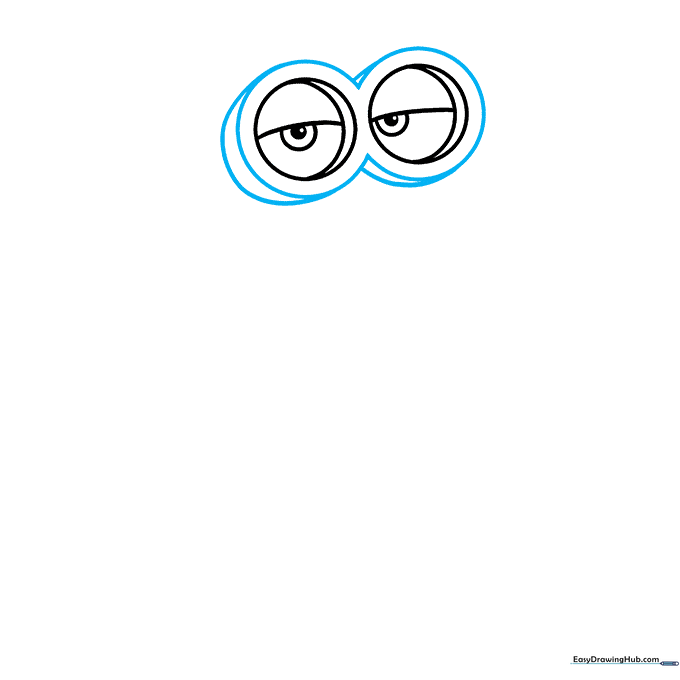
Outline the goggles by drawing a peanut-shaped frame around the eyes. Add small curved lines on the outer edges to give the goggles a 3D depth. Tip: Keep your pencil strokes smooth and rounded.
Step 3: The Head and Strap
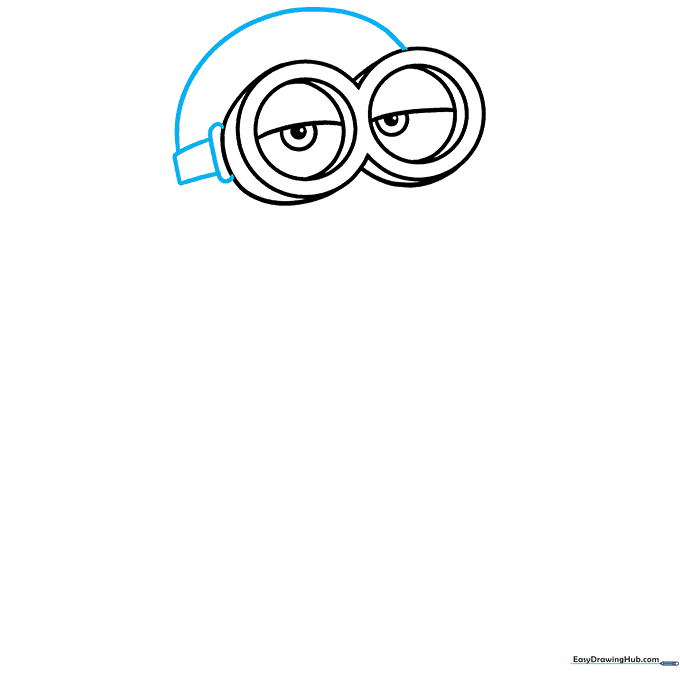
Draw two small rectangles on the side of the goggles for the strap. Then, draw a long, smooth curved line over the top to form the head. Tip: Imagine you are drawing the top of a pill shape.
Step 4: Body and Smile
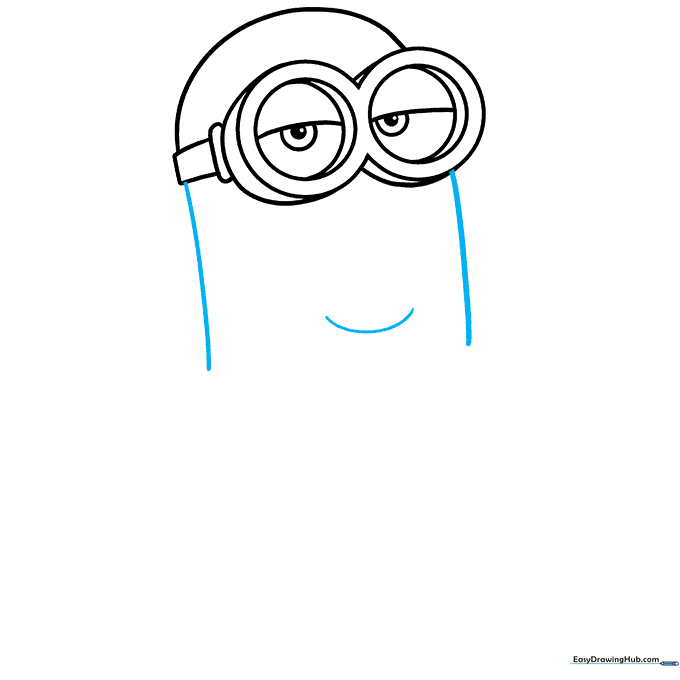
Extend two long, parallel lines down from the goggles to create the sides of the body. Add a wide, curved line for a big smile. Tip: A wider smile makes your Minion look extra happy!
Step 5: Overall Straps
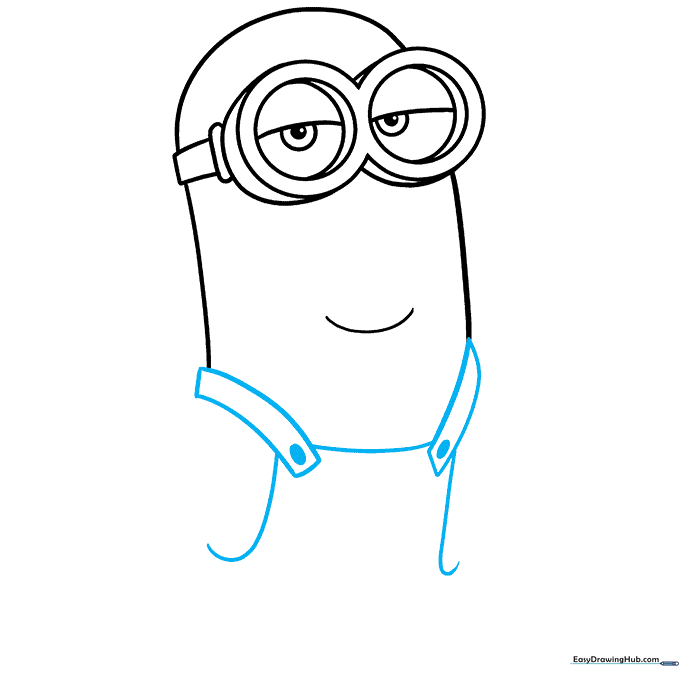
Draw two curved rectangles on the shoulders for the overall straps, adding a small circle on each for the buttons. Use three lines to create the bib of the overalls. Tip: Ensure the bib is centered under the chin.
Step 6: Shaping the Overalls
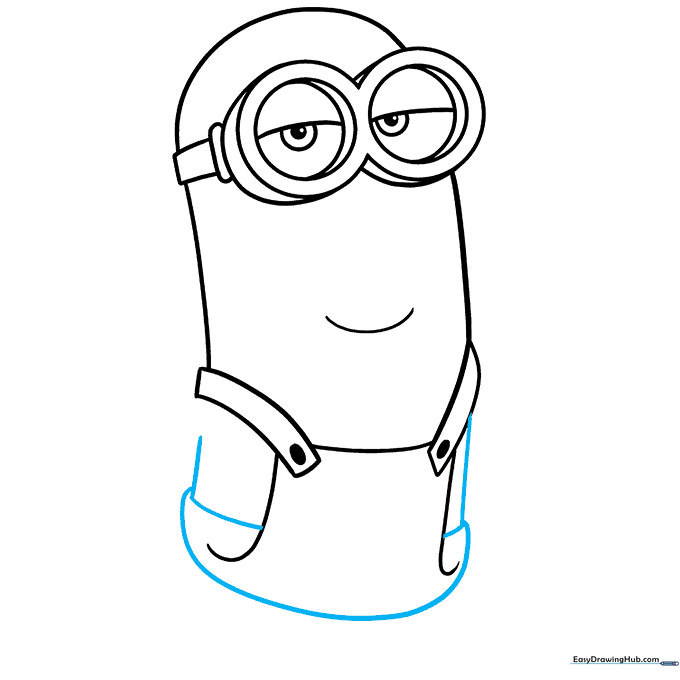
Continue the lines from the bib down the sides to form the bottom of the overalls. Tip: Keep the lines curved to give the Minion a soft, rounded shape.
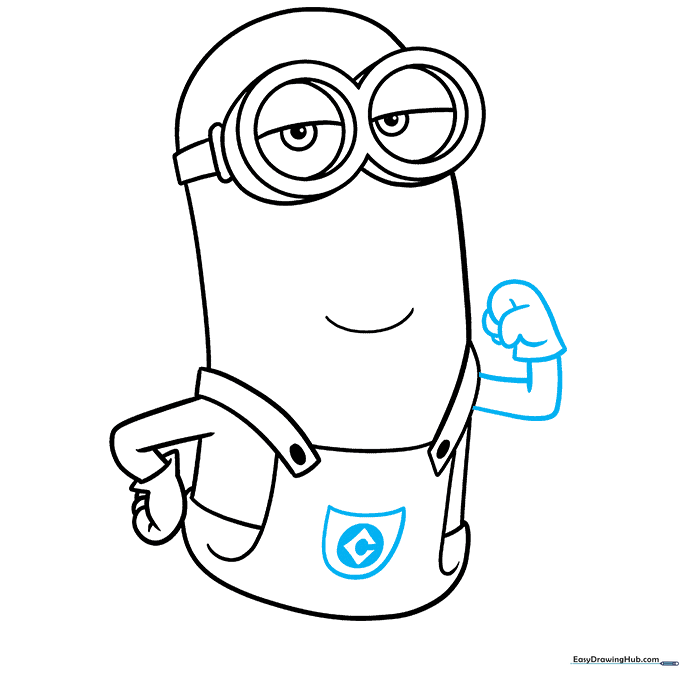
Step 7: Arms and Gloves
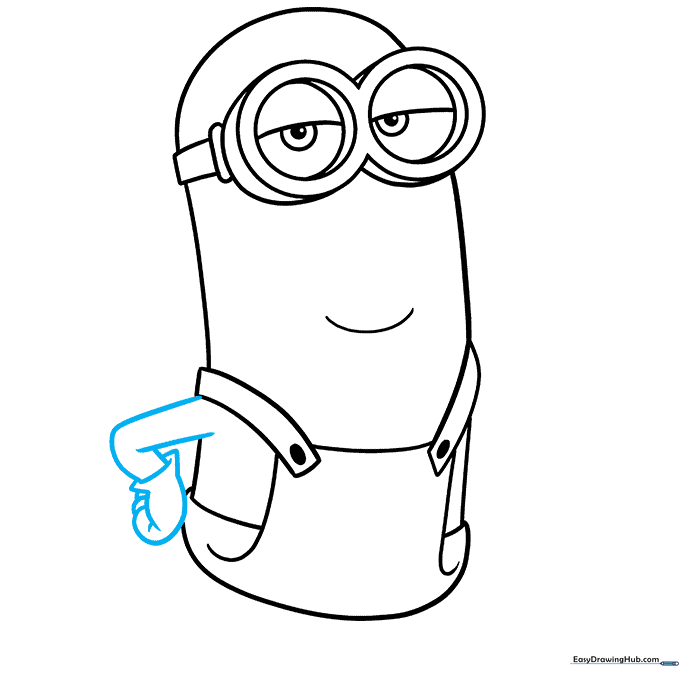
Draw the arms bent at the elbows using two curved lines. Sketch the gloved hands at the ends. Tip: Use overlapping lines to make the gloves look like they have fingers.
Step 8: Adding the Logo
Draw the pocket on the front of the overalls, and add the 'G' logo inside a circle. Shade around the letter. Tip: Take your time with the 'G' to make it look neat.
Step 9: Legs and Shoes
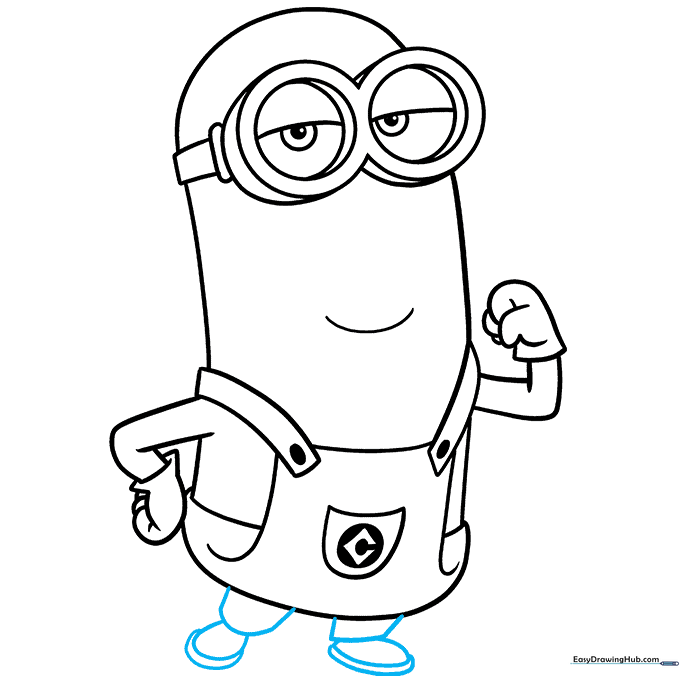
Finish the drawing by adding the legs and shoes at the bottom. Tip: Keep the shoes small and rounded to match the Minion's cute style.
Step 10: Bring it to Life with Color
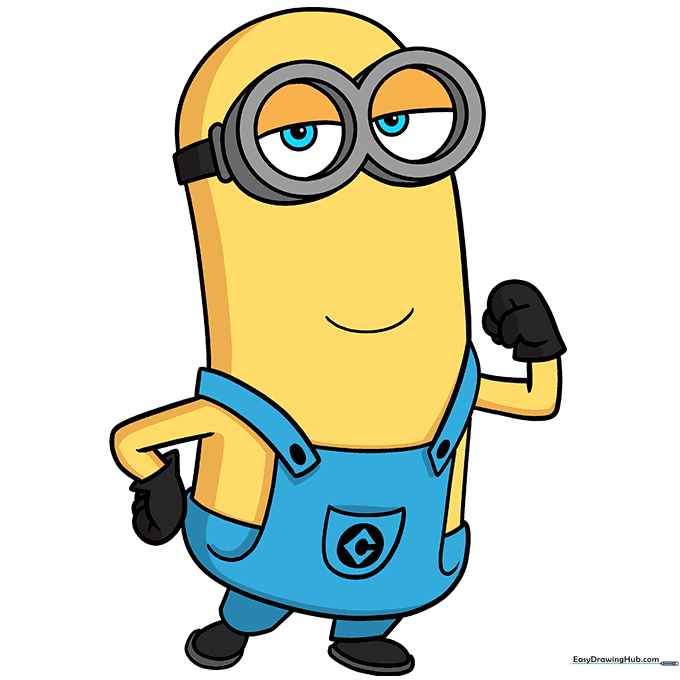
Time to color! Use bright yellow for the skin, blue for the overalls, and black for the gloves and shoes. Tip: Use light pressure with your colored pencils to get an even, vibrant finish.
More Tutorials


