How to Draw a Cute Milkshake: Easy Step-by-Step Guide
Ready to draw a delicious treat? This tutorial is perfect for young artists ages 5 and up. All you need is a pencil, an eraser, and your favorite markers to bring this sweet, smiling milkshake to life.
🎯 Final Result

Step-by-Step Instructions
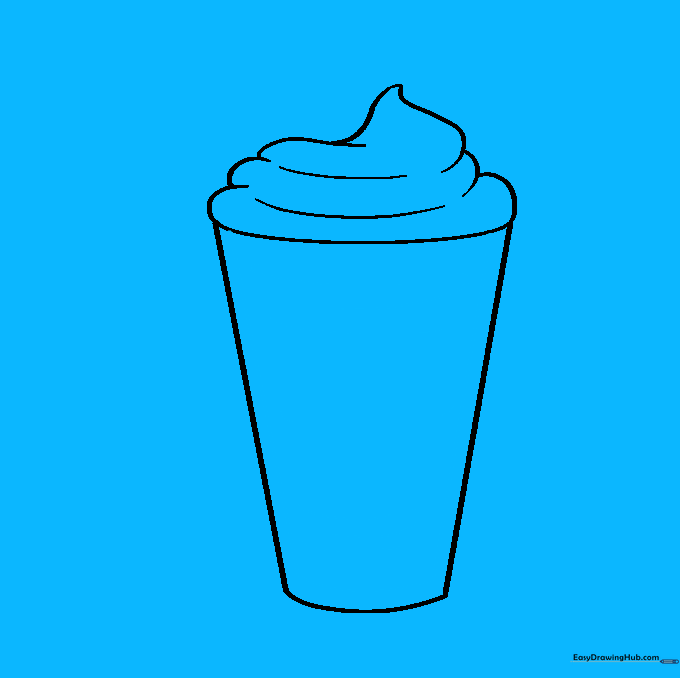
Step 1: Sketching the Glass Rim

Draw a narrow, horizontal oval to create the top opening of your glass. Teacher's Tip: Keep your pencil pressure light so you can easily erase the top half later when we add the whipped cream.
Step 2: Shaping the Glass

Draw two diagonal lines moving downward from the oval, then connect them with a curved base. Tip: Think of this as a 'V' shape with a rounded bottom to give it that classic diner-glass look.
Step 3: Adding Whipped Cream

Erase the top line of your oval and replace it with soft, overlapping 'cloud' shapes. Tip: Use a wavy motion with your wrist to make the cream look fluffy and light.
Step 4: Defining the Milkshake
Draw lines inside the glass that follow the outer shape to show the liquid level. Add a few small curved lines inside to suggest the texture of the ice cream. Tip: Keep these lines parallel to the glass edges for a clean look.
Step 5: Drawing the Cherry
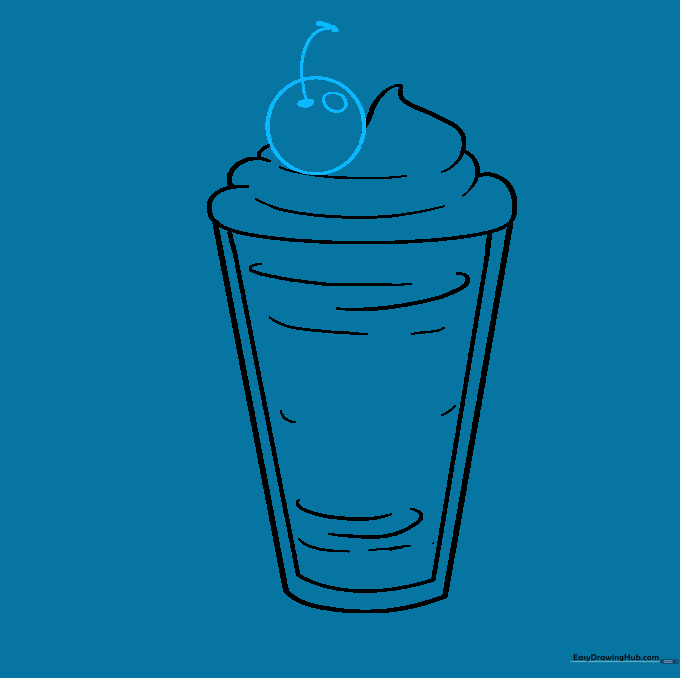
Place a small circle on top of the whipped cream and add a curved stem. Tip: Draw a tiny white circle inside the cherry to represent a highlight—it makes the fruit look shiny and fresh!
Step 6: Adding a Wafer Cookie

Draw a rectangle sticking out of the whipped cream. Add diagonal crosshatch lines to give it that crunchy, textured wafer look. Tip: Use a ruler if you want the lines to be perfectly straight.
Step 7: Drawing the Straw
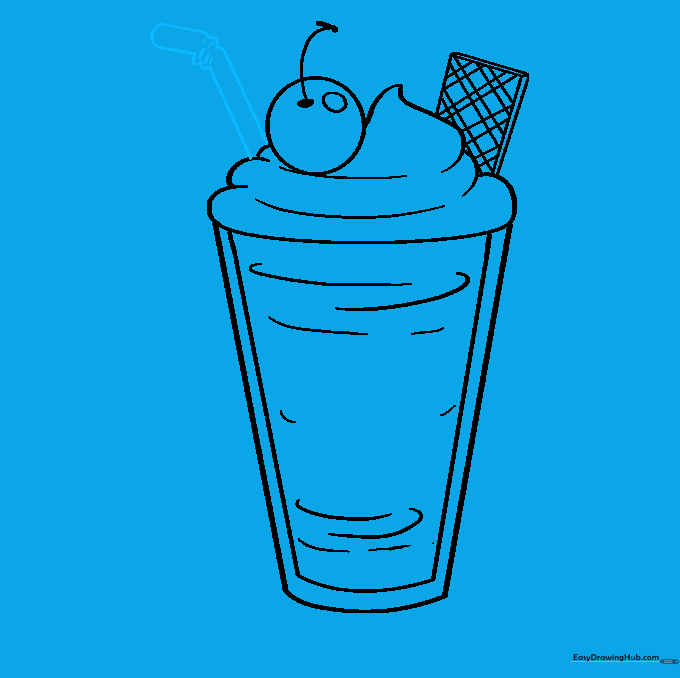
Draw two parallel lines extending upward, adding a small 'bend' in the middle. Tip: Make the straw look like it's tucked into the whipped cream by stopping the lines right where they meet the cream.
Step 8: Giving Your Milkshake a Face

Add two large eyes, a nose, and a happy, licking mouth on the glass. Tip: Use different sized circles for the eyes to give your character a unique personality!
Step 9: Adding the Base
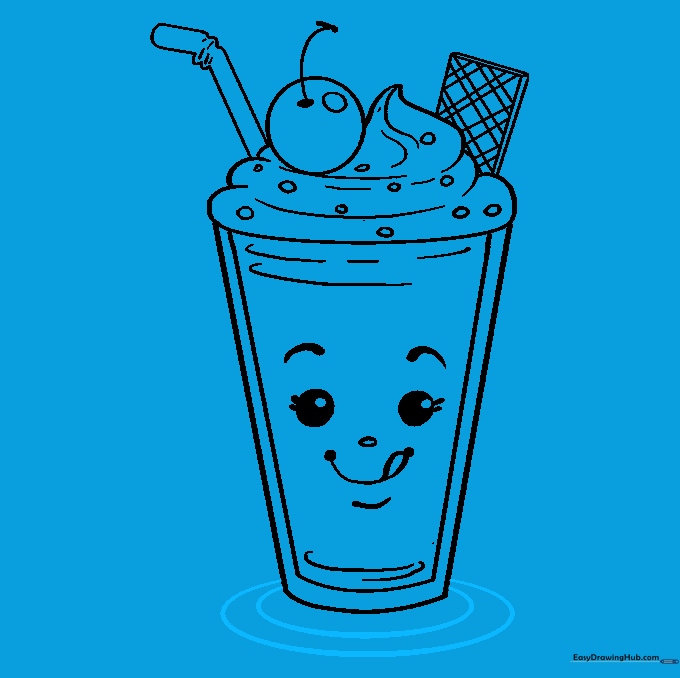
Draw two larger ovals at the bottom of the glass to create a sturdy, fancy base. Tip: This grounds your drawing and makes it look like a real glass sitting on a table.
Step 10: Time to Color!
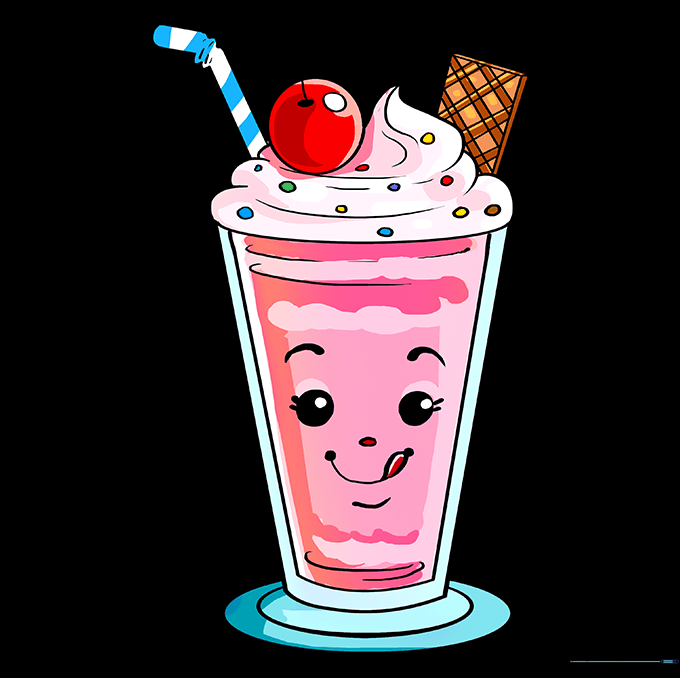
Bring your milkshake to life with color! Use pink for strawberry, brown for chocolate, or white for vanilla. Add some colorful dots for sprinkles. Tip: Use light and dark shades of the same color to add depth and make it look 3D.
More Tutorials


