How to Draw a Meteor: Easy 10-Step Space Art Guide
Ready to blast off into space art? This tutorial is perfect for young artists ages 5+ looking to capture the speed of a falling star. All you need is a pencil, an eraser, and some paper to create your own cosmic masterpiece.
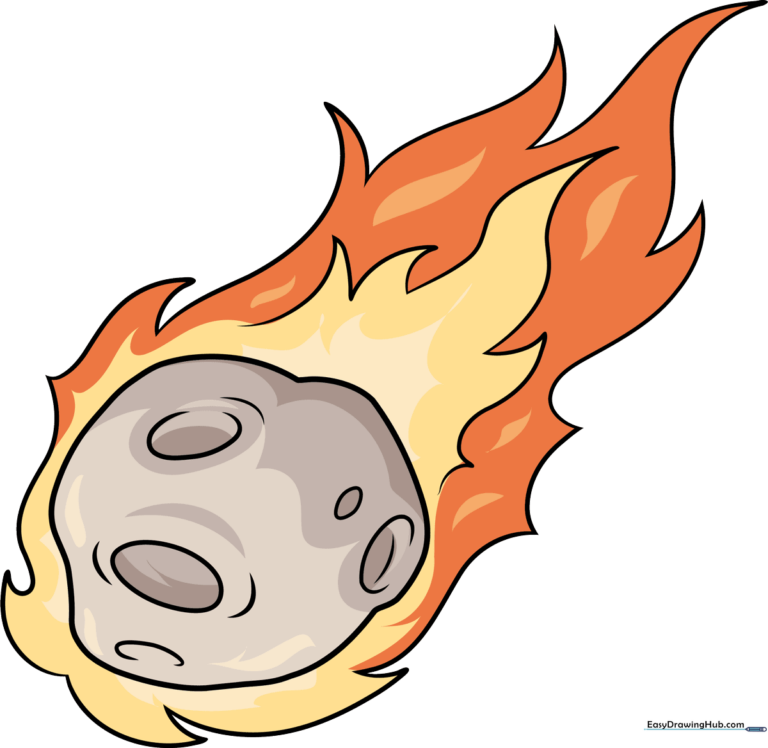
🎯 Final Result
Step-by-Step Instructions
Step 1: Sketching the Meteor Core
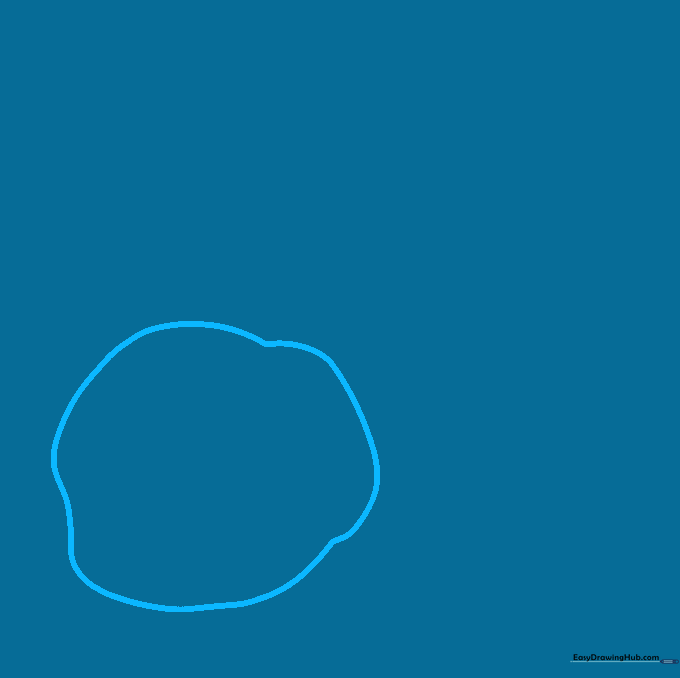
Draw a lumpy, irregular circle to form the main body of the meteor. Teacher's Tip: Don't worry about making it perfect—space rocks are jagged and uneven, so the wobblier, the better!
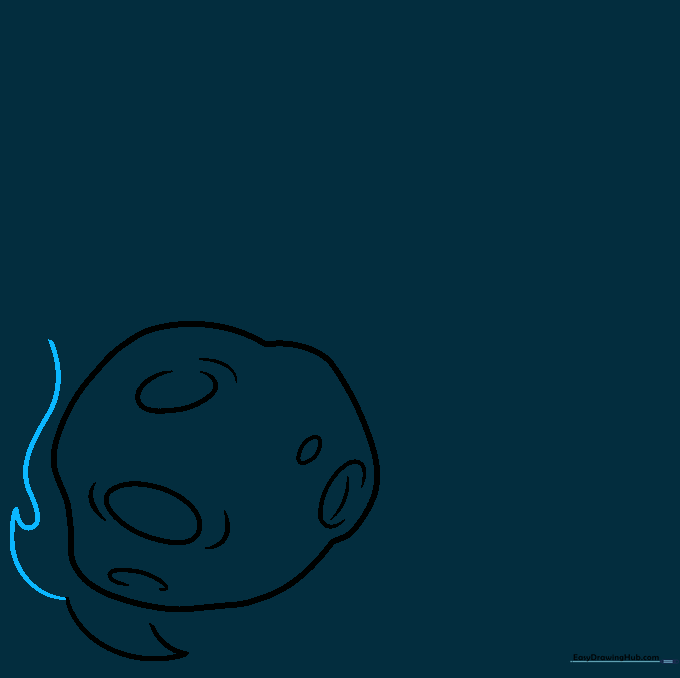
Step 2: Adding Crater Details
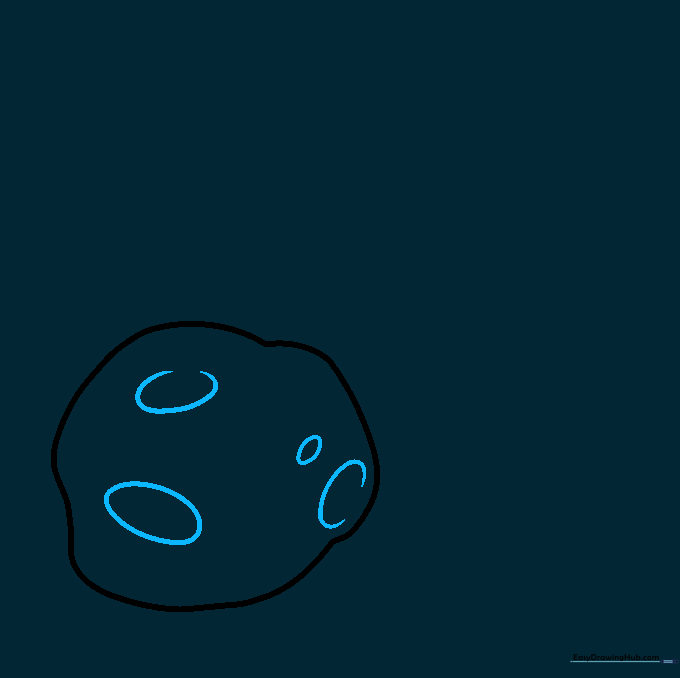
Add a few small ovals and 'C' shaped curves inside the main shape to represent craters. Teacher's Tip: Vary the sizes of these shapes to give your meteor a realistic, textured look.
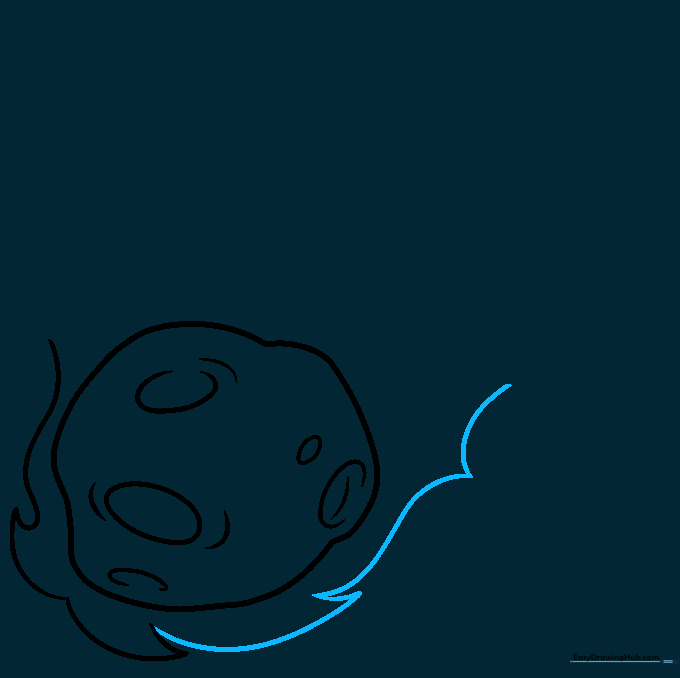
Step 3: Starting the Heat Trail
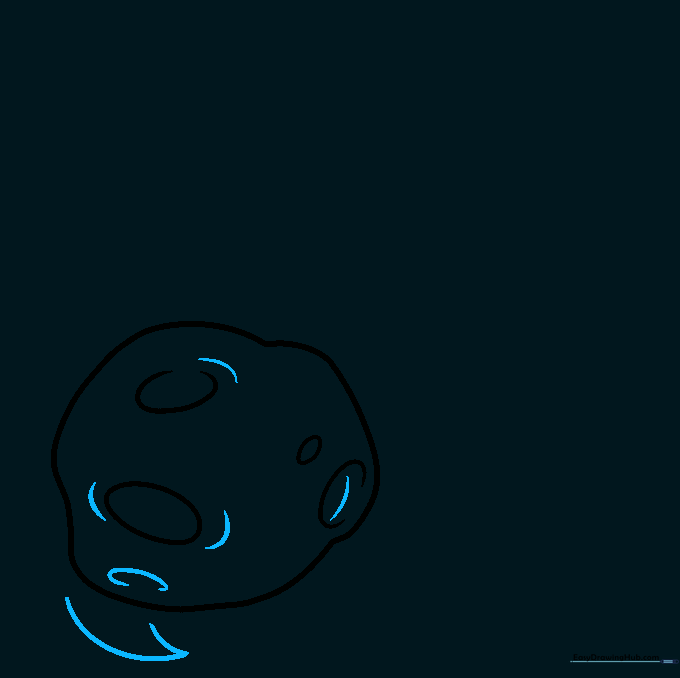
Begin drawing the flames by adding curved lines that meet at sharp, jagged points behind the meteor. Teacher's Tip: Think of these as 'fire spikes' trailing away from the rock.
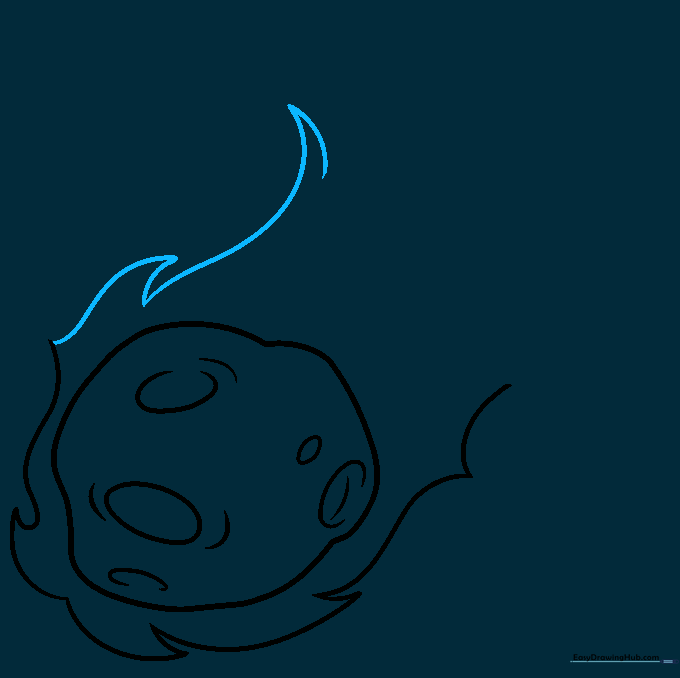
Step 4: Expanding the Flames
Add more flame layers using a mix of long and short curved lines. Teacher's Tip: Keep your wrist loose to make the lines look fluid and energetic.
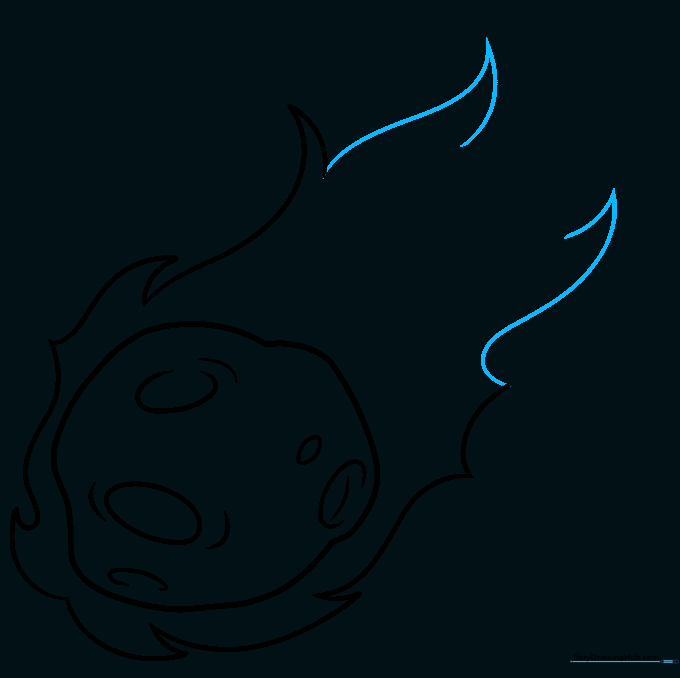
Step 5: Building the Fire Glow
Continue adding more jagged flame shapes around the base of the meteor. Teacher's Tip: Overlap some of your lines to create a sense of depth and intensity.
Step 6: Extending the Trail
Extend the flames further back. Teacher's Tip: Imagine the meteor is moving very fast—the flames should look like they are stretching out behind it.
Step 7: Creating the Streak
Draw long, sweeping curved lines to form the main path of the meteor's tail. Teacher's Tip: Use a long, continuous motion for these lines to show speed.
Step 8: Refining the Tail
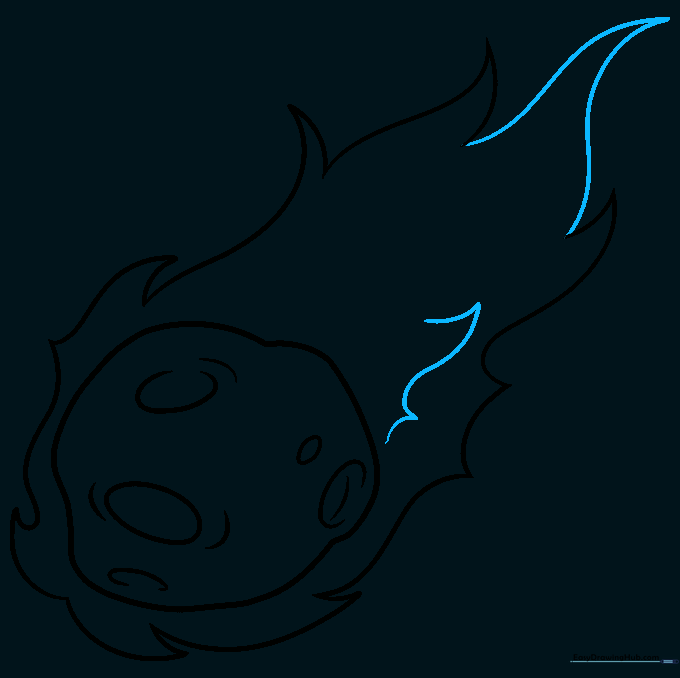
Complete the tail by connecting the lines into sharp points. Add small, pointed details near the rock to show where the heat is hottest. Teacher's Tip: Focus on making the points sharp to mimic real fire.
Step 9: Final Touches
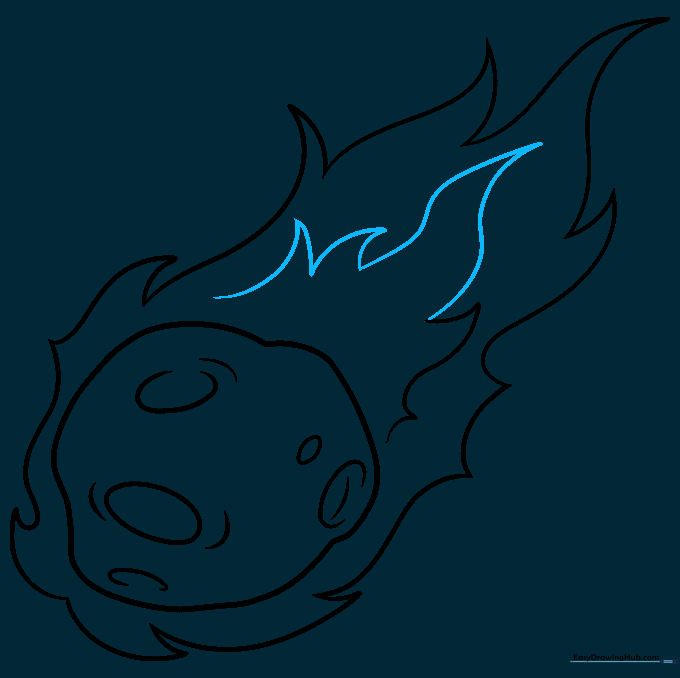
Add a few final jagged lines throughout the tail to give it texture. Teacher's Tip: This is a great time to erase any overlapping guidelines from your initial sketch.
Step 10: Bringing it to Life with Color
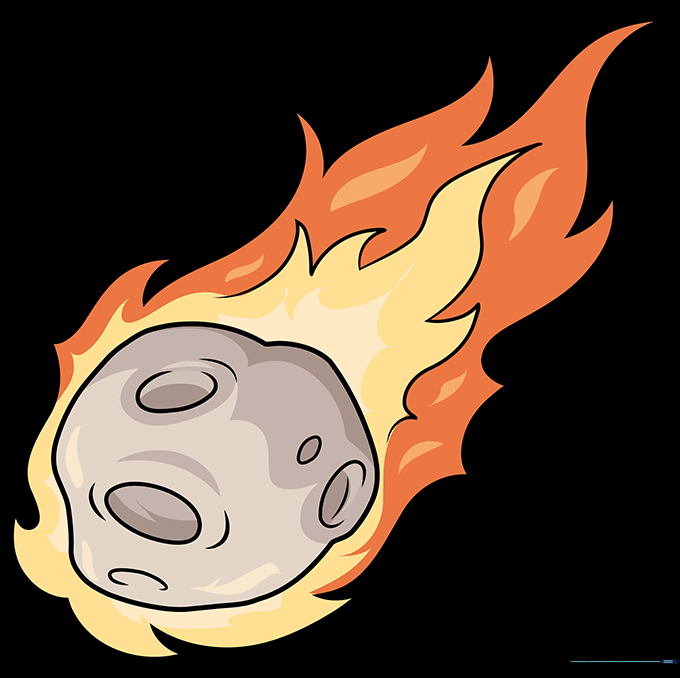
Color your meteor! Use bright oranges, yellows, and reds for the flames. Teacher's Tip: Use a white or light yellow pencil to color the center of the flames to make them look like they are glowing hot.
More Tutorials


