How to Draw a Merry Christmas Card: Easy 10-Step Guide
Looking for a creative, screen-free holiday activity? This tutorial is perfect for artists ages 7+ to design their own festive greeting card. You will need a pencil, eraser, paper, and your favorite markers or colored pencils to bring this jolly scene to life.
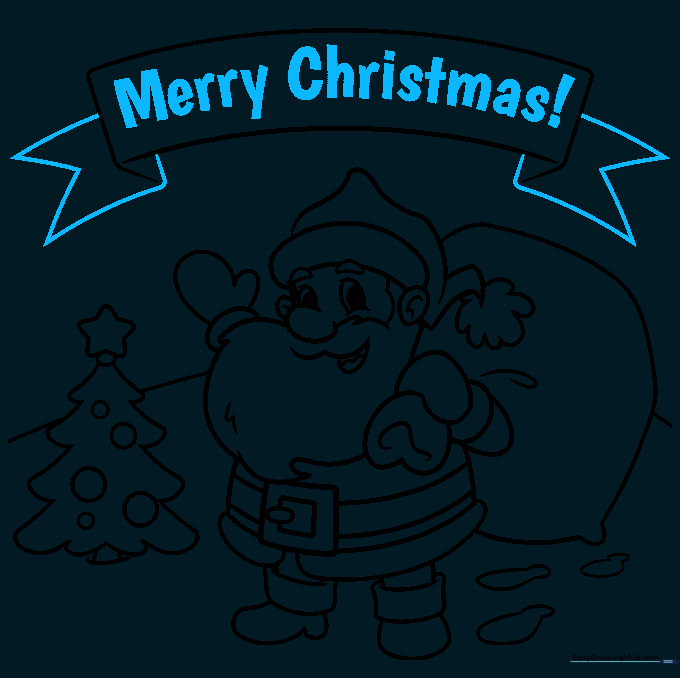
🎯 Final Result

Step-by-Step Instructions
Step 1: Sketching Santa's Face

Start by drawing Santa’s facial features. Use light, curved lines for the eyebrows, eyes, and nose. Teacher's Tip: Keep your pencil pressure light so you can easily refine the shapes later if needed.
Step 2: Defining the Head and Hat Brim

Outline the sides of the face, ears, and his joyful open mouth. Add the brim of his hat using a smooth, curved line. Teacher's Tip: Ensure the mouth is centered to keep Santa looking friendly and symmetrical.
Step 3: Adding the Beard and Hat

Use jagged, zig-zag lines to create a fluffy beard. Then, draw the floppy top of the hat and a round, cloud-like pom-pom. Teacher's Tip: Vary the length of your zig-zags to make the beard look more natural and textured.
Step 4: Drawing the Toy Sack

Sketch the arm, mitten, and the large sack filled with toys. Use a long, sweeping curved line for the back of the sack. Teacher's Tip: Keep the sack shape bulky to show that Santa is ready for a busy night!
Step 5: Detailing the Torso and Belt
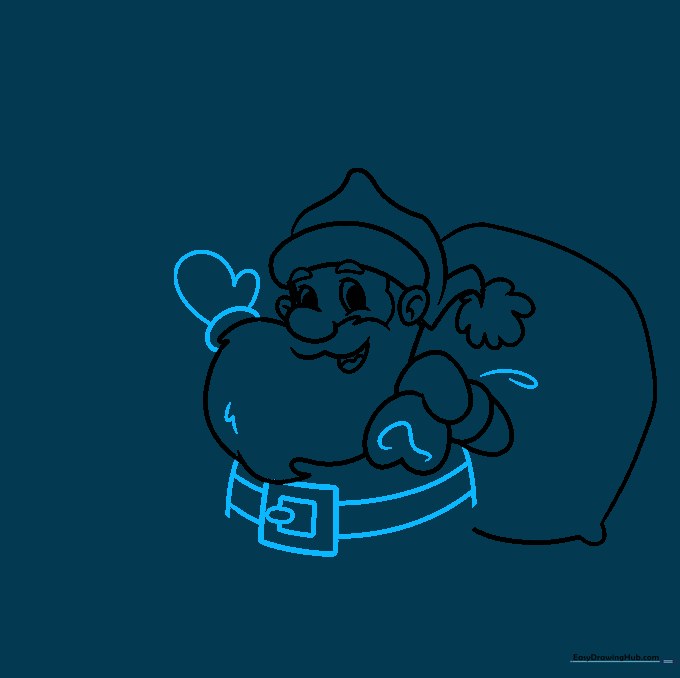
Draw the torso and a belt with a central buckle. Use two squares to create the buckle detail. Teacher's Tip: Draw the belt slightly curved to follow the roundness of Santa's belly.
Step 6: Adding Legs and Boots
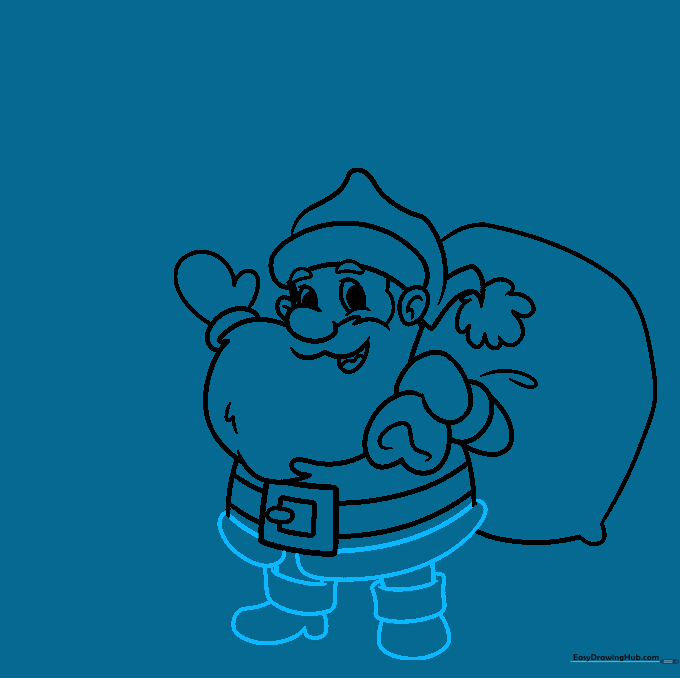
Sketch the hem of the coat, legs, and boots. Teacher's Tip: Keep the boots wide at the bottom to give Santa a sturdy, grounded look.
Step 7: Drawing the Christmas Tree
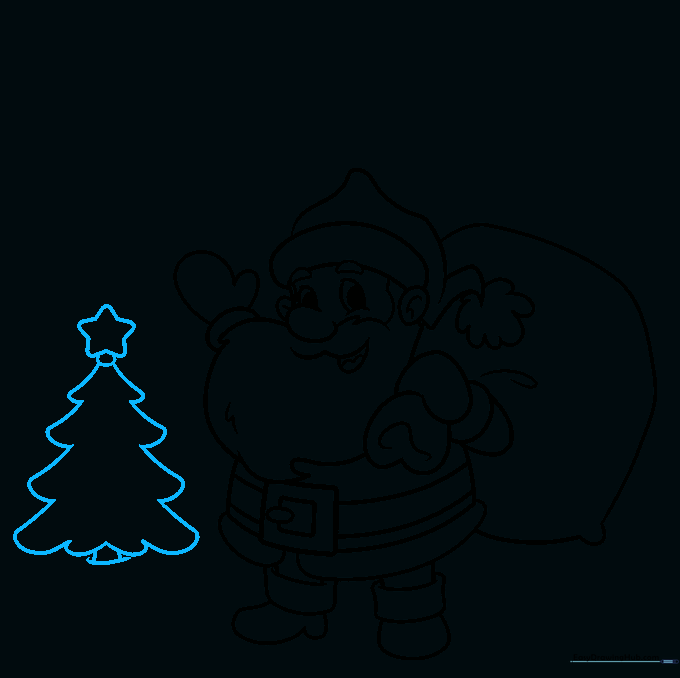
Draw a Christmas tree in the background with layered boughs and a star on top. Teacher's Tip: Start with a triangle shape to keep the tree proportions balanced before adding the bough details.
Step 8: Adding Background Details
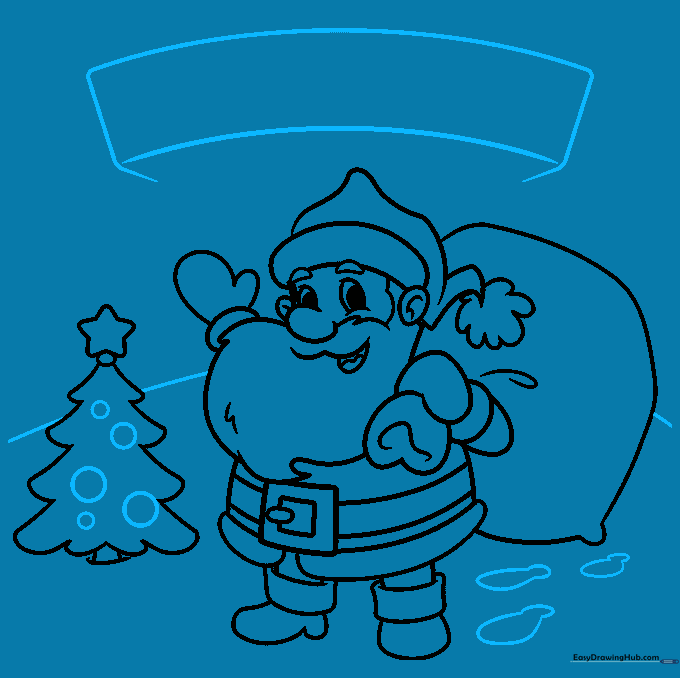
Add ornaments to the tree and footprints in the snow. Sketch a banner rectangle across the top. Teacher's Tip: Keep the banner lines loose so they look like flowing fabric.
Step 9: Finishing the Banner
Add ribbon ends to the banner and write 'Merry Christmas!' inside. Teacher's Tip: Use a pencil to lightly map out your letters before using a marker to ensure they fit perfectly.
Step 10: Adding Color

Bring your card to life with festive reds, greens, and golds. Teacher's Tip: Use light pressure for a soft look or heavy pressure for vibrant, bold colors.
More Tutorials


