How to Draw a Melting Candle: Easy 10-Step Guide
Bring a cozy, artistic glow to your sketchbook with this melting candle tutorial. Designed for young artists ages 6+, this project focuses on mastering organic, flowing lines and symmetry. All you need is a pencil, an eraser, and a piece of paper to get started.
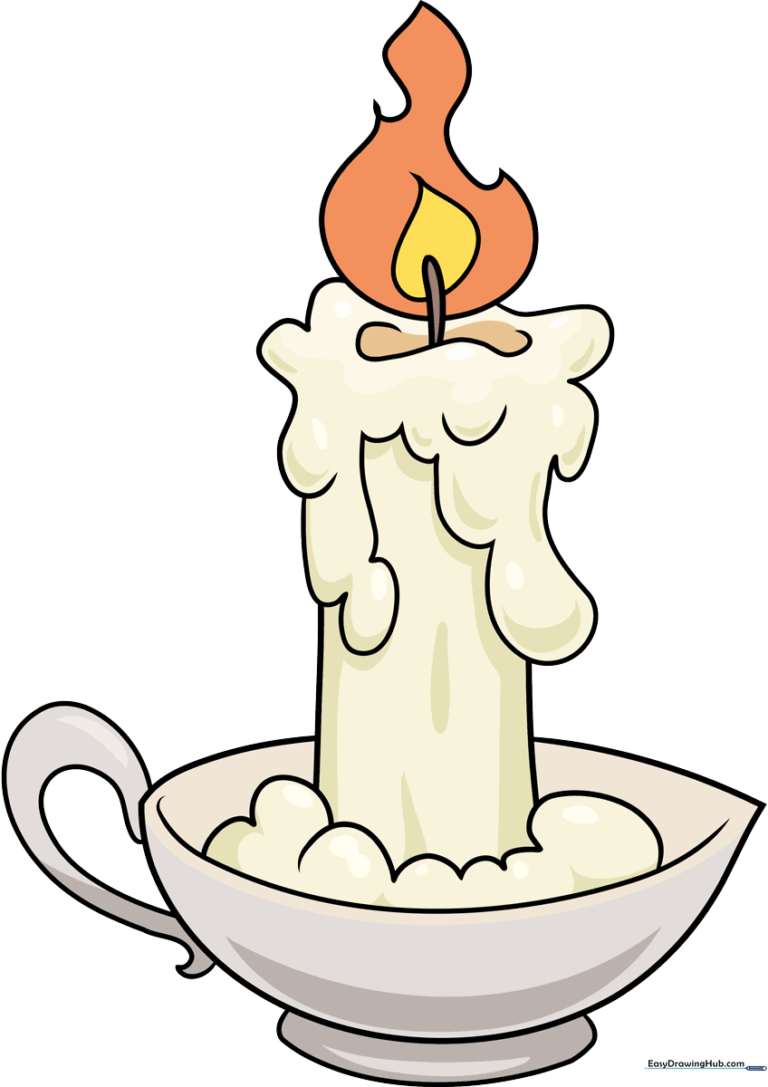
🎯 Final Result
Step-by-Step Instructions
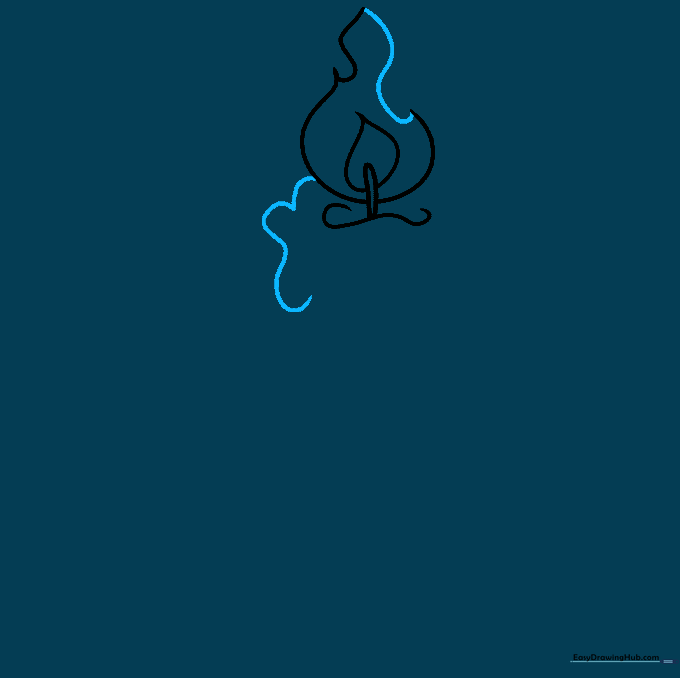
Step 1: Sketching the Wick

Start by drawing the top edge of the candle with a gentle, wavy line. Above this, draw a thin, curved shape for the wick. Teacher's Tip: Keep your pencil pressure light here so you can easily erase any overlapping lines later.
Step 2: Drawing the Flame

Draw a teardrop shape around the wick to represent the flame. Then, draw a slightly larger, jagged teardrop shape around the first one to show the outer glow. Teacher's Tip: Use quick, light strokes to give the flame a flickering, energetic look.
Step 3: Starting the Wax Drips
Close the flame shape at the bottom. Now, begin the fun part: the melting wax! Draw a curved, lumpy line hanging off the top edge of the candle. Teacher's Tip: Think of these as 'blobs'—the more irregular the shape, the more realistic the melting effect will look.
Step 4: Adding More Drips
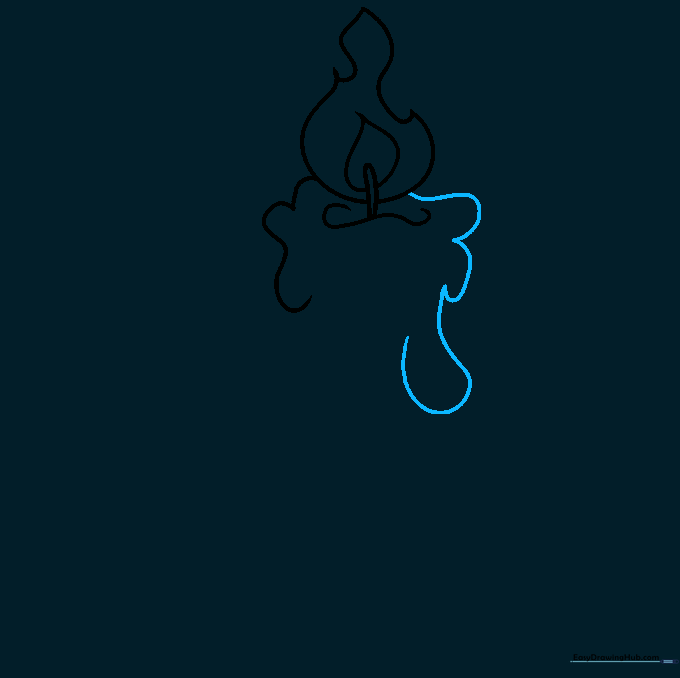
Repeat the process on the opposite side of the candle. Add another lumpy, rounded shape to show wax dripping down. Teacher's Tip: Try to vary the size of your drips so they don't look like identical copies.
Step 5: Connecting the Wax
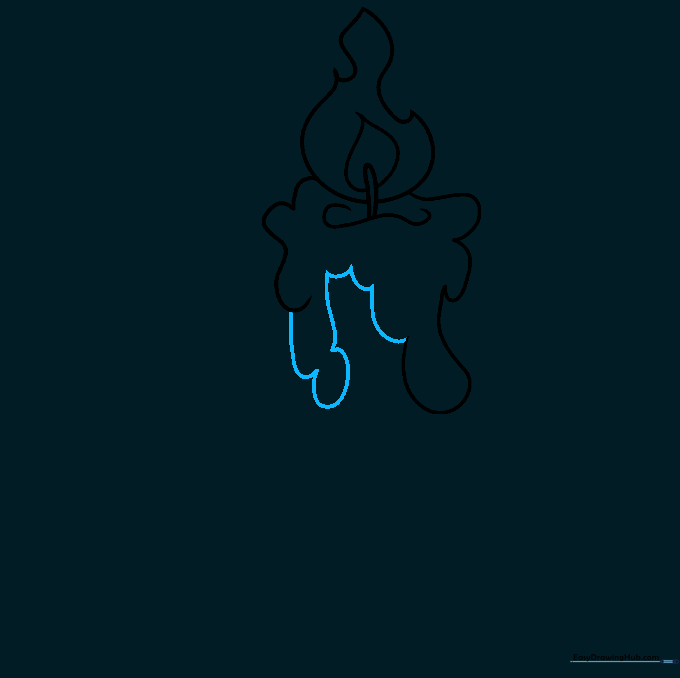
Use a series of connected curved lines to bridge the gaps between your drips. This creates a continuous, melted look around the top. Teacher's Tip: Ensure your lines meet smoothly to make the wax look like it's flowing together.
Step 6: Defining the Candle Body
Draw two parallel vertical lines downward to form the body of the candle. Add a 'U' shaped line near the top for texture. Teacher's Tip: Use a ruler if you struggle with straight lines, but freehand is better for a rustic look!
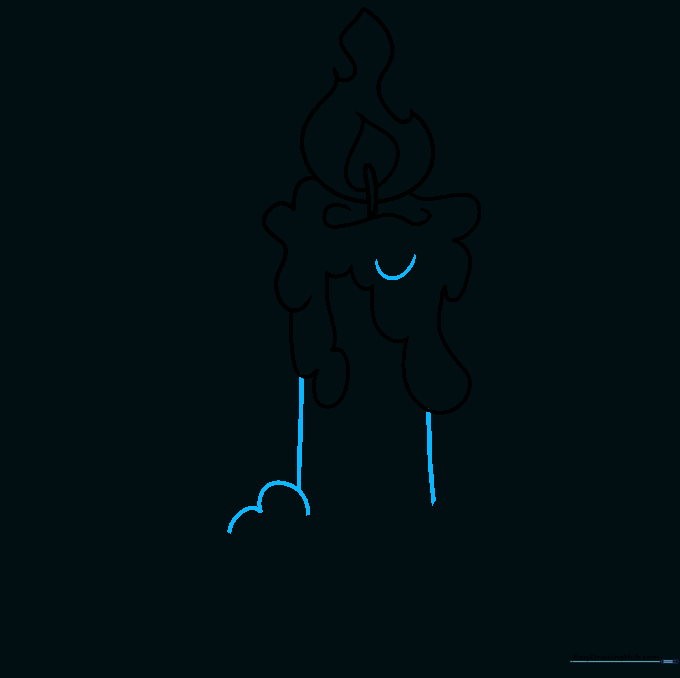
Step 7: Adding Base Drips

At the bottom of your candle, add more lumpy, irregular shapes to represent wax that has pooled at the base. Teacher's Tip: Keep these shapes wider and flatter than the ones at the top to show they have settled.
Step 8: Drawing the Holder
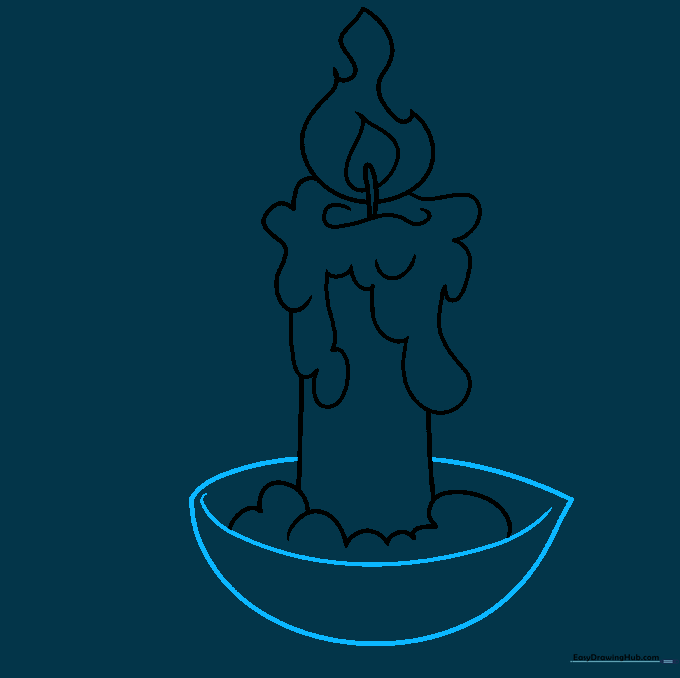
Draw a rounded bowl shape beneath the candle to create the candle holder. Add a curved line inside the bowl to give it depth. Teacher's Tip: Imagine the candle is sitting inside a small cup; use curved lines to show the rim of that cup.
Step 9: Adding the Handle
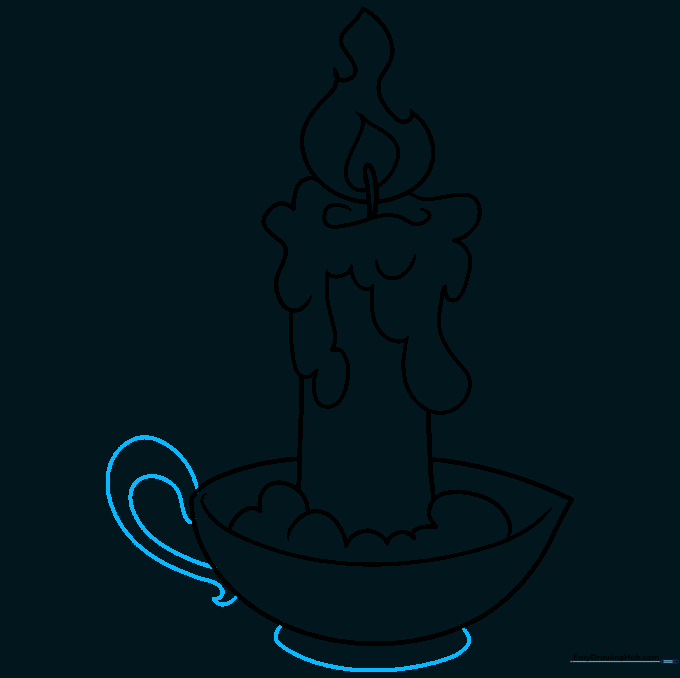
Finish your holder by adding a small, curved handle on the side and a flat foot at the bottom for stability. Teacher's Tip: Make the handle look like a small 'C' shape attached to the side of the bowl.
Step 10: Adding Color
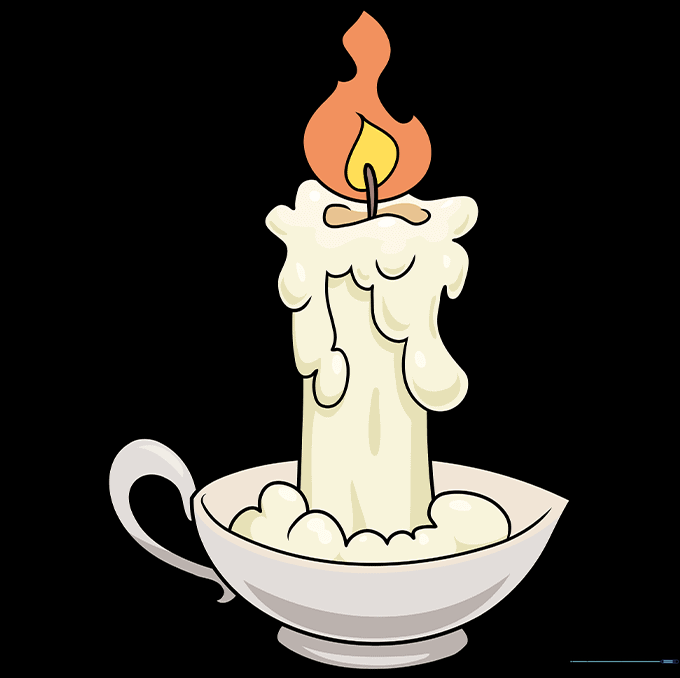
Time to bring your drawing to life! Use warm yellows and oranges for the flame, and classic cream or white for the candle. Teacher's Tip: Use a darker shade of your candle color near the drips to create a simple shadow effect.
More Tutorials


