How to Draw a Medicine Bottle: Easy 9-Step Guide
This simple tutorial is perfect for young artists ages 5+ looking to practice drawing cylindrical shapes and symmetry. You only need a pencil, an eraser, and a piece of paper to get started. By the end, you will have a clean, cartoon-style medicine bottle illustration that helps build essential hand-eye coordination.
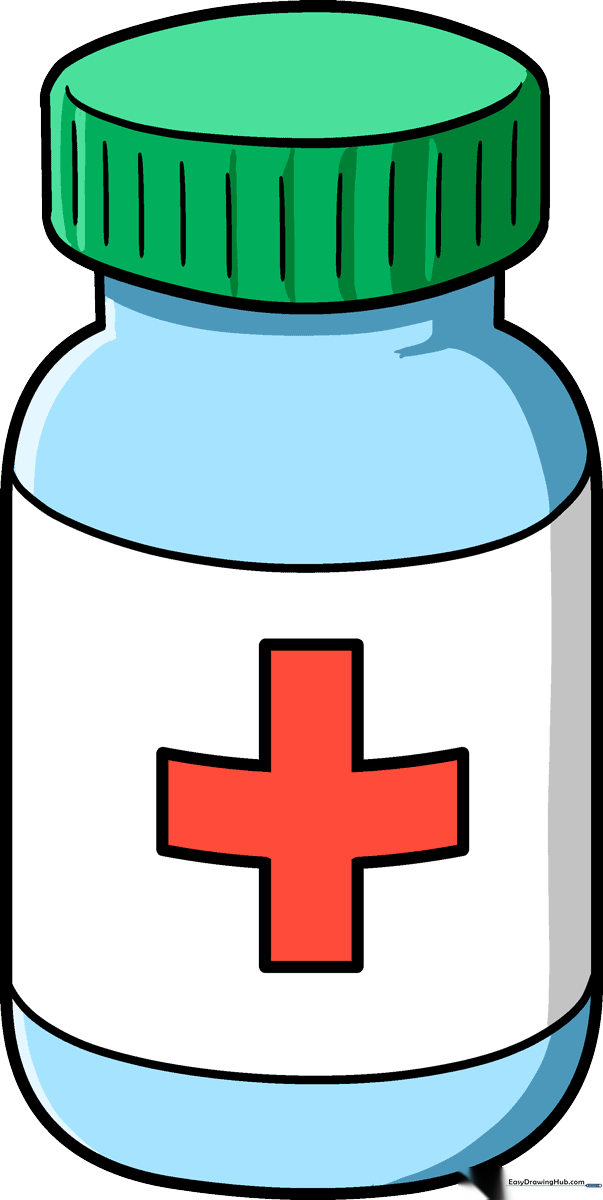
🎯 Final Result
Step-by-Step Instructions
Step 1: Sketching the Base
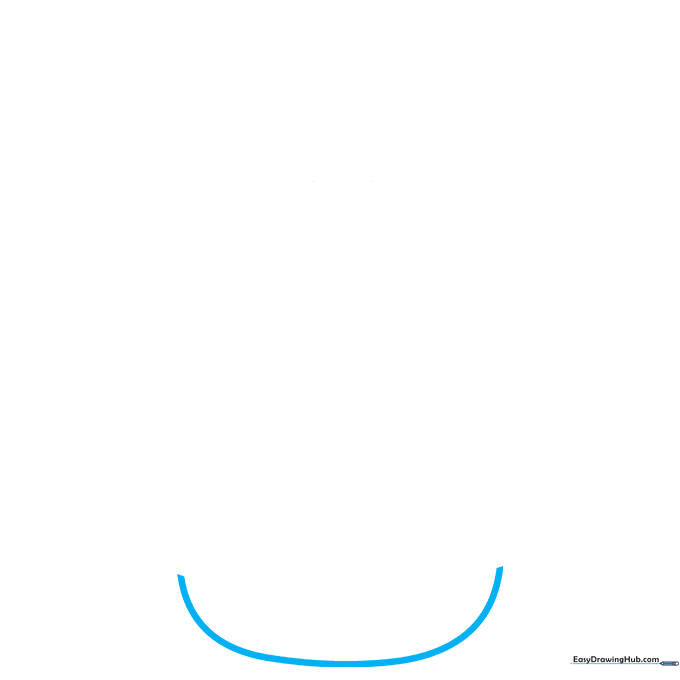
Draw a wide 'U' shape to form the bottom of the bottle. Teacher's Tip: Keep your pencil grip loose to ensure the curve is smooth and rounded rather than jagged.
Step 2: Defining the First Side
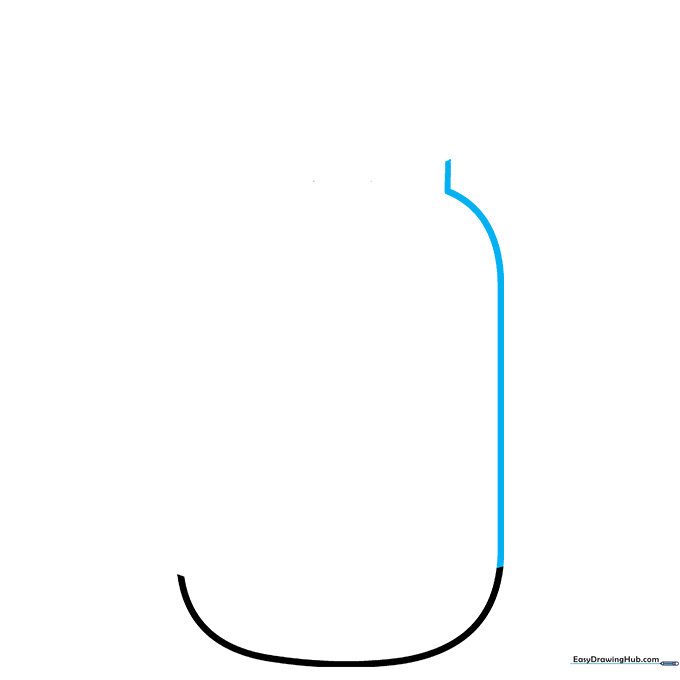
Extend one side of the 'U' upward, curving it slightly inward to create the shoulder of the bottle, then draw a short vertical line for the neck. Tip: Imagine the bottle is a cylinder; keep the vertical lines parallel.
Step 3: Creating Symmetry

Mirror the lines from the previous step on the opposite side to complete the bottle's main structure. Tip: Check your spacing—if one side looks wider, gently erase and adjust to match the first side.
Step 4: Drawing the Cap Base

Draw a curved line across the top of the neck, extending slightly past the edges. Add two short vertical lines upward from the ends. Tip: This creates the 'lip' of the bottle where the cap screws on.
Step 5: Finishing the Cap
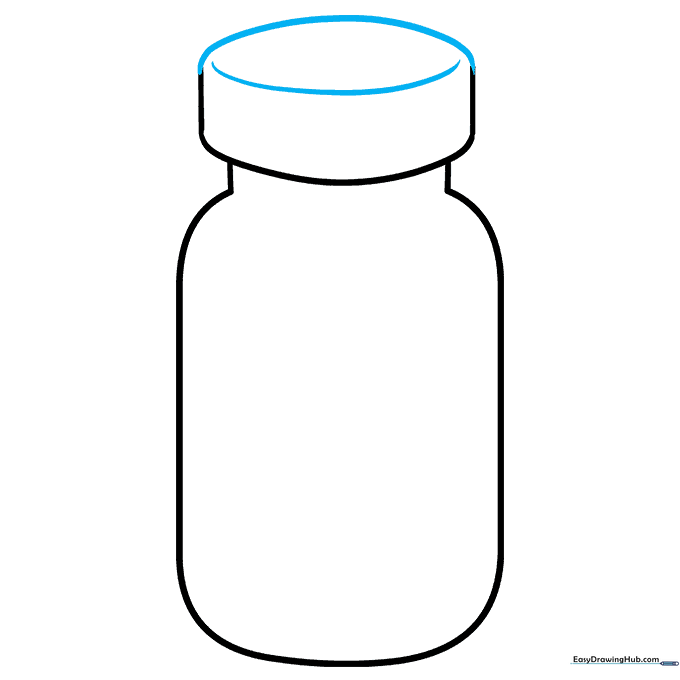
Connect the top of the vertical lines with a curved line and add another curve across the top surface to show depth. Tip: Adding that extra curve makes the cap look 3D rather than flat.
Step 6: Adding the Label
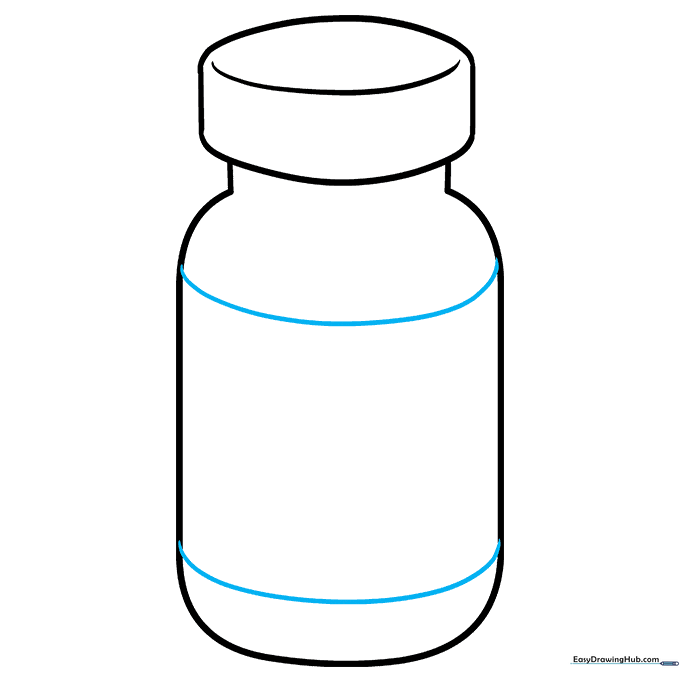
Draw two horizontal curved lines across the center of the bottle to define the label area. Tip: Make sure the curves follow the same direction as the bottom of the bottle to maintain the 3D perspective.
Step 7: Adding Grip Texture
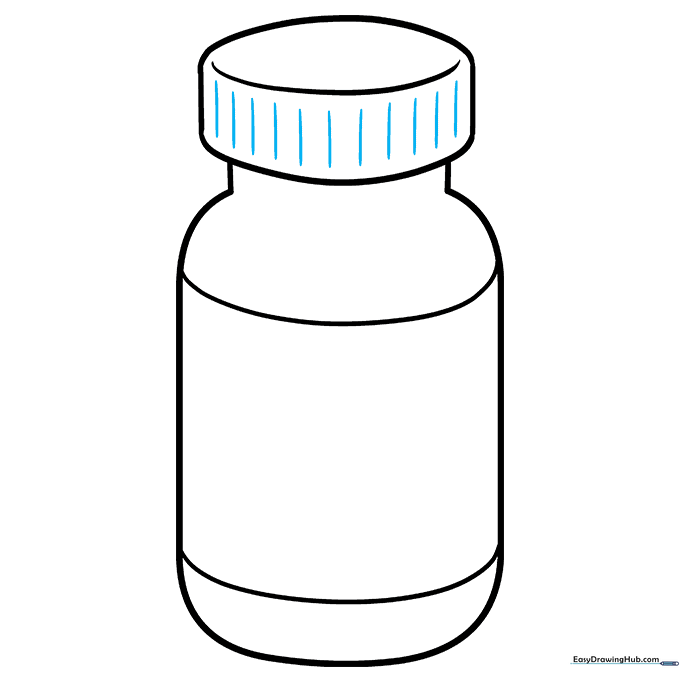
Draw short, evenly spaced vertical lines around the edge of the cap. Tip: These lines represent the ridges that help people grip the bottle—keep them short and consistent.
Step 8: Designing the Symbol
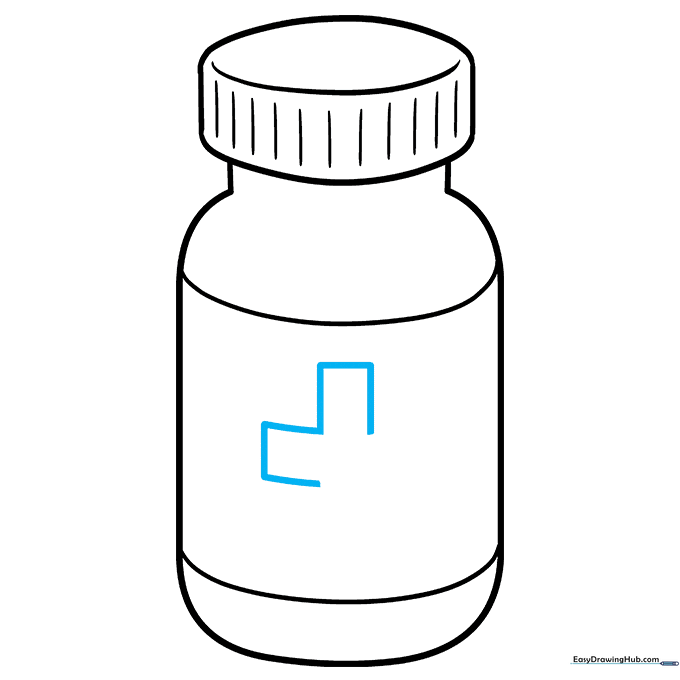
Sketch an 'L' shape in the center of the label using straight lines. This is the start of your medical cross. Tip: Use a ruler if you struggle to keep your lines straight!
Step 9: Completing the Symbol
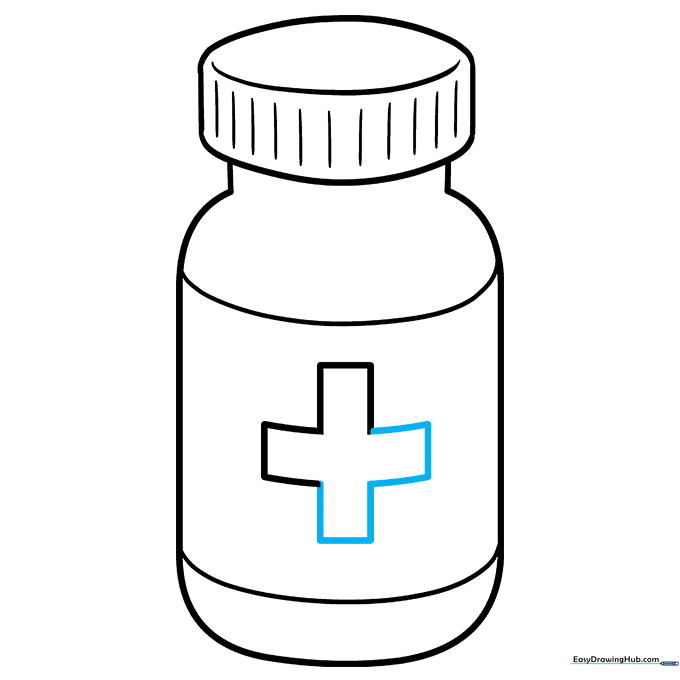
Finish the cross by adding the remaining straight lines. Tip: Ensure the cross is centered within the label for a professional, balanced look.
Step 10: Adding Color
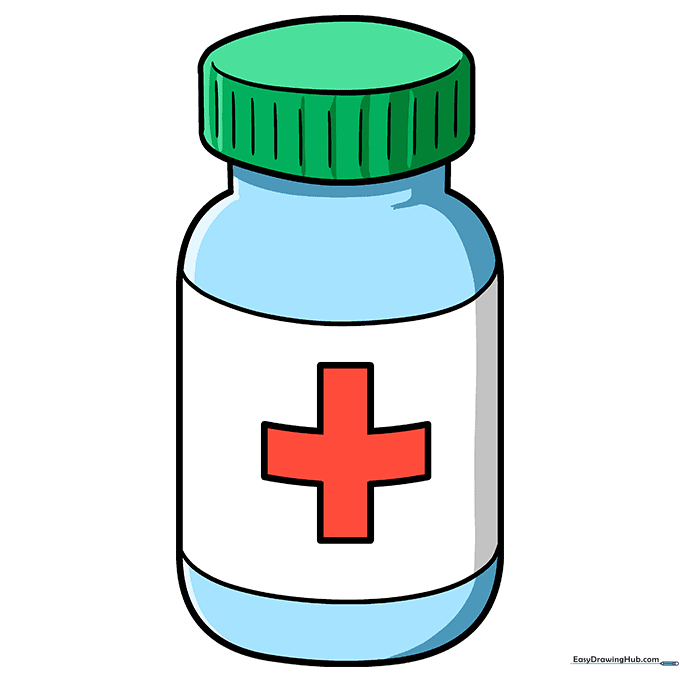
Bring your drawing to life! Use blue for the bottle, green for the cap, and red for the cross. Tip: Try using orange for the bottle if you want it to look like a classic prescription container.
More Tutorials


