How to Draw a Tribal Mask: Easy 10-Step Guide
Ready to design your own ceremonial-style mask? This tutorial is perfect for artists ages 6+ who want to practice symmetry and bold line work. Grab a pencil, an eraser, and a piece of paper to get started on this fun, creative project.
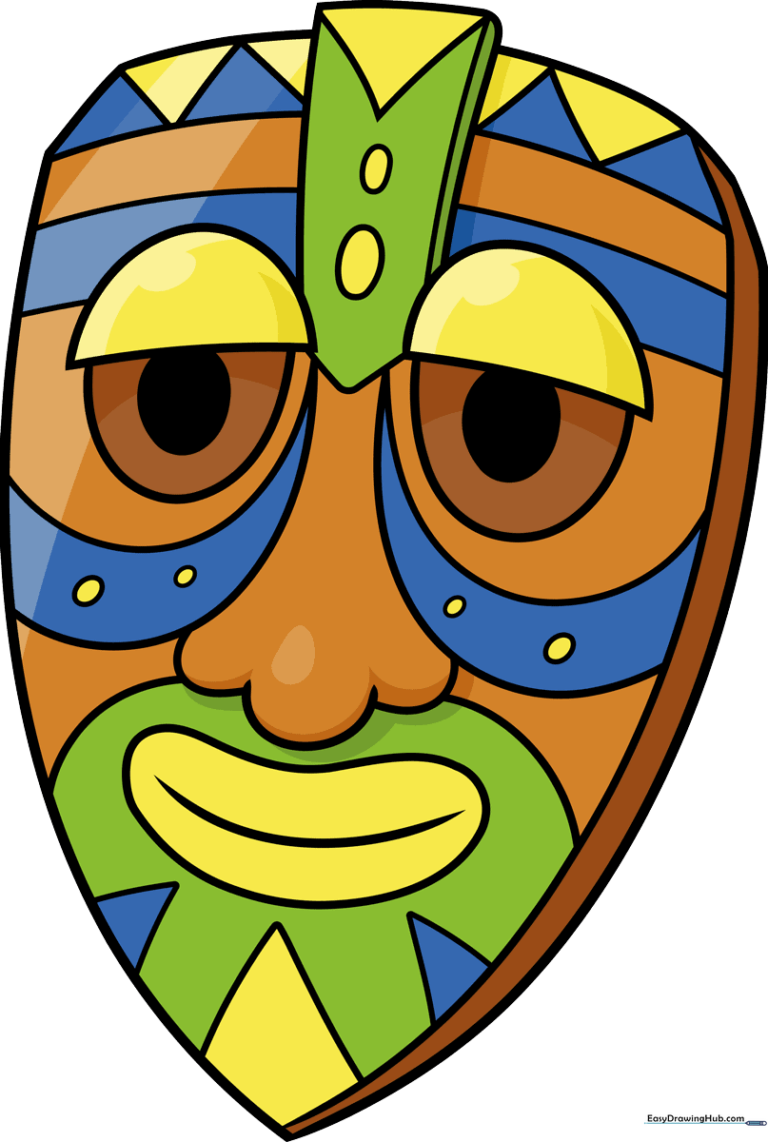
🎯 Final Result
Step-by-Step Instructions
Step 1: Establishing the Base Shape
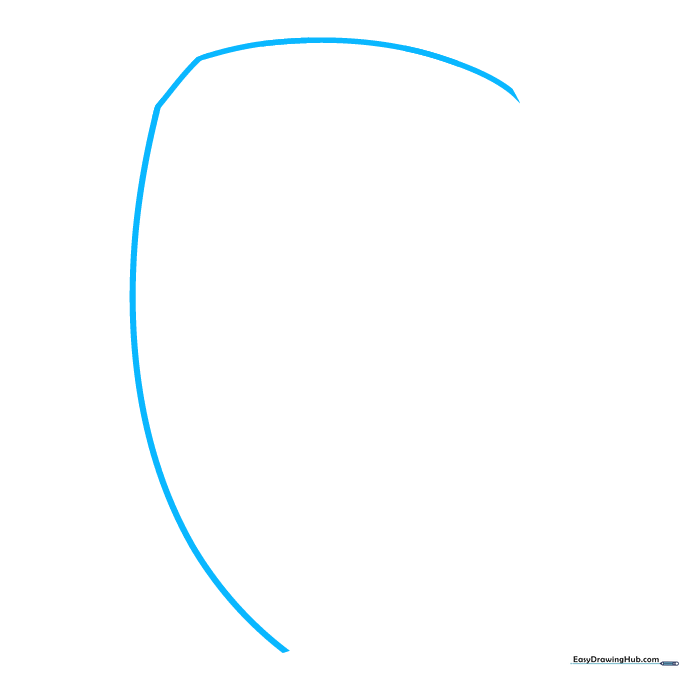
Draw two long, graceful curved lines that lean toward each other, connected by a short straight line at the top. Teacher's Tip: Keep these lines light; they act as the 'skeleton' for your mask's structure.
Step 2: Creating Depth
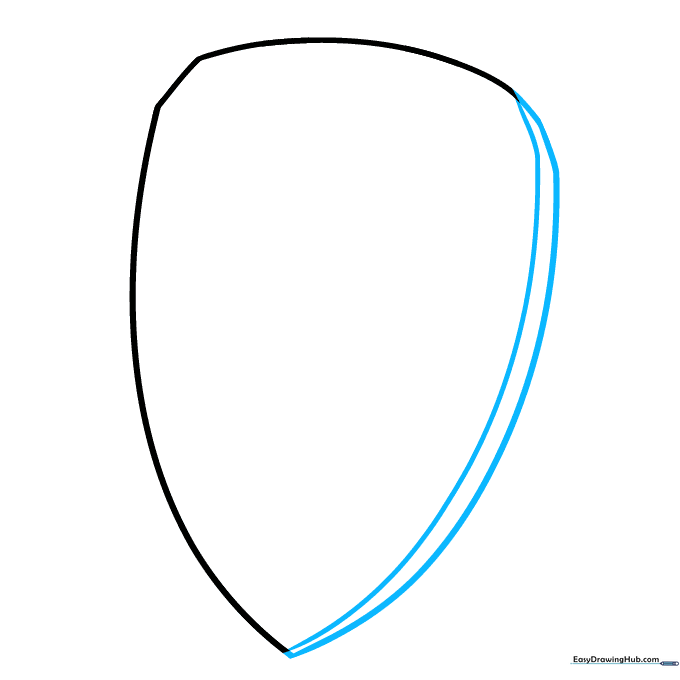
Connect the bottom with a curved line to form a teardrop shape, then add a parallel line along the side to create a 3D edge. Tip: Think of this as the thickness of the wood the mask is carved from.
Step 3: Sketching the Eye Sockets

Draw two semicircles in the center, then add a smaller semicircle beneath each to create deep, hollow eye sockets. Tip: Make sure they are level with each other to keep the mask looking balanced.
Step 4: Defining the Eyes and Brow
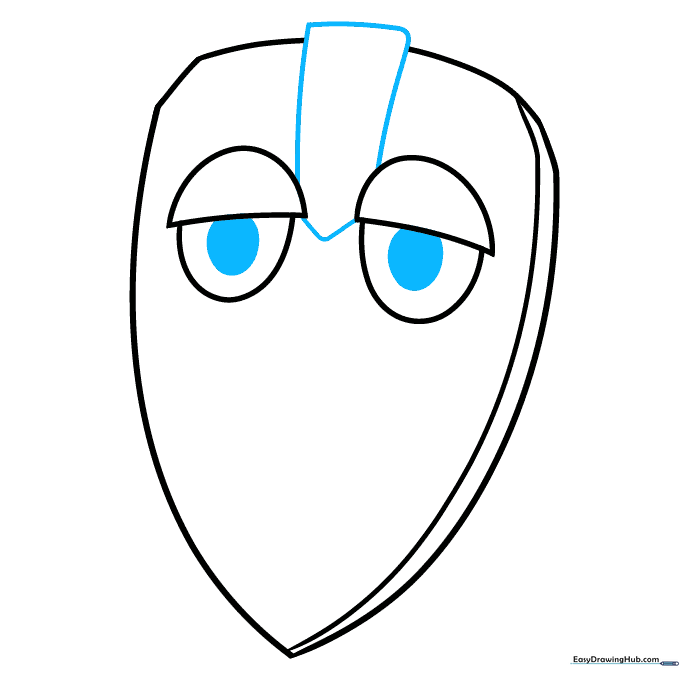
Shade a circle inside each eye, then draw a 'V' shape for the brow and a rectangle above it. Tip: Erase any overlapping lines inside the rectangle to keep your drawing clean.
Step 5: Adding Nose Details
Add a line parallel to the rectangle, then draw curved lines from the brow to the mask sides. Start the nose with a 'C' shape. Tip: Use a light touch for the nose curve so you can adjust the shape if needed.
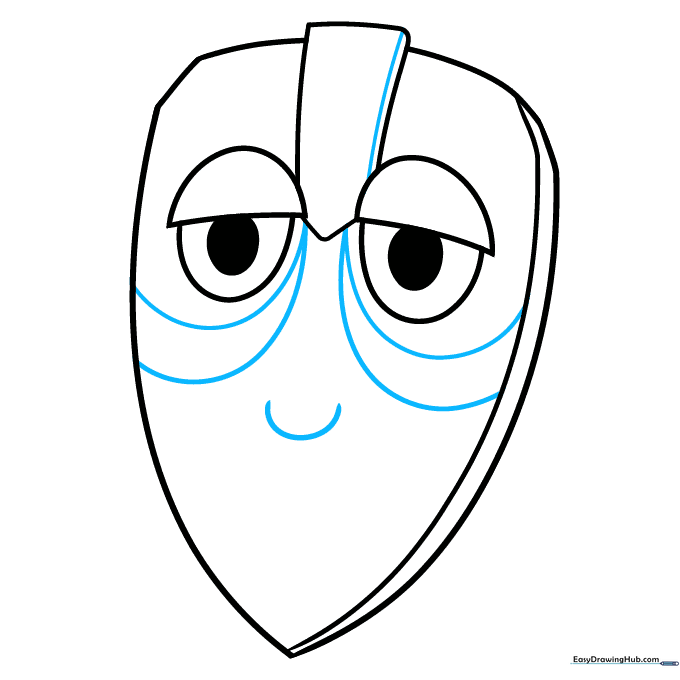
Step 6: Drawing the Nostrils and Mouth
Connect the nose tip to the cheeks using two 'C' shapes for nostrils, then draw a curved, smiling mouth. Tip: A smile adds character—try making it wide for a friendly look or narrow for a mysterious one!
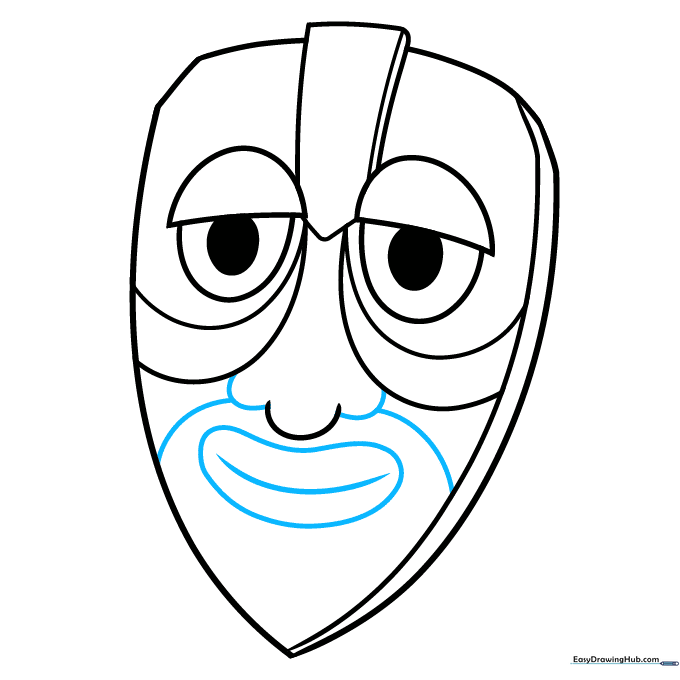
Step 7: Adding Chin and Top Details
Draw a curved line across the top and add triangles at the chin. Tip: Triangles are great for adding a 'carved' texture to your mask.
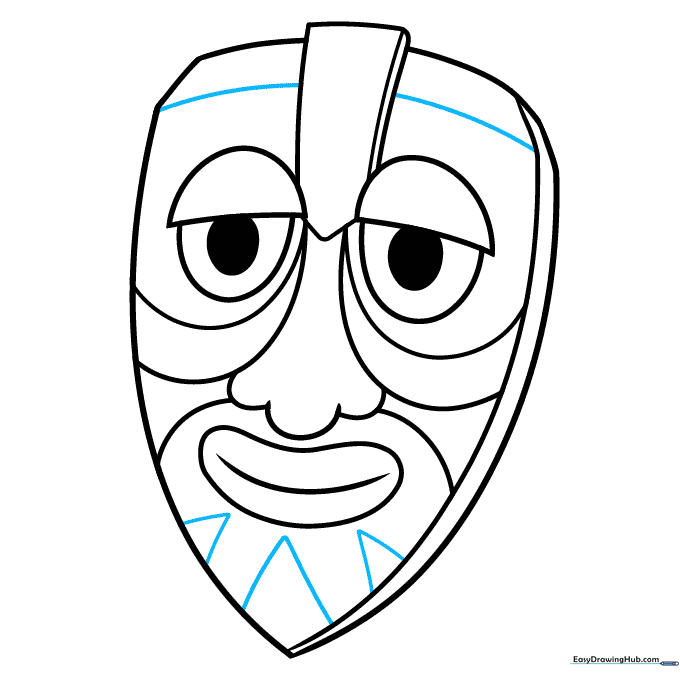
Step 8: Adding Intricate Patterns
Add more curved lines to the top and include a triangle and ovals inside the forehead rectangle. Tip: Varying the size of your shapes makes the mask look more authentic.
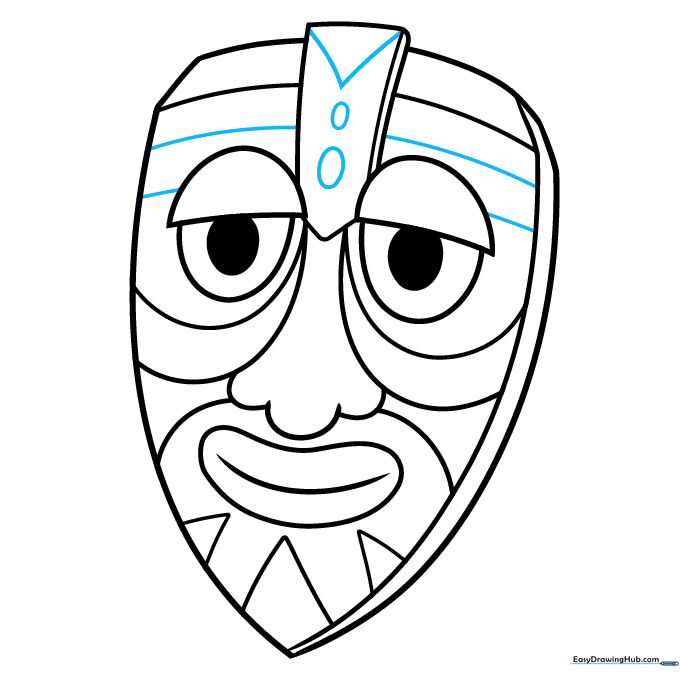
Step 9: Finalizing the Details
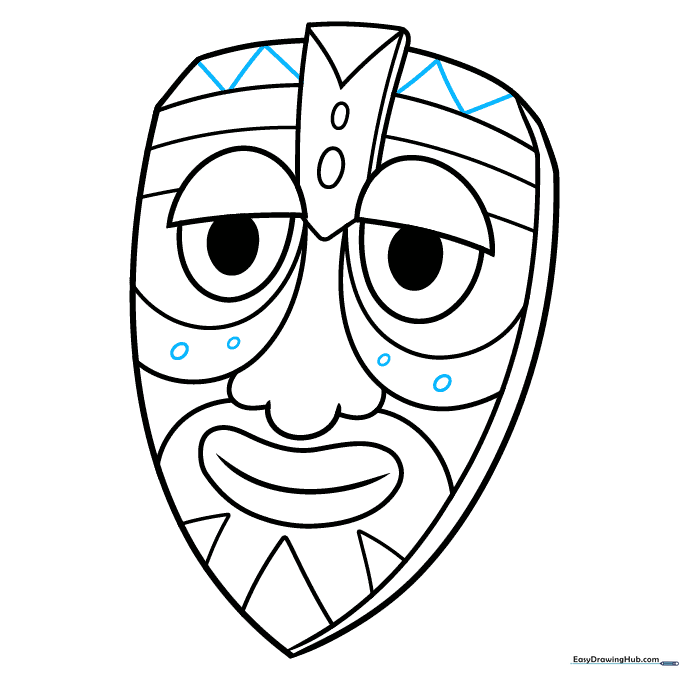
Use straight lines to create a triangle pattern at the top and small ovals on the cheeks. Tip: Take your time with these small shapes; they are what give the mask its 'tribal' feel.
Step 10: Coloring Your Creation
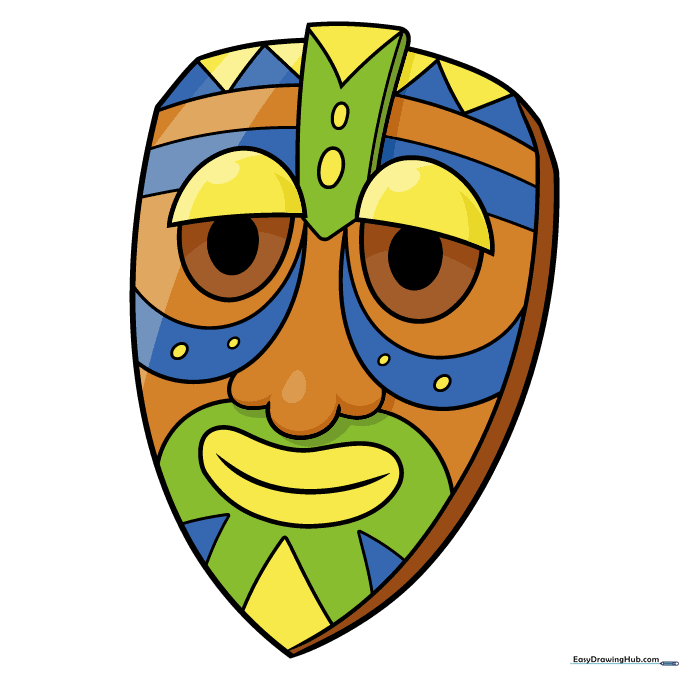
Your mask is ready for color! Use earthy tones like brown, tan, or deep red to mimic traditional wood carvings. Tip: Use a black marker to outline your final shapes to make them stand out against the color.
More Tutorials


