How to Draw a Marshmallow: Easy 5-Minute Step-by-Step Guide
Ready to draw the perfect campfire treat? This tutorial is designed for young artists ages 5 and up to practice basic shapes and shading. You only need a pencil, an eraser, and a piece of paper to bring this gooey, toasted marshmallow to life.
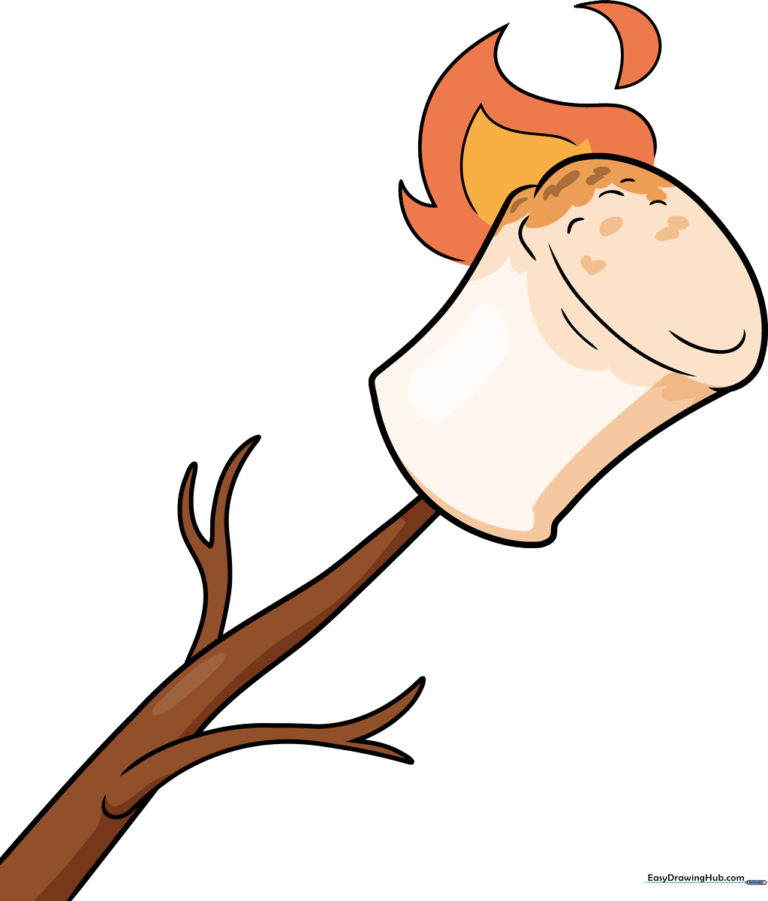
🎯 Final Result
Step-by-Step Instructions
Step 1: Sketching the Base
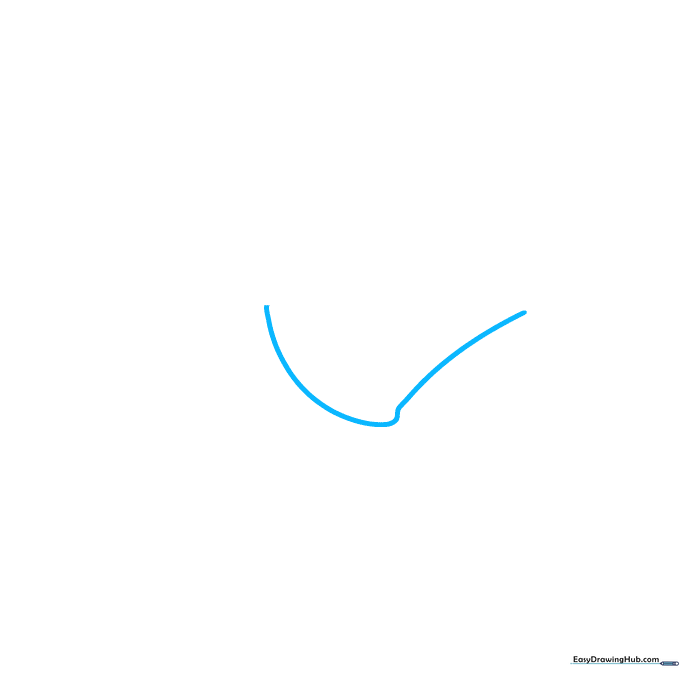
Start by drawing an 'L' shaped curved line. This forms the side and bottom edge of your marshmallow. Teacher's Tip: Keep this curve soft and rounded to make the marshmallow look fluffy rather than sharp.
Step 2: Defining the Top
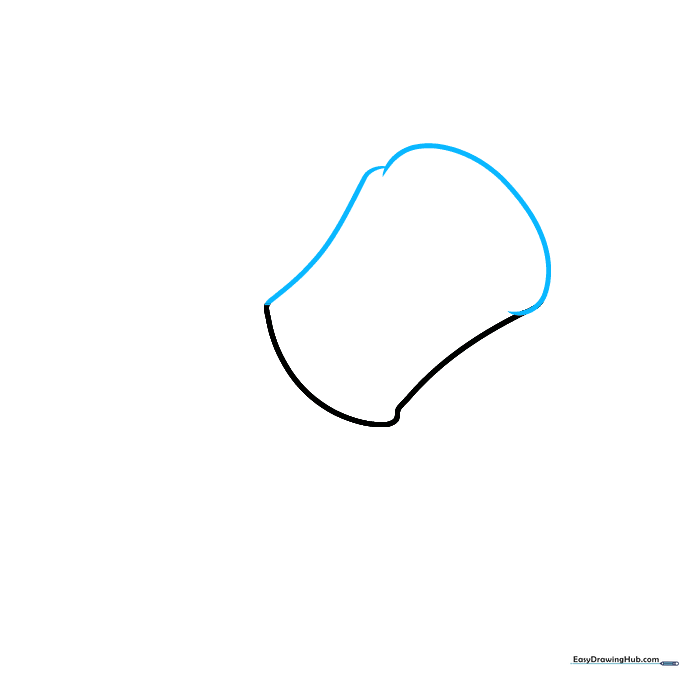
Add two curved lines to define the side and the rounded top of the marshmallow. Tip: Imagine you are drawing a soft pillow; keep the lines smooth to maintain that squishy appearance.
Step 3: Adding Cylindrical Depth
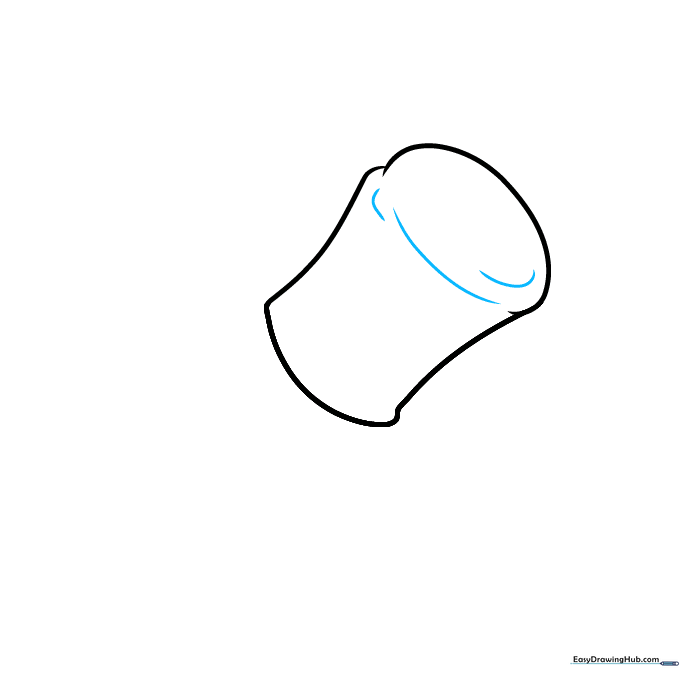
Draw curved lines across the top surface to give the marshmallow a 3D cylindrical look. Tip: Use short, light strokes to suggest the rounded edges of the cylinder.
Step 4: Adding Texture and the Roasting Stick
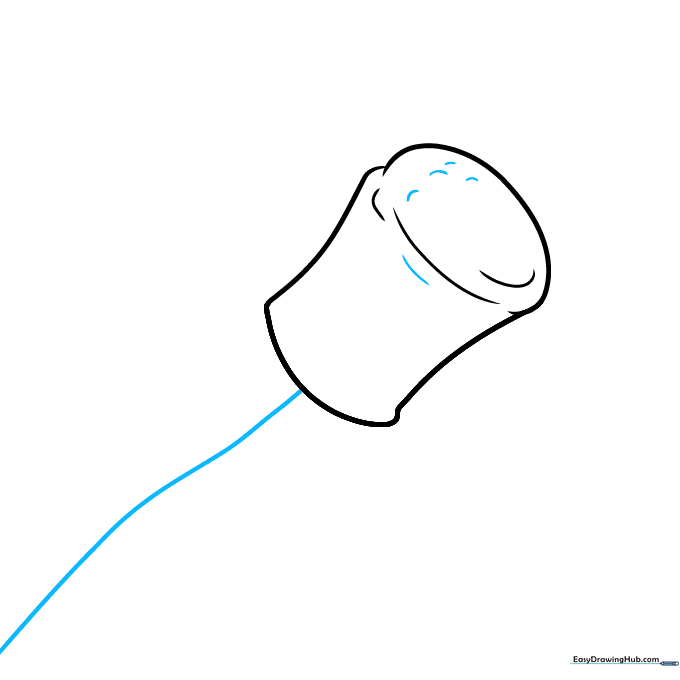
Add small, irregular lines to the marshmallow to show where it's bubbling from the heat. Then, draw a long curved line extending from the bottom for the roasting stick. Tip: Don't make the stick perfectly straight; a slight curve makes it look more natural.
Step 5: Thickening the Stick
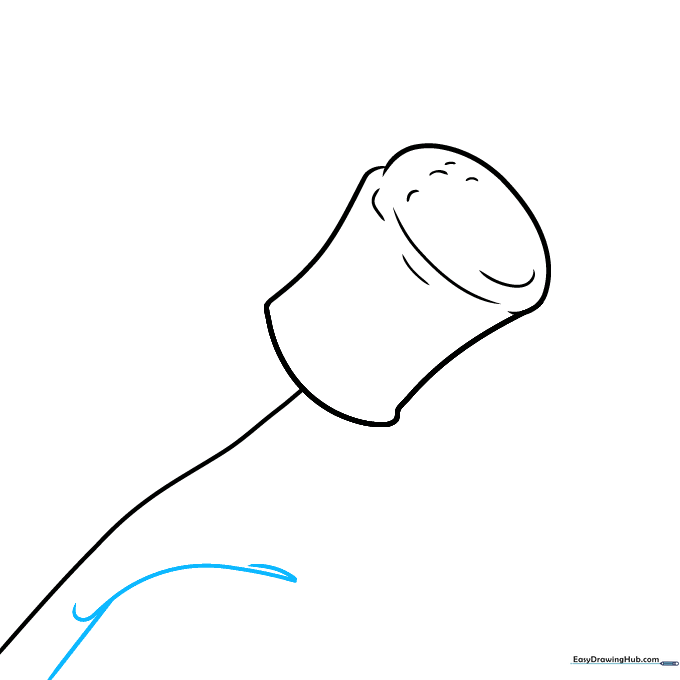
Draw a second curved line parallel to the first to give the stick thickness. Add a small 'V' shape on the side to represent a little twig or knot in the wood.
Step 6: Detailing the Twig

Use overlapping curved lines to finish the twig detail, adding a small branching 'V' at the end. Tip: Overlapping lines create a sense of depth, making the twig look like it's attached to the main stick.
Step 7: Adding More Twigs
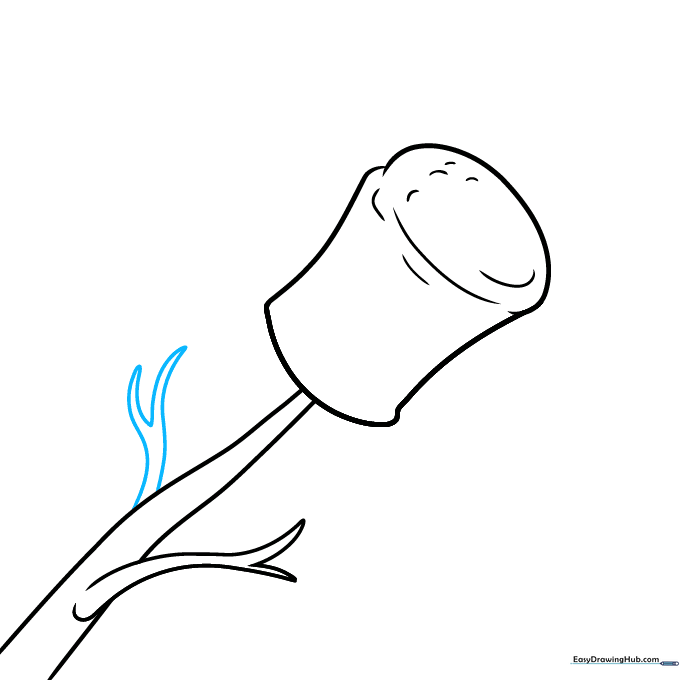
Add another twig on the opposite side of the stick. Extend two lines and connect them with a curved 'V'. Tip: Keep your lines loose; sticks in nature are rarely perfectly symmetrical.
Step 8: Drawing the Flame
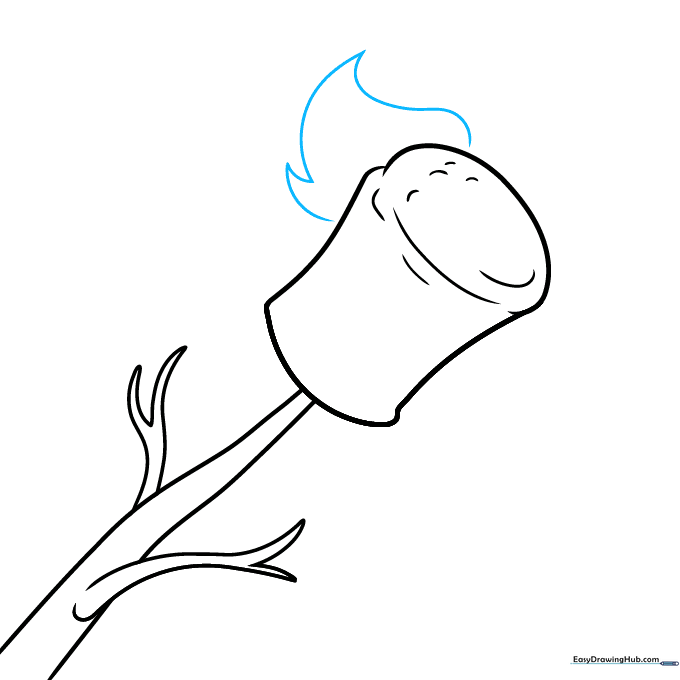
Oh no, it's on fire! Use curved lines that meet at sharp points to draw the flame licking up the side of the marshmallow. Tip: Flames are organic and wiggly, so don't worry about making them perfectly smooth.
Step 9: Finalizing the Flame
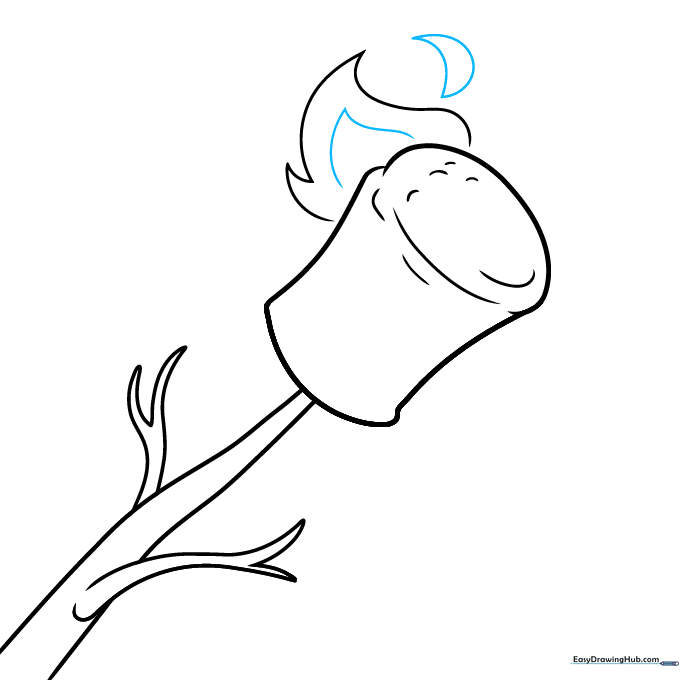
Add a smaller, crescent-shaped wisp of flame beside the main one to create movement. Tip: Adding smaller details like this makes your drawing look more dynamic and energetic.
Step 10: Adding Color
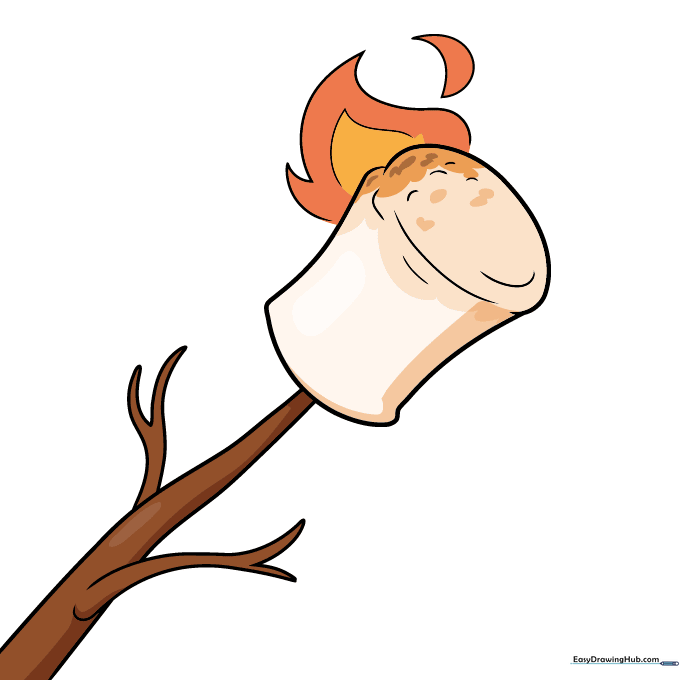
Time to color! Use golden browns for the toasted parts and bright oranges and yellows for the flame. Tip: Use a light touch with your brown pencil to create a gradient, making the marshmallow look perfectly toasted.
More Tutorials


