How to Draw a Marmoset: Easy 10-Step Guide for Kids
Ready to bring a tiny, curious marmoset to life? This tutorial is perfect for young artists ages 6+ who want to practice drawing fur textures and expressive animal features. Grab your pencil, eraser, and paper, and follow along to build your confidence one line at a time.
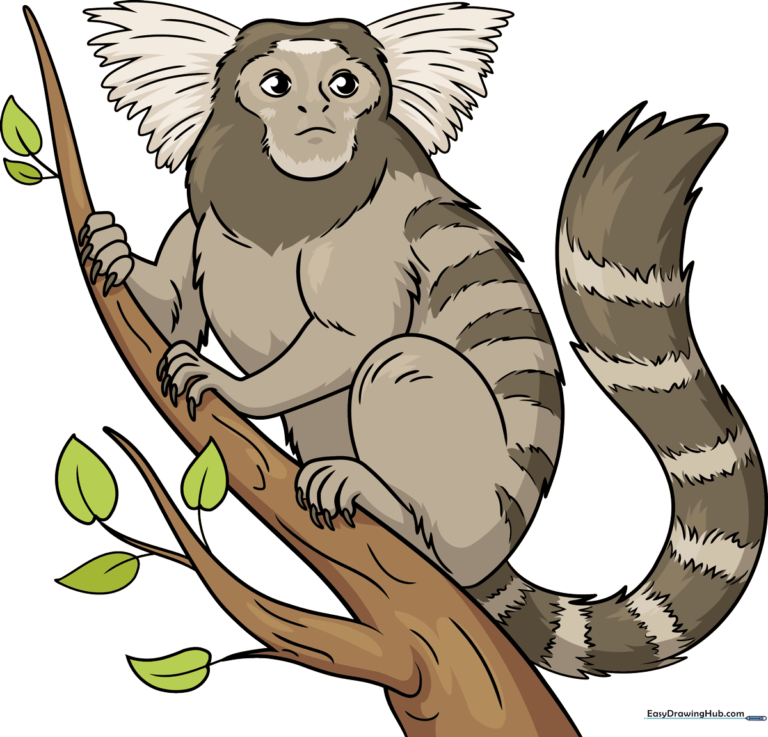
🎯 Final Result
Step-by-Step Instructions
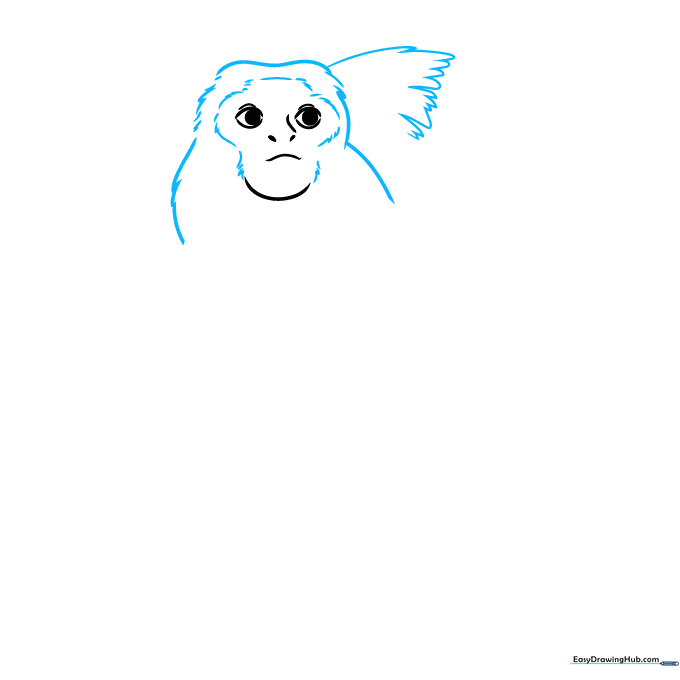
Step 1: Sketching the Face

Start by drawing the marmoset’s face using soft, curved lines for the almond-shaped eyes and nose. Teacher's Tip: Keep your pencil pressure light here; if the eyes aren't perfectly symmetrical, it’s much easier to erase and try again before moving on.
Step 2: Defining the Head Shape
Outline the head and shoulders using a mix of long and short strokes. Add 'U' shaped lines at the sides to represent the marmoset's signature ear tufts. Teacher's Tip: Use quick, flicking motions with your pencil to make the lines look more like soft fur.
Step 3: Adding Ears and Arms
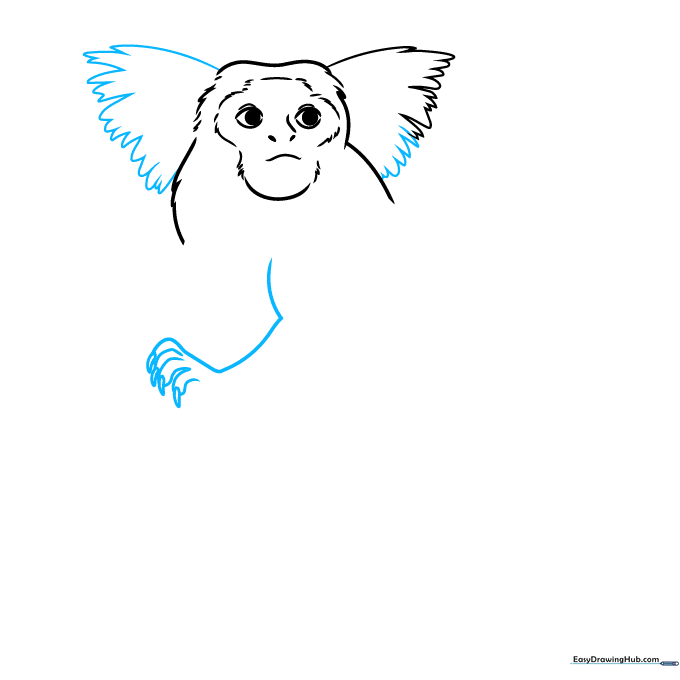
Complete the ear tufts and draw the arm reaching out. Add small, teardrop-shaped claws at the end of the fingers. Teacher's Tip: Marmosets have tiny hands; keep the fingers delicate and close together to maintain the animal's scale.
Step 4: Sketching the Body
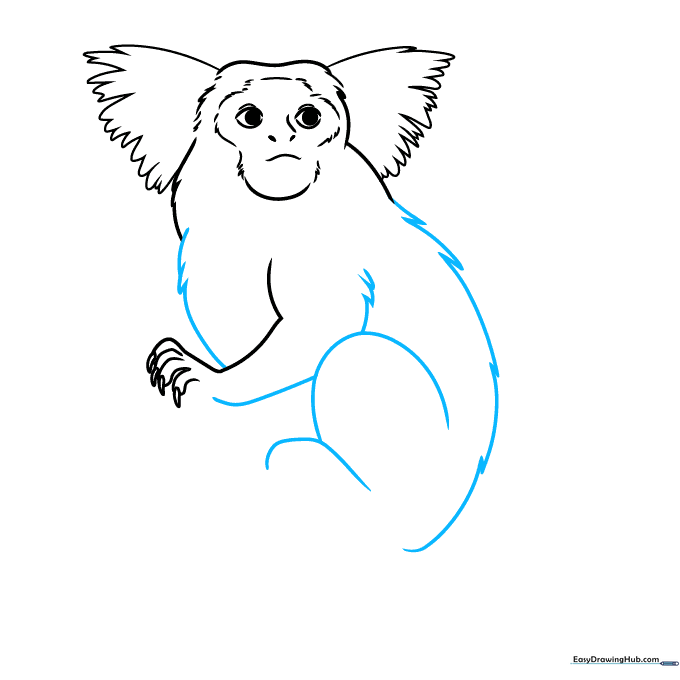
Use jagged, uneven lines to form the chest, back, and rear leg. These 'zig-zag' lines help create the illusion of fluffy fur. Teacher's Tip: Don't worry about making the lines perfectly straight; fur is naturally messy and organic!
Step 5: Adding the Branch
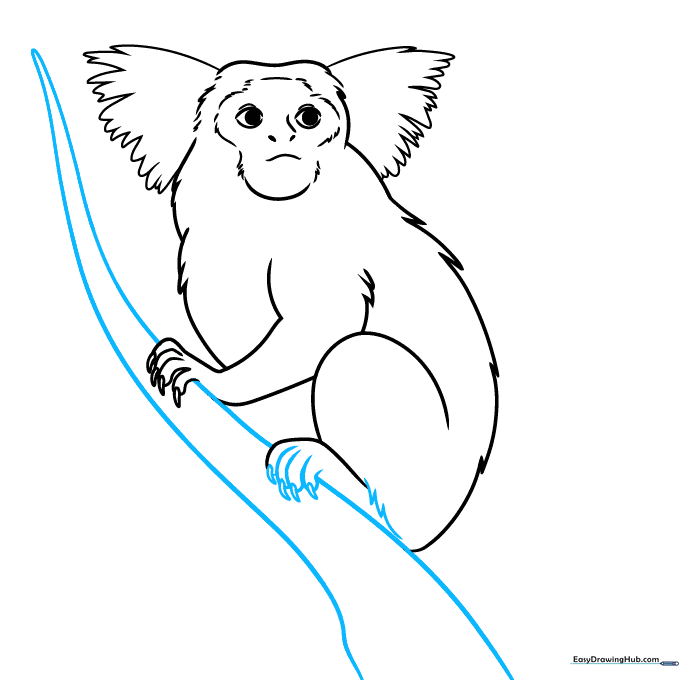
Draw the rear foot and place the marmoset on a sturdy tree branch. Use two long, parallel curved lines that meet at a point to create the branch. Teacher's Tip: Make sure the branch looks like it's supporting the weight of the monkey.
Step 6: The Long Tail
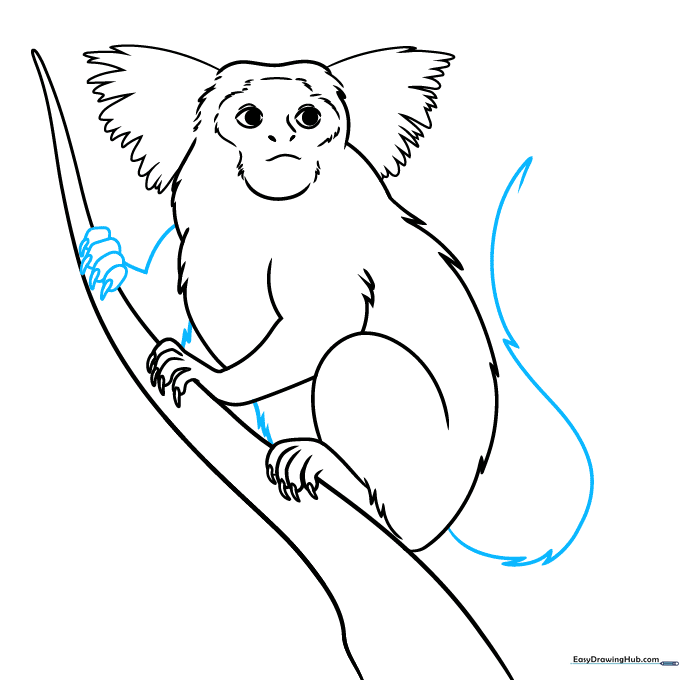
Complete the belly and the remaining arm, then begin the long, sweeping tail. Erase any lines where the tail overlaps the branch to make it look like it's wrapping around. Teacher's Tip: A long, curved tail adds great balance to your composition.
Step 7: Refining the Fur
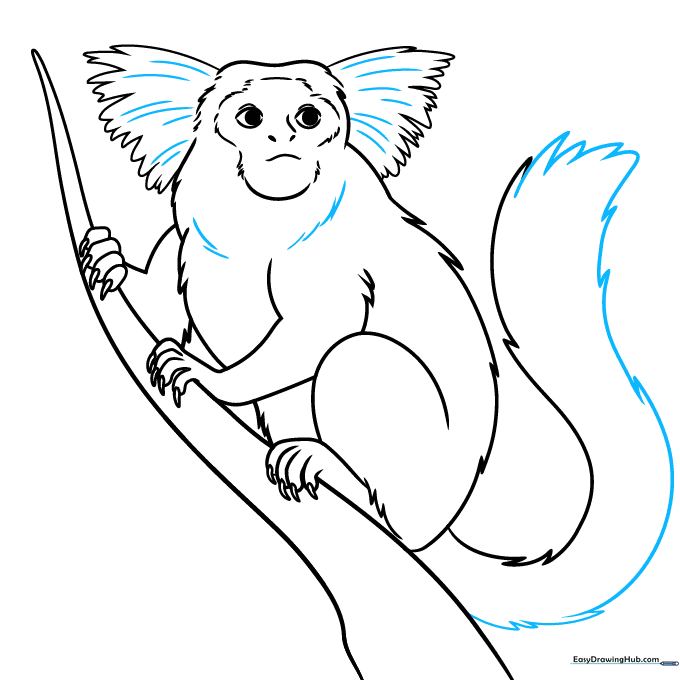
Finish the tail and add extra texture to the neck and ears. Use short, rhythmic lines to suggest the direction of the fur growth. Teacher's Tip: Think about how fur flows away from the face—this makes your drawing look much more realistic.
Step 8: Adding Patterns
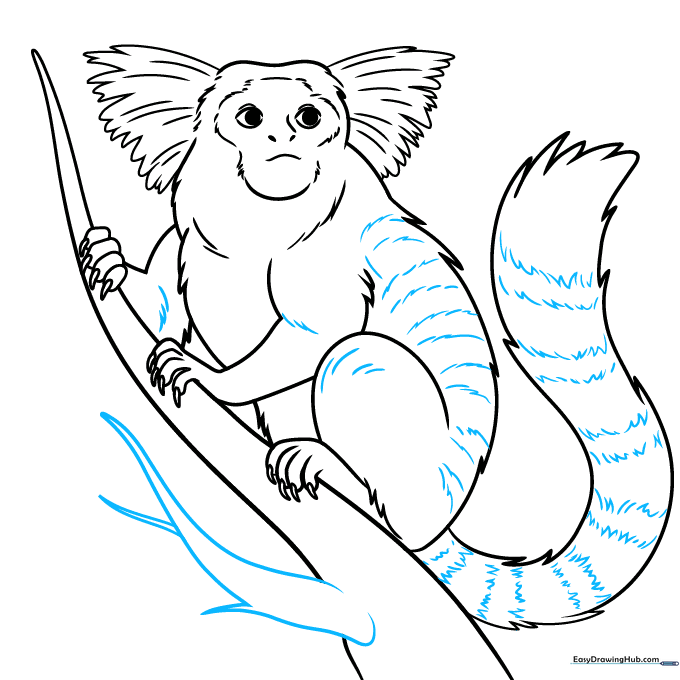
Add stripes to the back and rings to the tail. Enhance the tree by adding smaller, secondary branches. Teacher's Tip: Vary the thickness of your lines to make the branches look more natural and less like simple sticks.
Step 9: Final Touches
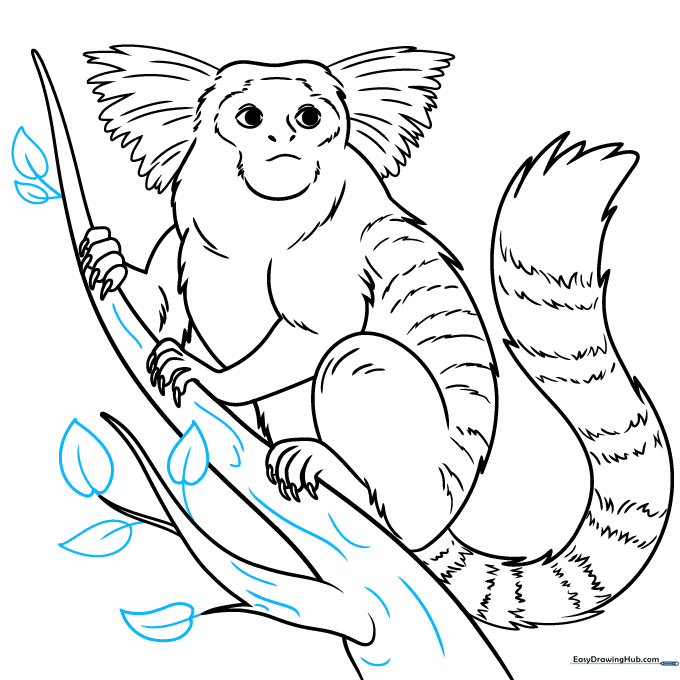
Add texture to the tree bark and draw a few heart-shaped leaves. Teacher's Tip: Use light, vertical strokes for the bark to contrast with the soft, rounded strokes used for the marmoset's fur.
Step 10: Color Your Masterpiece
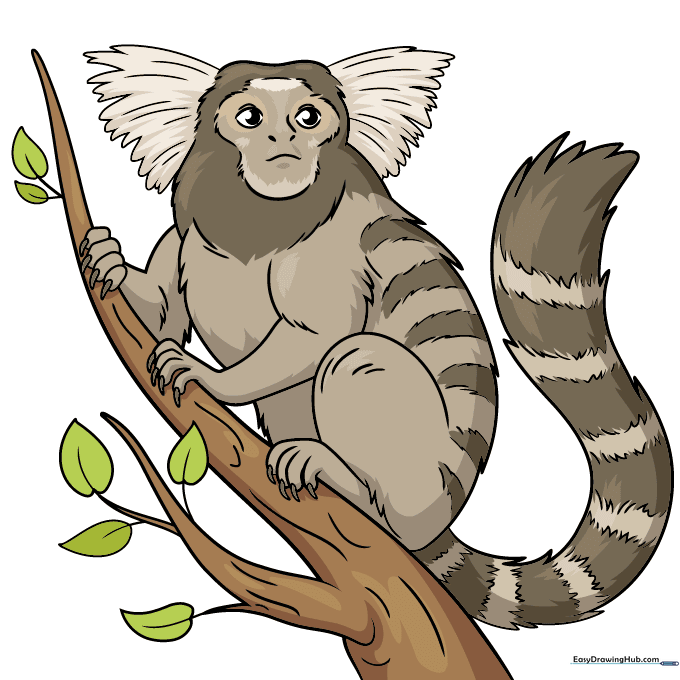
Time to bring it to life! Use gray for the main body, darker tones for the tail rings, and white for the ear tufts. Teacher's Tip: Use colored pencils to layer your colors, starting with light gray and adding darker shades on top for depth.
More Tutorials


