How to Draw a Marionette Puppet: Easy 10-Step Guide
Bring a whimsical marionette puppet to life with this simple drawing tutorial, perfect for artists ages 5 and up. You will only need a pencil, an eraser, and a sheet of paper to master this classic toy design. Follow along to develop your spatial awareness and character-drawing skills.
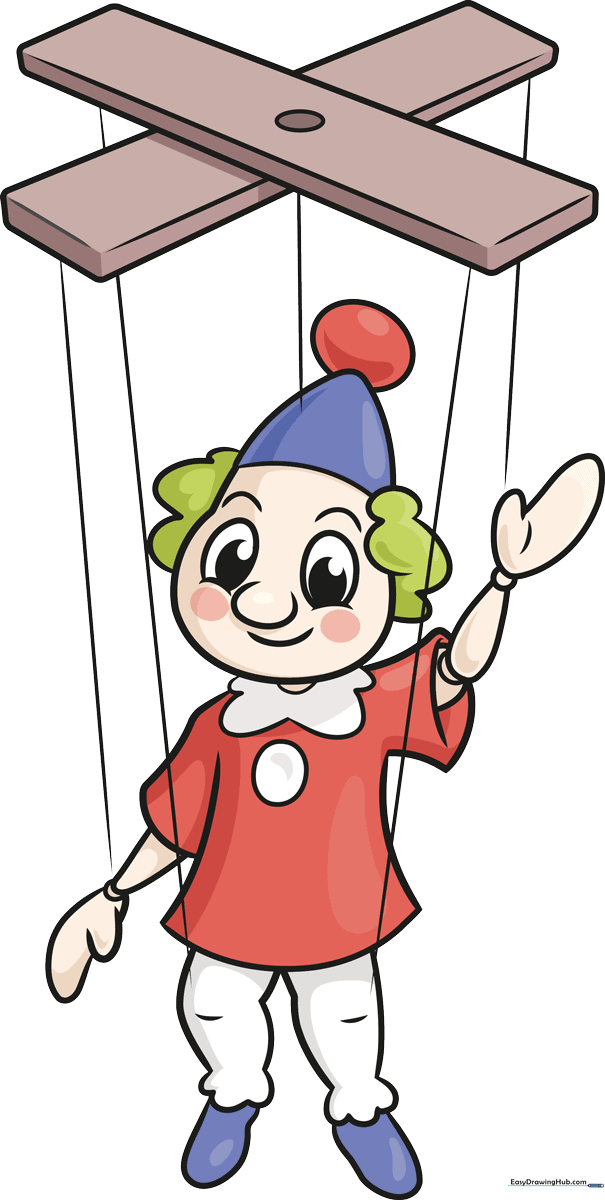
🎯 Final Result
Step-by-Step Instructions
Step 1: Sketching the Face Features

Start by drawing the puppet's face. Use two curved lines for each eye—one long and one short. Add simple curved lines for the eyebrows and a small nose. Teacher's Tip: Keep the eyes close together to give the puppet a cute, expressive look.
Step 2: Defining the Head and Hair

Outline the face with a long, smooth curved line. Add a cloud-like shape for the hair and a curved line for the hat brim. Don't forget a simple, happy smile! Tip: Use short, quick strokes for the hair to make it look fluffy.
Step 3: Adding the Hat and Collar

Draw a small partial circle on top of the hat. Add wavy lines for the collar and a small half-circle for the neck. Tip: The collar should look like a ruffled 'frill'—don't worry about making it perfectly even!
Step 4: Sketching the Torso and Arm
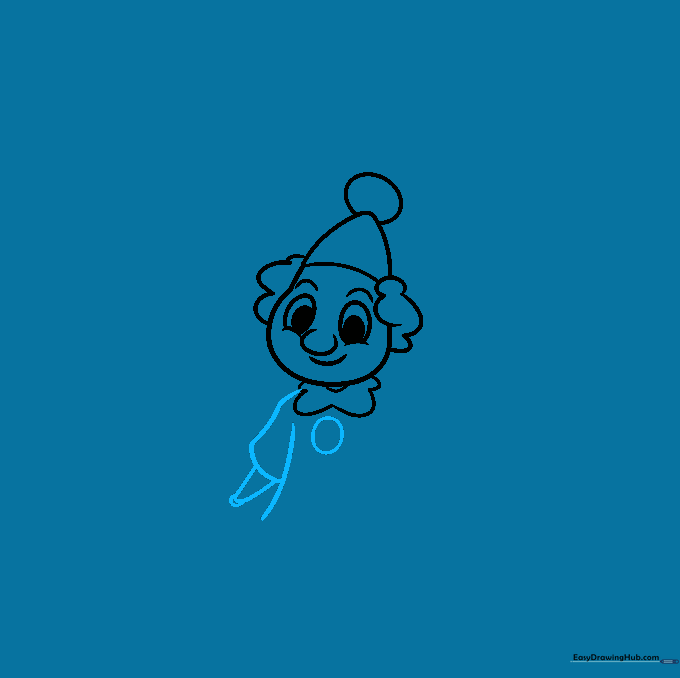
Use overlapping curves to create the sleeve and torso. Draw a large circle below the collar and a smaller one for the elbow joint. Tip: Think of the puppet's body as a series of connected shapes.
Step 5: Drawing the Hand
Sketch a mitten-like hand with a thumb. Complete the shirt outline with smooth, curved lines. Tip: Keep the hand simple; a 'mitten' shape is perfect for a classic puppet look.
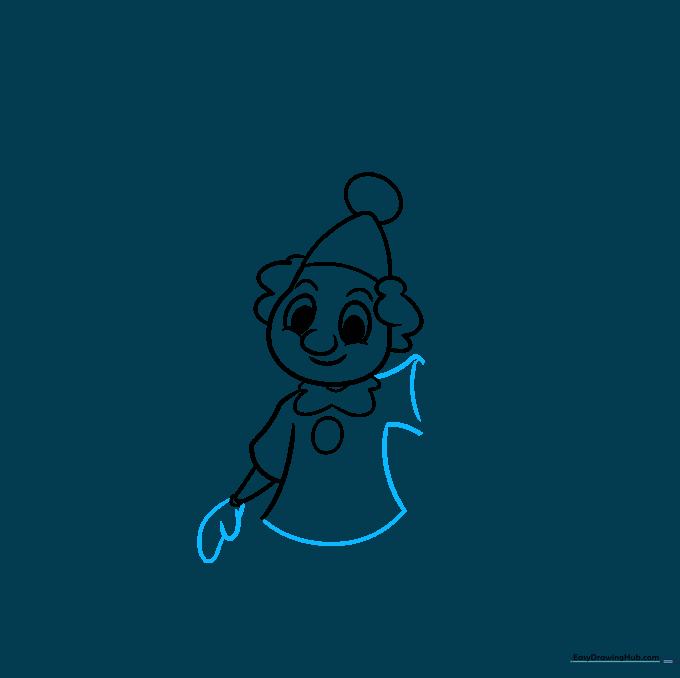
Step 6: Adding the Second Arm
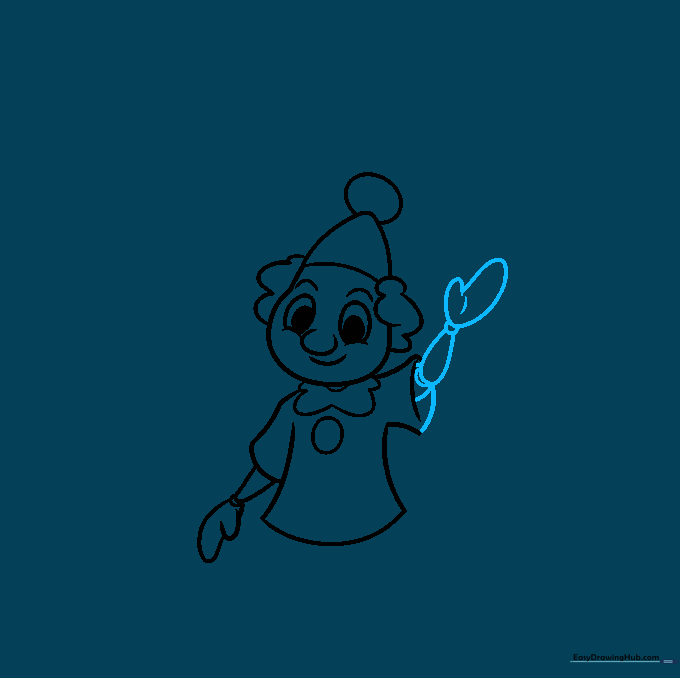
Draw the second arm using pairs of curved lines with a small circle for the elbow. Add the hand and a small line to contour the palm. Tip: Ensure the arms look balanced on both sides of the body.
Step 7: Drawing the Legs and Shoes
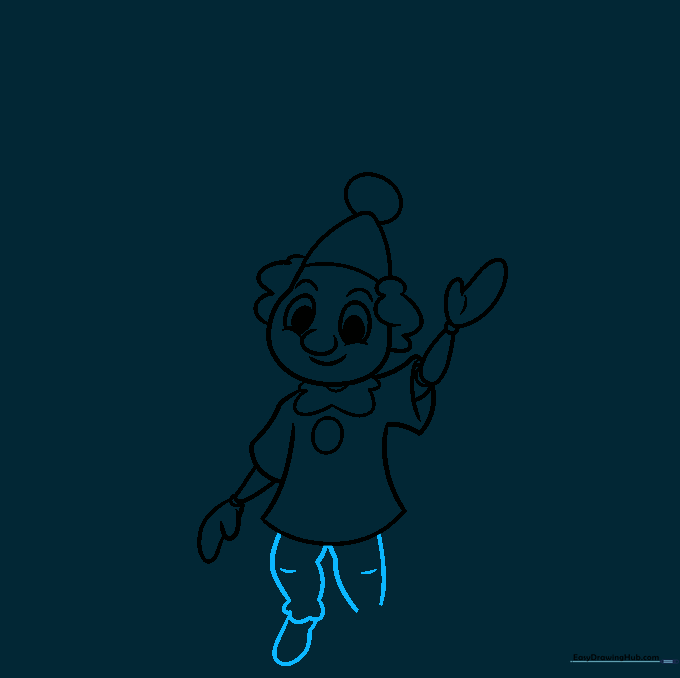
Outline the legs with curved lines and add a small mark for the knees. Use scalloped lines for the pant cuffs and draw the shoes by doubling back your pencil line. Tip: Make the shoes slightly larger to ground the puppet.
Step 8: Creating the Control Bar
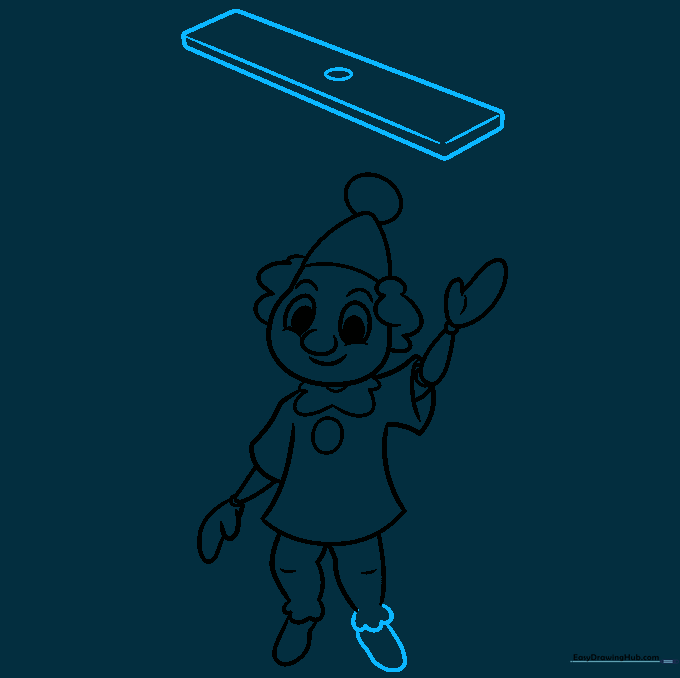
Finish the second leg and shoe. Above the puppet, draw a diagonal rectangle with a small oval in the center. This is the wooden controller! Tip: Use a ruler if you want the control bar to look perfectly straight.
Step 9: Adding the Strings
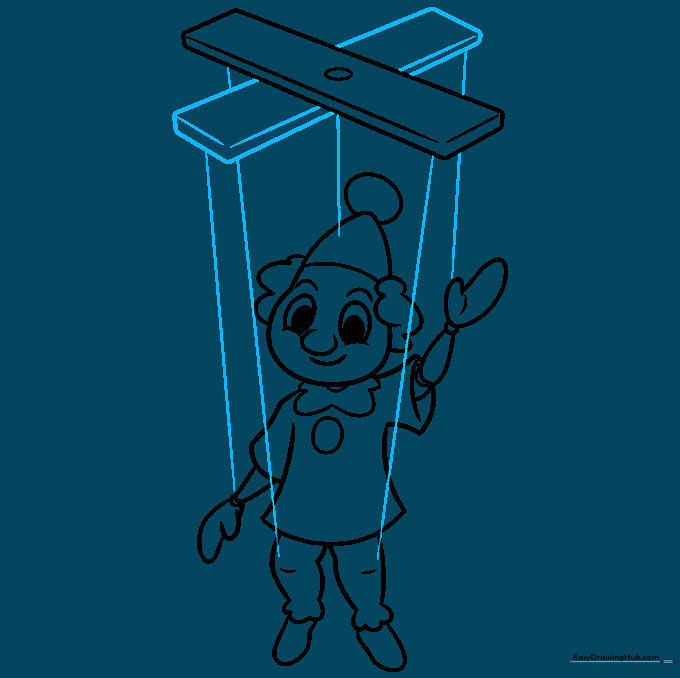
Draw a second rectangle to form a crossbar. Finally, draw straight lines connecting the bars to the puppet's head, hands, and legs. Tip: Use a light touch for the strings so they look like thin threads.
Step 10: Bringing it to Life with Color
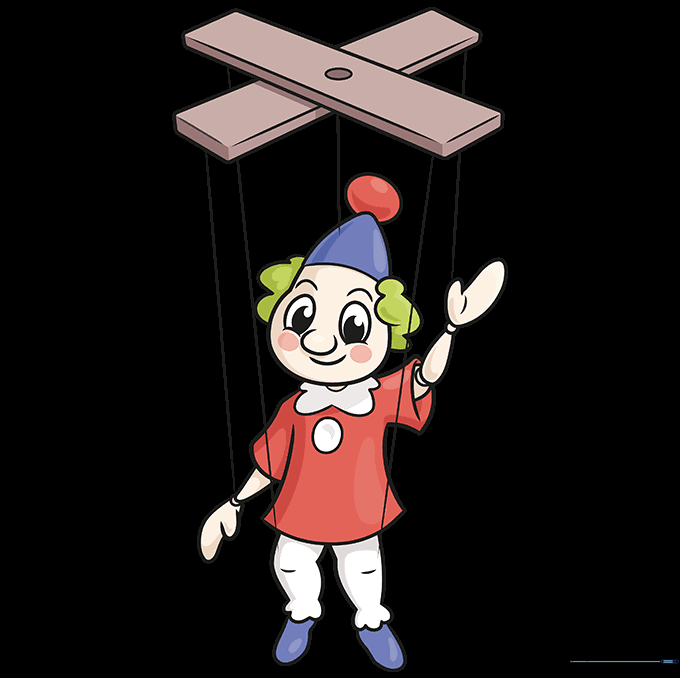
Time to color! Use bright, cheerful colors for the puppet's outfit to make it pop. Tip: Try coloring the control bar brown to look like real wood.
More Tutorials


