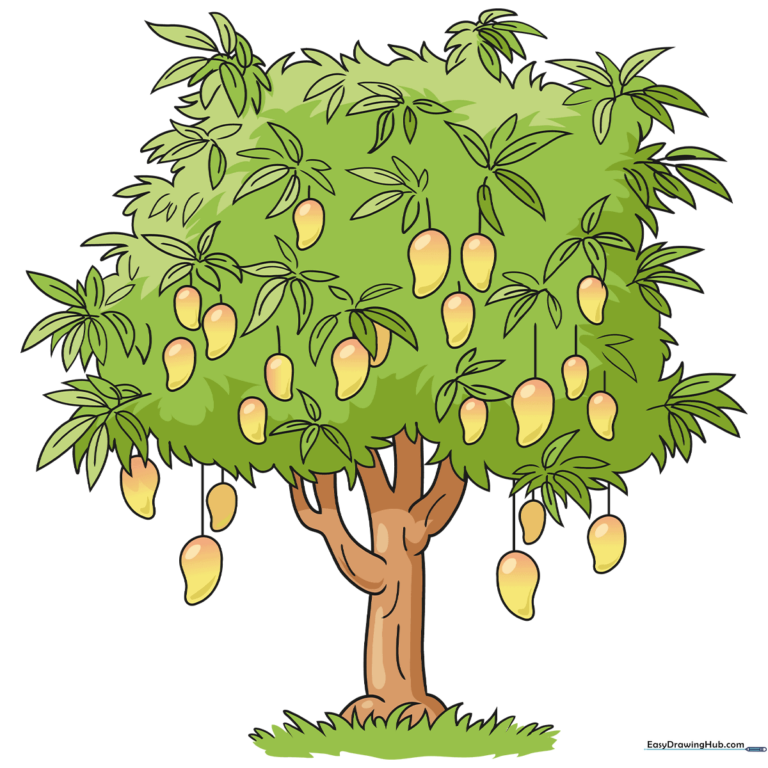
How to Draw a Mango Tree: Easy 10-Step Guide
Bring a tropical orchard to your sketchbook! This tutorial is perfect for artists ages 5 and up. You will only need a pencil, an eraser, and your favorite coloring markers to create a lush, fruit-bearing tree.
🎯 Final Result
Step-by-Step Instructions
Step 1: Sketching the Ground and Trunk
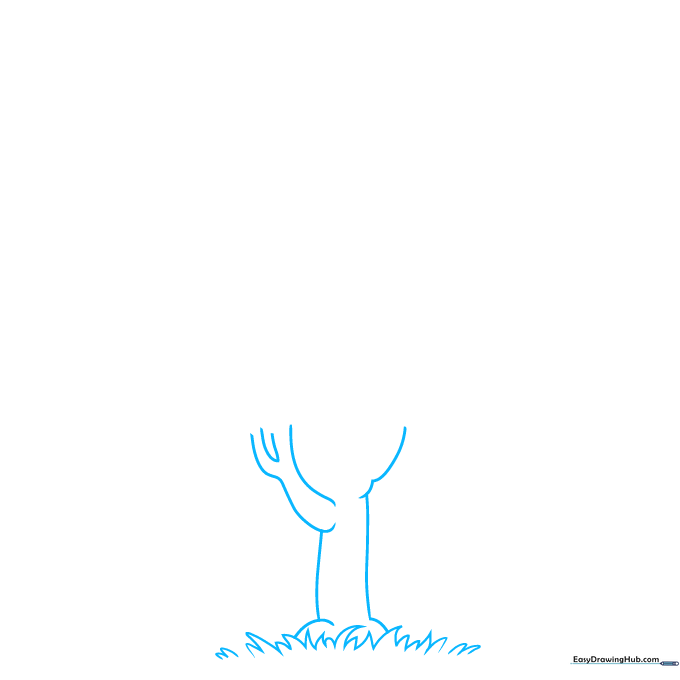
Start by drawing the grass at the base using short, jagged, V-shaped lines. Then, draw the trunk and main branches using smooth, upward-curving lines. Teacher's Tip: Keep your lines loose and organic—trees in nature are rarely perfectly straight!
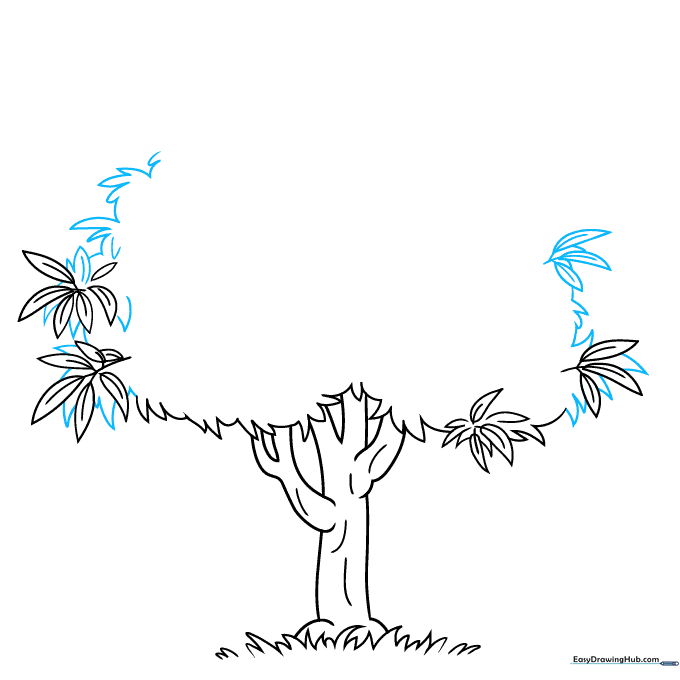
Step 2: Adding Bark and First Leaves
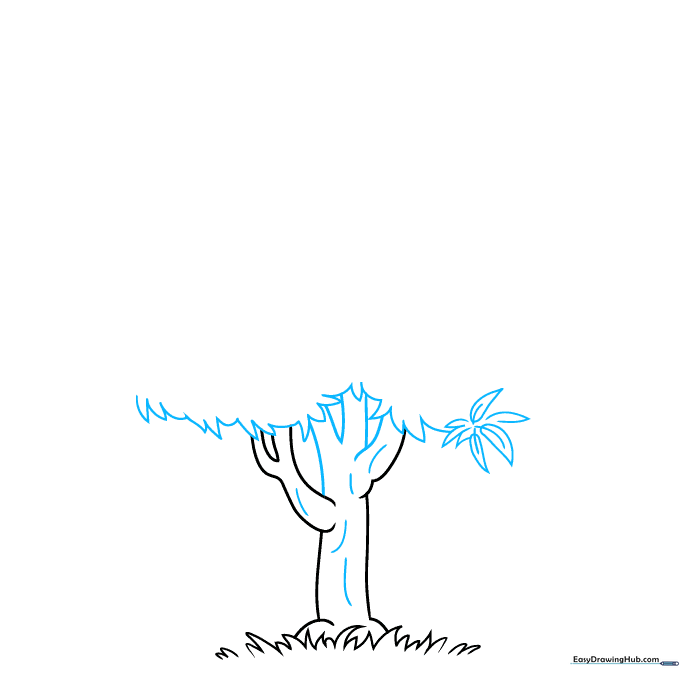
Add texture to the trunk with a few vertical curved lines for bark. Sketch the start of your canopy using jagged, cloud-like shapes. Add a few leaves by drawing two curved lines meeting at a point. Tip: Add a center vein to each leaf to make them look realistic.
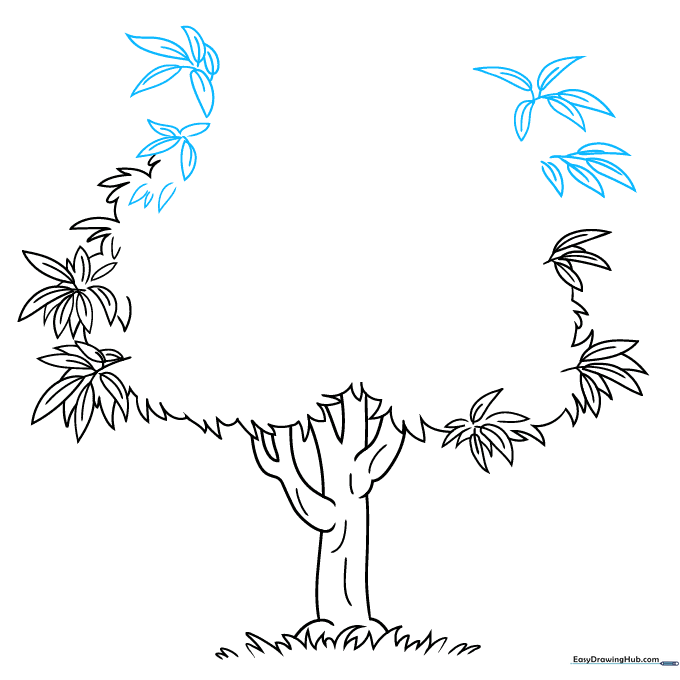
Step 3: Building the Canopy
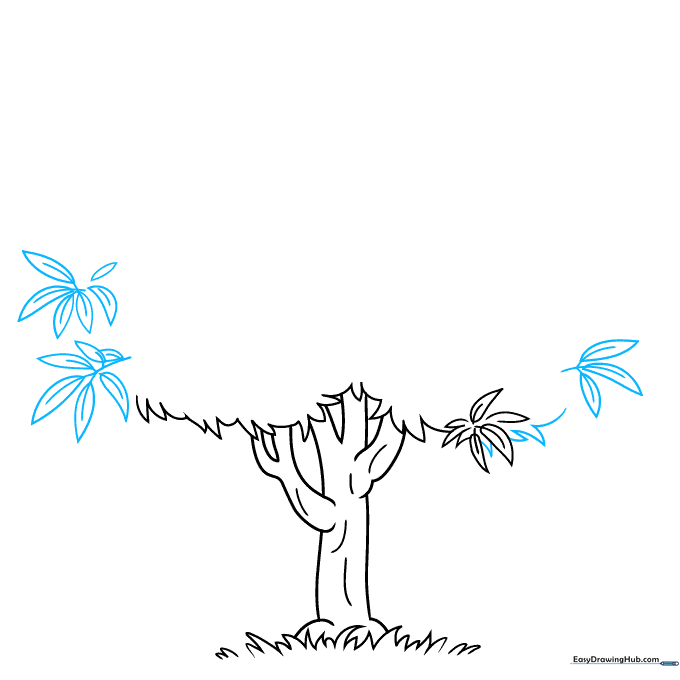
Continue expanding the canopy by connecting groups of leaves to a central branch. Use jagged, overlapping lines to create the outer edge of the tree. Tip: Don't worry about making the canopy perfectly round; trees are naturally asymmetrical.
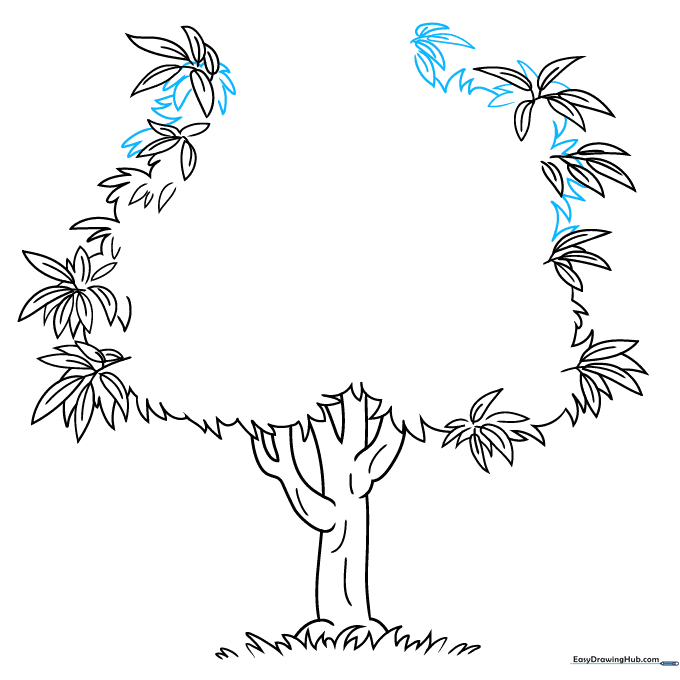
Step 4: Adding Leaf Detail
Focus on the leaves. Draw more pointed shapes, ensuring the central veins converge into the stems. Fill in the gaps of the canopy with short, jagged strokes. Tip: Vary the size of your leaves to give the tree a fuller look.
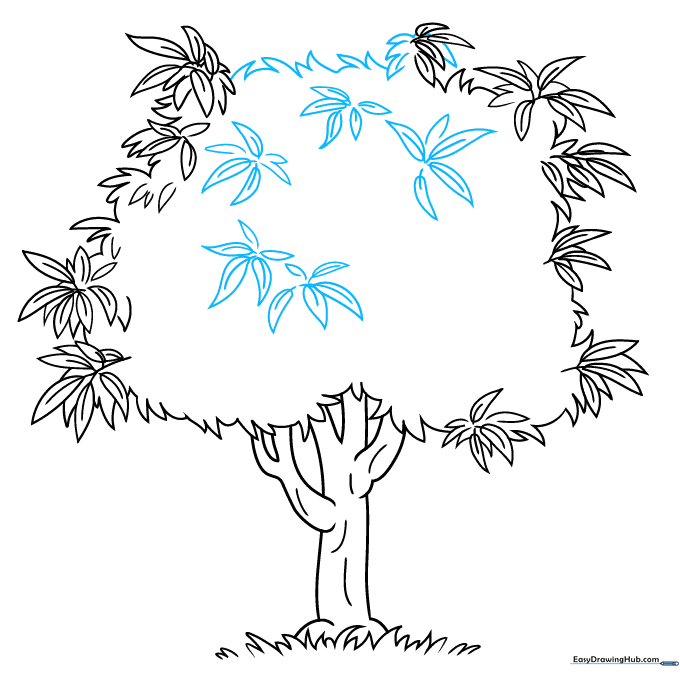
Step 5: Creating Leaf Bunches
Draw more groups of leaves. Remember the three-line rule: two for the edges and one for the vein. Connect some of these stems to the main branches. Tip: If you make a mistake, just erase and try again—that's how we learn!
Step 6: Filling the Canopy
Continue adding leaf bunches and jagged lines to fill out the canopy. This creates the 'bushy' look of a healthy mango tree. Tip: Use a lighter touch with your pencil for the leaves in the background to create depth.
Step 7: Finalizing the Canopy Shape
Close off the canopy with final jagged lines. Add a few more detailed leaf clusters inside the canopy to ensure it looks thick and lush. Tip: Ensure your leaf veins are pointing toward the stem for a natural look.
Step 8: Adding Mango Fruit
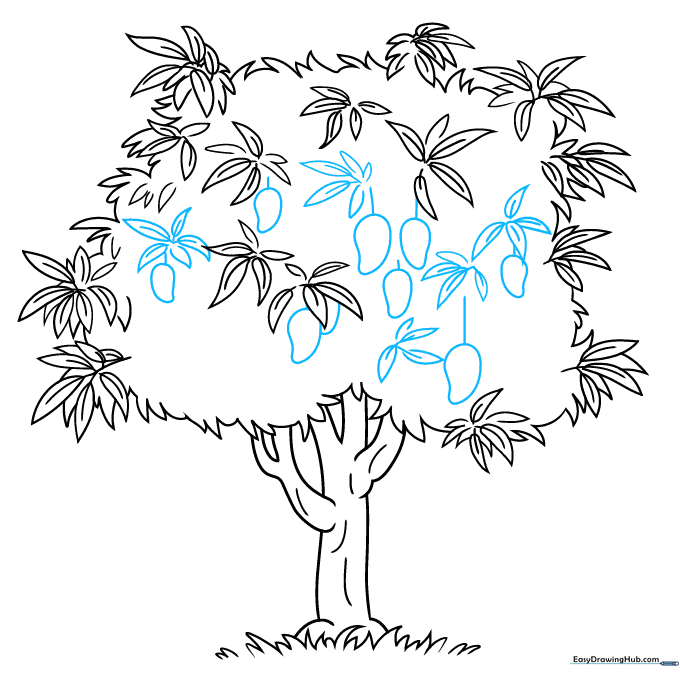
Now for the fun part! Draw small, oval-like shapes hanging from the branches. Add a tiny stem connecting each mango to the branch. Tip: Draw the mangoes in different sizes to show that some are closer to the viewer than others.
Step 9: Final Touches
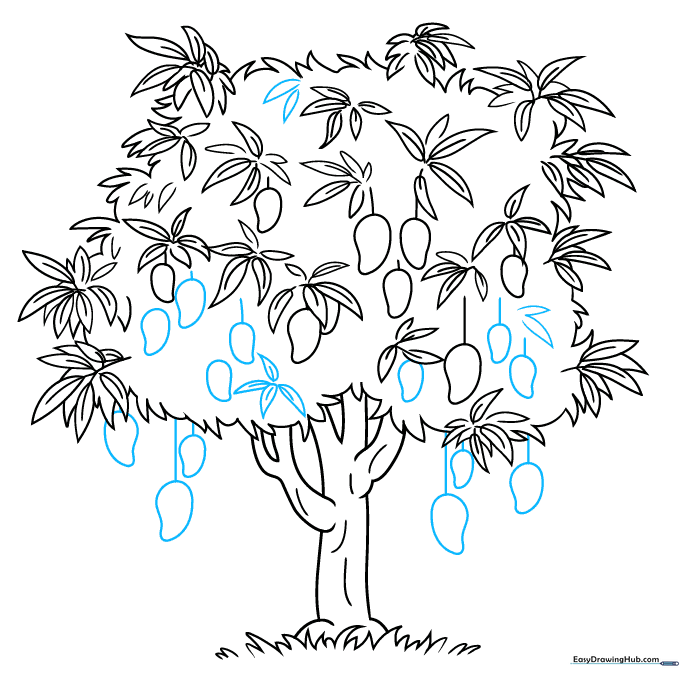
Add more mangoes throughout the tree. You can even draw a few 'hidden' ones behind the leaves. Check your drawing for any stray lines and erase them now. Tip: A clean drawing makes coloring much easier!
Step 10: Bring It to Life with Color
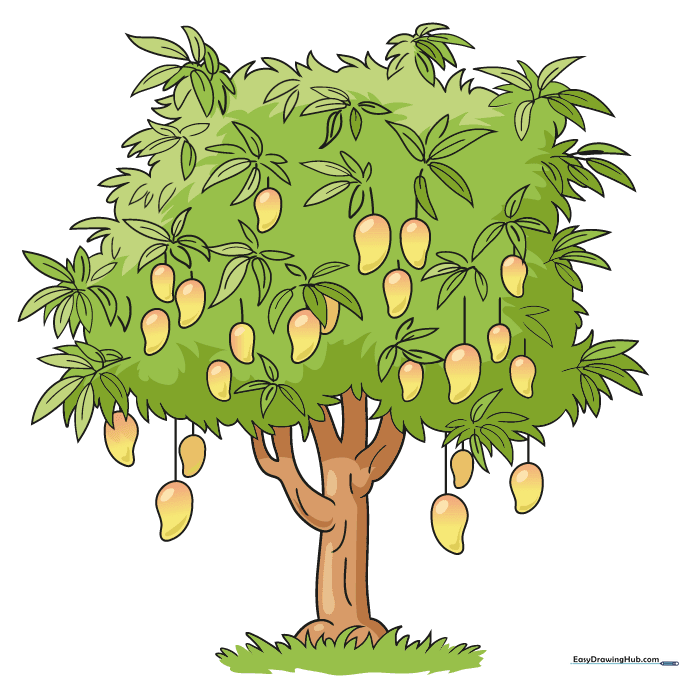
Time to color! Use deep greens for the leaves and vibrant yellows, oranges, or reds for the mangoes. Tip: Use a darker green for the shadows under the leaves to make your tree look 3D.
More Tutorials


