How to Draw a Male Face: Easy Side Profile Guide
Ready to capture a side profile? This tutorial is perfect for young artists ages 8+ looking to understand facial proportions. All you need is a pencil, eraser, and paper to start building your character design skills.
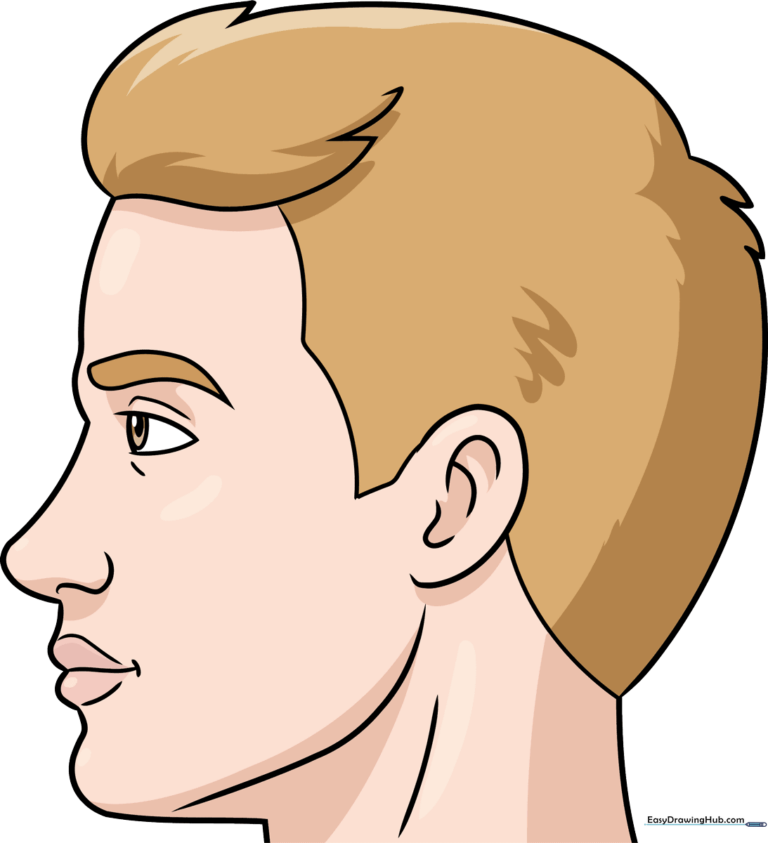
🎯 Final Result
Step-by-Step Instructions
Step 1: Sketching the Eye

Draw a small triangle using curved lines for the eye shape. Add an oval inside for the iris and shade it in. Teacher's Tip: Keep your pencil pressure light so you can easily adjust the shape if it looks a bit too wide.
Step 2: Adding Eyelids and Brows

Add soft curves above and below the eye to create eyelids. Draw a teardrop shape above for the eyebrow. Tip: Think of the eyebrow as a gentle arch—it helps give the face a natural, relaxed expression.
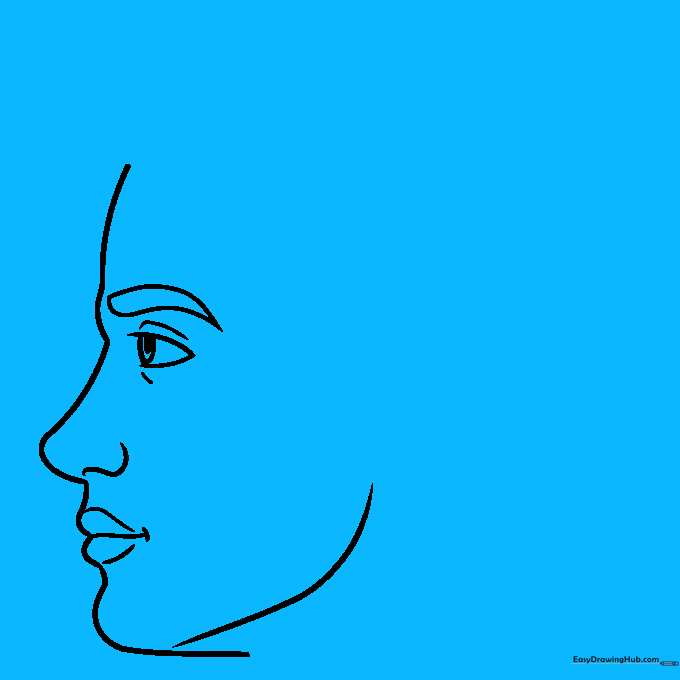
Step 3: Shaping the Forehead and Nose
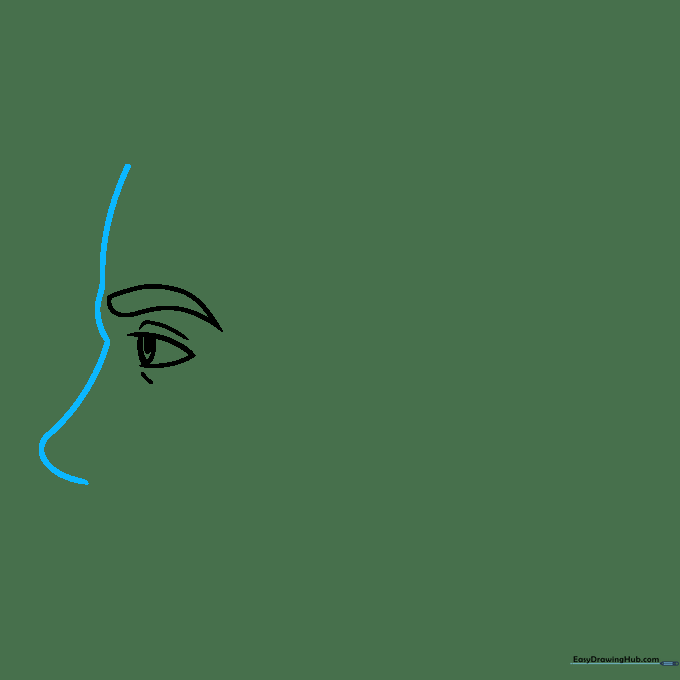
Use one long, flowing curved line to connect the forehead to the bridge of the nose. Tip: Don't rush this line! A smooth curve here is the secret to making the profile look realistic.
Step 4: Defining the Mouth
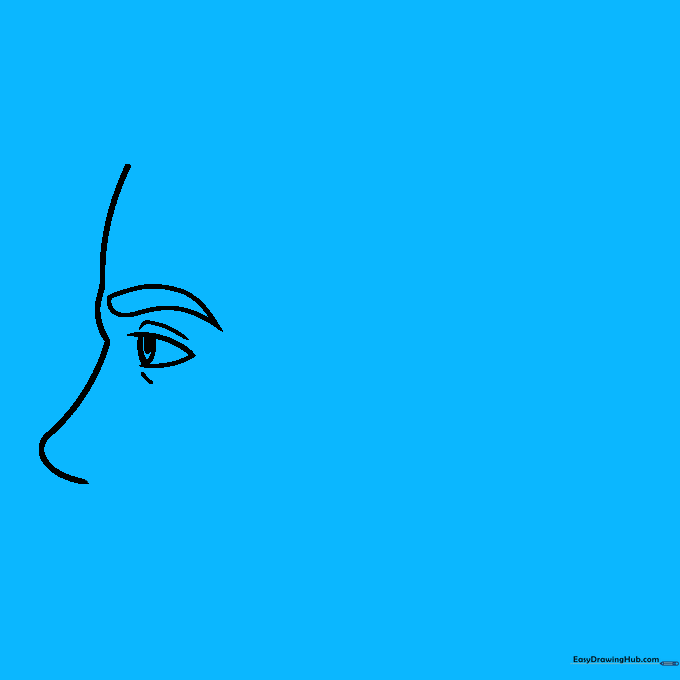
Extend the nose line downward to sketch the lips. Add a small curve for the nostril and a tiny dash at the corner of the mouth to show a subtle smile. Tip: Keep the lips simple; a few small curves are enough to suggest the shape.
Step 5: The Jawline
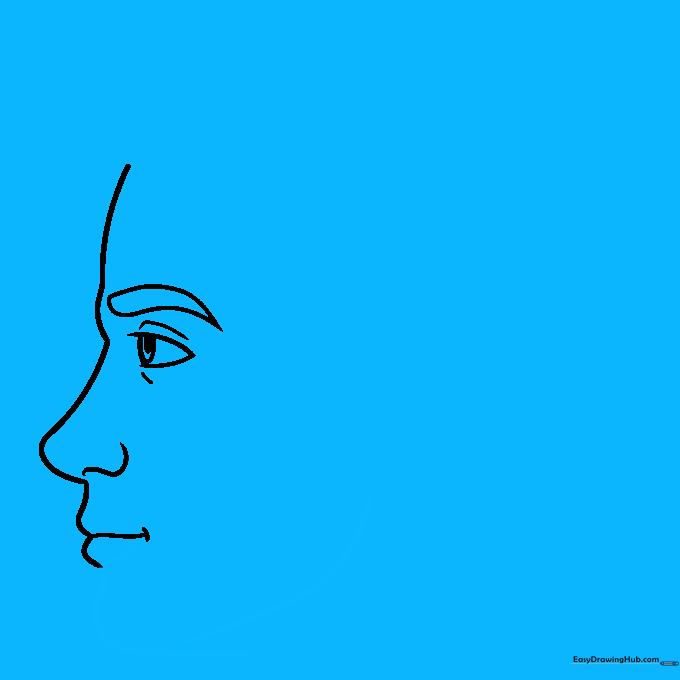
Draw the lips with soft curves, then continue the line down to create the chin and jaw. Tip: Notice how the jawline doesn't connect perfectly to the neck—leaving a little space makes it look more natural.
Step 6: Drawing the Ear
Sketch a 'C' shape behind the jaw to form the ear. Add a few overlapping curves inside to show the inner cartilage. Tip: The top of the ear usually aligns with the eyebrow—use that as a guide!
Step 7: Sketching the Hairline
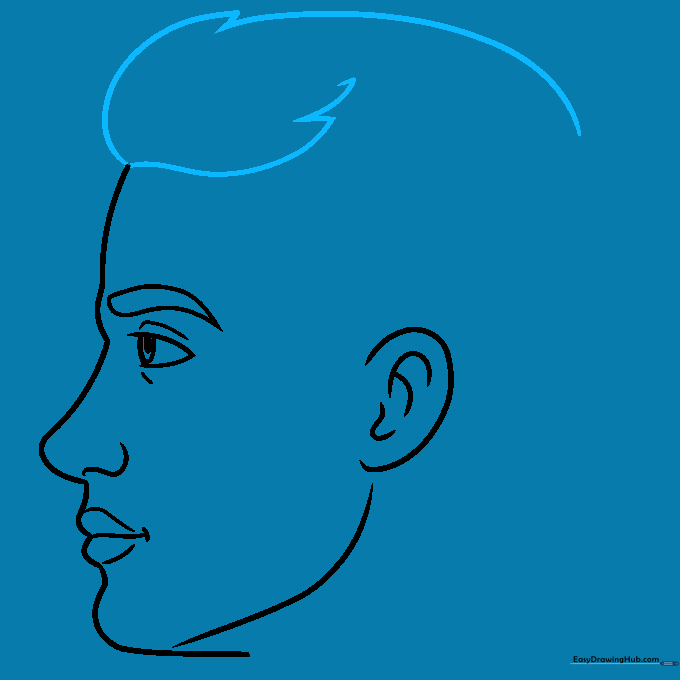
Use jagged, curved lines to create the hair above the forehead. Tip: Hair isn't a solid block; let some lines overlap or point outward to make it look like real strands.
Step 8: Adding Neck and Sideburns

Draw the sideburns near the ear and sketch the lines for the front and back of the neck. Tip: Keep the neck lines slightly curved to show the natural structure of the throat.
Step 9: Finishing the Outline
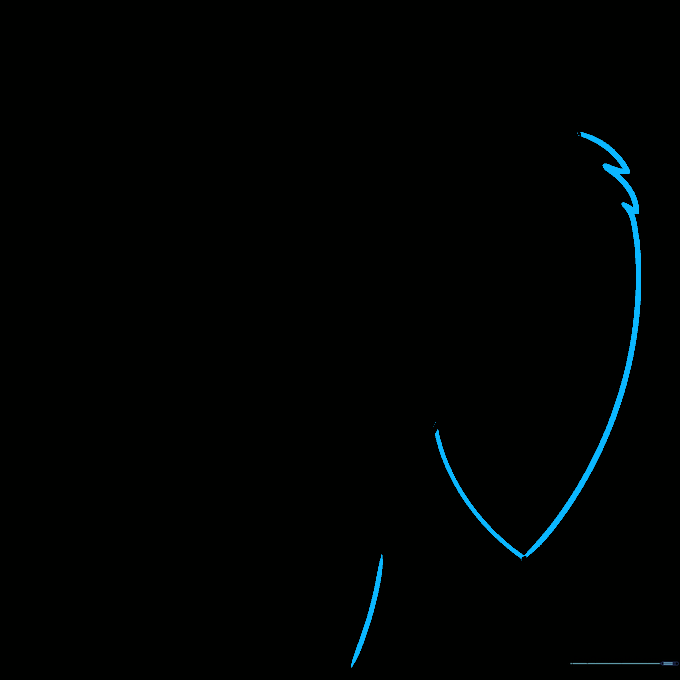
Connect the hair at the back of the head and refine the neck contour. Tip: Use a mix of long and short strokes to make the hair look fuller and more natural.
Step 10: Adding Color
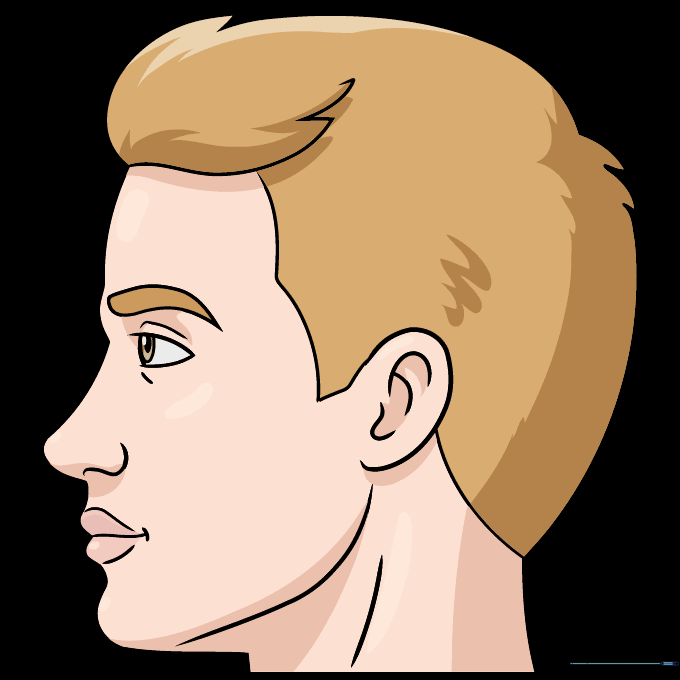
Bring your character to life with color! Use skin tones for the face and your favorite hair color. Tip: Try using a slightly darker shade under the jaw to create a simple shadow effect.
More Tutorials


