How to Draw a Lunch Box: Easy 10-Step Guide for Kids
Ready to pack a creative punch? This tutorial is perfect for young artists ages 5 and up who want to draw their own lunch box filled with tasty treats. All you need is a pencil, an eraser, and your favorite markers to bring this cartoon scene to life.
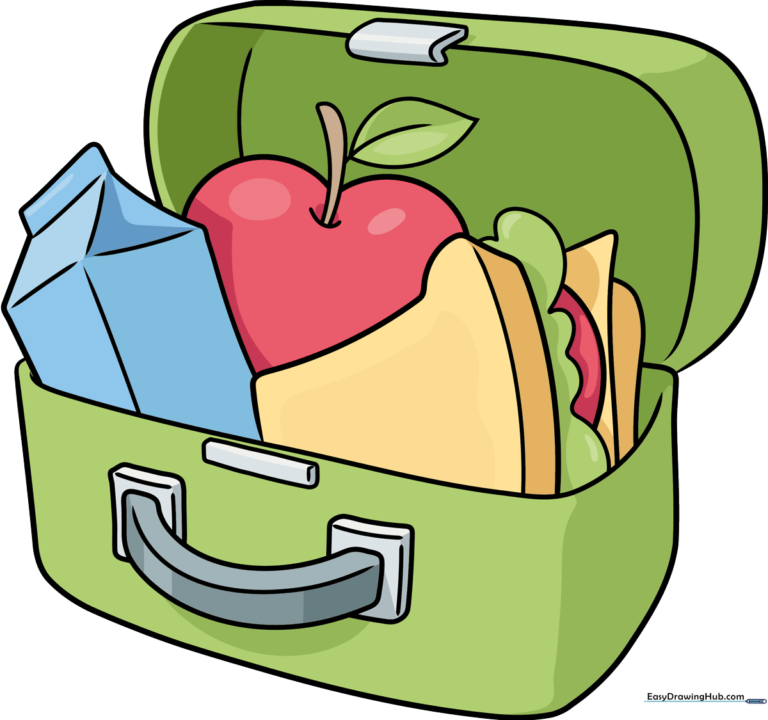
🎯 Final Result
Step-by-Step Instructions
Step 1: Sketching the Main Container
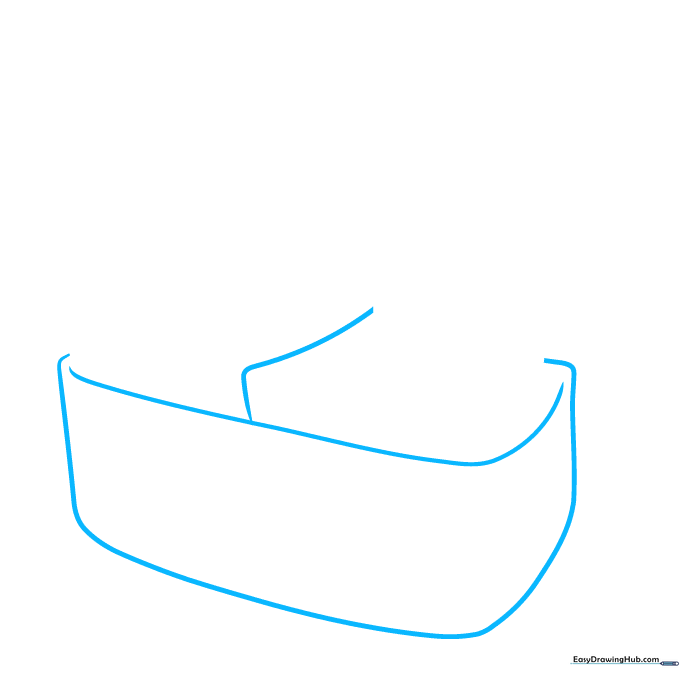
Start by drawing two long, curved lines to form the rectangular body of the lunch box. Teacher's Tip: Keep your pencil pressure light so you can easily adjust the shape if it looks a bit lopsided! Add a curved 'L' shape inside to start the sandwich outline.
Step 2: Adding the Sandwich Crust
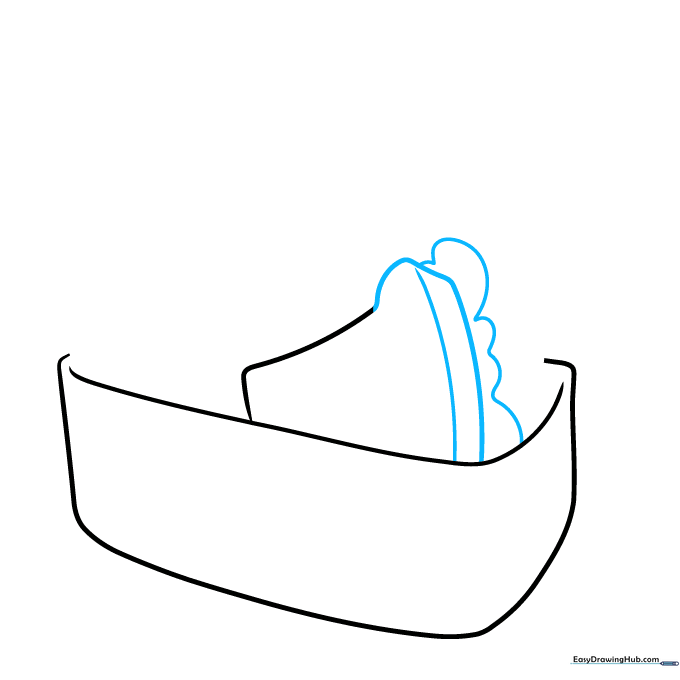
Extend a curved line from your 'L' shape to close the bread slice. Add a small curved line across the top to show the crust's thickness. Tip: A wavy line underneath makes a perfect lettuce leaf—don't worry about making it perfect, lettuce is naturally bumpy!
Step 3: Filling the Sandwich and Milk
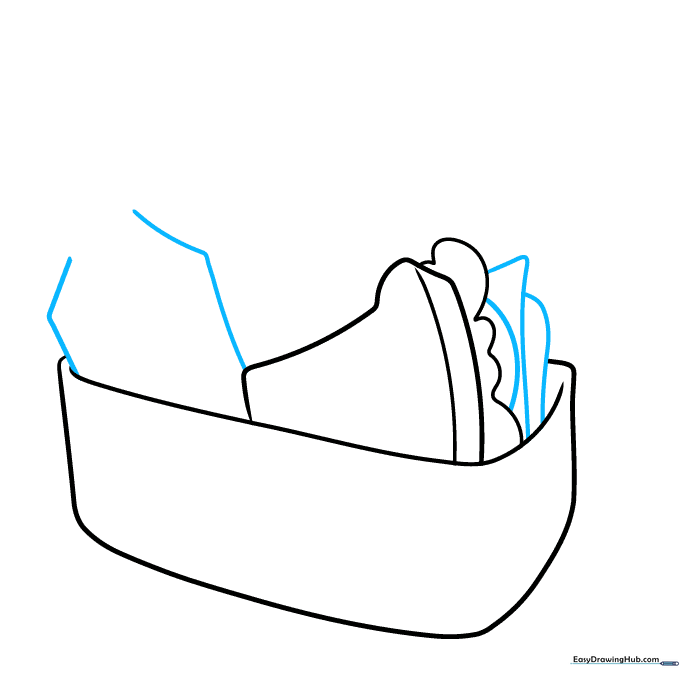
Layer your sandwich with a curved line for meat and a '7' shape for cheese. Add the top slice of bread. Behind the sandwich, draw two bent lines to start the base of a milk carton. Tip: Think of the milk carton as a simple box shape standing tall.
Step 4: Finishing the Milk Carton
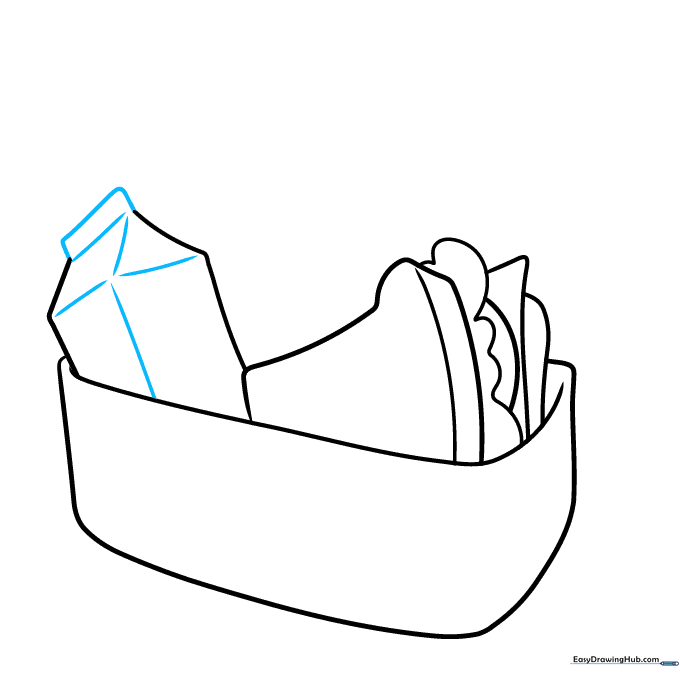
Use straight lines to cap the milk carton. Draw a rounded rectangle on top, then add the side panels using a triangle and parallelogram. Tip: Use a ruler if you want perfectly straight lines, or keep it hand-drawn for a charming cartoon look.
Step 5: Adding a Healthy Apple
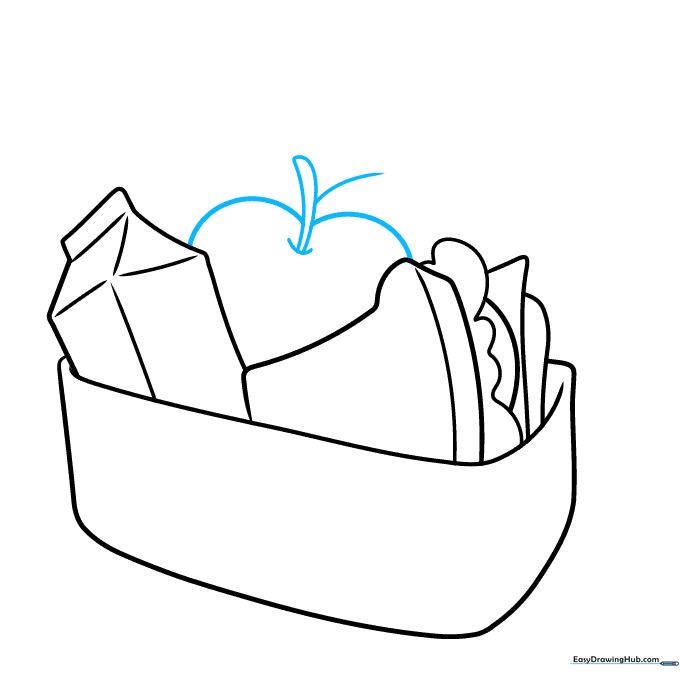
Draw a heart-like shape for the apple. Add a small curved line between the lobes and a stem with a leaf. Tip: When drawing the leaf, draw the center vein first to help you keep the leaf symmetrical on both sides.
Step 6: Closing the Lunch Box Lid
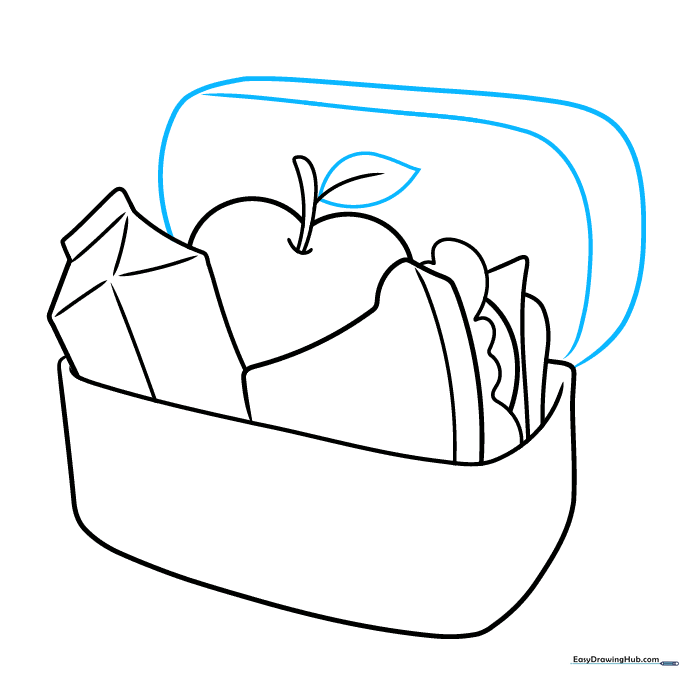
Draw a teardrop shape to finish the leaf. Now, outline the top lid of the lunch box using a long, rounded rectangle. Tip: Add a second inner line to the lid to create a 3D 'depth' effect, making it look like it has a real thickness.
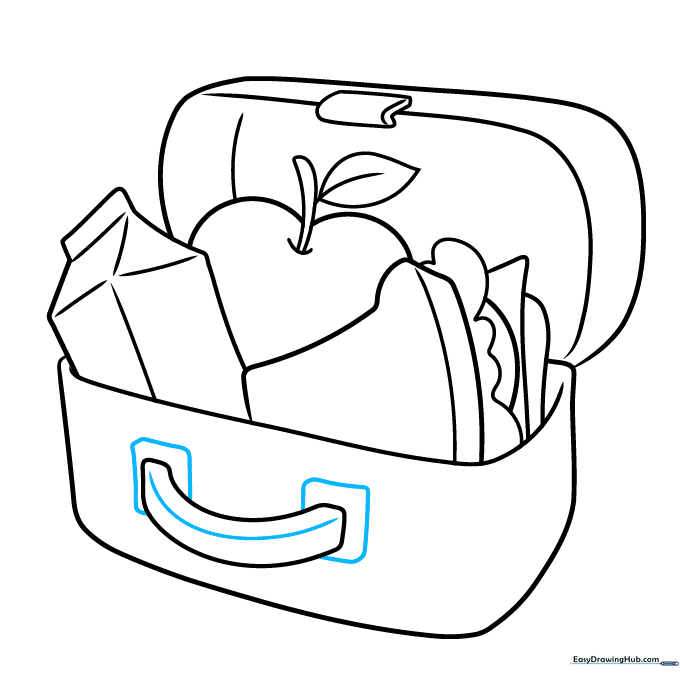
Step 7: Adding the Clasp and Handle
Draw a curved rectangle for the clasp and a 'C' shaped handle on the front. Tip: If you make a mistake, use your eraser to gently lift the graphite before drawing over it again. Depth lines inside the handle make it look sturdy!
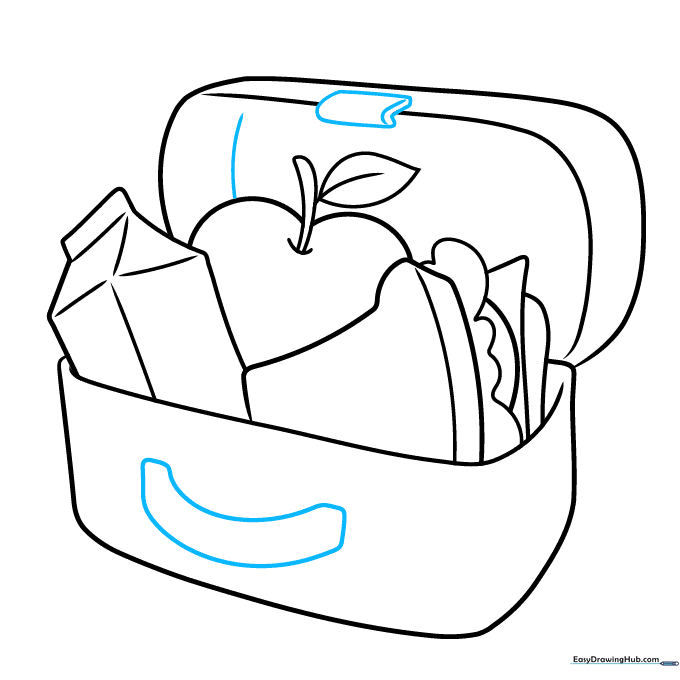
Step 8: Refining the Handle
Add rounded rectangles at the ends of the handle where it attaches to the box. Draw a curved line along the inner edge to give it a realistic, 3D look. Tip: Consistency in your curved lines helps the object look rounded rather than flat.
Step 9: Final Details
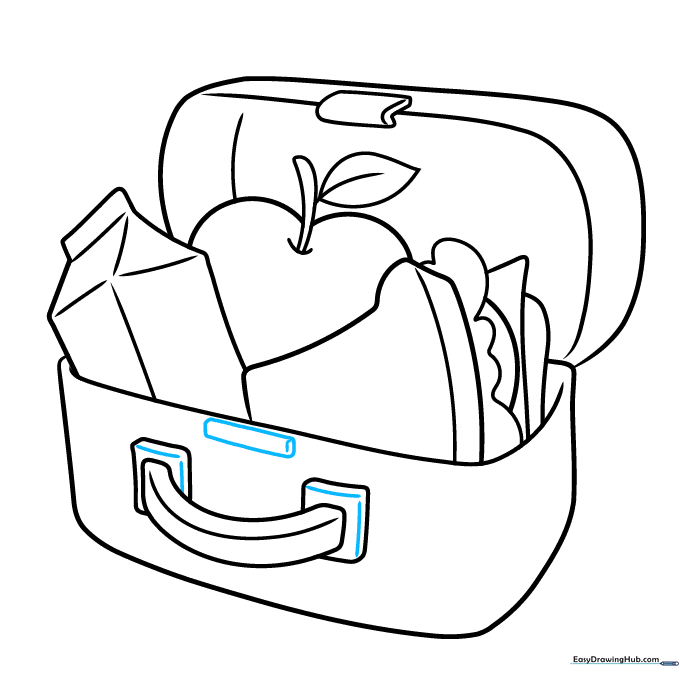
Add straight lines to the handle rectangles and a narrow rectangle above the handle for the clasp mechanism. Add a small 'L' shape in the corner for extra detail. Tip: Small details like these make your drawing look professional!
Step 10: Color Your Masterpiece
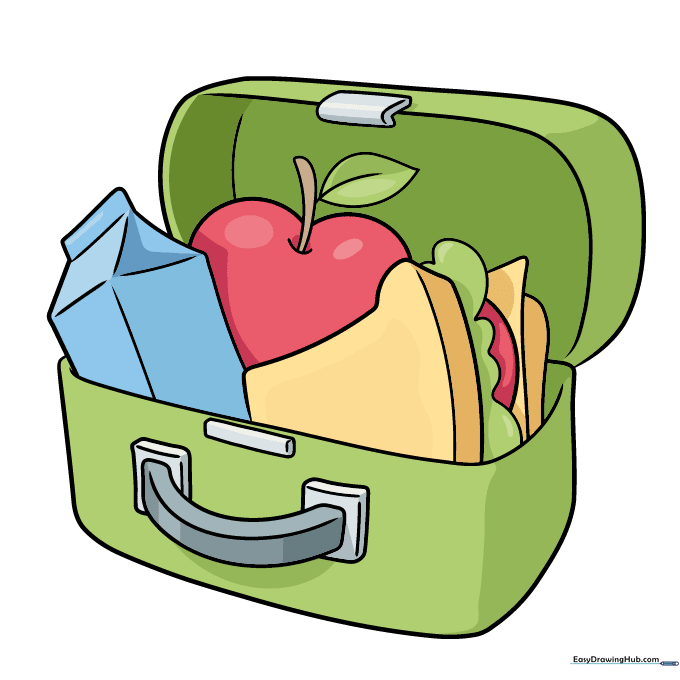
Your lunch box is ready for color! Use bright colors for the box and natural colors for the food inside. Tip: Try adding a fun pattern like polka dots or your favorite character sticker to the front to make it uniquely yours.
More Tutorials


