How to Draw a LOL Surprise Doll: Easy Step-by-Step Guide
Bring your favorite toy to life with this simple drawing tutorial, perfect for artists ages 5 and up. You only need a pencil, an eraser, and a piece of paper to get started. Follow these steps to build confidence in your character design and create your own stylized doll.
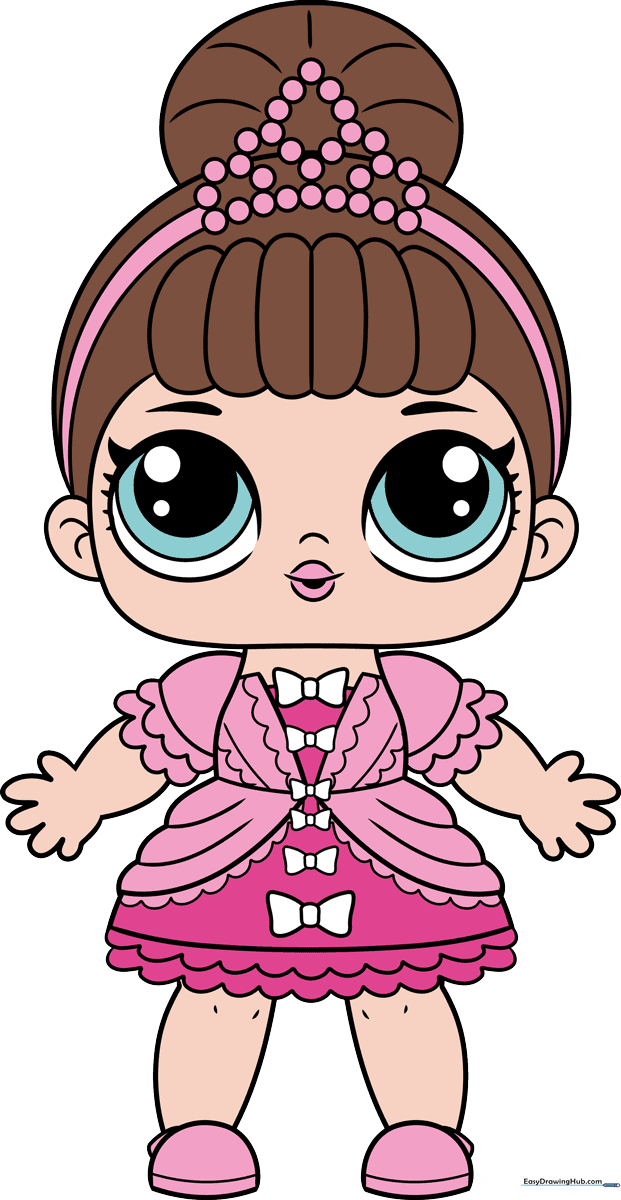
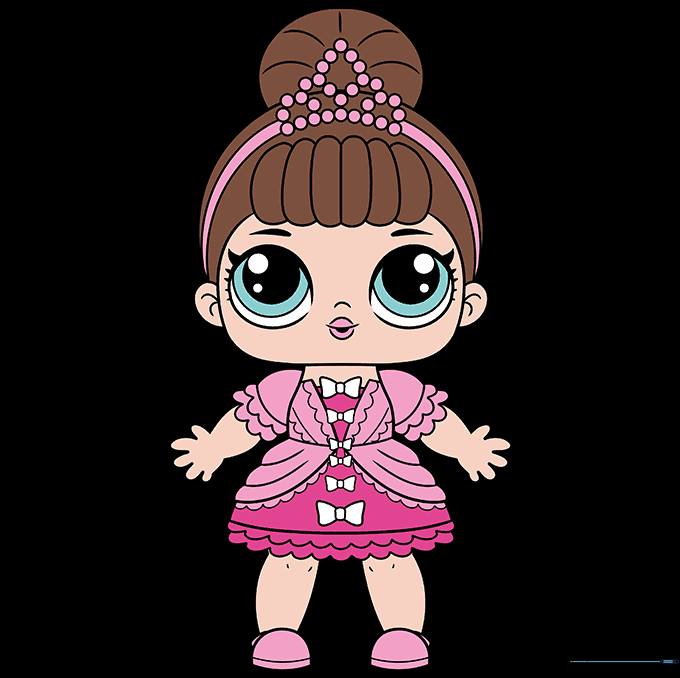
🎯 Final Result
Step-by-Step Instructions
Step 1: Sketching the Expressive Eyes

Start by drawing the doll's large, signature eyes. For each eye, draw five circles—two small ones inside larger ones to create depth. Shade the pupil to make the eyes pop. Teacher's Tip: Keep the eyes symmetrical by drawing them at the same time, moving back and forth between the left and right side.
Step 2: Framing the Face and Hair
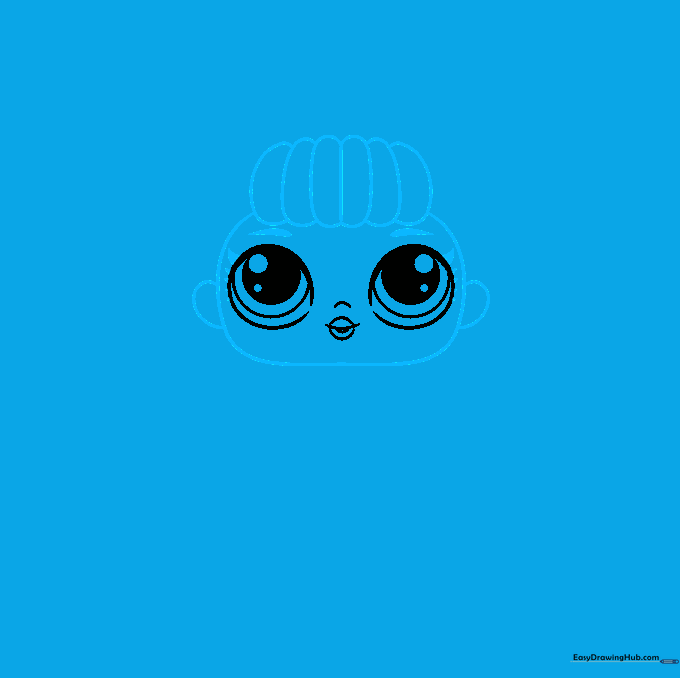
Draw the bangs using overlapping curved lines. Extend a long, smooth curve around the face to define the head shape. Add small curves for the ears. Teacher's Tip: Use short, quick strokes for the eyelashes to give them a natural, feathery look.
Step 3: Adding the Crown

Place a tiara on top of the bangs using a series of small, connected circles. Draw curved lines connecting the crown to the ears. Teacher's Tip: If your circles aren't perfect, don't worry—the charm of a hand-drawn doll is in its unique character!
Step 4: The Hair Bun and Bodice
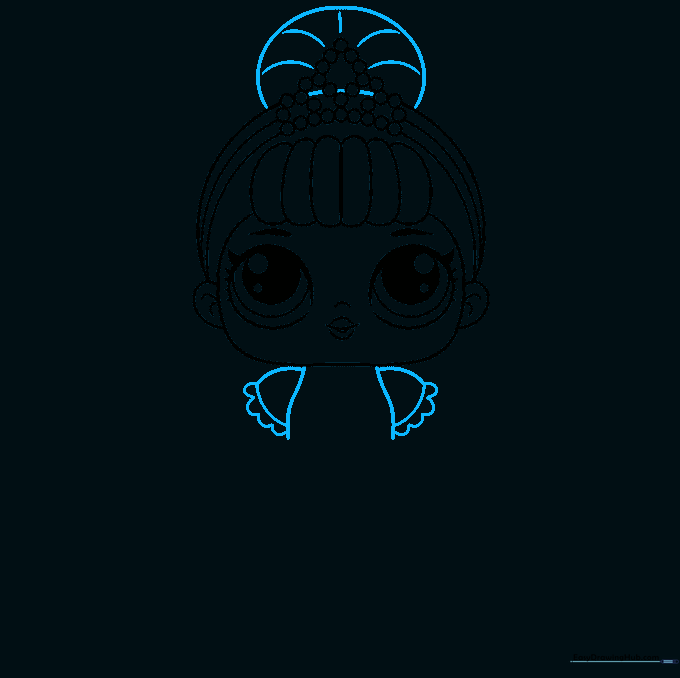
Add a partial circle on top for the hair bun, adding texture with light curved lines. Outline the torso and triangular sleeves. Teacher's Tip: Use a scalloped line for the sleeve edges to mimic the look of delicate lace.
Step 5: Drawing the Arms
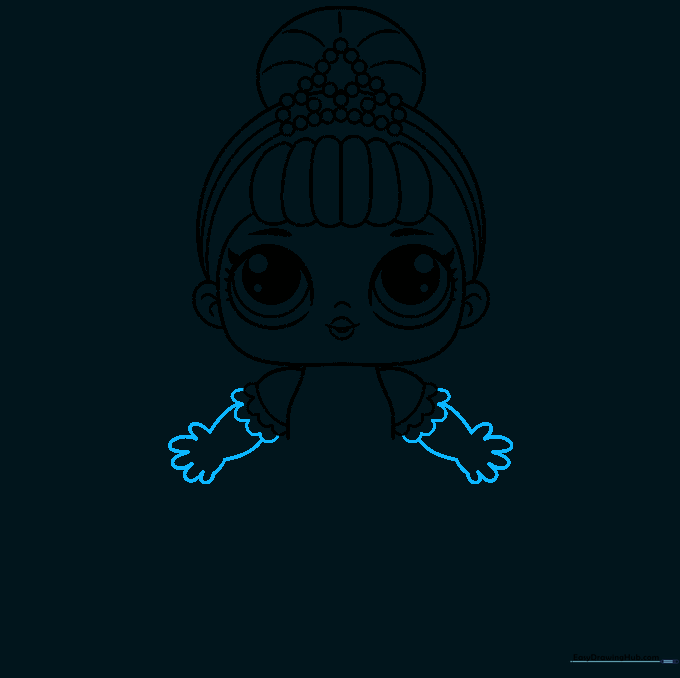
Add a second layer of lace to the sleeves for detail. Draw the arms using simple curved lines and 'U' shapes for the fingers. Teacher's Tip: Keep the arms close to the body to make the drawing easier to manage.
Step 6: Adding Dress Details
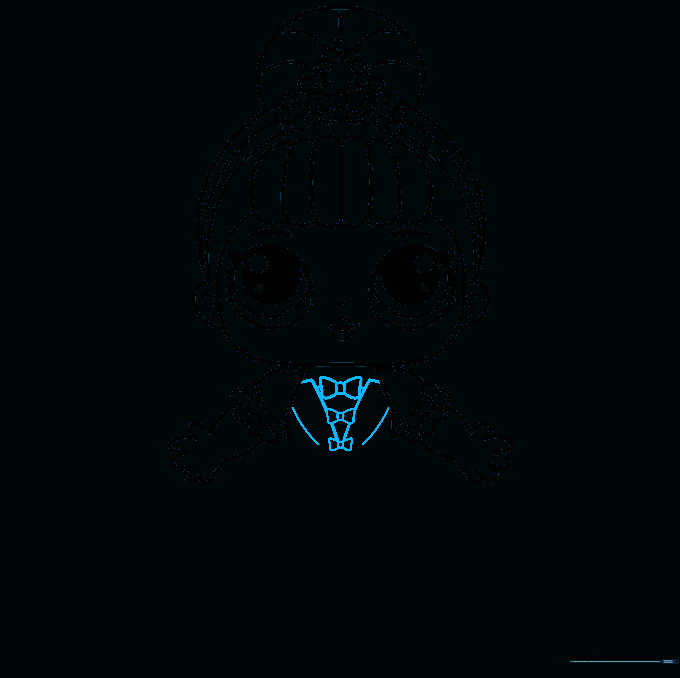
Draw the dress front with rectangular lapels. Add three bows down the center, making them slightly smaller as you go up. Teacher's Tip: Use a small circle for the center of each bow to give it a 3D look.
Step 7: Sketching the Skirt
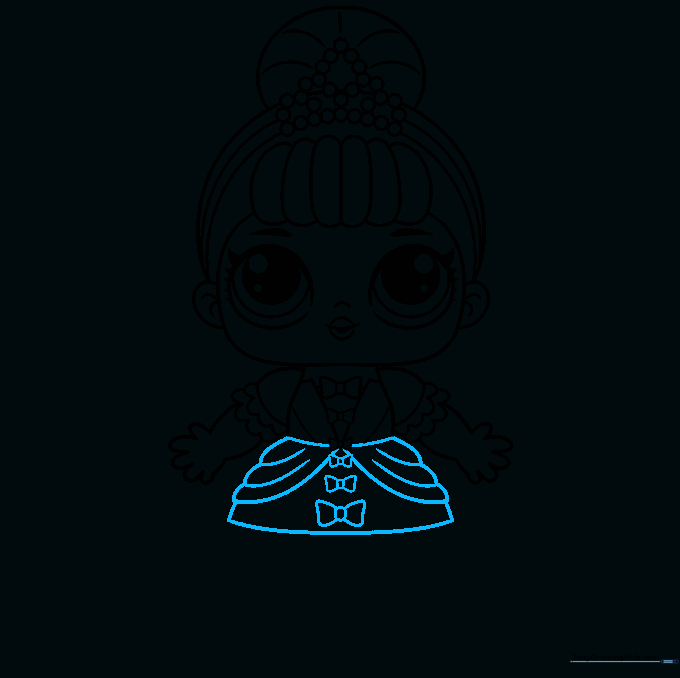
Draw the skirt using overlapping curved lines to create volume. Add three more bows near the bottom. Teacher's Tip: Make these bottom bows larger than the ones on the bodice to create a sense of perspective.
Step 8: Adding Lace Texture
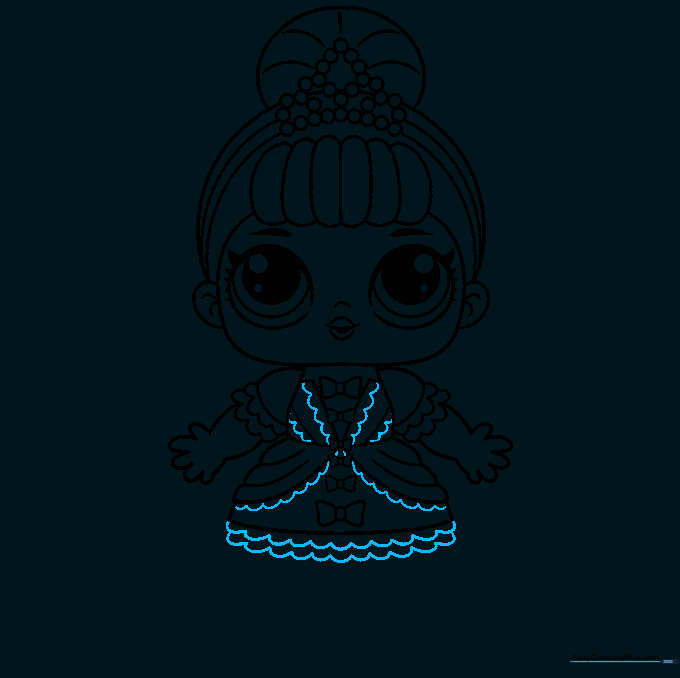
Enhance the dress with scalloped lines to represent lace trim on the bodice and skirt. Teacher's Tip: Take your time with these curves—they add a lot of personality to the outfit.
Step 9: Drawing the Legs and Shoes
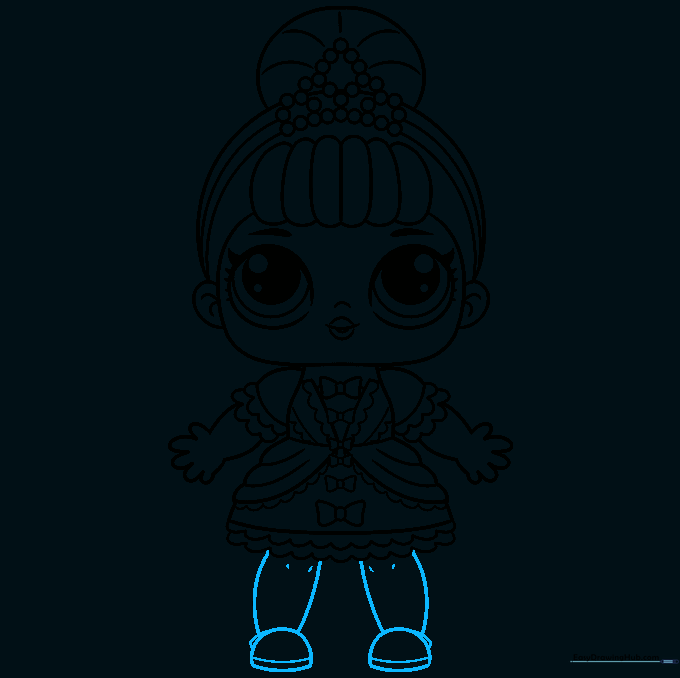
Finish the figure by drawing the legs and shoes. Use half-circles for the shoes and add a line for the sole. Teacher's Tip: Add a tiny line at the knee to show where the leg bends.
Step 10: Bringing it to Life with Color
Now for the fun part! Color your doll using your favorite shades. Teacher's Tip: Use bright, vibrant colors to match the playful energy of the LOL Surprise brand.
More Tutorials


