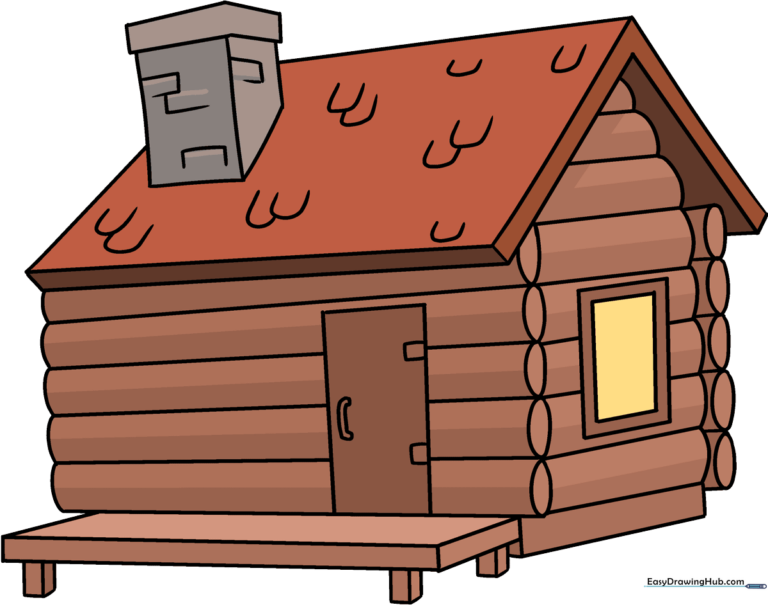
How to Draw a Log Cabin: Easy 10-Step Guide for Kids
Bring a rustic wilderness scene to life with this simple log cabin tutorial, designed specifically for ages 5 and up. You will only need a pencil, an eraser, and a piece of paper to build your own cabin from the ground up. Follow these steps to master basic geometric shapes while creating a charming woodland home.
🎯 Final Result
Step-by-Step Instructions
Step 1: Sketching the Roof

Start by drawing a large parallelogram for the roof. Add an upside-down 'V' shape to create the gable, then connect it to the corners. Teacher's Tip: Use a ruler if you want perfectly straight lines, or keep it freehand for a more rustic, hand-drawn feel.
Step 2: Adding the Chimney
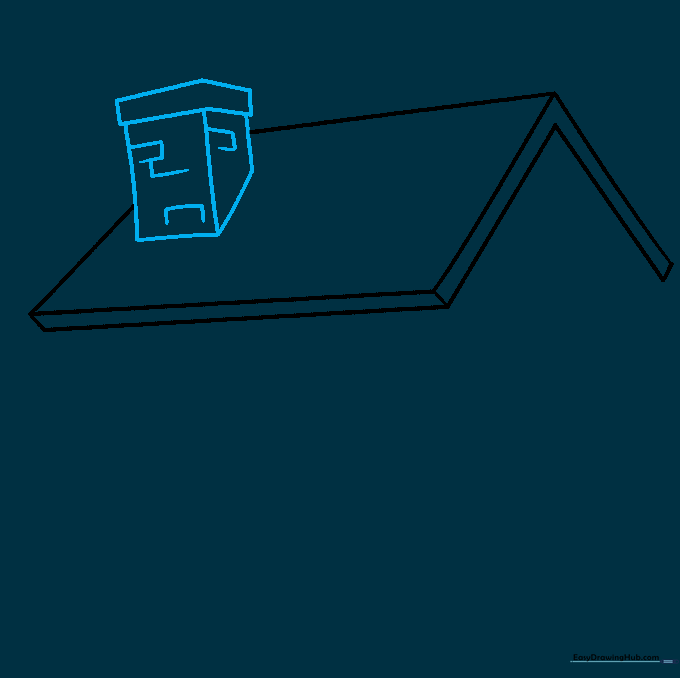
Draw a rectangle and a trapezoid on the roof to form the chimney. Add small partial rectangles on the sides to suggest brickwork. Teacher's Tip: Keep the chimney narrow so it doesn't overpower the roofline.
Step 3: Drawing the Front Logs
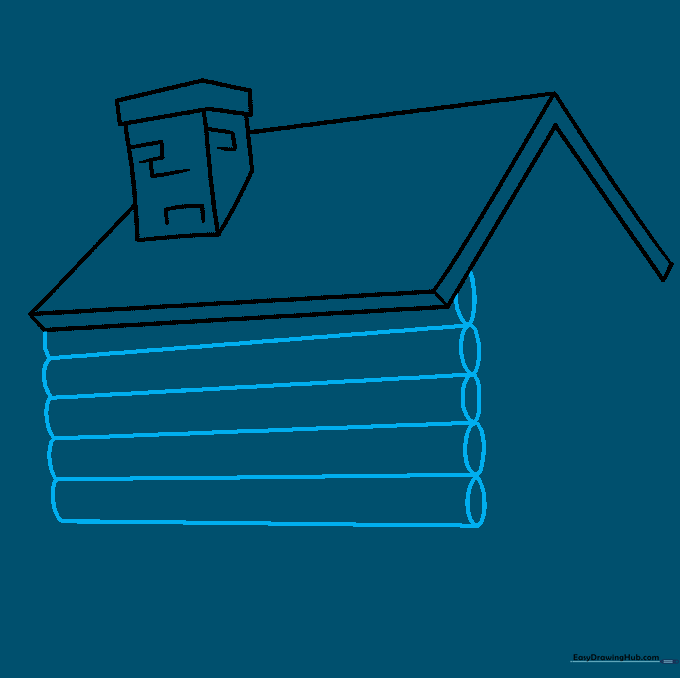
Create the front wall by drawing horizontal, parallel lines. Connect the ends with small curves and ovals to represent the log ends. Teacher's Tip: Vary the spacing slightly to make the logs look more organic.
Step 4: Detailing the Side Wall
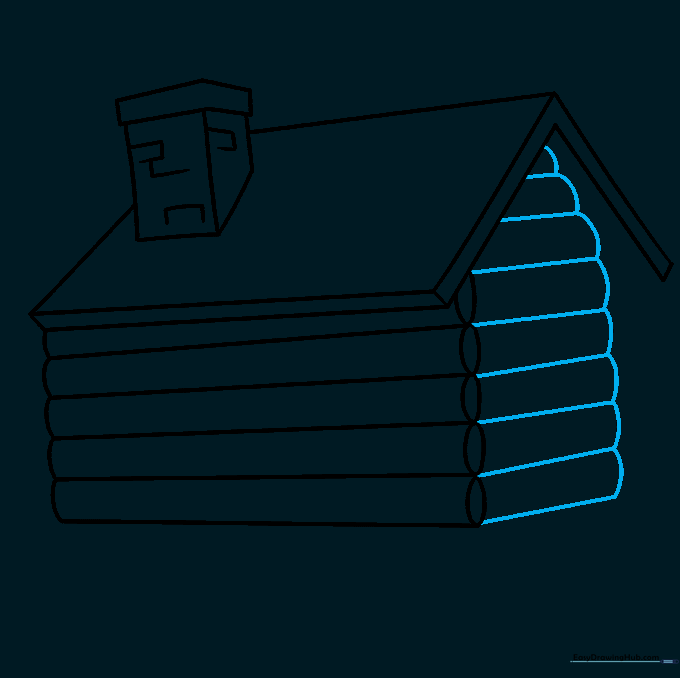
Repeat the process on the side of the cabin using parallel lines and short curved connectors. Teacher's Tip: Ensure your lines follow the perspective of the cabin to keep the drawing looking 3D.
Step 5: Finishing the Back Logs

Extend lines for the back wall and connect them with small ovals to show the log ends. Attach the roof securely to the wall. Teacher's Tip: This step adds depth to your drawing, making the cabin look sturdy.
Step 6: Building the Porch
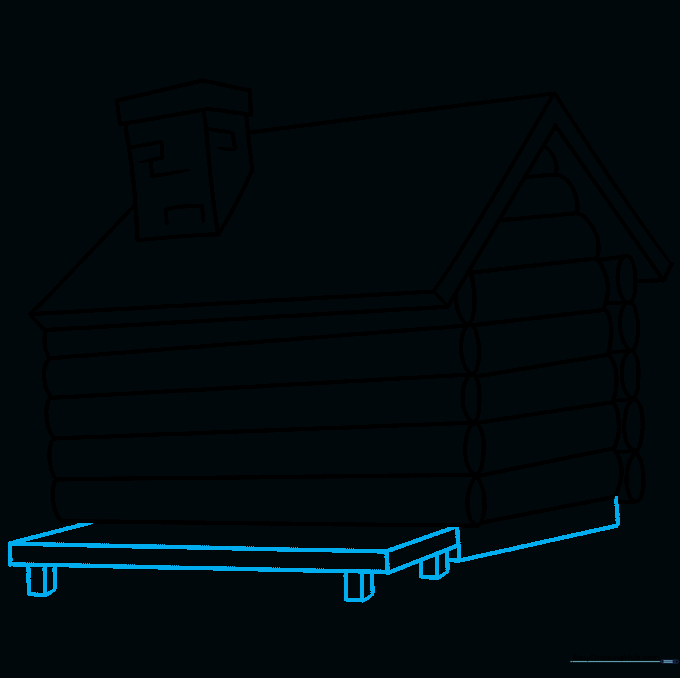
Draw a parallelogram in front for the porch floor, then add small rectangles for the supports. Teacher's Tip: Use a light touch here so you don't smudge the work you've already done on the walls.
Step 7: Adding the Door
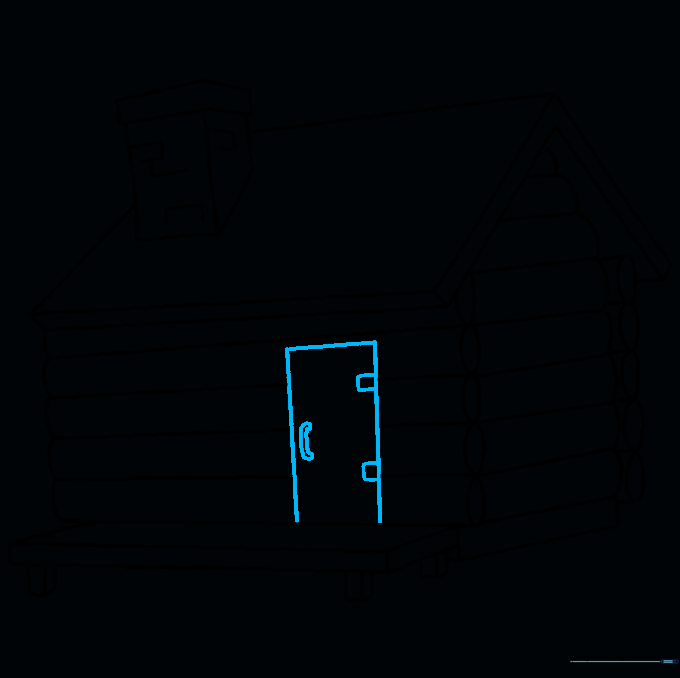
Draw a rectangle for the door on the front wall. Add small rectangles for hinges and a curved line for the handle. Teacher's Tip: Placing the door slightly off-center can make the cabin look more realistic.
Step 8: Adding a Window
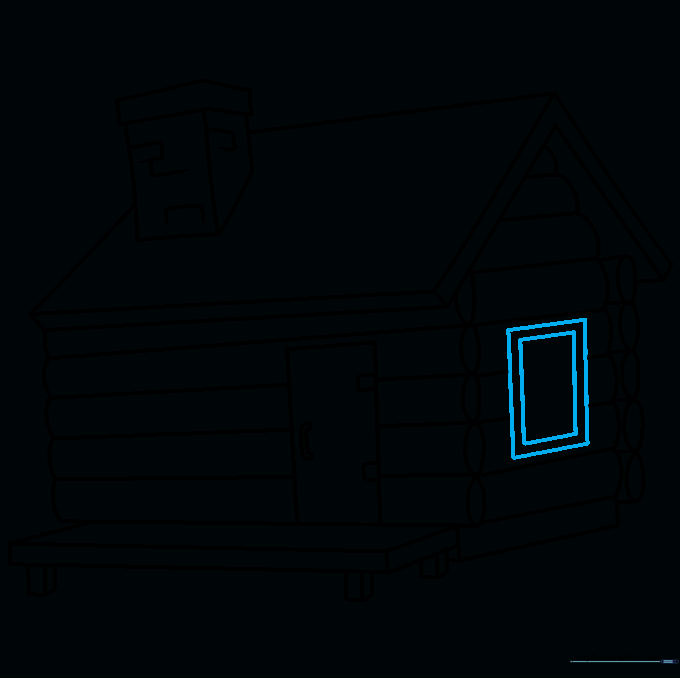
Draw a rectangle on the side wall, then place a smaller rectangle inside it for the window frame. Teacher's Tip: You can add a tiny 'X' inside the window to represent the glass panes.
Step 9: Shingling the Roof
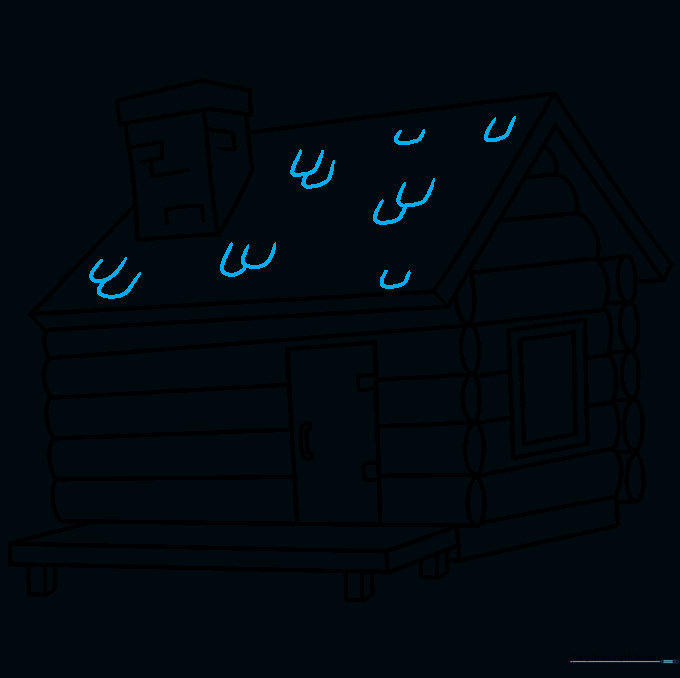
Add texture to the roof by drawing overlapping 'U' shaped lines. Teacher's Tip: Start from the bottom of the roof and work your way up so the shingles overlap correctly.
Step 10: Coloring Your Cabin
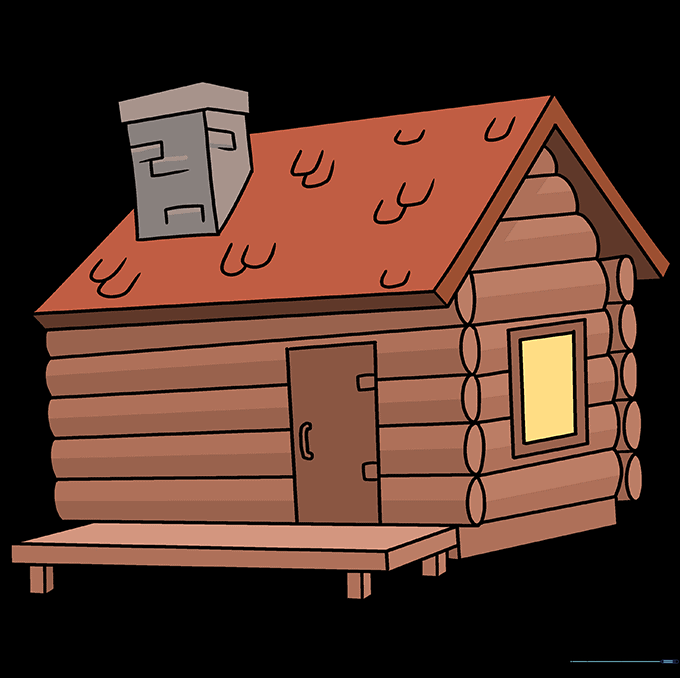
Bring your drawing to life with color! Use earthy browns for the logs and a darker shade for the roof. Teacher's Tip: Use a slightly darker brown to shade the underside of the logs to give your cabin a 3D effect.
More Tutorials


