How to Draw a Lizard: Easy 10-Step Guide for Kids
Ready to bring a reptile to life? This tutorial is perfect for young artists ages 5 and up. You will only need a pencil, an eraser, and a piece of paper to master this scaly friend while practicing your control and shape-building skills.
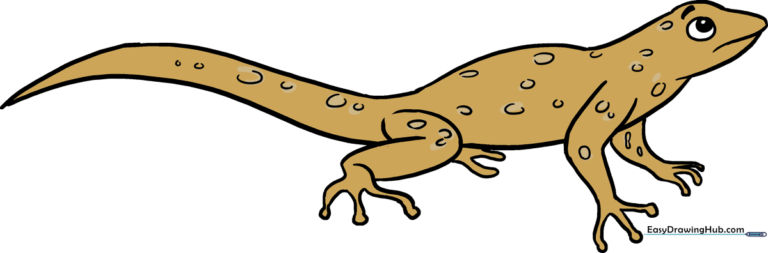
🎯 Final Result
Step-by-Step Instructions
Step 1: Sketching the Basic Shapes

Start by drawing a small circle for the head and a larger, irregular oval for the body. Teacher's Tip: Keep these shapes light and loose; they are just your roadmap for the final drawing.
Step 2: Defining the Neck and Jaw

Connect the head to the body with two smooth, curved lines for the neck. Use a 'U' shape to form the nose and upper jaw. Tip: Make sure the lower jaw overlaps the neck line to give it a natural, sturdy look.
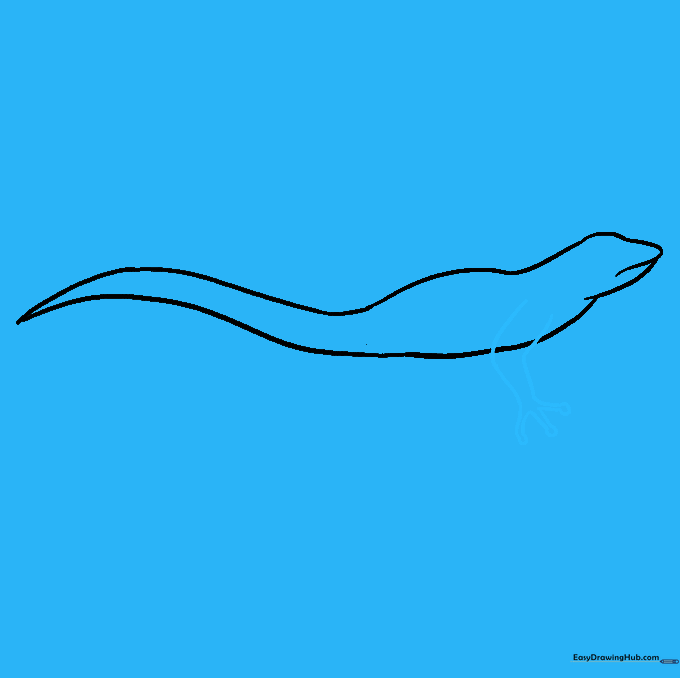
Step 3: Drawing the Tail

Extend two long, curved lines from the back of the body to create a tapering tail. Tip: Try to make the tail look like a gentle 'S' curve that ends in a sharp point.
Step 4: Cleaning the Outline

Gently erase the overlapping guide lines inside the head and tail. You should now have a clean, smooth outline of your lizard's body.
Step 5: Adding Front Legs
Draw two lines downward from the neck to form the front leg, adding a slight bend for the elbow. Add three toes with small circles at the ends. Tip: Keep the toes spread out to make the lizard look like it's gripping the ground.
Step 6: Drawing the Far Front Leg
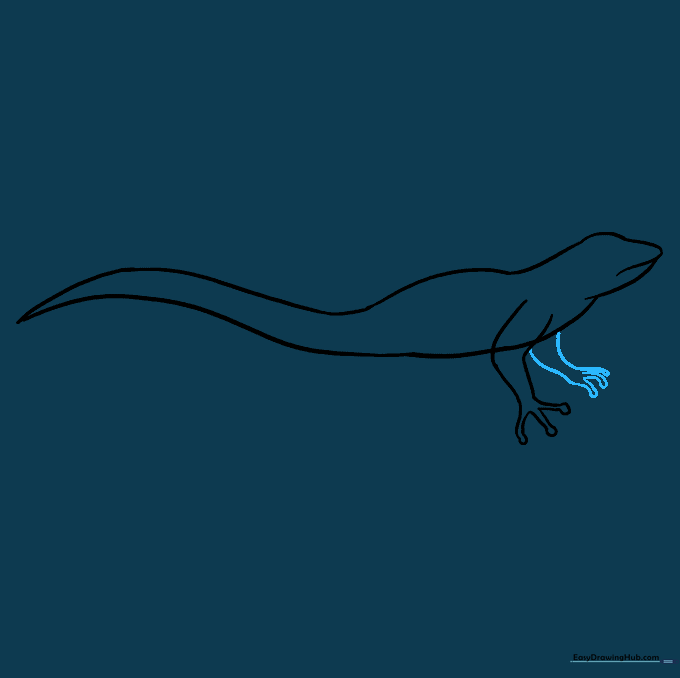
Draw the second front leg peeking out from the other side of the chest. Use the same technique for the toes as you did in the previous step.
Step 7: Adding Rear Legs
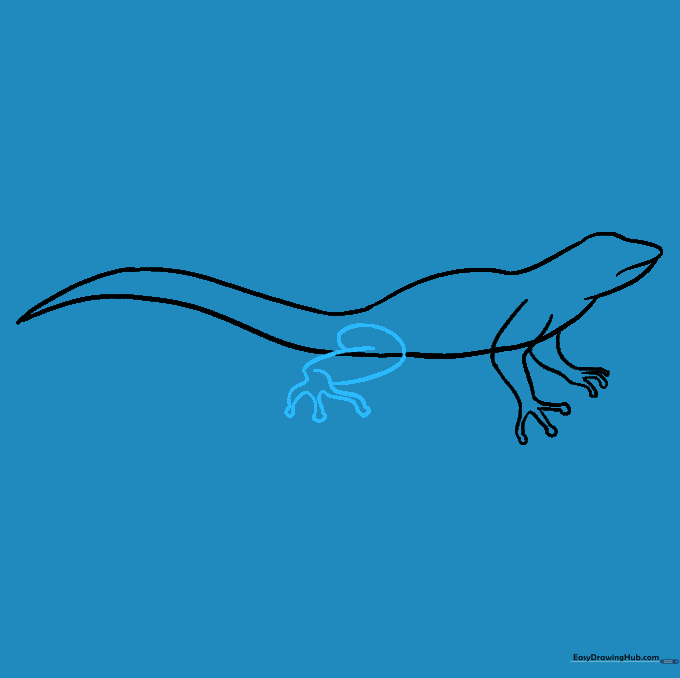
Draw a backward 'C' shape near the base of the tail to start the rear leg. Add the toes and circular tips just like the front legs. Tip: Ensure the rear leg looks slightly larger to show it's closer to the viewer.
Step 8: Final Cleanup
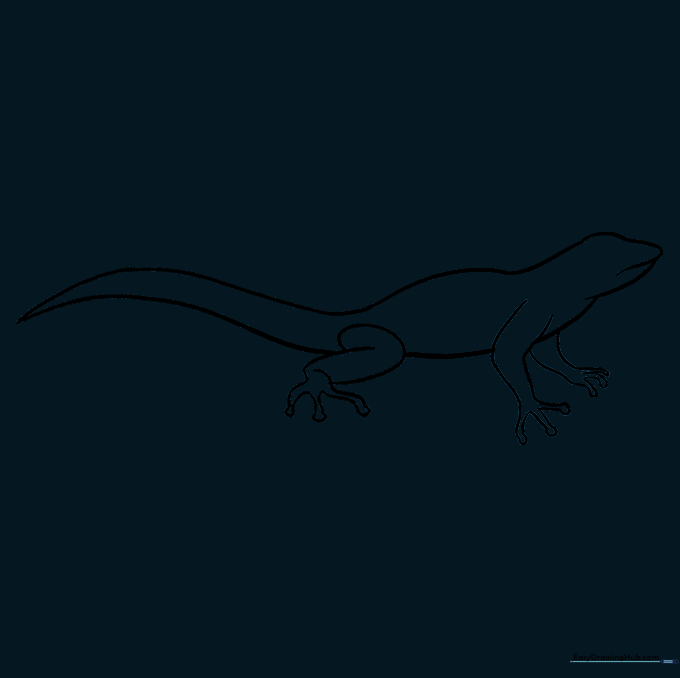
Carefully erase any extra lines where the legs meet the body to make your drawing look clean and professional.
Step 9: Adding Details and Scales
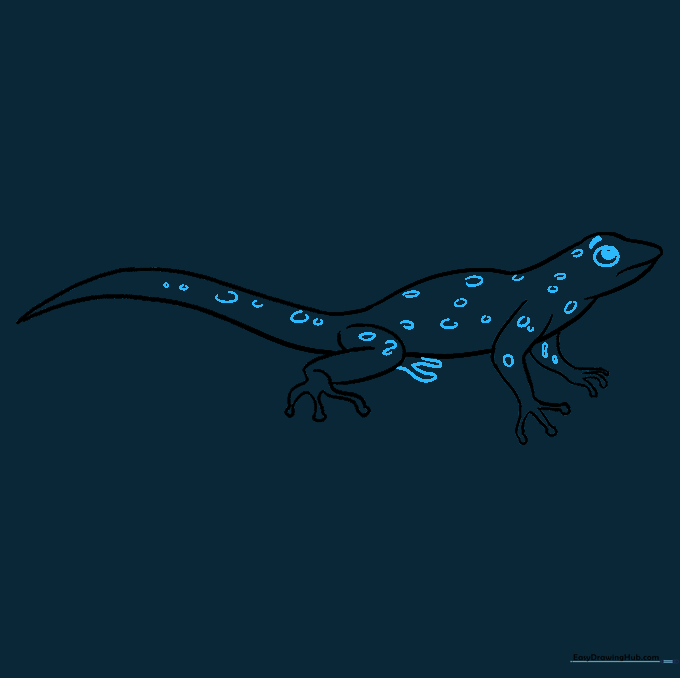
Draw the eye with three nested circles, shading the center. Add small circles and ovals across the body to represent scales. Tip: Don't make the scales too uniform; nature is irregular!
Step 10: Bring Your Lizard to Life with Color
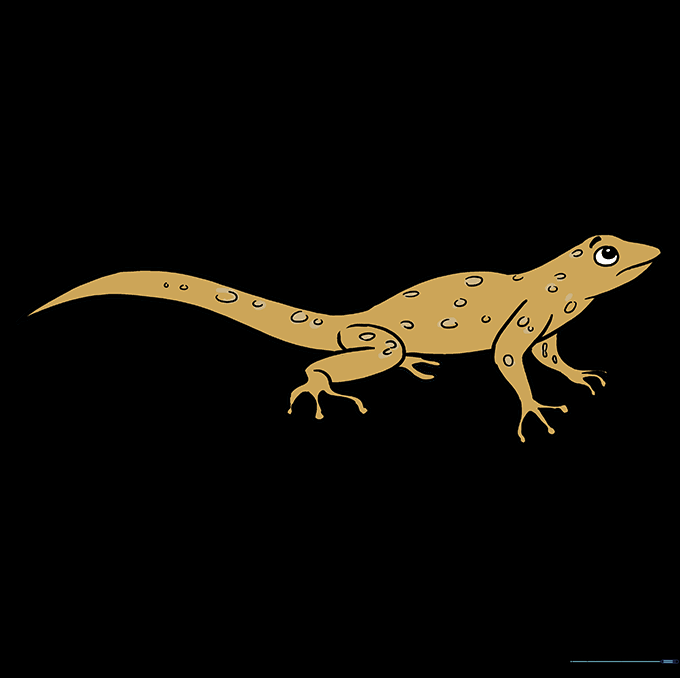
Time to color! Use earthy browns for a desert lizard, or try vibrant greens and yellows for a tropical look. Tip: Use light pressure with your pencil to blend colors for a more realistic texture.
More Tutorials


