How to Draw a Little Anime Boy: Easy 9-Step Guide
Ready to bring your own anime character to life? This guide is perfect for young artists ages 7+ looking to master manga-style proportions. Grab a pencil, an eraser, and a piece of paper to start building your character from the ground up.
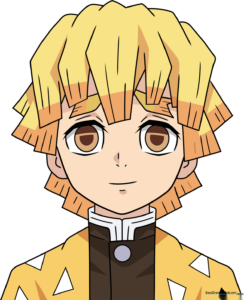
🎯 Final Result
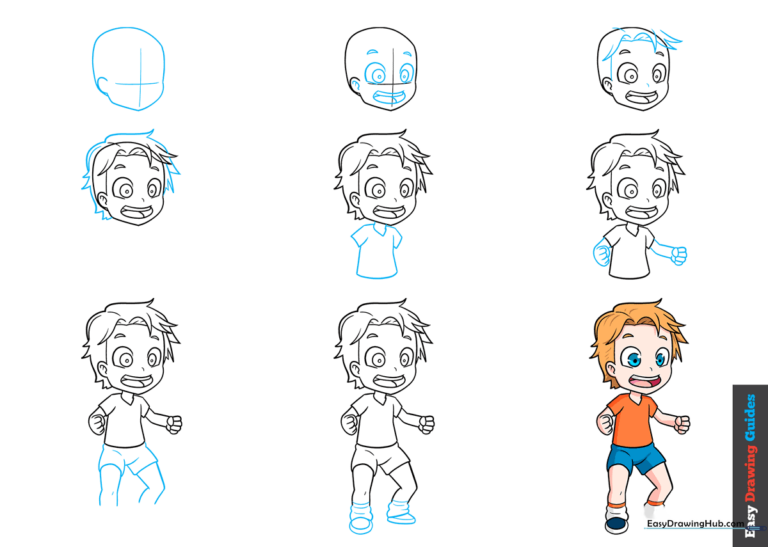
Step-by-Step Instructions
Step 1: Establishing the Head Shape
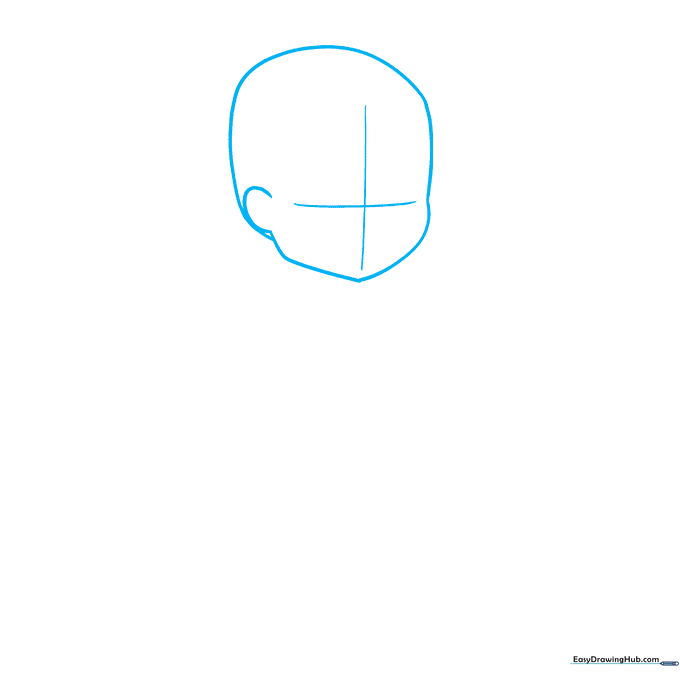
Draw a soft, rounded shape for the head and add a small curve for the ear. Lightly sketch a cross-shaped grid over the face. Teacher's Tip: Keep these lines very faint so they disappear easily once we add the final details!
Step 2: Adding Facial Features
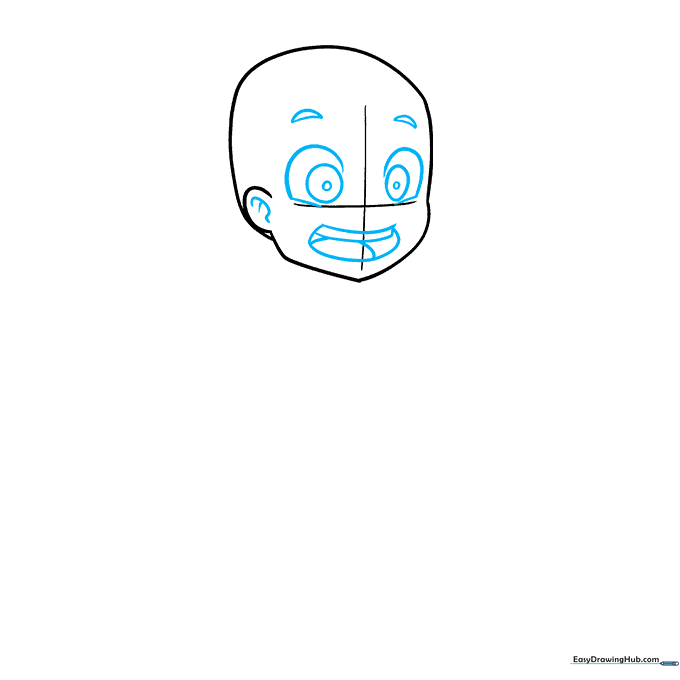
Draw the mouth, teeth, and tongue centered on your vertical guide. Place the circular eyes along the horizontal line. Teacher's Tip: Anime eyes are expressive; make sure the circles are even to give your character a friendly look.
Step 3: Defining Hair and Nose
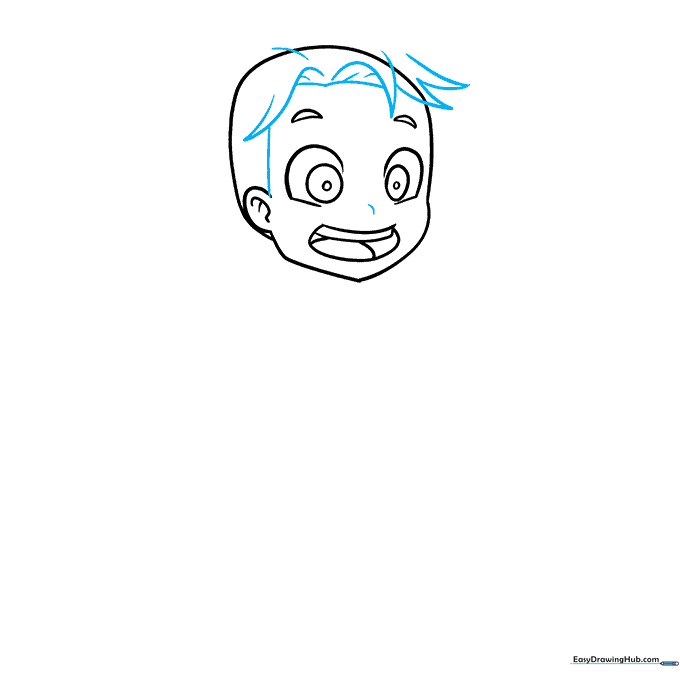
Gently erase your guidelines. Now, add a tiny nose and start sketching the spiky manga-style hair. Teacher's Tip: Use quick, flicking motions with your pencil to get those sharp, energetic hair points.
Step 4: Completing the Hairstyle
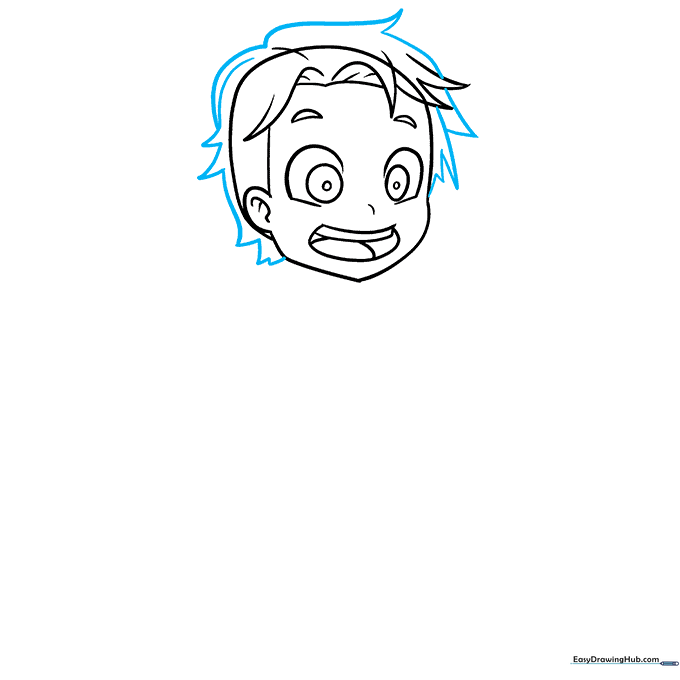
Add more layers of spiky hair around the head outline. Teacher's Tip: Don't worry about making every spike identical; natural hair has variety, so let some spikes be larger than others.
Step 5: Sketching the Torso
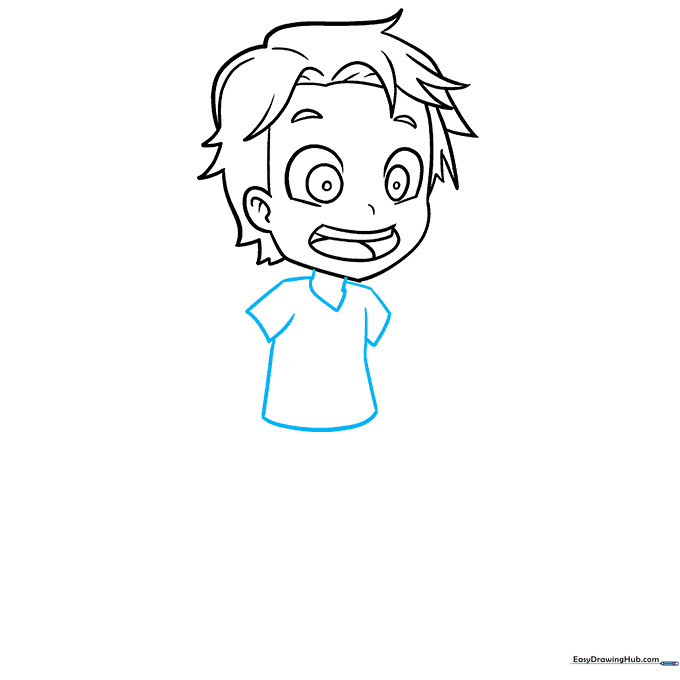
Erase any remaining head guidelines. Sketch the neck, shoulders, and the basic shape of the shirt. Teacher's Tip: Keep the neck narrow to maintain the 'chibi' or youthful anime proportions.
Step 6: Drawing the Arms
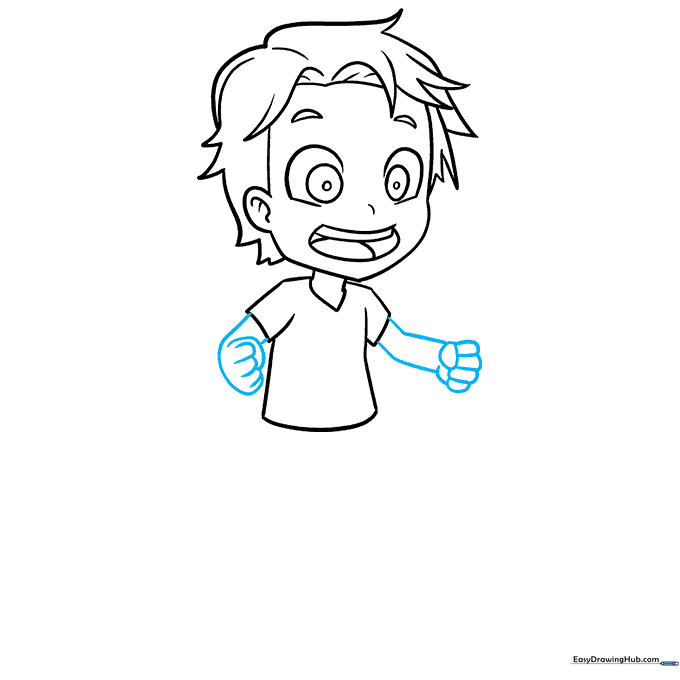
Draw the arms and hands balled into excited fists. Teacher's Tip: Use simple, overlapping curved lines for the fingers to suggest a fist without needing to draw every individual knuckle.
Step 7: Adding Shorts and Legs
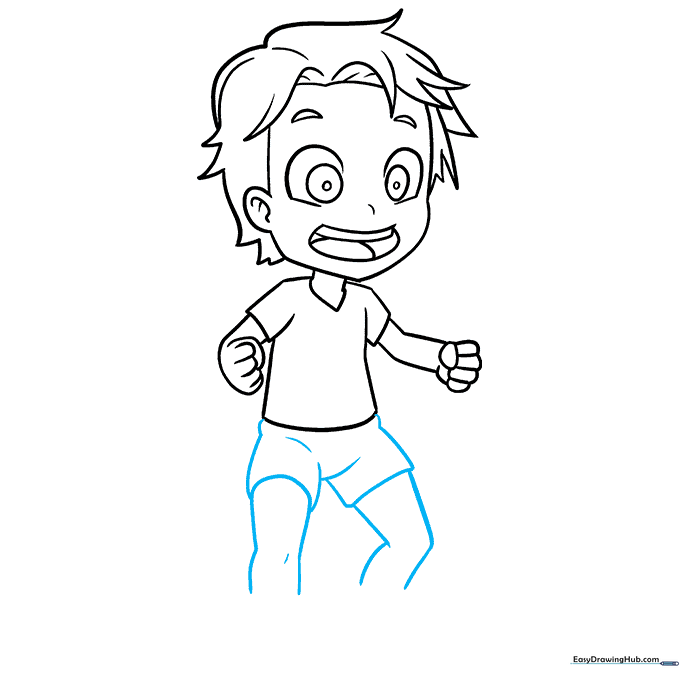
Draw the shorts and extend the lines down to form the legs. Teacher's Tip: Keep the legs slightly shorter to emphasize the 'little boy' character design.
Step 8: Socks and Shoes
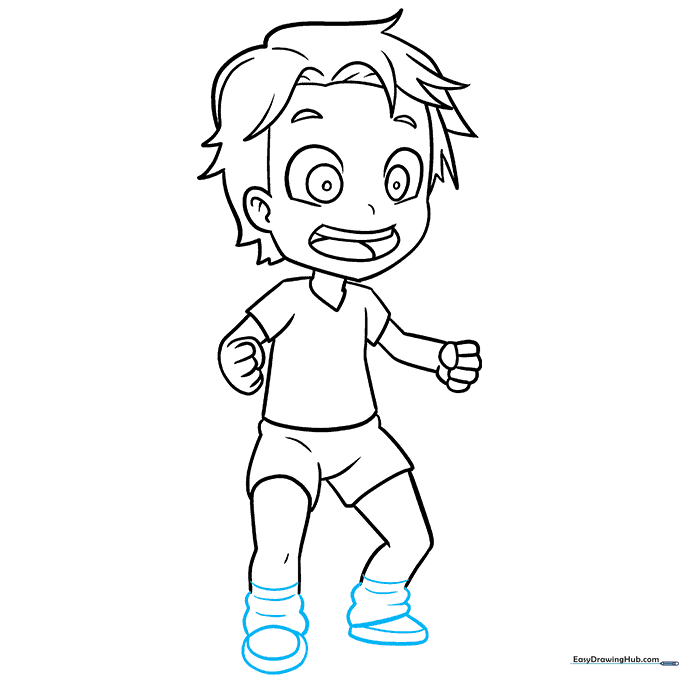
Finish the legs by adding baggy socks and rounded shoes. Teacher's Tip: A simple 'U' shape for the shoes makes them look cute and cartoonish.
Step 9: Bring Him to Life with Color
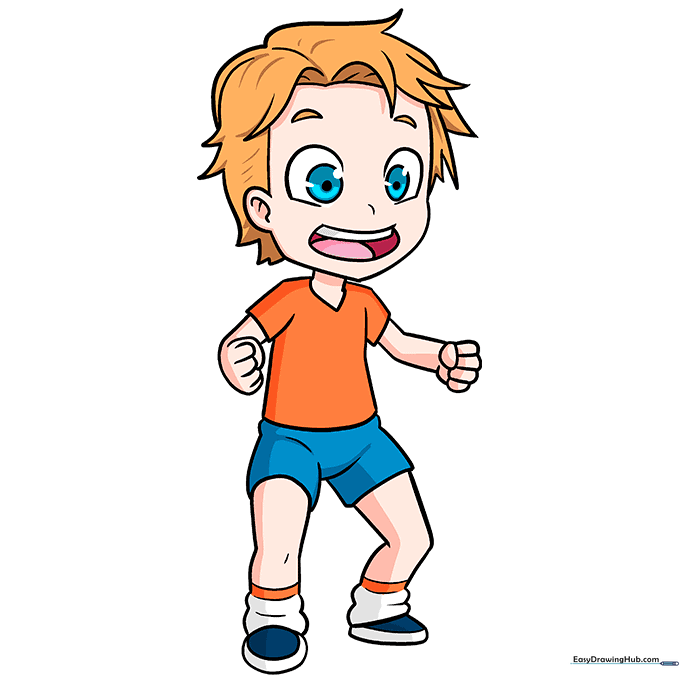
Add your favorite colors to complete the drawing. Teacher's Tip: Use bright, bold colors for the clothes to match the high-energy anime style!
More Tutorials