How to Draw a Lioness: Easy 10-Step Guide for Kids
Ready to bring the queen of the savanna to life? This tutorial is perfect for young artists ages 5 and up. All you need is a pencil, an eraser, and a piece of paper to practice your animal anatomy skills.
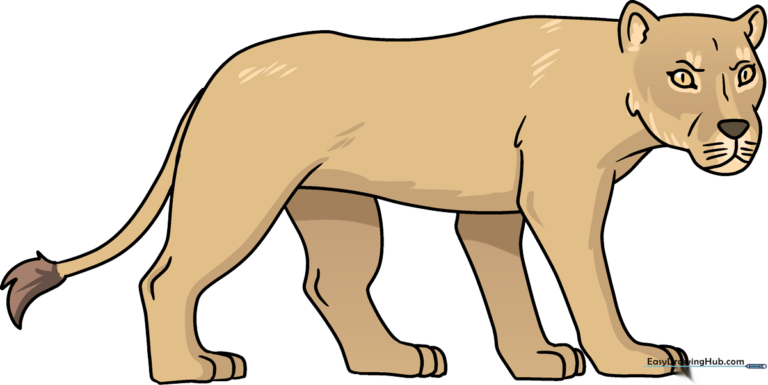
🎯 Final Result
Step-by-Step Instructions
Step 1: Sketching the Face Contours

Start by drawing the lioness’s face using soft, curved lines. Focus on the brow, muzzle, and cheek, and add a small tuft of fur near the neck. Teacher's Tip: Keep your pencil pressure light so you can easily adjust the shape later.
Step 2: Defining the Ears

Draw the top of the head and two rounded, triangular ears. Add a smaller curved line inside each ear to show depth. Teacher's Tip: Ears are often the trickiest part; make them look like soft triangles to give them a natural, feline look.
Step 3: Adding Facial Features

Draw an inverted triangle for the nose and an upside-down 'Y' for the mouth. Add whiskers, almond-shaped eyes with slitted pupils, and a brow line. Teacher's Tip: Use short, quick strokes for the whiskers to make them look sharp and realistic.
Step 4: Shaping the Body
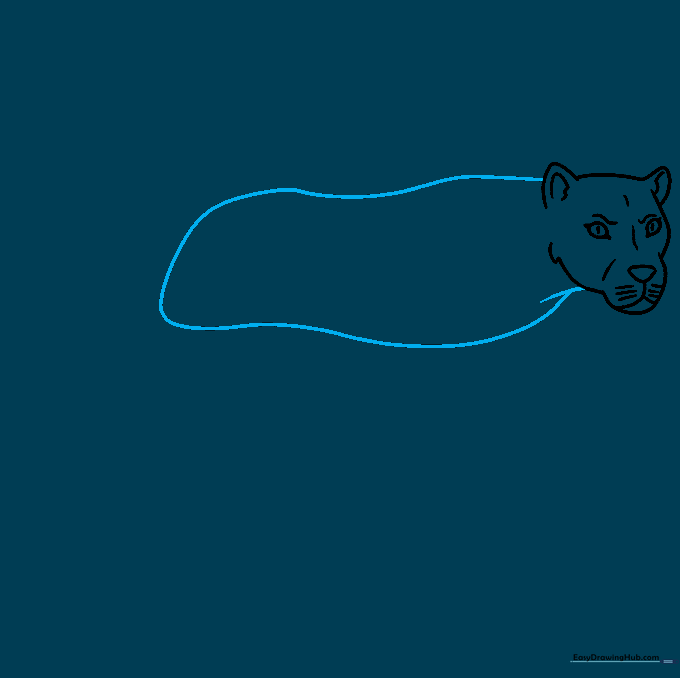
Extend a long, smooth curved line from the neck to create the back and rump. Teacher's Tip: Imagine the lioness is mid-stride; keep the line fluid to suggest movement.
Step 5: Drawing the First Hind Leg
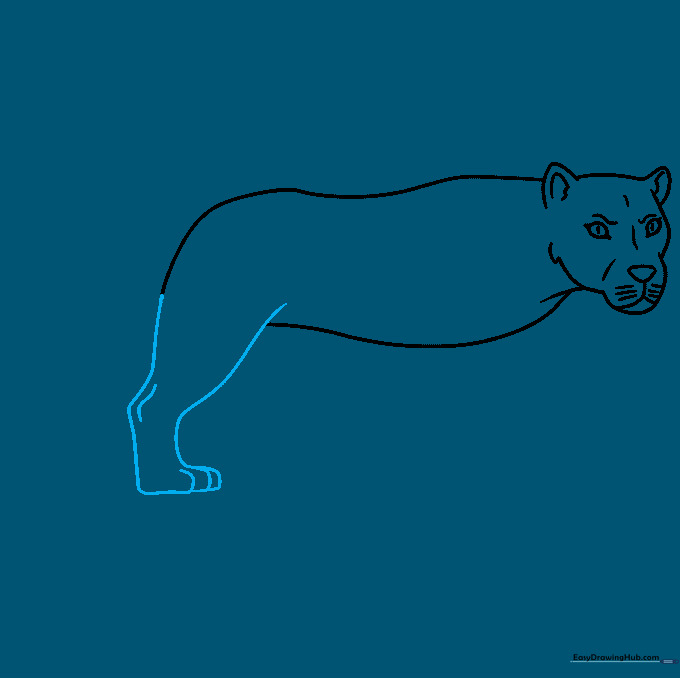
Sketch the rear leg using two curved lines for the thigh and lower leg. Add the paw with small, overlapping curves for toes. Teacher's Tip: Don't forget the ankle joint—a small curved line here adds great realism.
Step 6: Adding the Second Hind Leg
Draw the second rear leg slightly behind the first to show depth. Keep the shape consistent with the first leg. Teacher's Tip: Overlapping lines help the viewer understand which leg is closer.
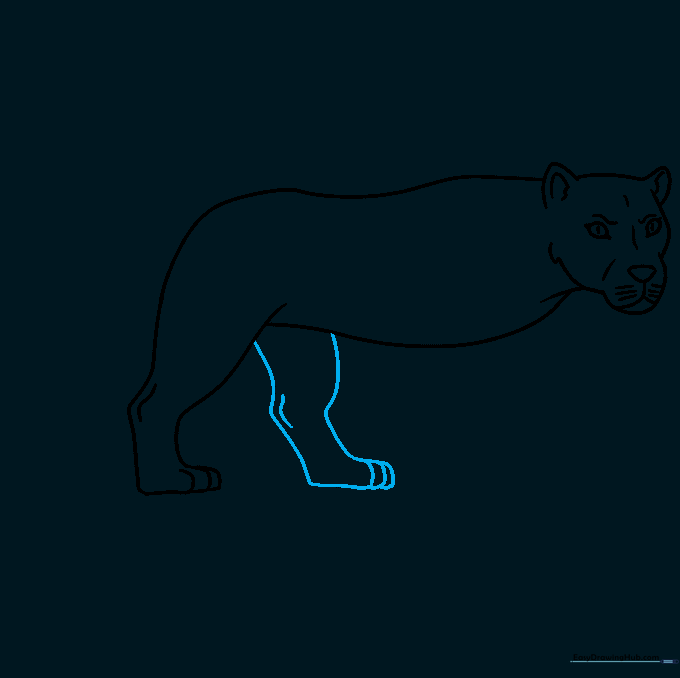
Step 7: Sketching the Foreleg
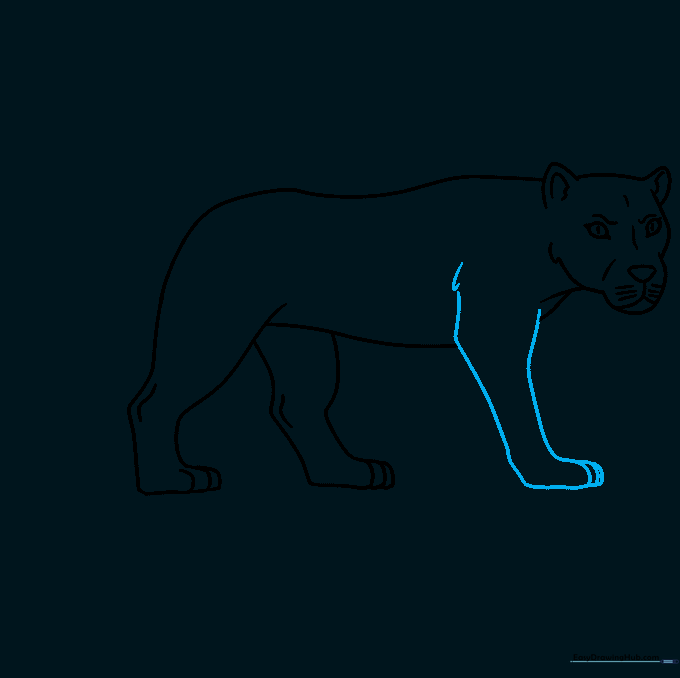
Draw the front leg using long, graceful curves. Add a small tuft of fur at the top of the leg for texture. Teacher's Tip: Use a slightly jagged line to make the fur look soft and realistic.
Step 8: Completing the Legs
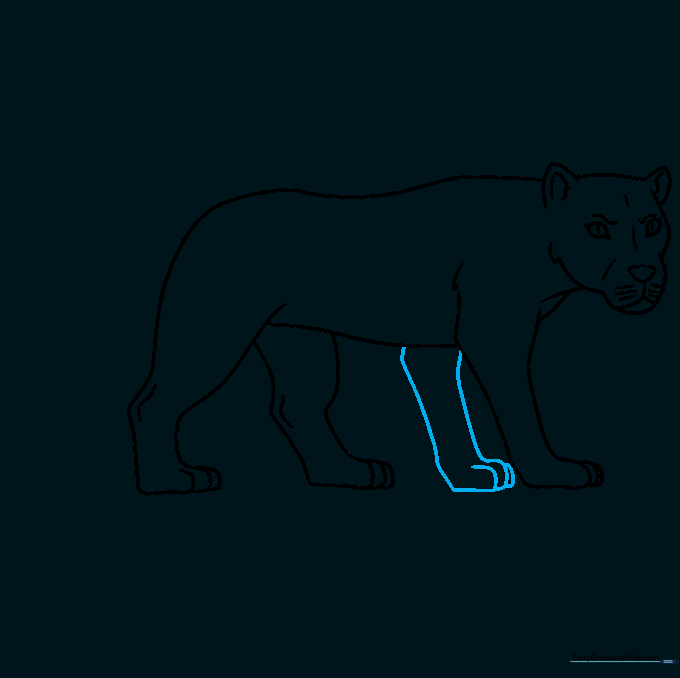
Draw the final front leg, mirroring the style of the first. Ensure the toes are clearly defined with overlapping curves. Teacher's Tip: Check that all four legs look like they are standing on the same ground level.
Step 9: Adding the Tail
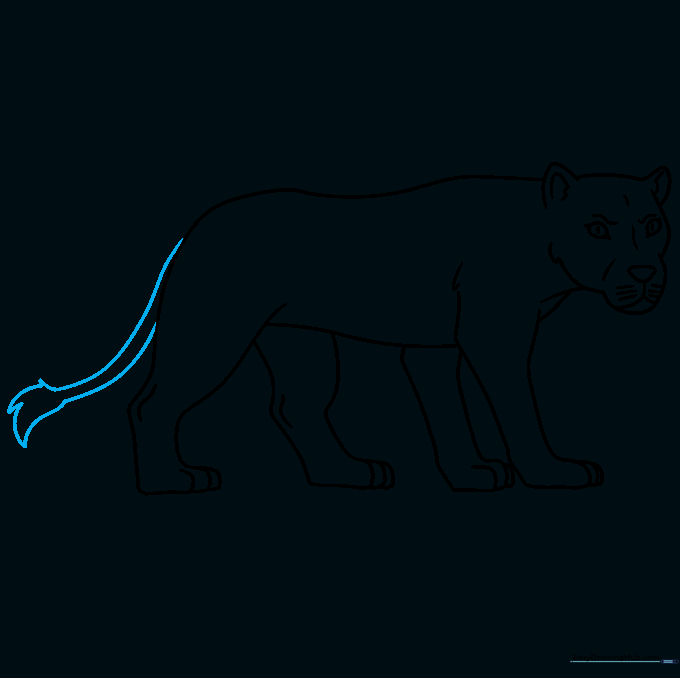
Extend two long, curved lines from the rump to form the tail. Finish it with a tuft of fur at the end using jagged lines. Teacher's Tip: A long, sweeping tail helps balance the drawing.
Step 10: Bringing Your Lioness to Life
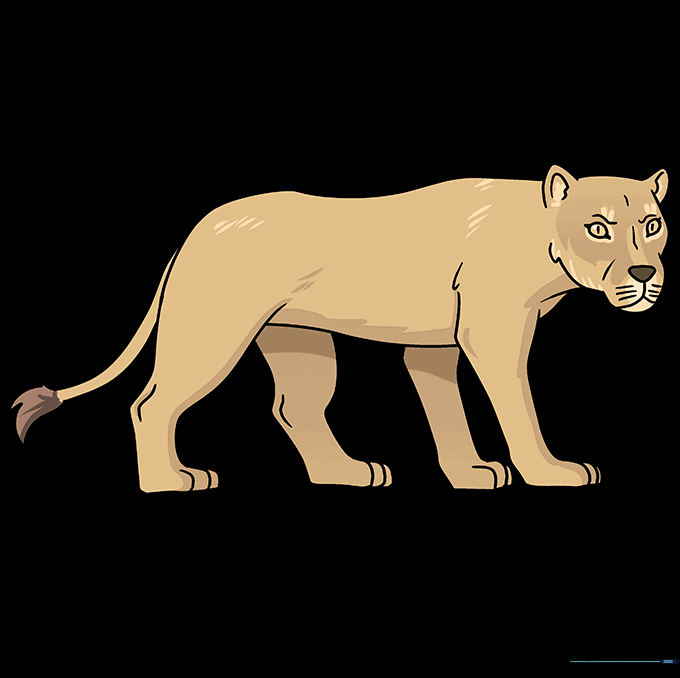
Time to color! Use sandy tans, light browns, or even white to fill in your lioness. Teacher's Tip: Use a darker shade of brown to add light shadows under the belly and legs to give your drawing a 3D effect.
More Tutorials


