How to Draw a Lion: Easy 9-Step Guide for Kids
Ready to bring the king of the jungle to life? This tutorial is perfect for young artists ages 6 and up, requiring only a pencil, paper, and an eraser. Follow along to master basic shapes and fur textures while building your confidence as an illustrator.
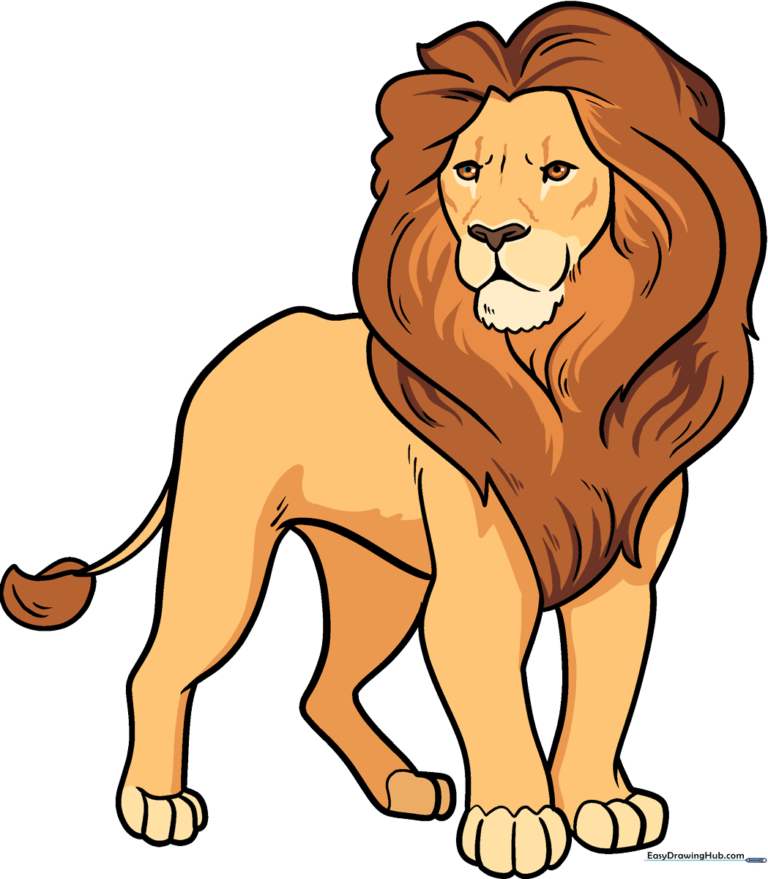
🎯 Final Result
Step-by-Step Instructions
Step 1: Sketching the Eyes and Nose
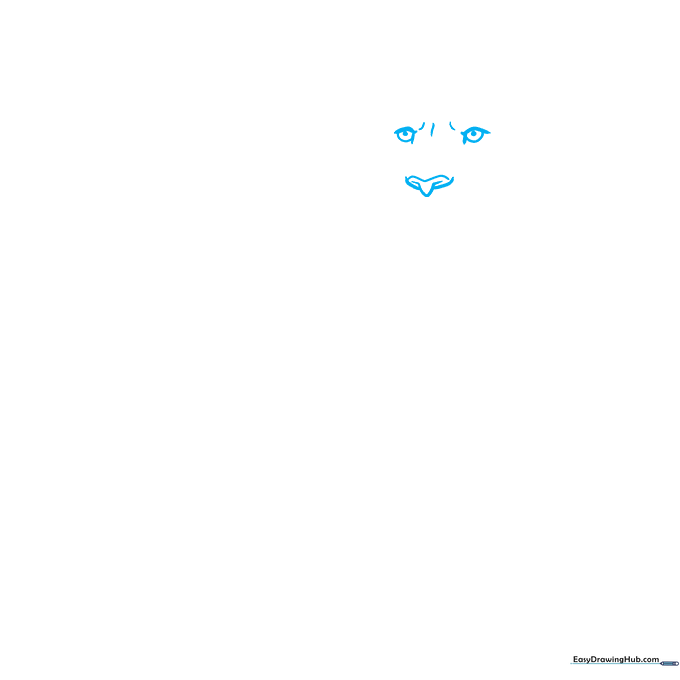
Begin by drawing two almond-shaped eyes. Add small, dark circles for pupils to give your lion personality. Between the eyes, draw a small, inverted heart shape for the nose. Teacher's Tip: Keep your pencil pressure light here so you can easily adjust the spacing if the eyes look a bit lopsided.
Step 2: Defining the Chin and Mouth
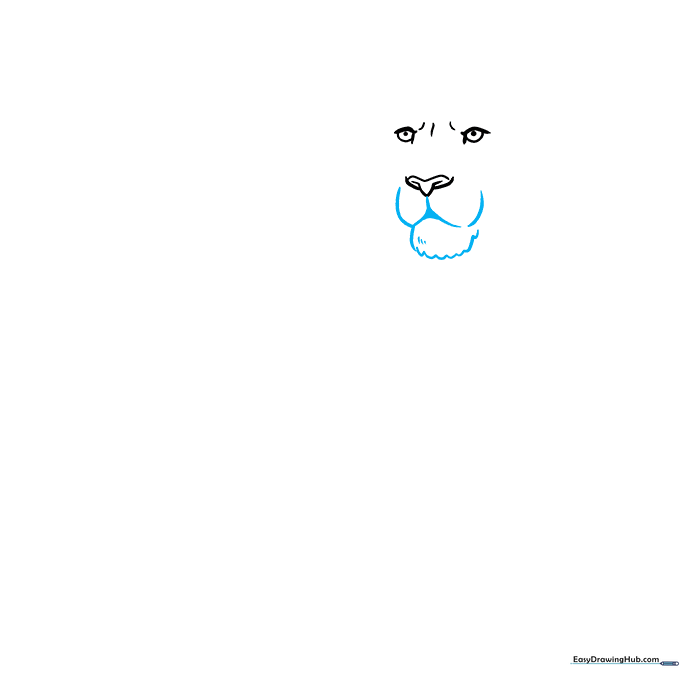
Sketch the mouth using a 'Y' shape extending from the nose. For the chin, use a series of small, connected 'U' shapes. Teacher's Tip: These little 'U's are a great way to practice 'furry' textures—don't worry about making them perfect, as fur is naturally messy!
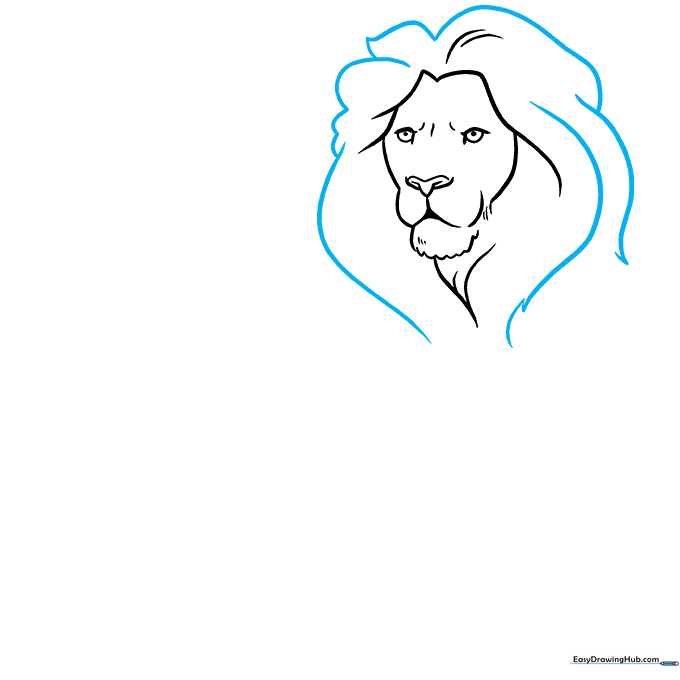
Step 3: Framing the Face
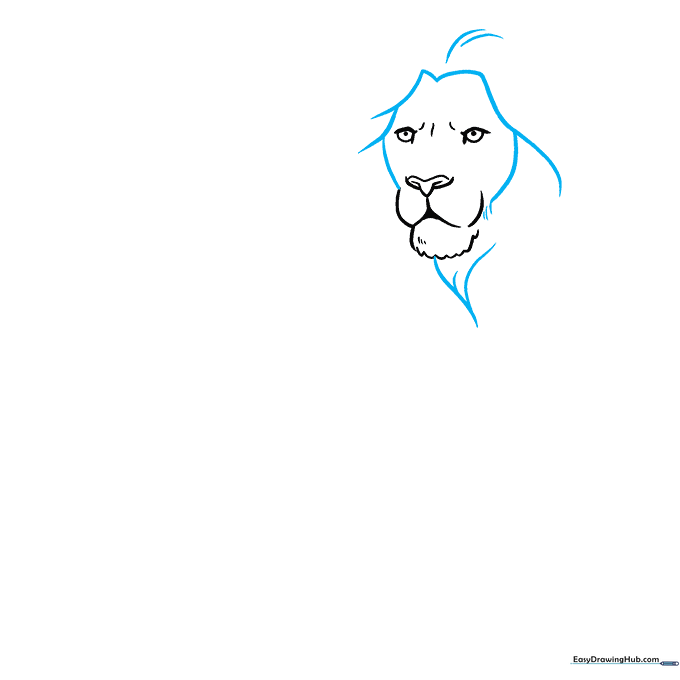
Use smooth, curved lines to outline the cheeks and the start of the mane around the face. Ensure the lines connect under the chin to create a solid base for the head. Teacher's Tip: Imagine you are drawing a fluffy cloud around the face.
Step 4: Building the Mane
Expand the mane by drawing long, overlapping curved lines that extend outward. Let some lines meet at sharp, jagged points to mimic wild hair. Teacher's Tip: Vary the length of your strokes to make the mane look thick and voluminous.
Step 5: Completing the Mane
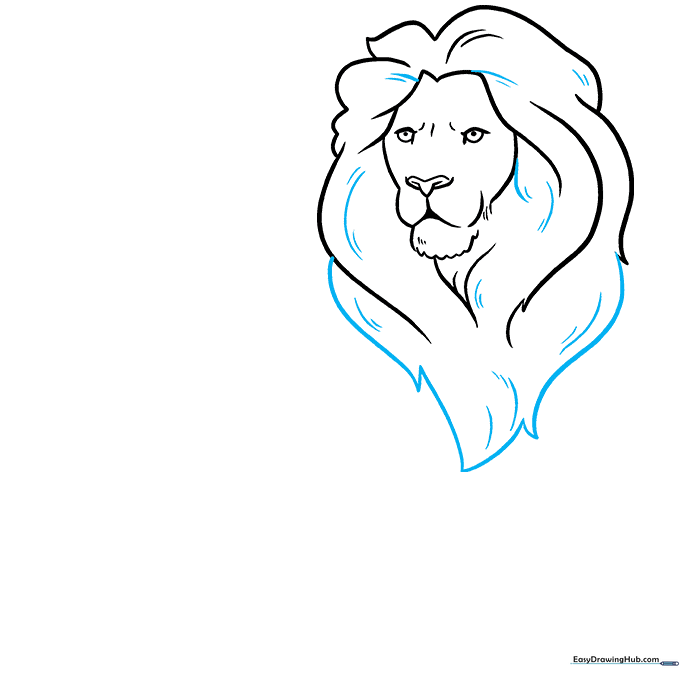
Close the bottom of the mane with more jagged, curved lines. Add a few extra strokes inside the mane area to create depth. Teacher's Tip: Think of this as the 'frame' for your lion's portrait—the more jagged the lines, the more energetic your lion will look.
Step 6: Drawing the First Leg
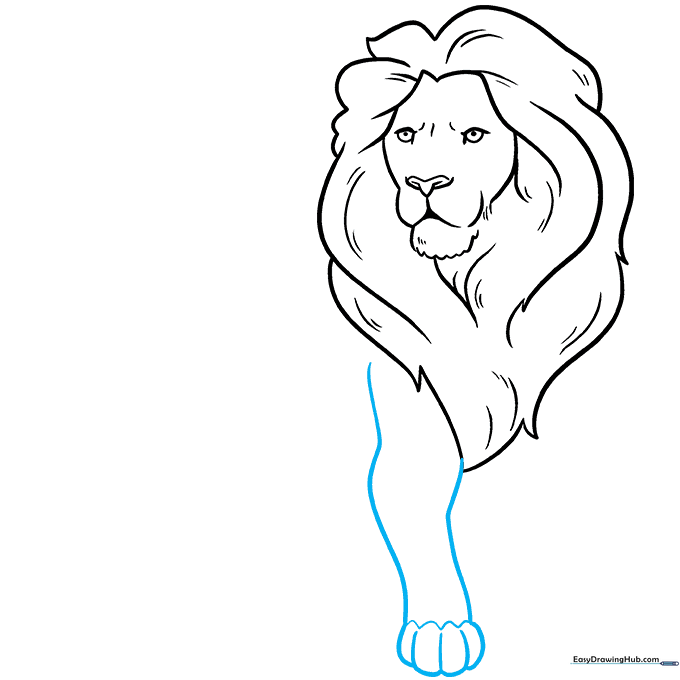
Draw the front leg using two long, parallel curved lines. At the base, use small overlapping curves to define the toes. Teacher's Tip: Draw a slight wavy line across the ankle to show where the paw begins.
Step 7: Adding the Second Leg
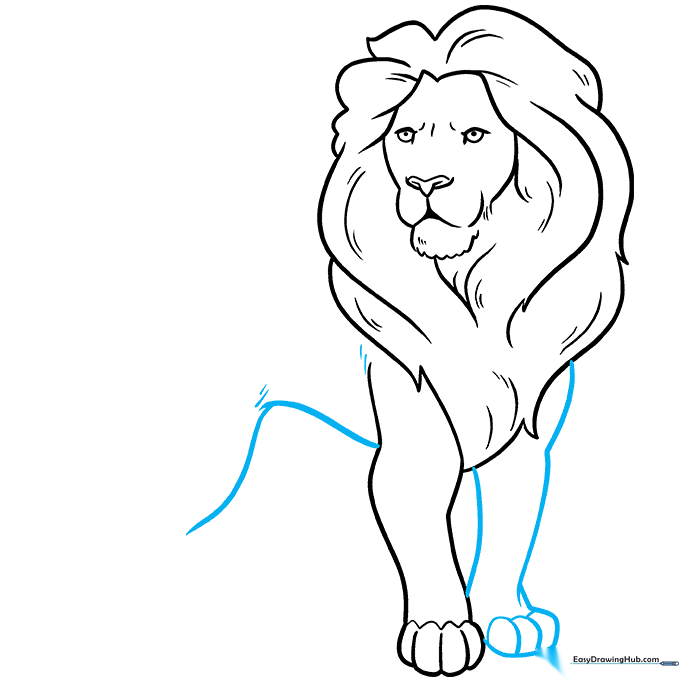
Sketch the second front leg slightly behind the first. Connect the legs with a curved line for the belly. Teacher's Tip: Keep the second leg slightly shorter to show perspective—it makes your drawing look 3D!
Step 8: The Back and Hips
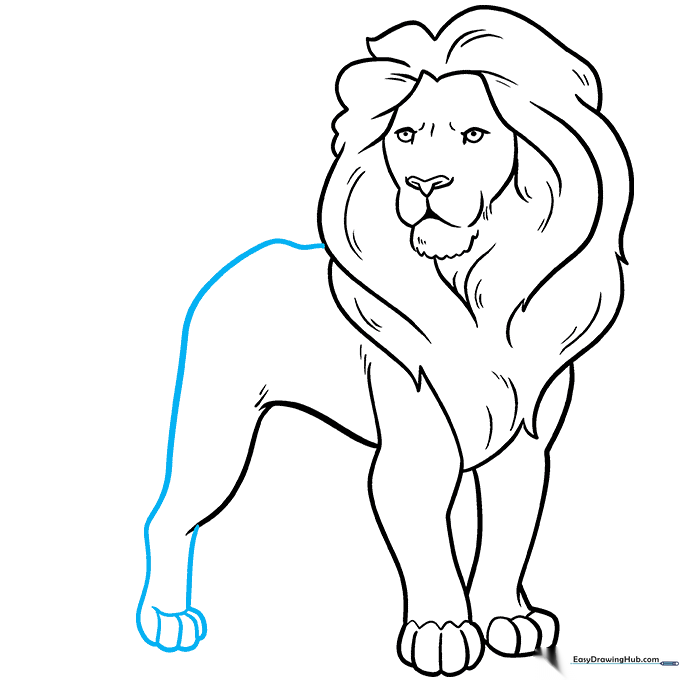
Extend a long, smooth curve from the mane to form the back and the rounded hip. Add the rear leg using similar techniques to the front legs. Teacher's Tip: A lion's back is strong and muscular, so make this line nice and bold.
Step 9: Finishing the Tail
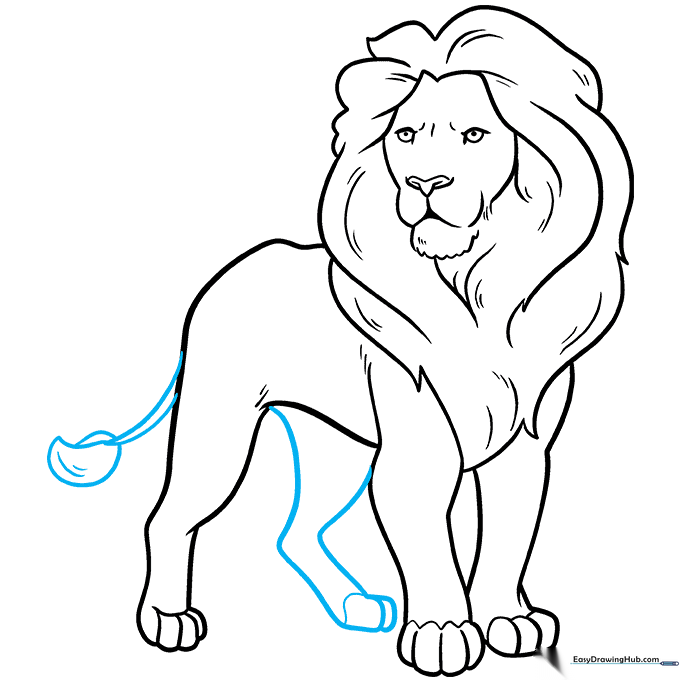
Draw the final rear leg and add a long, flowing tail. End the tail with a teardrop-shaped tuft of fur. Teacher's Tip: Use quick, flicking motions with your pencil to make the tail tuft look soft and fluffy.
Step 10: Bringing Your Lion to Life with Color
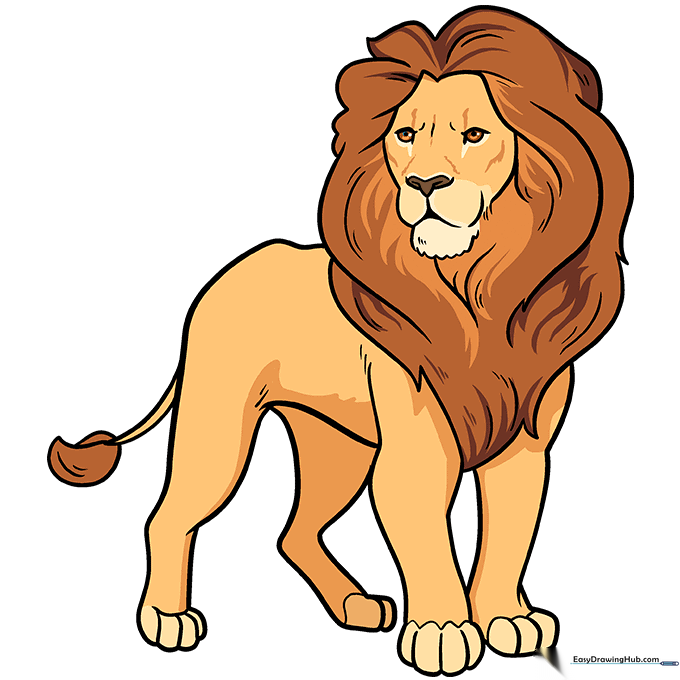
Now for the fun part! Use sandy-browns for the body and a darker, rich brown or even a hint of red for the mane. Teacher's Tip: Try using light pressure for the body and heavier, layered strokes for the mane to show different fur textures.
More Tutorials


