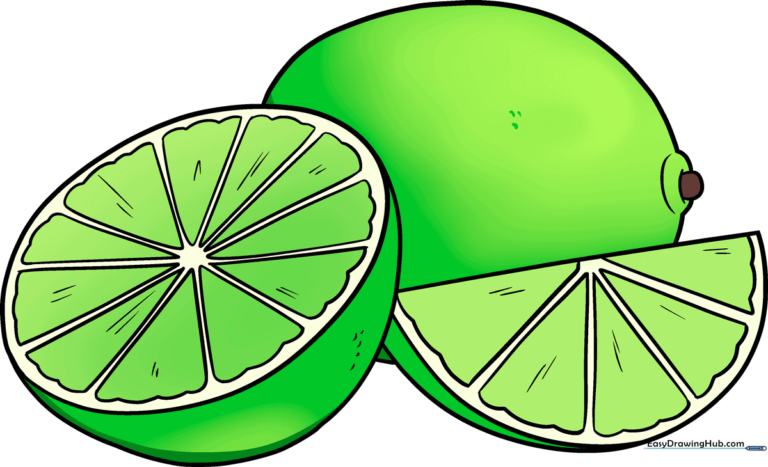
How to Draw a Lime: Easy 9-Step Art Tutorial for Kids
Ready to practice your shading and shape-building? This tutorial is perfect for young artists ages 5+ looking to draw a fresh, zesty lime. Grab your pencil, eraser, and paper, and let's turn simple circles and triangles into a vibrant fruit masterpiece.
🎯 Final Result
Step-by-Step Instructions
Step 1: Sketching the Base Oval

Draw a light oval to serve as the cut edge of your lime. Add a long, gentle curve attached to the side to define the rind. Teacher's Tip: Keep your pencil pressure light so you can easily erase any overlapping lines later.
Step 2: Starting the Wedge Segments
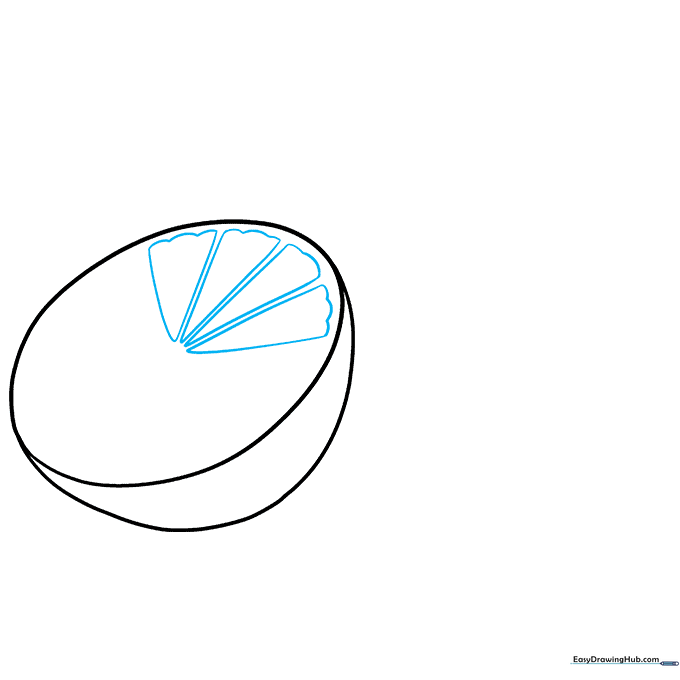
Inside your oval, draw a 'V' shape to begin your first fruit segment. Use a wavy, scalloped line to close the top of the 'V'. Teacher's Tip: Think of these as little pizza slices inside the lime!
Step 3: Building the Fruit Flesh
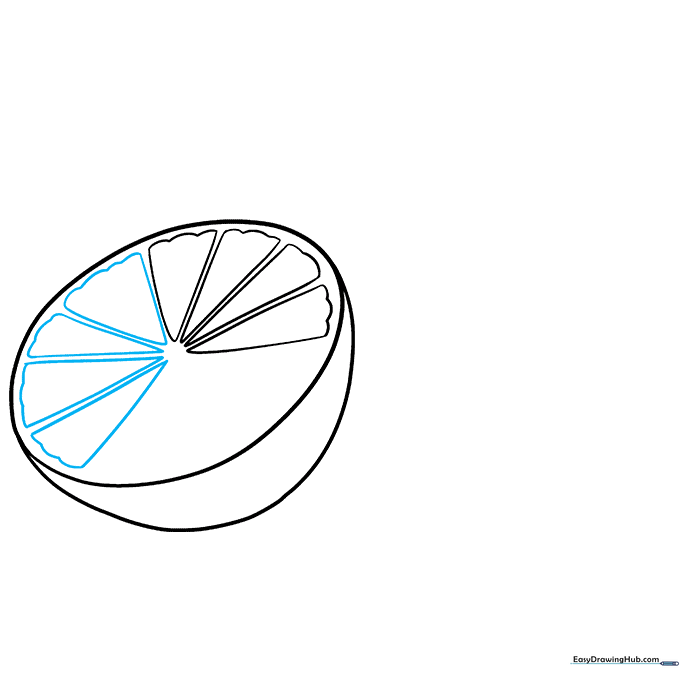
Continue adding more triangular wedges around the center. Keep your 'V' shapes consistent in size. Teacher's Tip: If the wedges look uneven, don't worry—nature isn't perfect, and neither is fruit!
Step 4: Defining the Central Core
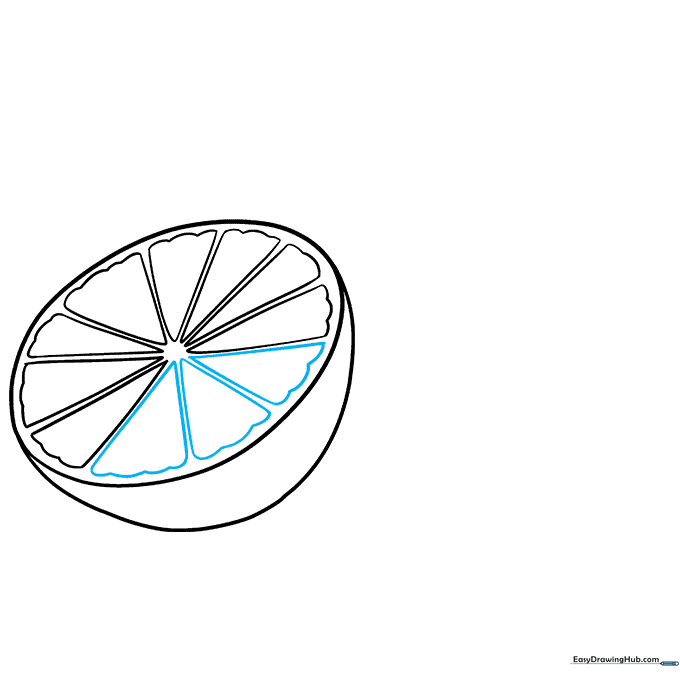
Draw the final wedges until you reach the center. Leave a small circle in the middle for the core. Teacher's Tip: This tiny circle acts as the anchor point for all your segments.
Step 5: Adding Realistic Texture
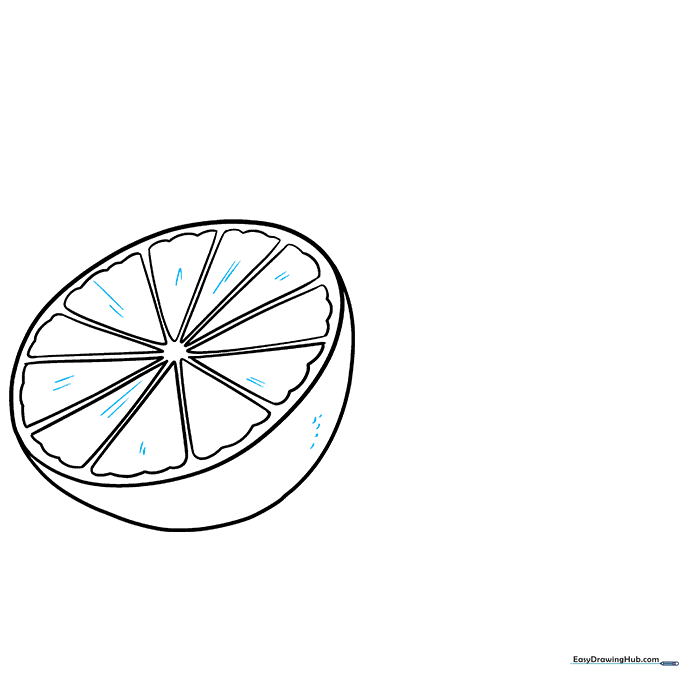
Add small, short lines inside the segments to represent juice vesicles. Use tiny curved lines on the outer rind for texture. Teacher's Tip: Use a light touch; these lines should be subtle, not bold.
Step 6: Sketching the Lime Wedge
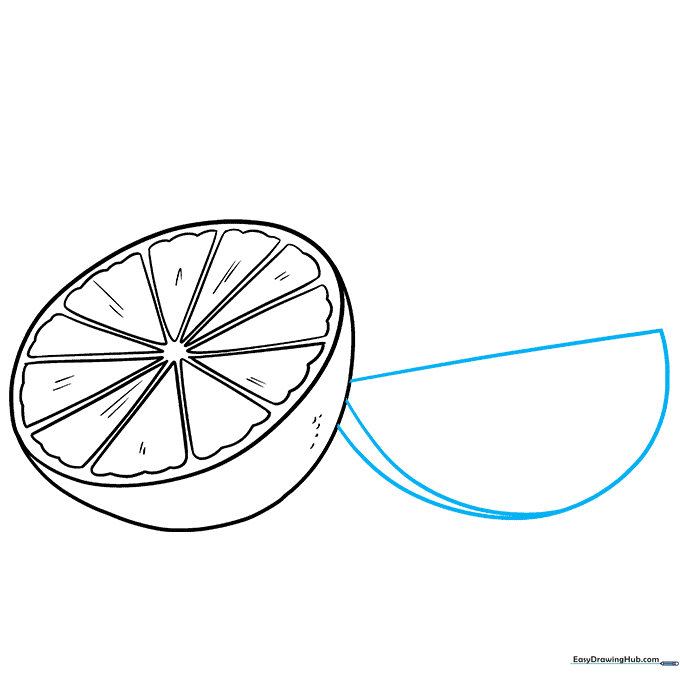
Draw a separate lime wedge next to your main fruit. Use a straight line for the top and a curved line for the bottom. Teacher's Tip: This adds depth to your drawing, making it look like a professional still life.
Step 7: Detailing the Wedge
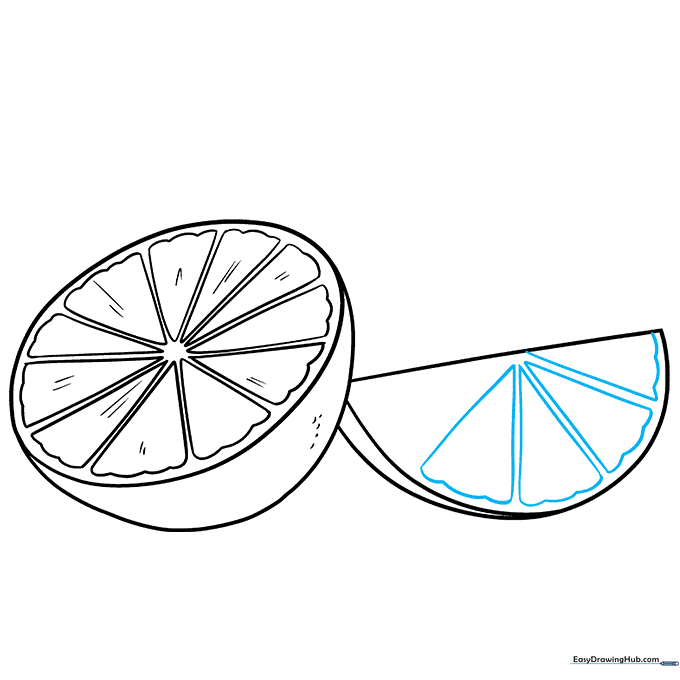
Fill the wedge with smaller 'V' and scalloped lines just like you did for the main fruit. Teacher's Tip: Keep the segments smaller here to show perspective.
Step 8: Refining the Wedge Texture
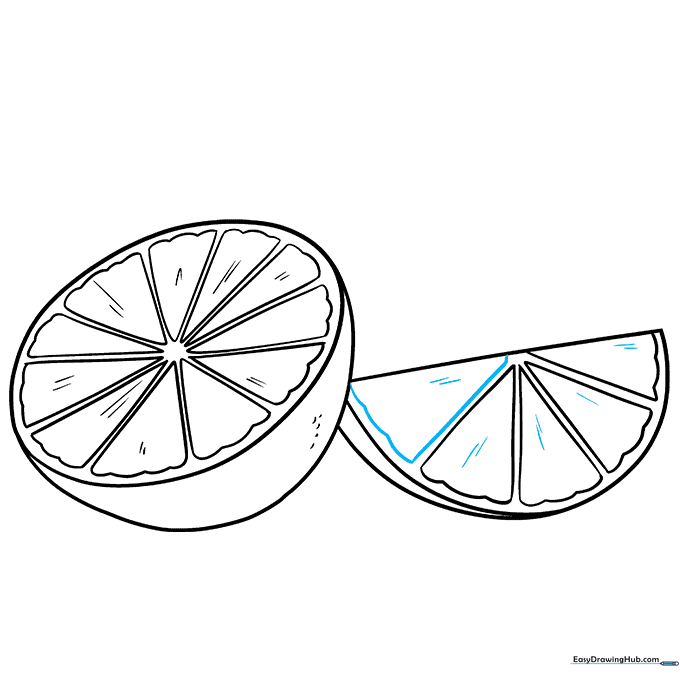
Add the same short, straight line texture to the wedge segments. Teacher's Tip: Consistency is key—if you textured the first lime, make sure this one matches!
Step 9: Final Touches and Whole Lime
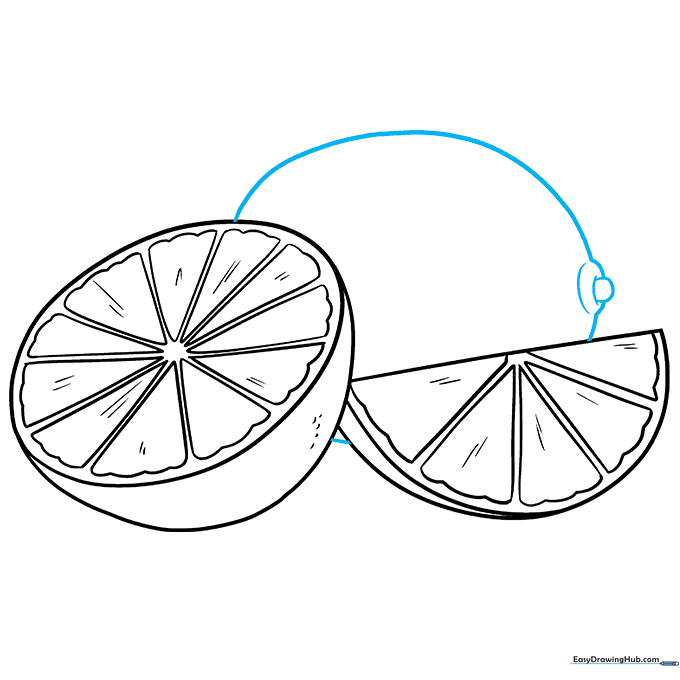
Draw a whole, uncut lime in the background using a rounded shape and a small stem. Erase any guidelines. Teacher's Tip: You've finished the sketch—now it's time to add color!
Step 10: Bringing Your Lime to Life with Color
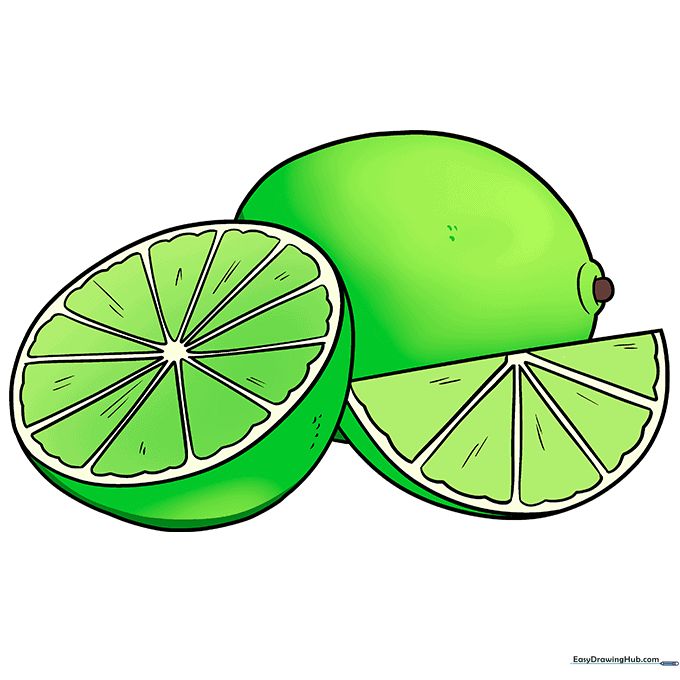
Use bright greens for the flesh and a darker, richer green for the skin. Teacher's Tip: Leave a tiny white spot on the skin to act as a 'highlight'—it makes the fruit look juicy and fresh!
More Tutorials


