How to Draw a Lightsaber: Easy 10-Step Guide for Kids
Ready to join the Jedi Order? This tutorial is perfect for young artists ages 5 and up. All you need is a pencil, an eraser, and a piece of paper to bring your own glowing weapon to life. Follow these steps to practice steady line work and geometric shapes.
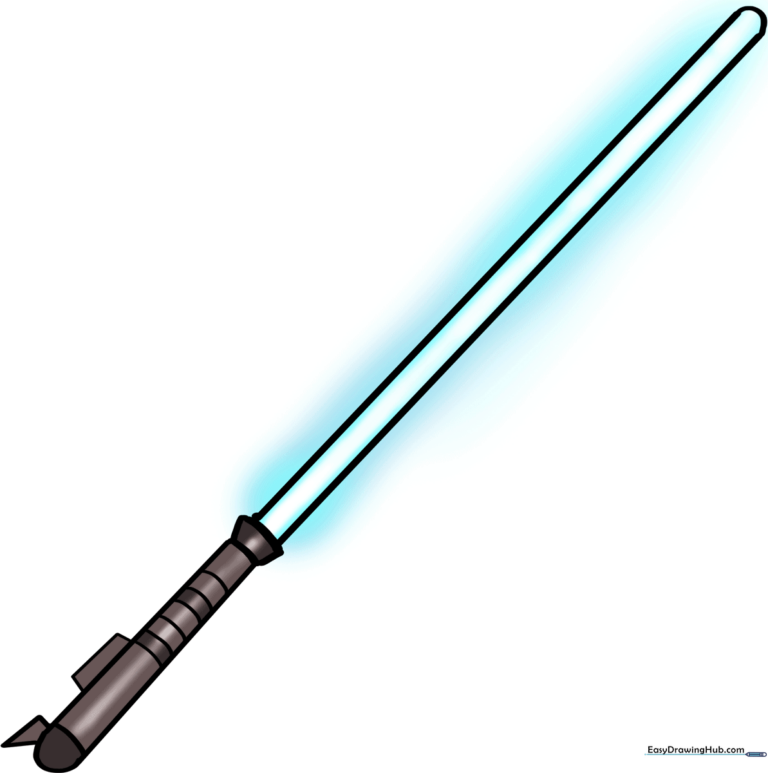
🎯 Final Result
Step-by-Step Instructions
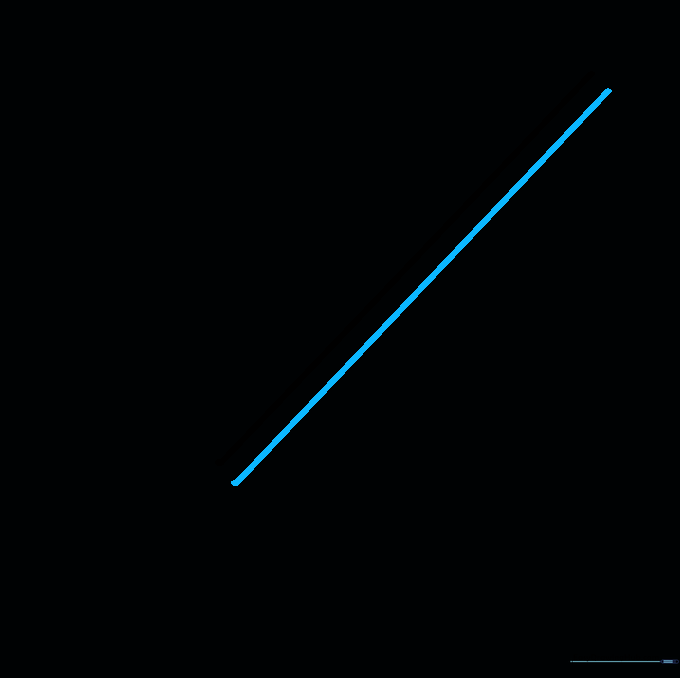
Step 1: Sketching the First Blade Edge

Draw a long, straight vertical line. Teacher's Tip: Use a ruler if you want a perfectly straight blade, or practice freehand to build your muscle control!
Step 2: Creating the Blade Width
Draw a second vertical line parallel to the first. Teacher's Tip: Keep the space between the lines consistent so your blade looks even and balanced.
Step 3: Closing the Blade

Connect the top and bottom of your lines with short, slightly curved caps. Teacher's Tip: A slight curve makes the blade look rounded rather than flat.
Step 4: Adding the Emitter Shroud
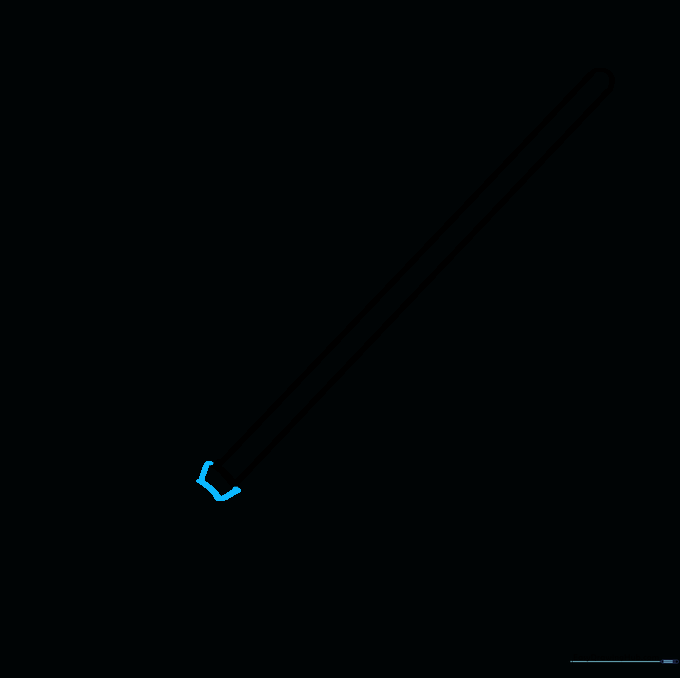
Draw a small trapezoid shape directly at the base of the blade. Teacher's Tip: This is where the energy comes out, so make sure it's centered!
Step 5: Starting the Hilt

Extend a straight line downward from the shroud to begin the handle. Teacher's Tip: Keep this line straight to ensure the hilt looks sturdy.
Step 6: Completing the Hilt Shape
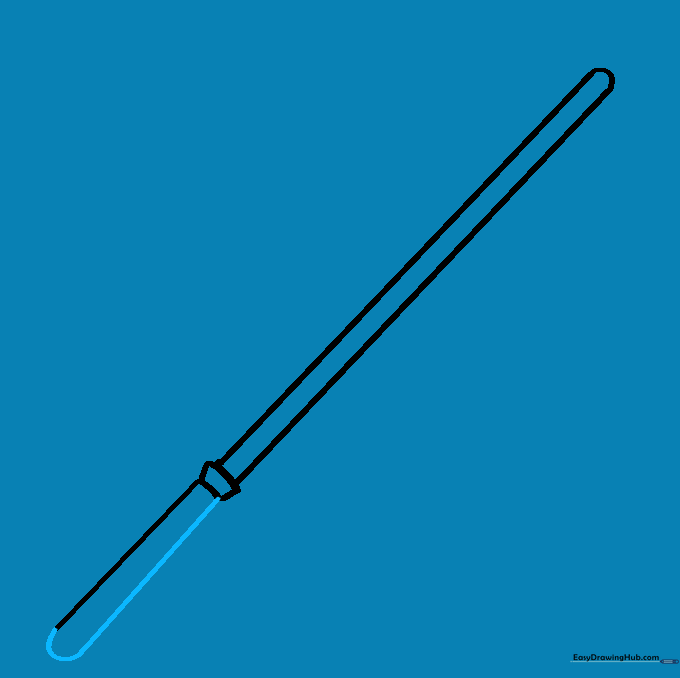
Draw the second side of the hilt and connect the bottom with a curved line. Teacher's Tip: Make the hilt slightly wider than the blade for a realistic look.
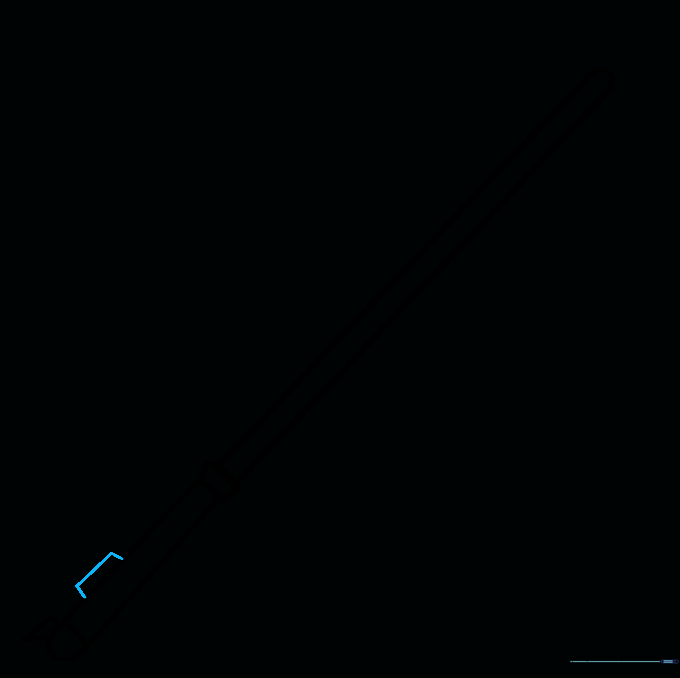
Step 7: Adding Hilt Details

Draw a horizontal line across the hilt and a small triangle on the side. Teacher's Tip: This adds depth and makes the handle look like a complex piece of machinery.
Step 8: The Activation Lever
Add a small rectangle on top of the hilt. Teacher's Tip: This is the button that turns the saber on—don't forget it!
Step 9: Adding Grip Texture
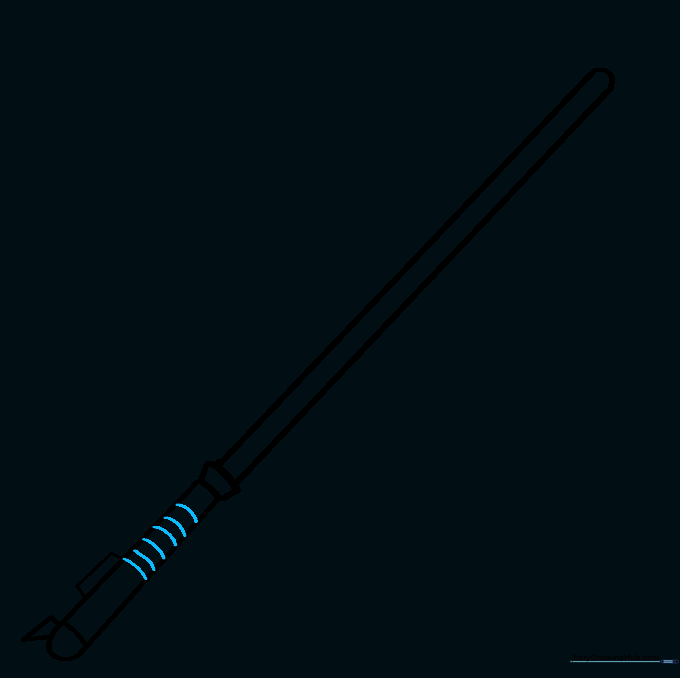
Draw several curved lines across the hilt to create the grip. Teacher's Tip: Space them evenly to make the handle look comfortable to hold.
Step 10: Bringing It to Life with Color
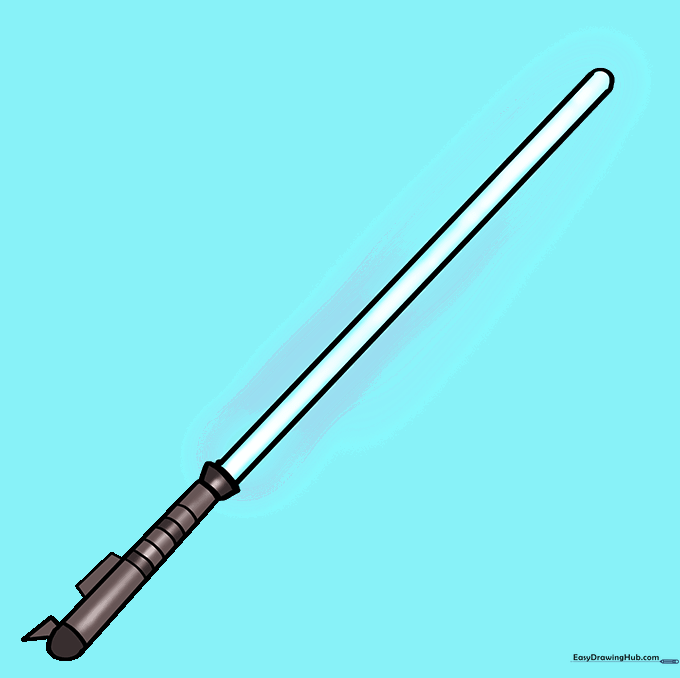
Choose your favorite color for the blade! Use silver or grey for the hilt. Teacher's Tip: Use a lighter shade in the center of the blade and a darker shade on the edges to create a 'glowing' effect.
More Tutorials


