How to Draw a Leprechaun: Easy 10-Step Guide for Kids
Bring a bit of Irish magic to your sketchbook with this friendly leprechaun drawing guide. Designed for artists ages 5 and up, this project requires only a pencil, paper, and an eraser. Follow these steps to build confidence in character design and fine motor skills.
🎯 Final Result
Step-by-Step Instructions
Step 1: Sketching the Head

Draw a light circle to serve as the base for the head. Teacher's Tip: Keep this circle about the size of a coin so you have plenty of room on your paper for the hat and body later.
Step 2: Shaping the Face

Sketch a curved 'U' shape inside the circle to define the jawline. Teacher's Tip: Use a light touch; this line helps anchor the placement of the beard and mouth.
Step 3: Adding the Beard

Use short, jagged curved lines around the jaw to create a bushy beard. Teacher's Tip: Don't worry about making the lines perfect—beards are naturally messy and textured!
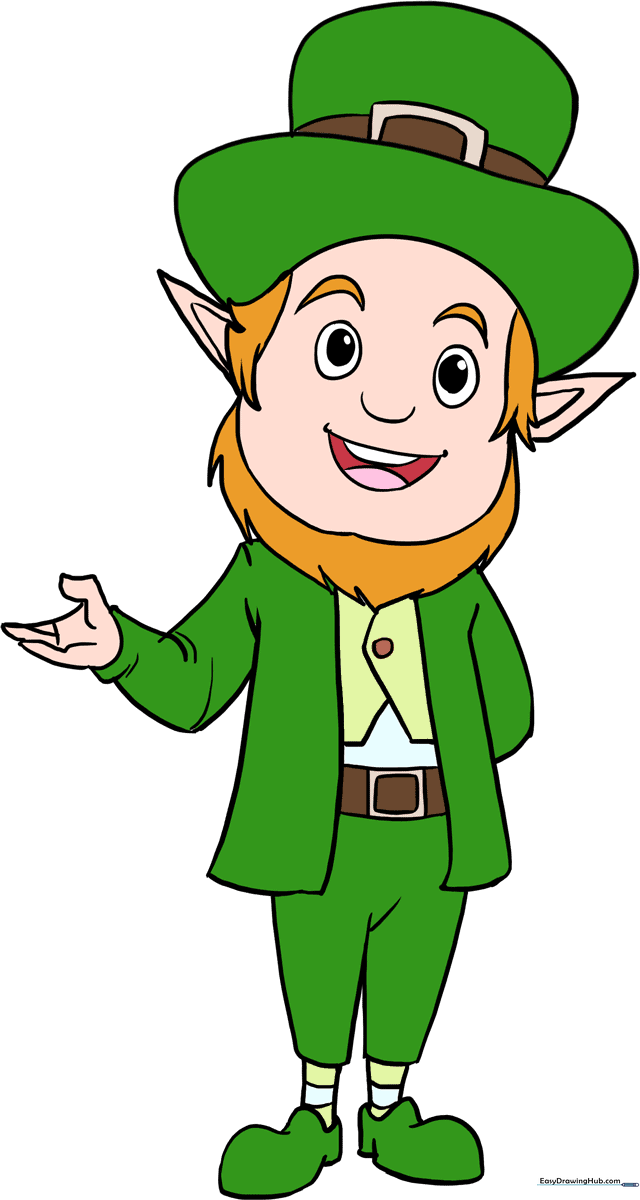
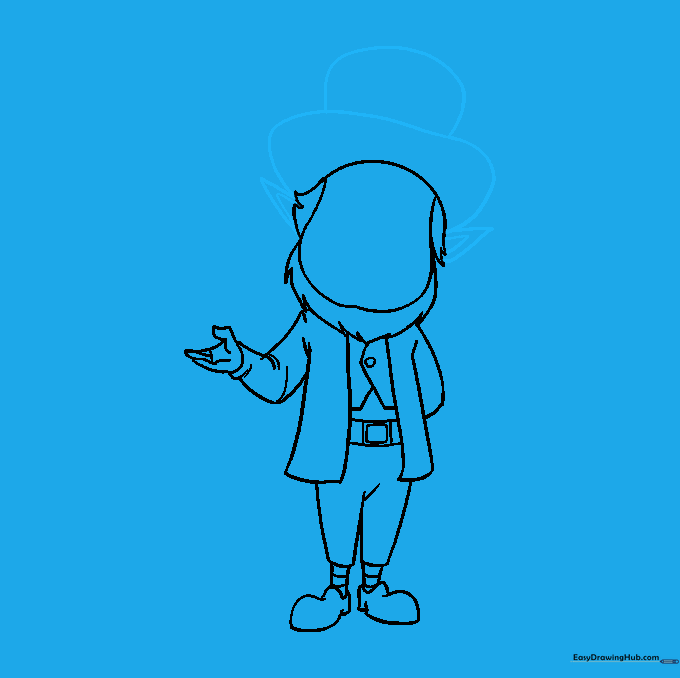
Step 4: Drawing the Jacket
Draw the outline of the jacket using long, vertical lines for the body and shorter lines for the sleeves. Teacher's Tip: Keep the jacket slightly wider at the bottom to give him a sturdy look.
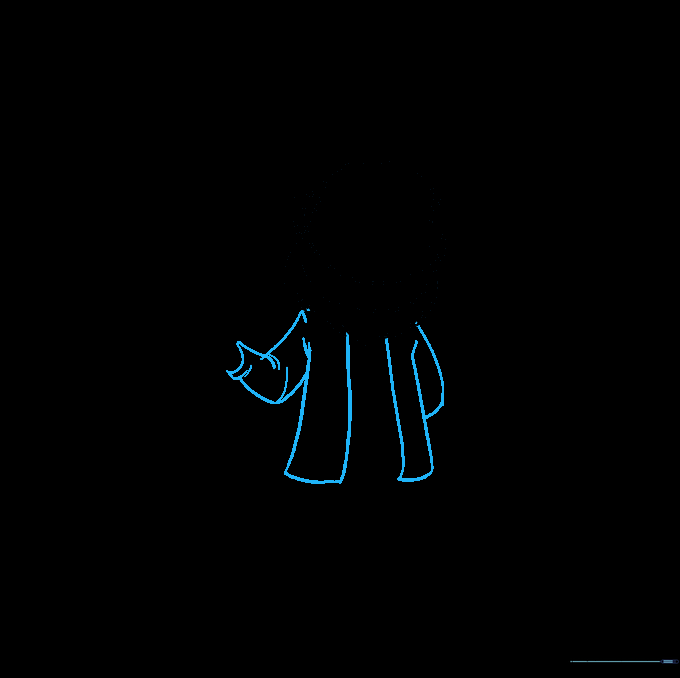
Step 5: Adding Belt and Pants
Draw two parallel lines across the waist for the belt, then extend straight lines downward for the pants. Teacher's Tip: Connect the bottom of the pants with small curves to suggest the cuffs.
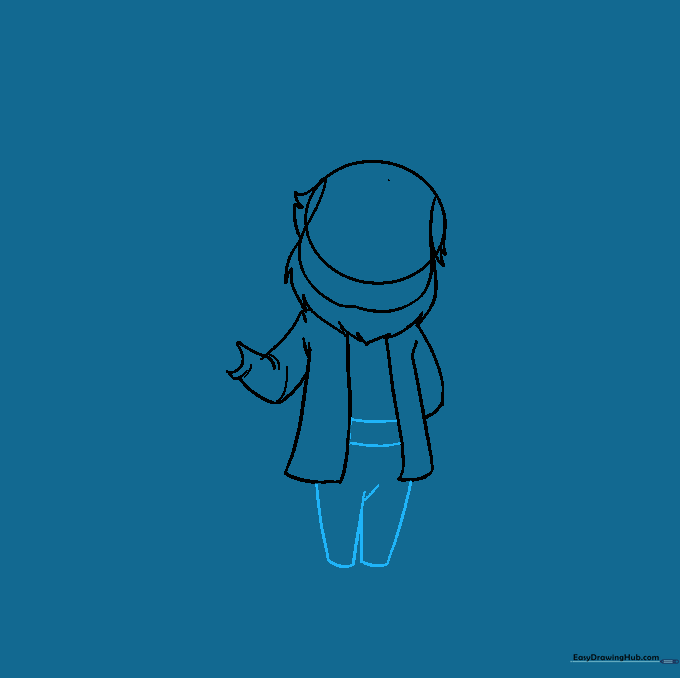
Step 6: Detailing the Shirt and Buckle
Add a pointed collar and a rectangular buckle on the belt. Teacher's Tip: Draw a smaller rectangle inside the first one to make the buckle look 3D.
Step 7: Hands, Shoes, and Socks

Draw simple 'U' shapes for hands and curved outlines for the shoes. Add horizontal lines on the legs for socks. Teacher's Tip: Keep the hands small to match the leprechaun's scale.
Step 8: The Hat and Ears
Erase your guide lines, then draw a tall hat and pointed ears. Teacher's Tip: The hat brim should be wider than the head to give it that classic leprechaun look.
Step 9: Facial Features
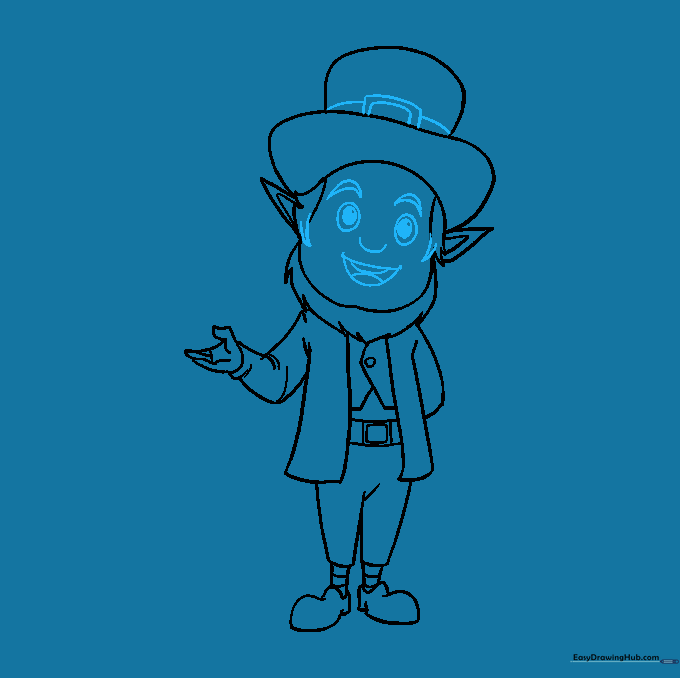
Draw the eyes, eyebrows, and a happy mouth. Teacher's Tip: Add a tiny circle inside the eyes for pupils to give your leprechaun a friendly, alert expression.
Step 10: Adding Color

Time to color! Use bright green for the outfit and a vibrant orange for the hair and beard. Teacher's Tip: Use a darker green for shadows under the hat to make your drawing pop.
More Tutorials


