How to Draw a Lemur: Easy 10-Step Guide for Kids
Ready to bring a playful lemur to life? This tutorial is perfect for young artists ages 5 and up. Grab your favorite pencil, an eraser, and some paper, and follow along to build your lemur from simple shapes into a finished character.
🎯 Final Result

Step-by-Step Instructions
Step 1: Sketching the Eyes and Snout

Draw two rounded squares for the eyes, adding large circles inside for pupils. Below them, sketch a small, concave triangle for the snout. Teacher's Tip: Keep the snout small—it helps the lemur look extra cute and youthful!
Step 2: Adding Furry Ears
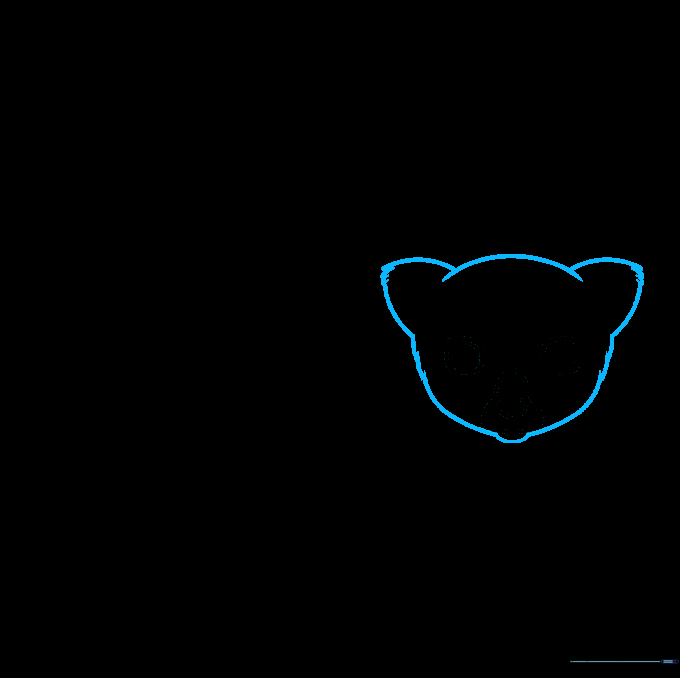
Use short, jagged curved lines to outline the head and triangular ears. Tip: Don't worry about making the lines perfectly smooth; the 'messy' jagged edges are exactly what make the fur look realistic.
Step 3: Defining the Face and Torso
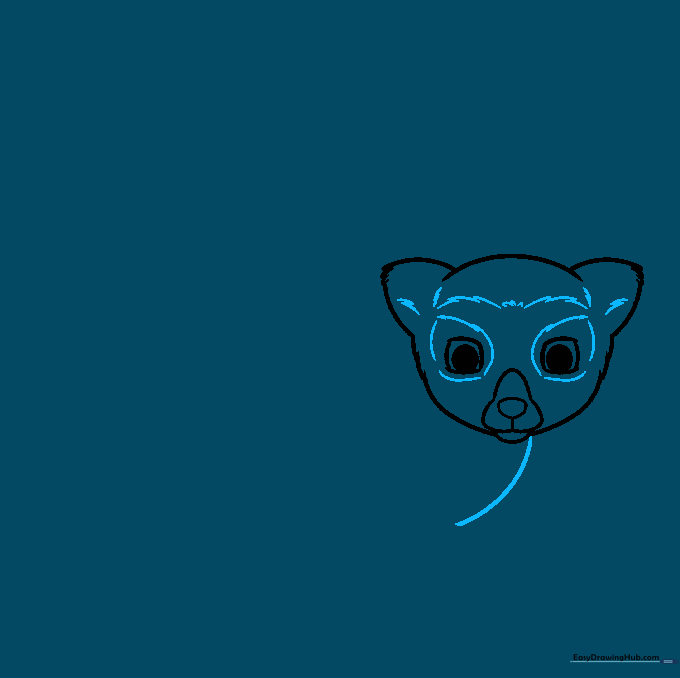
Add detail to the brow and eyespots using zigzag lines. Start the torso with a single, long curved line. Tip: Think of the torso line as a gentle 'C' shape to give your lemur a natural, sitting posture.
Step 4: Sketching the First Arm
Draw the arm and hand using curved lines. Make sure the fingers overlap slightly to show depth. Tip: Lemurs have long, nimble fingers—try to keep them slender!
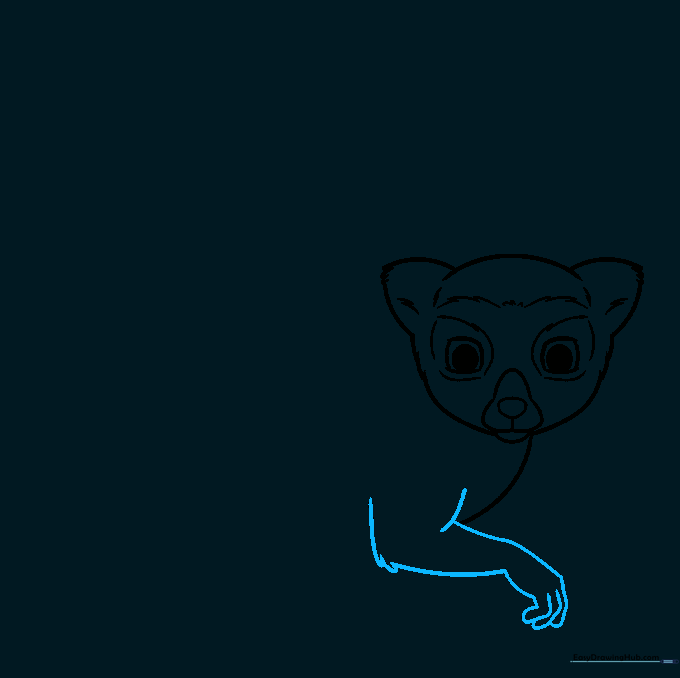
Step 5: Adding the Second Foreleg

Draw the second arm using parallel lines for the limb and 'U' shapes for the fingers. Tip: If the arms look a bit stiff, add a slight curve to the elbow to make the lemur look relaxed.
Step 6: Outlining the Back and Rear Leg
Use long, sweeping lines for the back and the front of the rear leg. Add 'fur' texture to the back of the leg with short, jagged strokes. Tip: Use your eraser to clean up any overlapping lines inside the leg area.
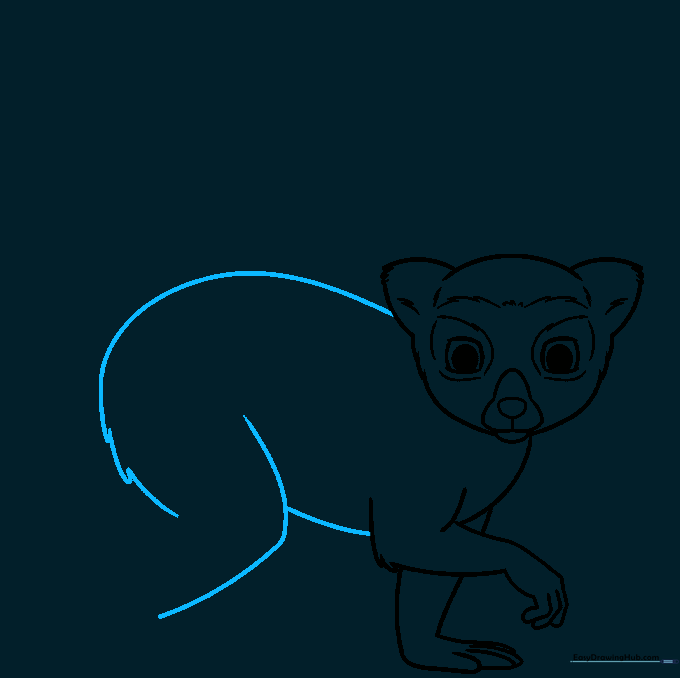
Step 7: Completing the Rear Leg
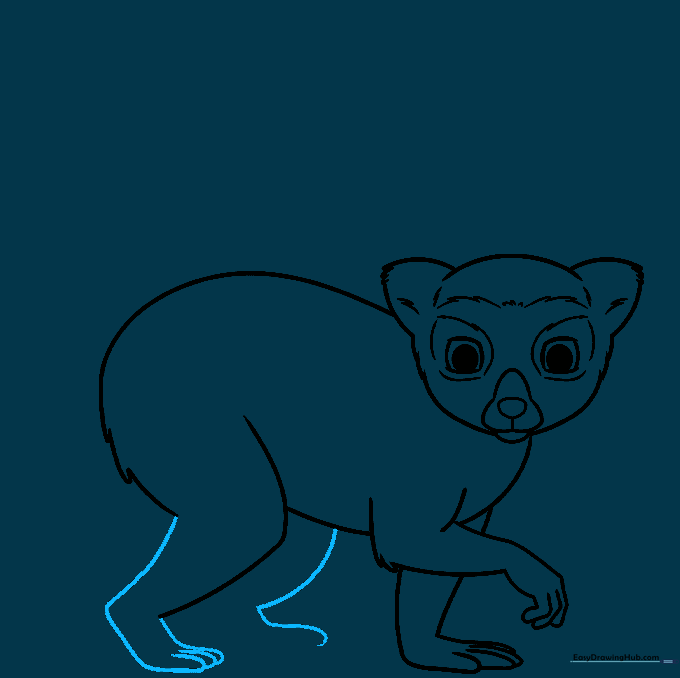
Finish the rear leg with curved lines for the toes. Begin the outline for the final leg. Tip: Lemur feet are quite large compared to their hands, so don't be afraid to make them a bit chunky!
Step 8: Adding the Tail Base
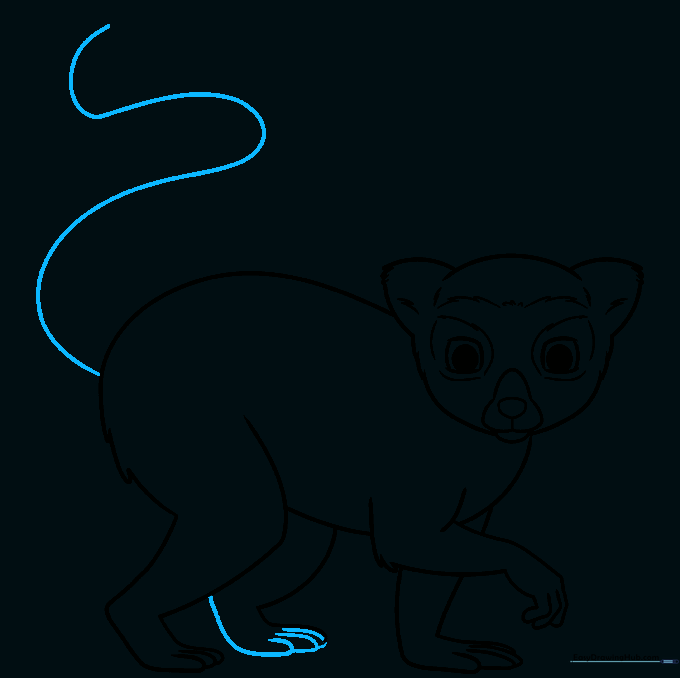
Finish the final paw with overlapping toe lines. Then, draw a long, sweeping 'S' shape to create the base of the tail. Tip: Make the tail nice and long—it’s the lemur's most recognizable feature!
Step 9: Adding Tail Stripes
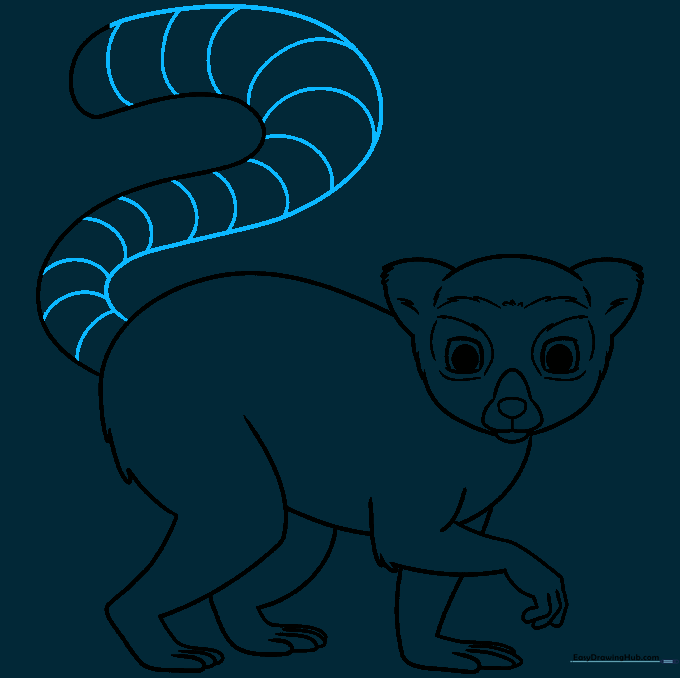
Enclose the tail with a parallel curved line. Add several curved bands across the tail to create the classic ring-tailed pattern. Tip: Vary the spacing of the bands slightly to make the tail look more natural.
Step 10: Adding Color
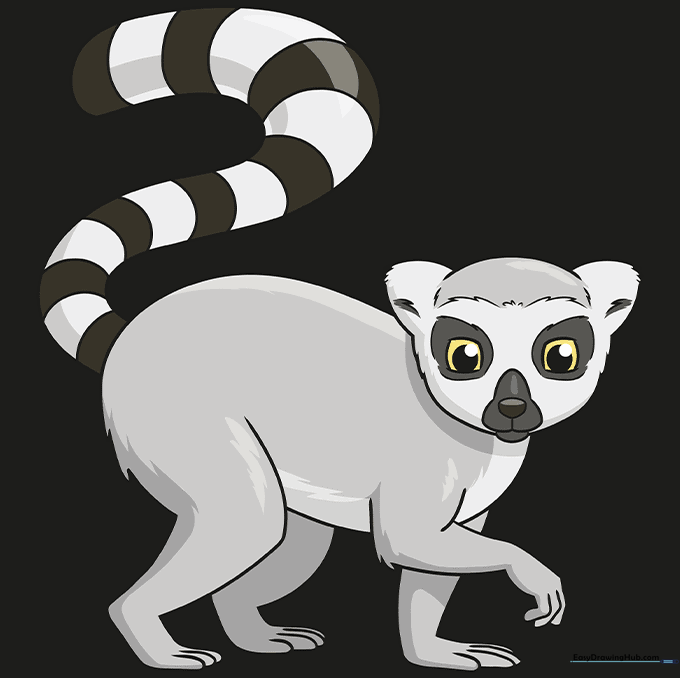
Bring your lemur to life with color! Use light grey for the body, white for the belly, and alternate black and grey for the tail rings. Tip: Use a light touch with your pencil to blend the grey into the white areas for a soft, furry look.
More Tutorials


