How to Draw a Lemon Tree: Easy 10-Step Guide for Kids
Bring a touch of nature to your sketchbook with this fun, beginner-friendly lemon tree tutorial. Designed for ages 5 and up, this activity helps young artists practice symmetry and organic shapes using just a pencil, eraser, and paper. Follow along to grow your own citrus masterpiece!
🎯 Final Result

Step-by-Step Instructions
Step 1: Sketching the Base Pot
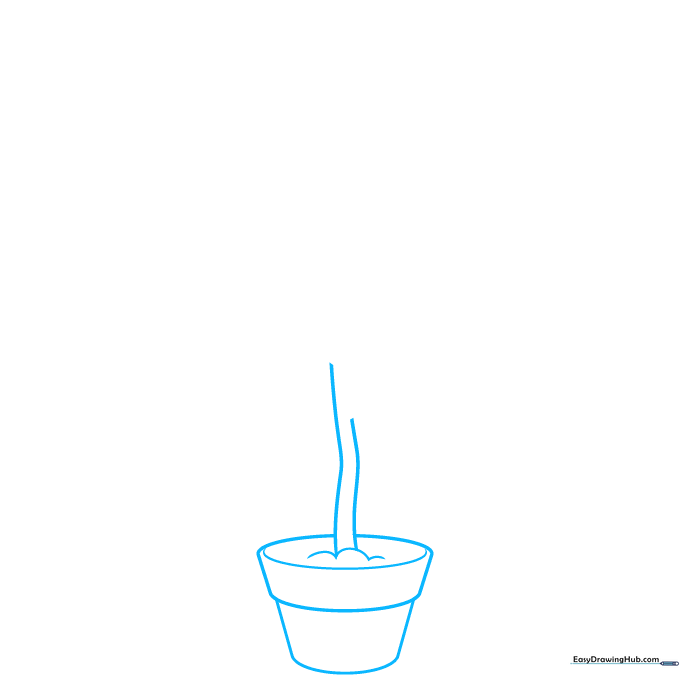
Start by drawing a small oval for the pot's opening, then add a rounded trapezoid beneath it for the rim. Add a larger trapezoid base and two curved lines rising up to form the trunk. Teacher's Tip: Keep your pencil lines light so you can easily erase the overlap where the trunk meets the pot.
Step 2: Forming the Branches
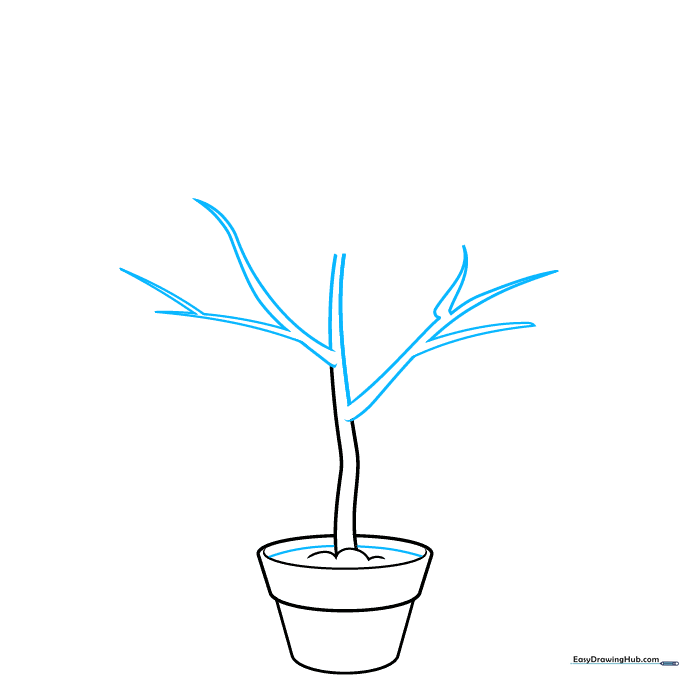
Extend pairs of curved lines from the top of the trunk, letting them taper to sharp points. These are your main limbs. Teacher's Tip: Don't worry about making them perfectly straight; tree branches are naturally wiggly and organic!
Step 3: Adding Leaf Veins
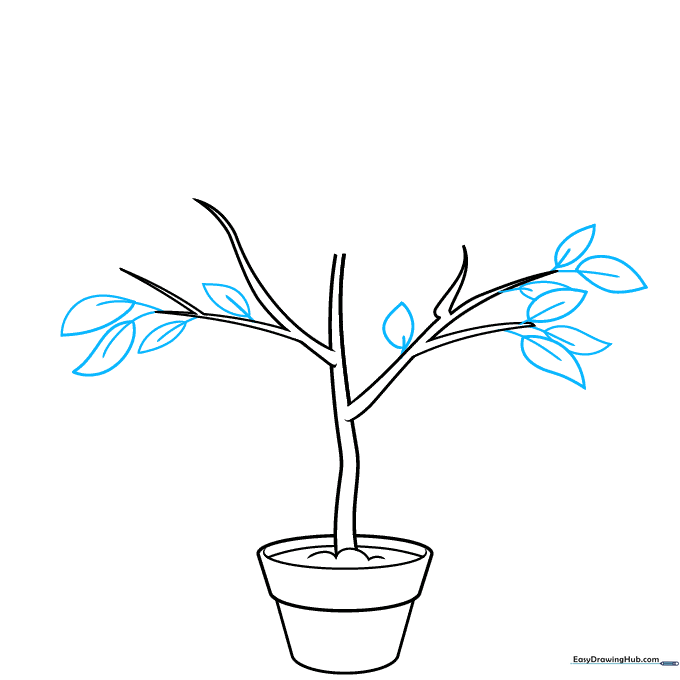
Draw small lines branching off the limbs to serve as leaf stems. Enclose each stem in a pointed, oval-like shape. Teacher's Tip: Vary the size of your leaves to make the tree look more realistic and full.
Step 4: Sketching the Lemons
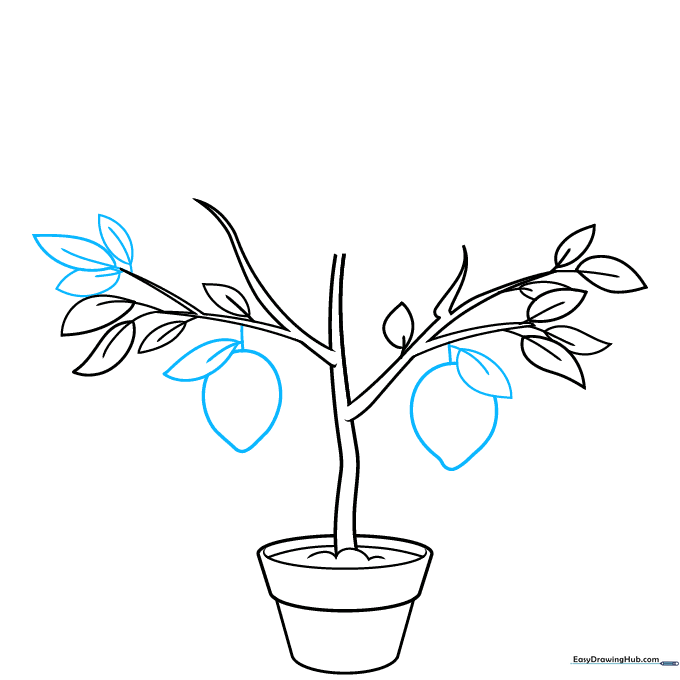
Draw small, irregular circles hanging from the branches. Give each lemon a tiny point at the bottom. Teacher's Tip: Draw a small leaf right next to the lemon stem to make it look like it's growing naturally from the branch.
Step 5: Filling the Canopy
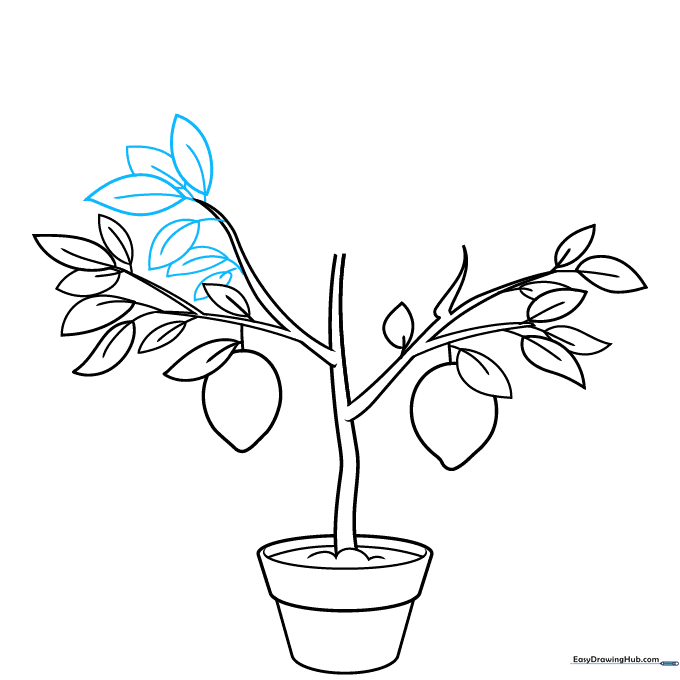
Add more leaves to the upper branches using the same stem-and-point technique. Teacher's Tip: Overlap some leaves to create depth, making your tree look lush and healthy.
Step 6: Expanding the Top
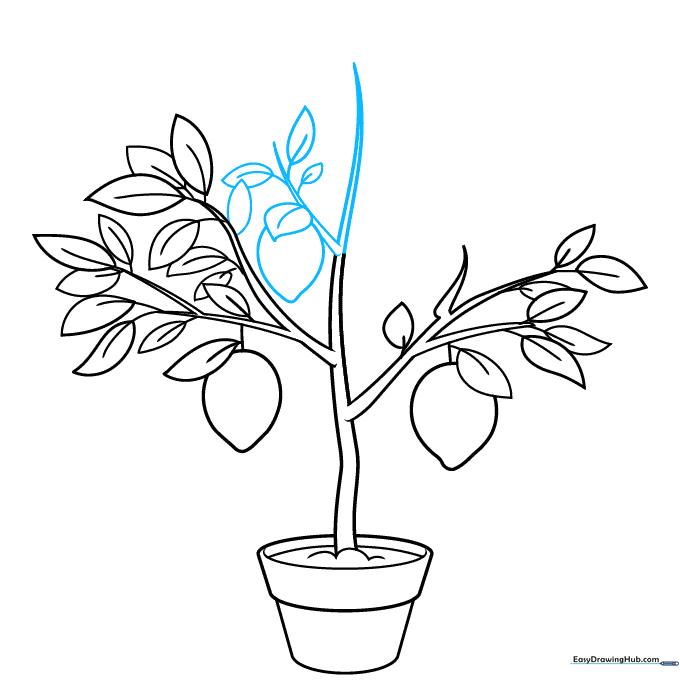
Extend more pointed branches from the center of the tree. Add another lemon and a few more leaves. Teacher's Tip: Ensure your branches are pointing in different directions to create a balanced look.
Step 7: Adding Side Branches
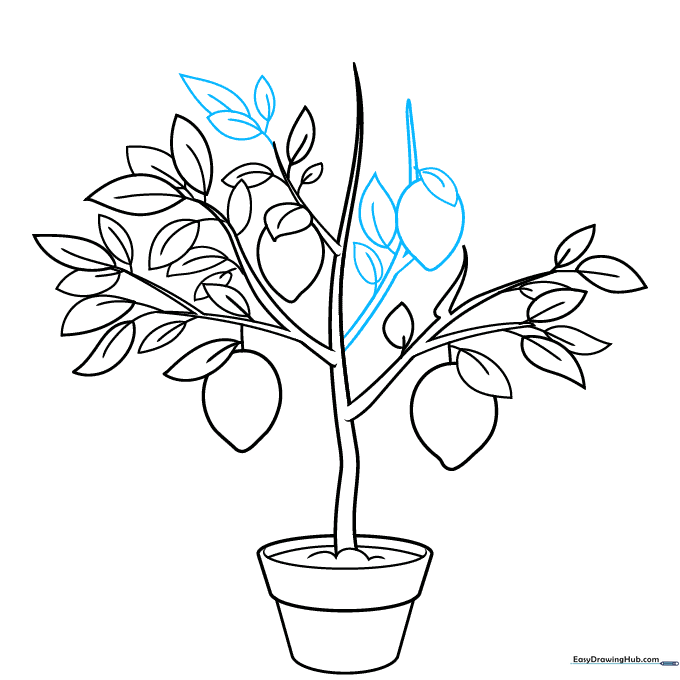
Add a branch to the side of the trunk. Include a lemon and several leaves to fill in the empty space. Teacher's Tip: If your tree looks a bit thin, this is the perfect time to add one or two extra leaves.
Step 8: Final Branch Details
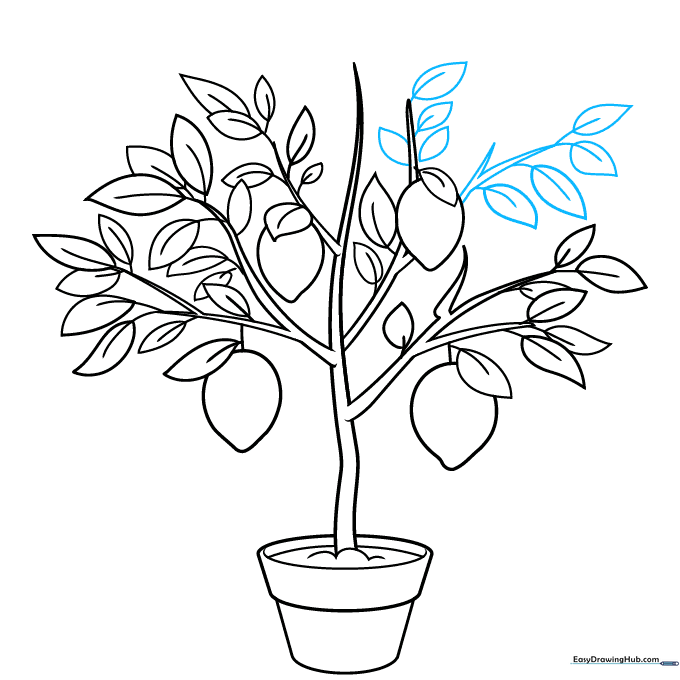
Draw a final set of small twigs behind the existing lemons. Add leaves to these twigs to create a sense of depth. Teacher's Tip: Using smaller, thinner lines for these back branches helps create the illusion of distance.
Step 9: Final Touches
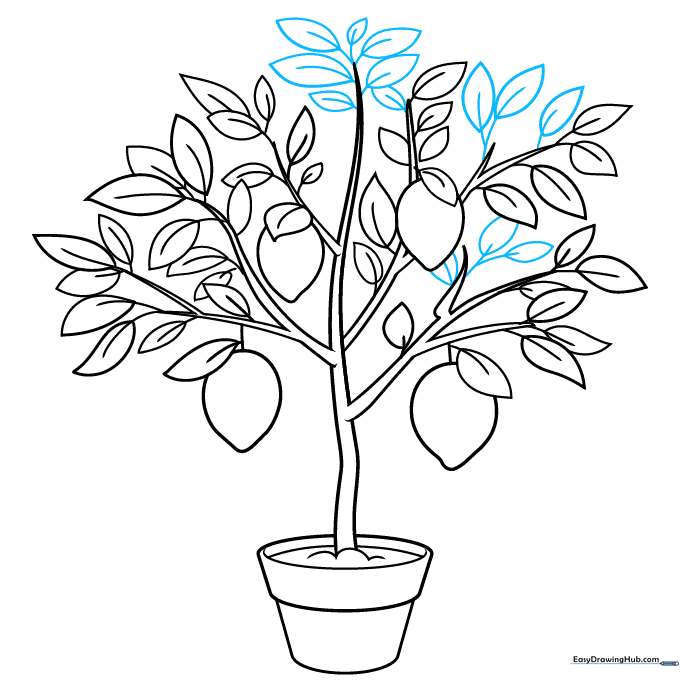
Review your drawing and add any final leaves to the top or sides to balance the shape. Teacher's Tip: Erase any stray guidelines from the trunk or pot to make your drawing look clean and professional.
Step 10: Bring It to Life with Color

Time to color! Use bright yellow for your ripe lemons and a vibrant green for the leaves. Teacher's Tip: Try using two shades of green—a light one for the top and a darker one for the bottom—to give your leaves a 3D effect.
More Tutorials


