How to Draw a Landscape: Easy 10-Step Guide for Kids
This landscape tutorial is perfect for young artists ages 5 and up looking to build confidence in scene composition. You will only need a pencil, an eraser, and your favorite coloring tools to bring this outdoor scene to life. Follow these steps to master the basics of foreground, background, and perspective in a fun, screen-free way.
🎯 Final Result
Step-by-Step Instructions
Step 1: Sketching the Foreground Hill

Draw a gentle, sweeping curved line across the bottom of your page. This creates the grassy hill in the foreground. Tip: Keep your pencil pressure light so the line looks soft and natural.
Step 2: Adding the Distant Hill

Draw a second, smaller curved line higher up on the page. This represents a hill further away. Tip: Placing this line higher creates the illusion of depth in your drawing.
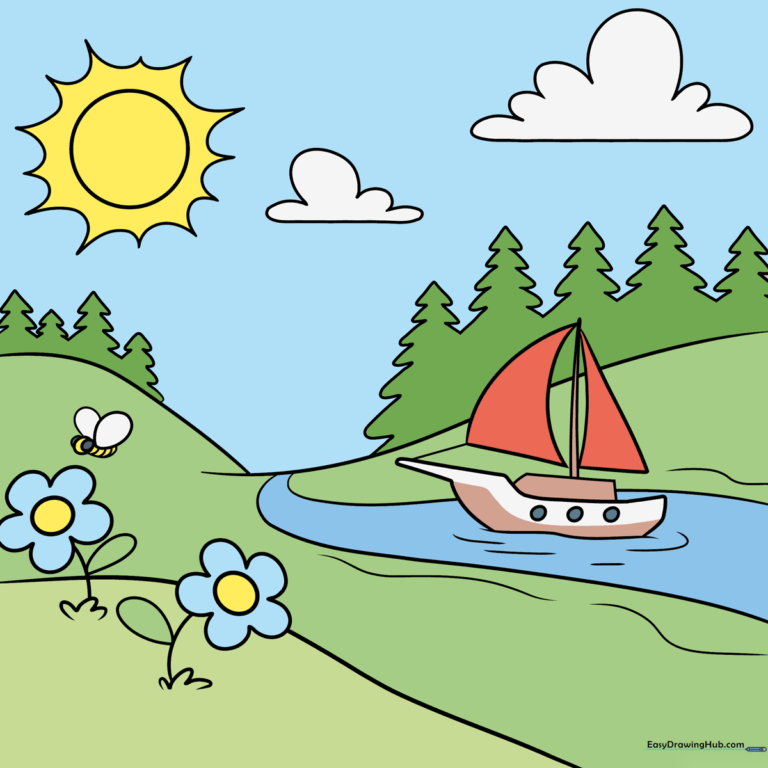
Step 3: Creating the Riverbed
Draw a curved line that overlaps the base of your distant hill. Then, add another curve below it to start the river. Tip: Imagine the water flowing around the base of the hill.
Step 4: Defining the Riverbank

Draw a line roughly parallel to your river path to create the opposite bank. Add small wavy lines along the edge to show texture. Tip: Wavy lines make the bank look more natural and organic.
Step 5: Adding Water Texture

Continue adding soft, wavy lines along the opposite riverbank. Tip: Vary the length of your wavy lines to make the water look like it is gently moving.
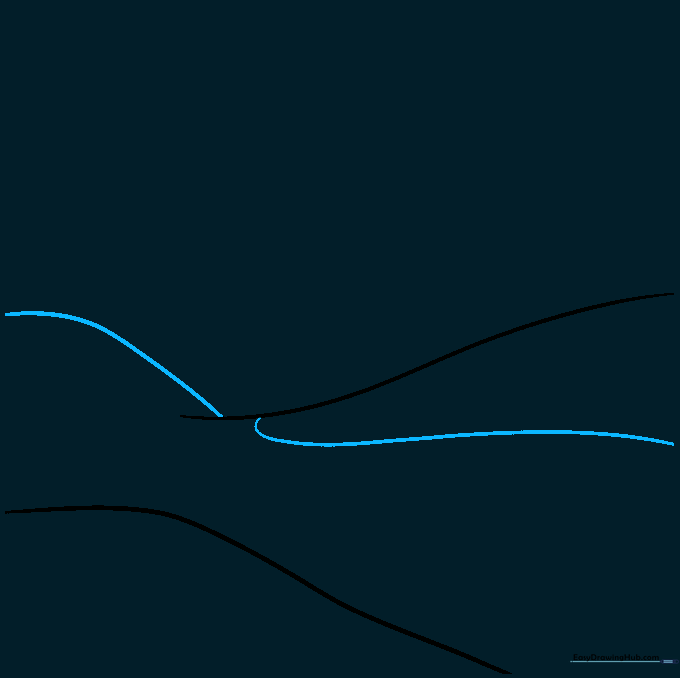
Step 6: Adding Life: Flowers and a Bee
Draw small 'U' shapes for grass, then add daisy flowers with circular centers and petal loops. Draw a tiny bee nearby using small circles for the body and wings. Tip: Keep the bee small so it looks like it's buzzing in the distance.
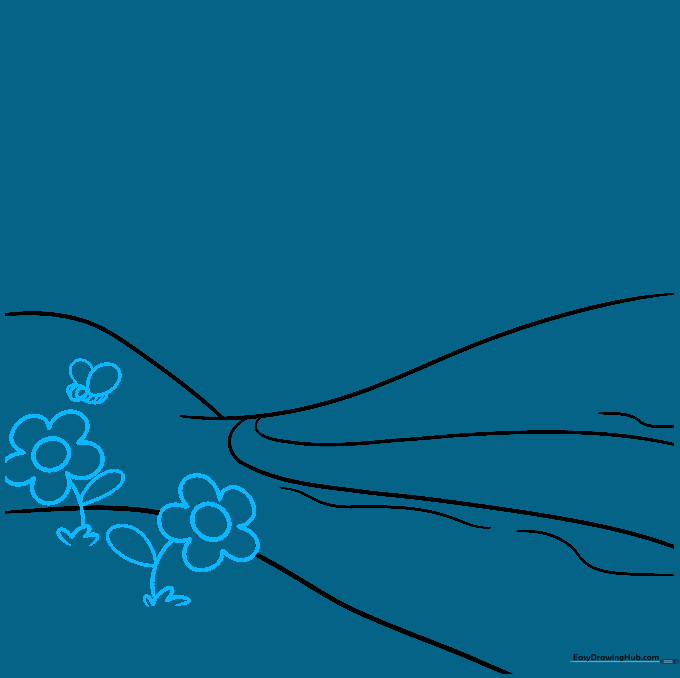
Step 7: Drawing the Sailboat
Sketch a small boat on the river using a simple hull shape, a rectangular cabin, and triangular sails. Add ripples around the boat. Tip: Use a ruler if you struggle with the straight lines of the mast.
Step 8: Adding Evergreen Trees
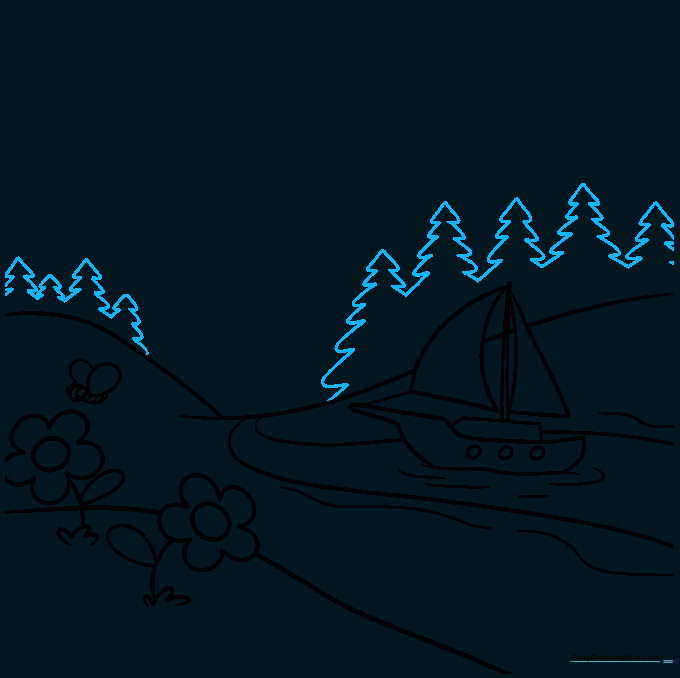
Draw a forest in the background using stacked triangle shapes. Tip: Make the trees different sizes to show they are at different distances.
Step 9: The Sun and Clouds
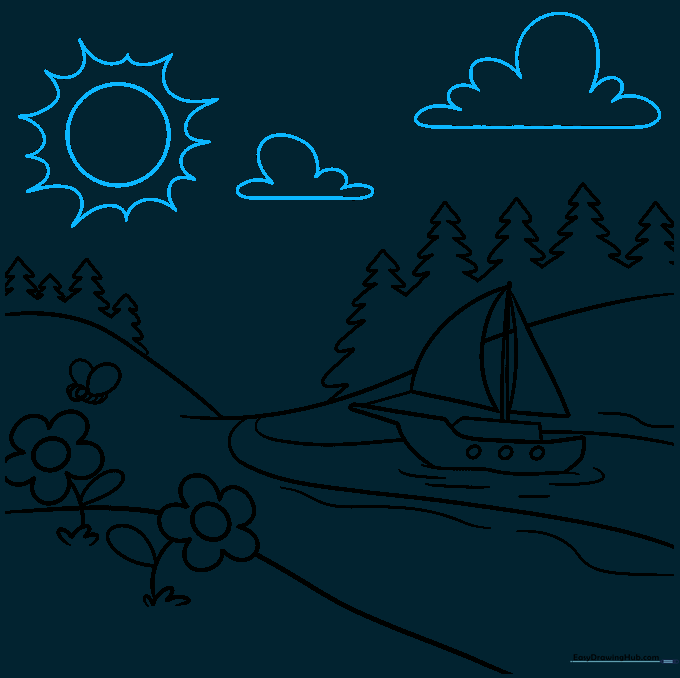
Draw a large circle for the sun with rays, and use 'U' shapes to create fluffy clouds in the sky. Tip: Don't worry about making the clouds perfect; puffy and irregular looks best!
Step 10: Bringing it to Life with Color

Color your landscape! Use bright greens for the grass, deep blues for the river, and warm yellows for the sun. Tip: Use light pressure for a soft look or heavy pressure for vibrant, bold colors.
More Tutorials


