How to Draw a Lamp: Easy 10-Step Guide for Kids
This simple lamp drawing tutorial is perfect for young artists ages 5 and up. All you need is a pencil, an eraser, and a piece of paper to get started. Follow these steps to practice basic geometric shapes while creating a fun, functional piece of room decor.
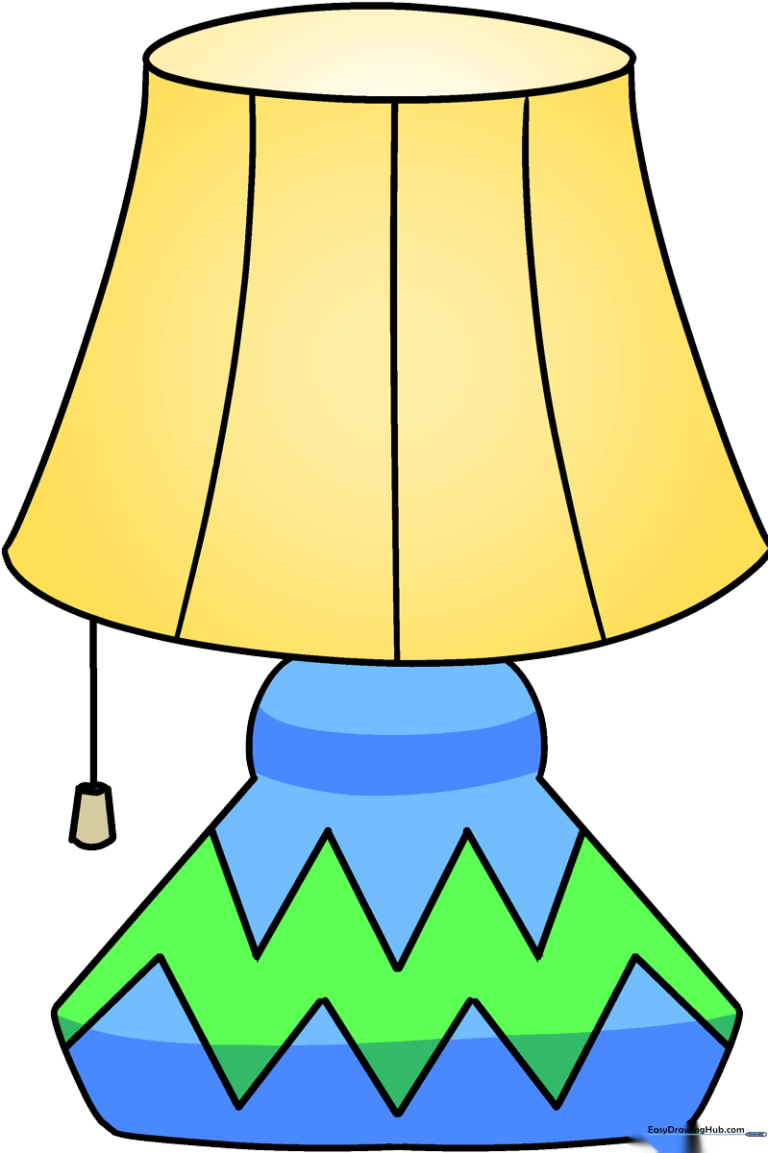
🎯 Final Result
Step-by-Step Instructions
Step 1: Sketching the Lampshade Top

Draw a narrow, horizontal oval near the top of your page. Teacher's Tip: Keep your pencil pressure light so you can easily adjust the shape if it looks a bit lopsided.
Step 2: Defining the Left Side
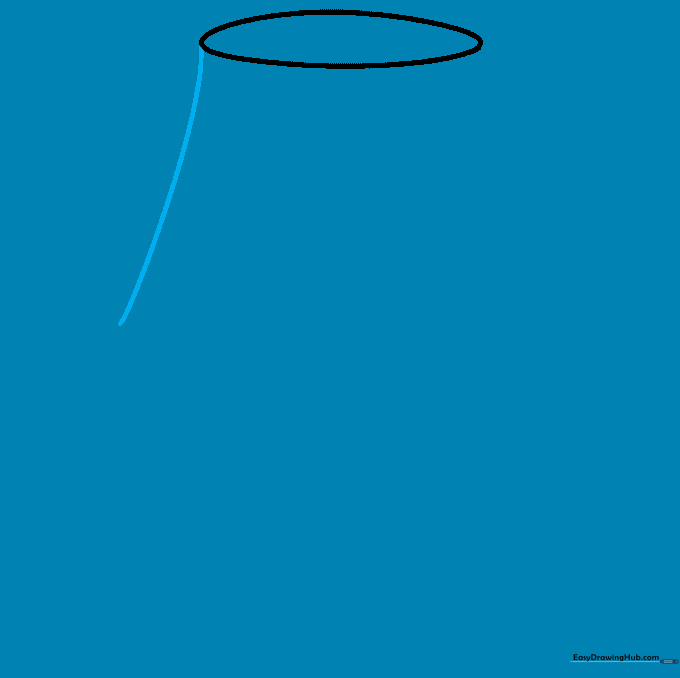
Draw a smooth, curved line extending downward from the left side of your oval. Tip: Imagine the curve of a bowl to get that perfect lampshade silhouette.
Step 3: Balancing the Right Side
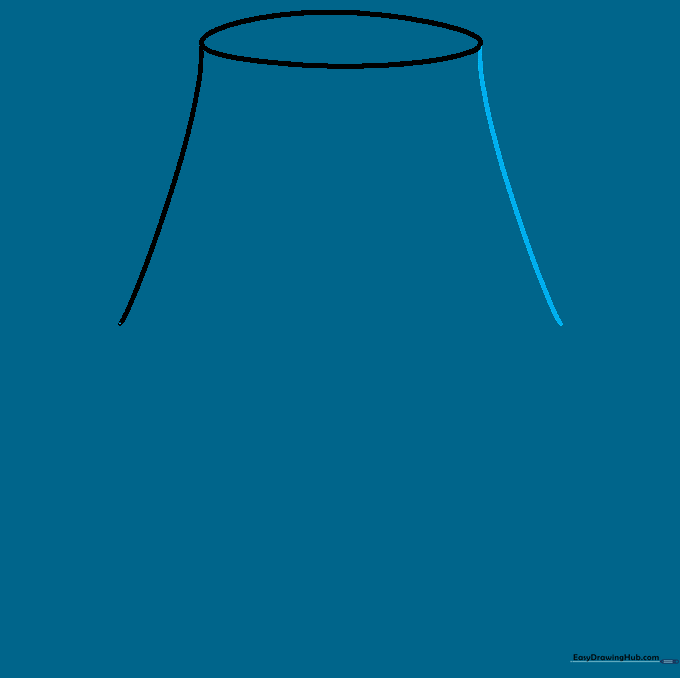
Repeat the process on the right side by drawing a matching curved line. Tip: Try to make both sides symmetrical so your lamp doesn't look like it's leaning!
Step 4: Closing the Shade
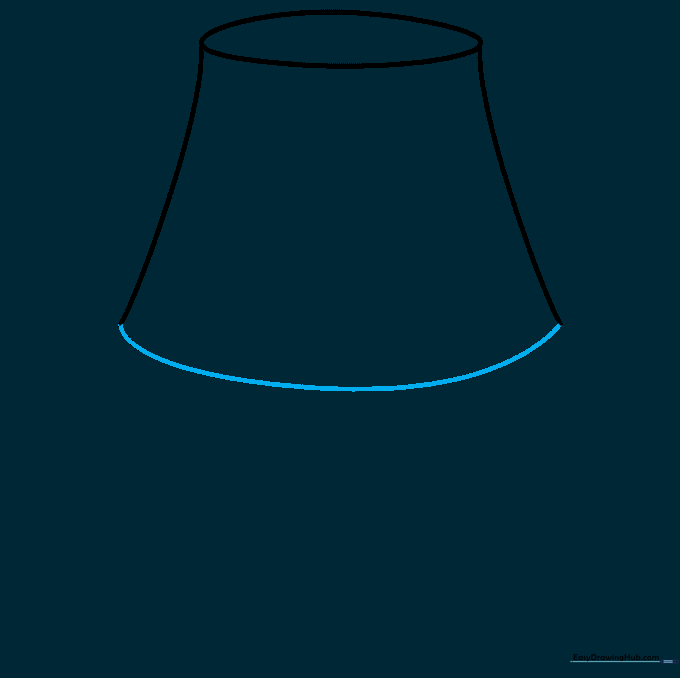
Connect the two bottom ends with a long, gentle curve to close the lampshade. Tip: Use a continuous motion to keep the line smooth and fluid.
Step 5: Adding Pleats
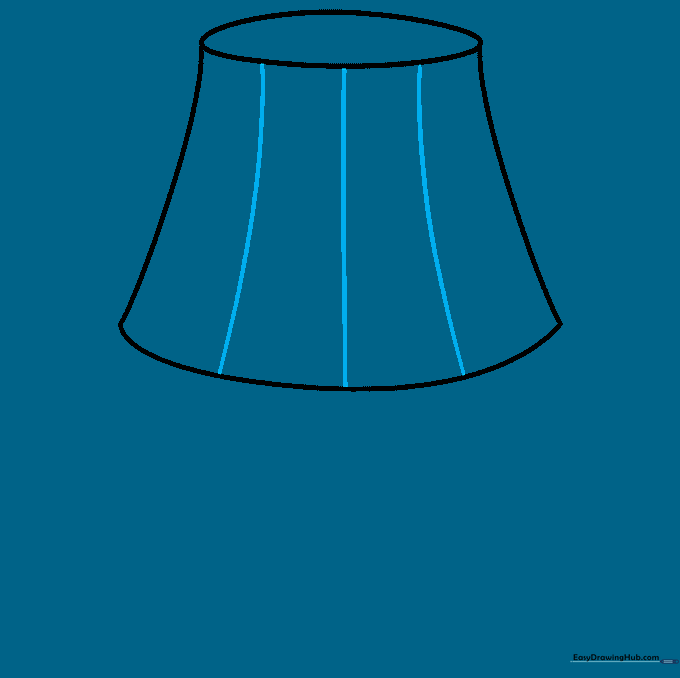
Draw several vertical, slightly curved lines across the shade. Tip: These lines create the illusion of fabric pleats, making your drawing look more realistic.
Step 6: Constructing the Base
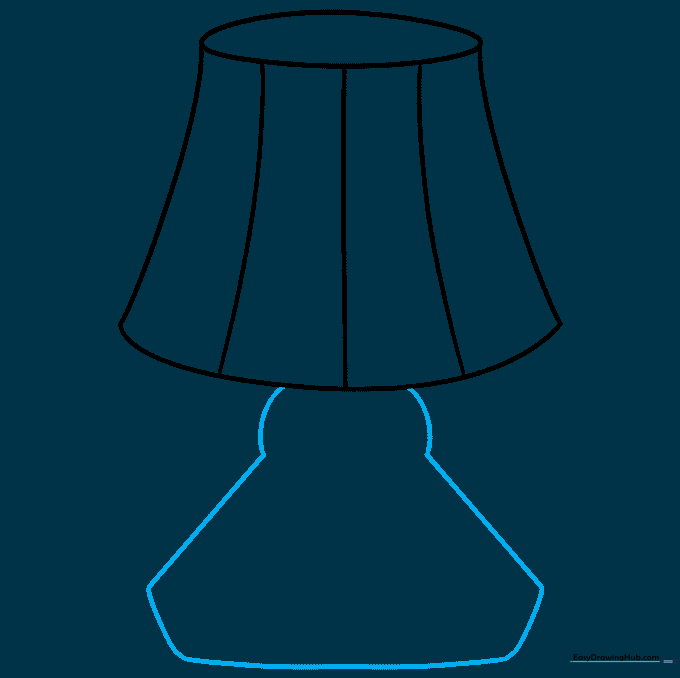
Draw the lamp stand by sketching two short curves, followed by diagonal lines that flare out, and connect them with a base curve. Tip: Think of this as drawing a small, sturdy pedestal.
Step 7: Adding Base Texture
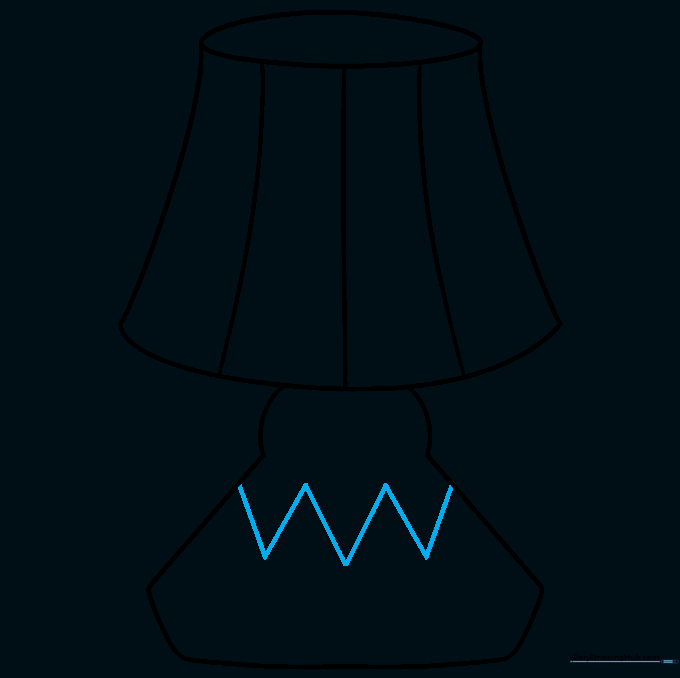
Add a zigzag pattern along the base to give it a decorative touch. Tip: Keep your zigzags uniform in size for a clean, professional look.
Step 8: Refining the Base
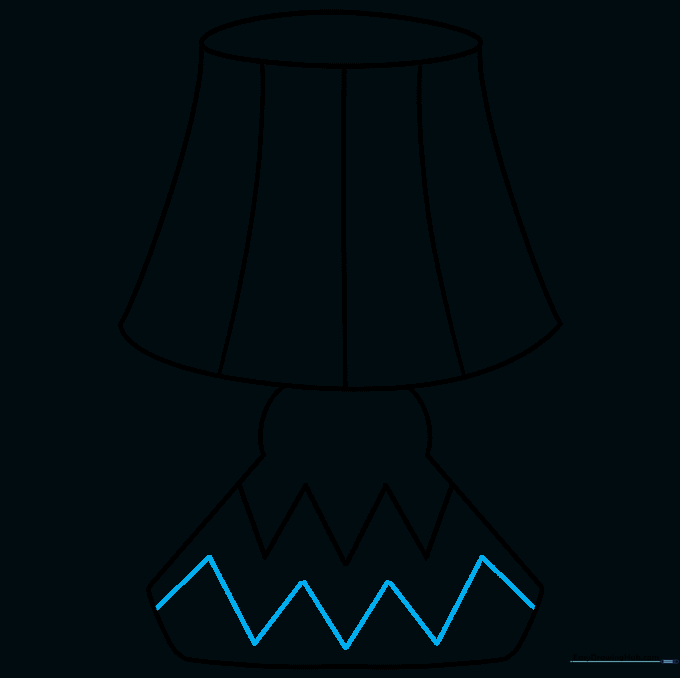
Draw a second row of zigzags below the first to complete the base design. Tip: If you make a mistake, use your eraser to gently lift the graphite before drawing over it again.
Step 9: Drawing the Pull-Switch
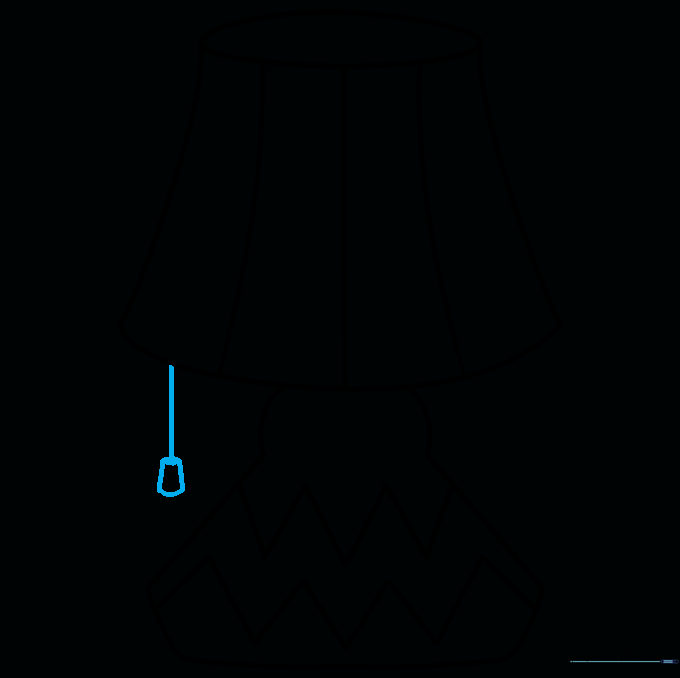
Add a small, four-sided shape hanging from the side of the shade to represent the pull-switch. Tip: Keep this small so it doesn't distract from the main lamp body.
Step 10: Bring Your Lamp to Life with Color
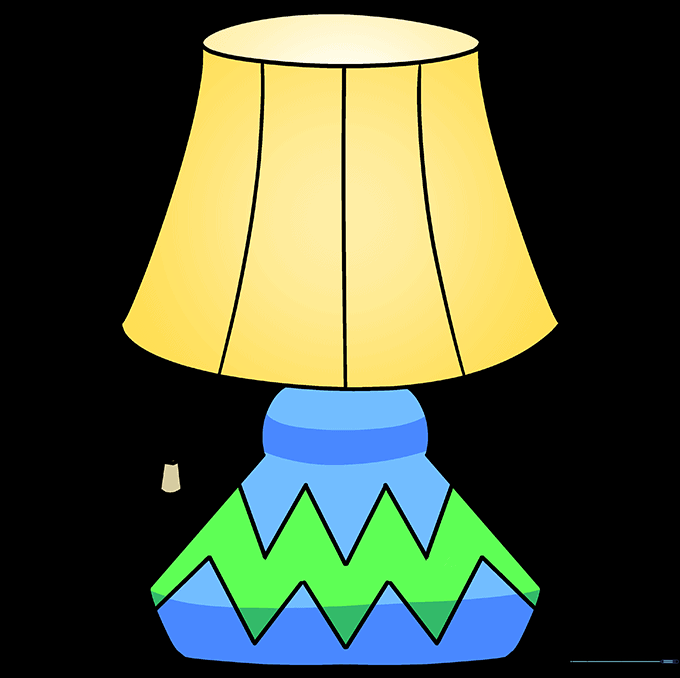
Now for the fun part! Use your favorite markers or colored pencils to fill in your lamp. Tip: Try using warm colors like yellow or orange for the shade to make it look like the light is turned on!
More Tutorials


