How to Draw a Lamborghini: Easy 10-Step Guide for Kids
Ready to design your own supercar? This guide is perfect for young artists ages 6+ who want to master drawing a classic sports car silhouette. Grab a pencil, an eraser, and a piece of paper to start building your masterpiece step-by-step.
🎯 Final Result
Step-by-Step Instructions
Step 1: Sketching the Tires
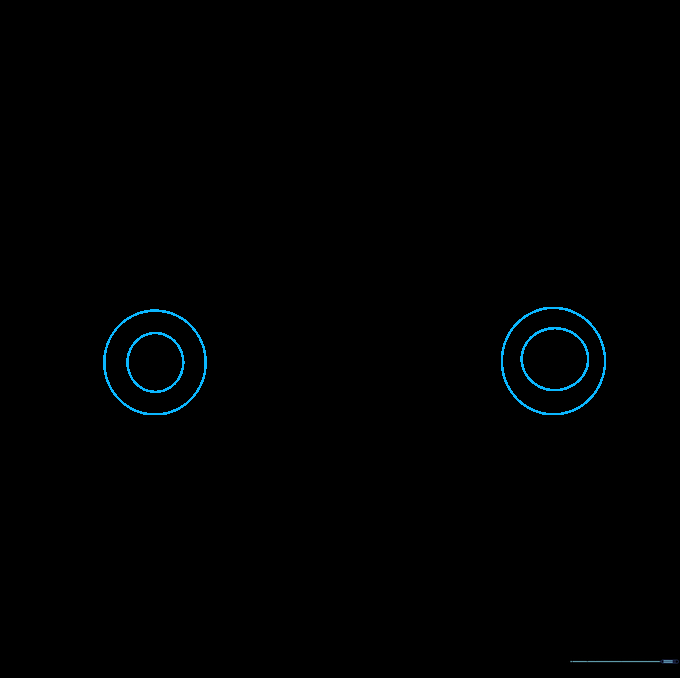
Draw two sets of circles for the tires. Each set should have a smaller circle inside a larger one. Teacher's Tip: Keep these circles roughly the same size so your car doesn't look wobbly!
Step 2: Adding the Rims
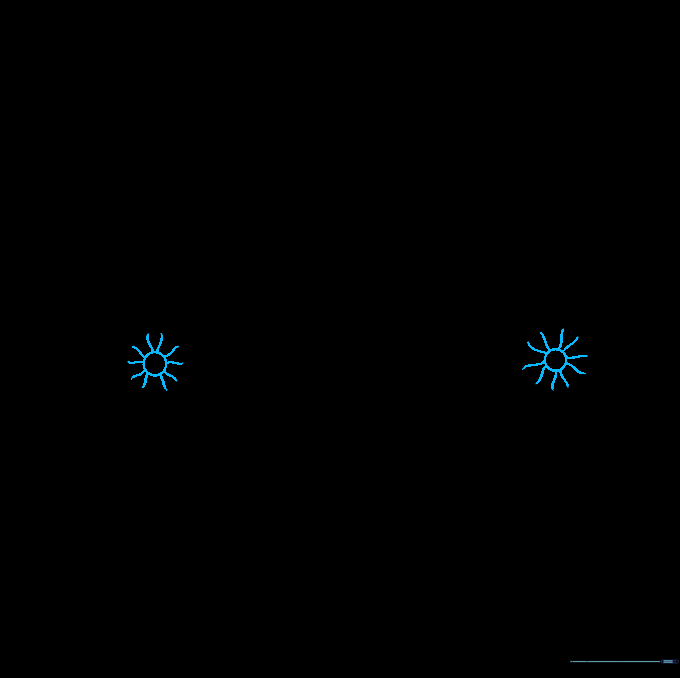
Add a tiny circle in the center of each tire, then connect it to the inner ring with short, straight spokes. This gives your wheels that authentic, high-performance look.
Step 3: Creating Wheel Wells
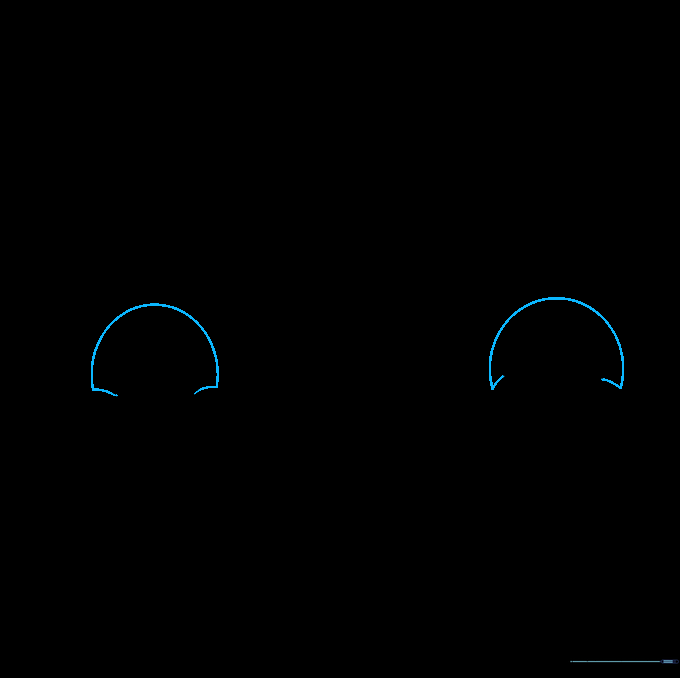
Draw curved arches over each tire. Notice how the front arch angles upward and the rear arch angles downward; this creates the illusion of the car's aerodynamic body.
Step 4: The Main Body Frame
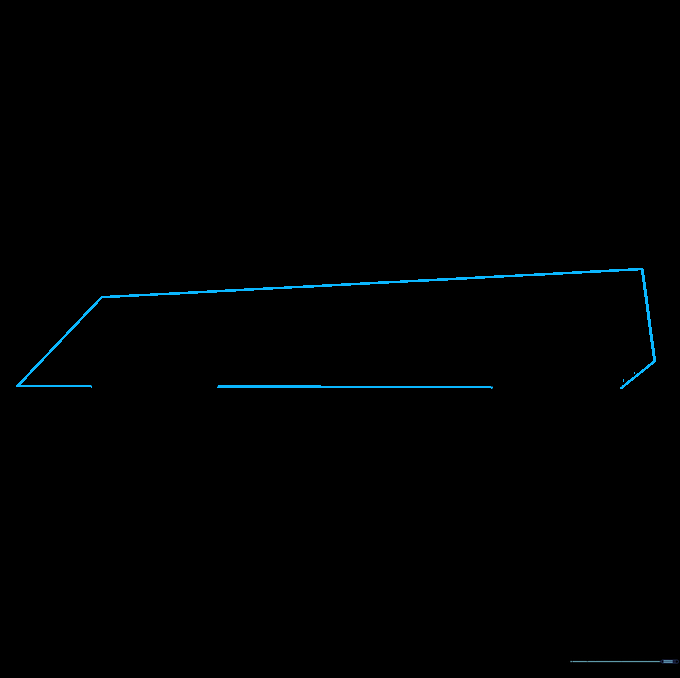
Connect the wheel wells using straight lines to create an irregular parallelogram. This is the 'chassis' of your car. Keep your lines straight to maintain that sharp, aggressive Lamborghini aesthetic.
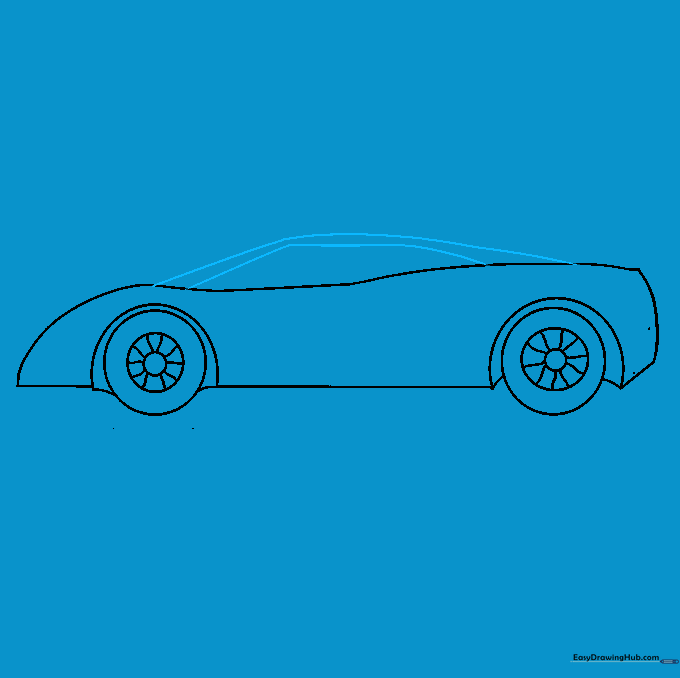
Step 5: Refining the Contours
Gently erase the sharp corners at the top and rear, replacing them with smooth, sweeping curves. This helps the car look like it's moving fast even when standing still!
Step 6: Shaping the Front

Erase the front bumper area and redraw it with a sleek, low-profile curve. Tip: A lower front end makes the car look more 'sporty'.
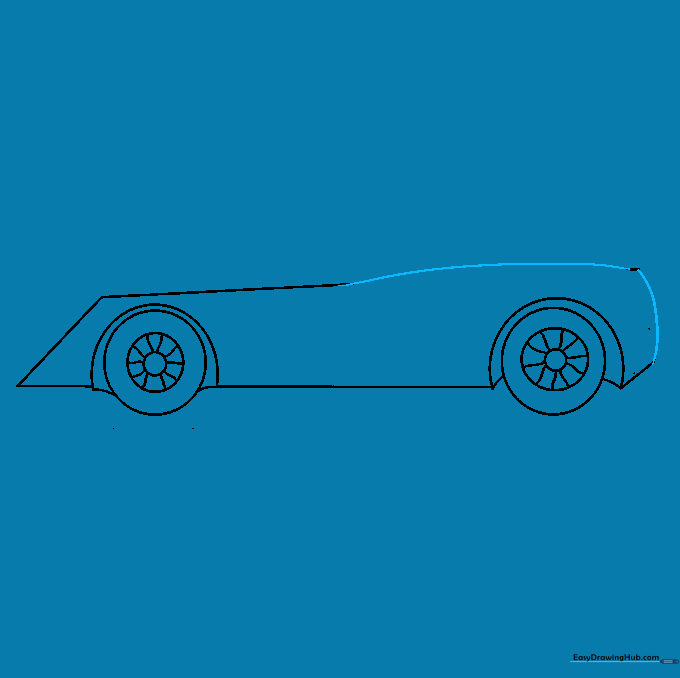
Step 7: Adding the Roof
Draw two long, graceful curved lines to form the roof. Ensure they flow naturally from the hood to the back of the car.
Step 8: Windows and Doors
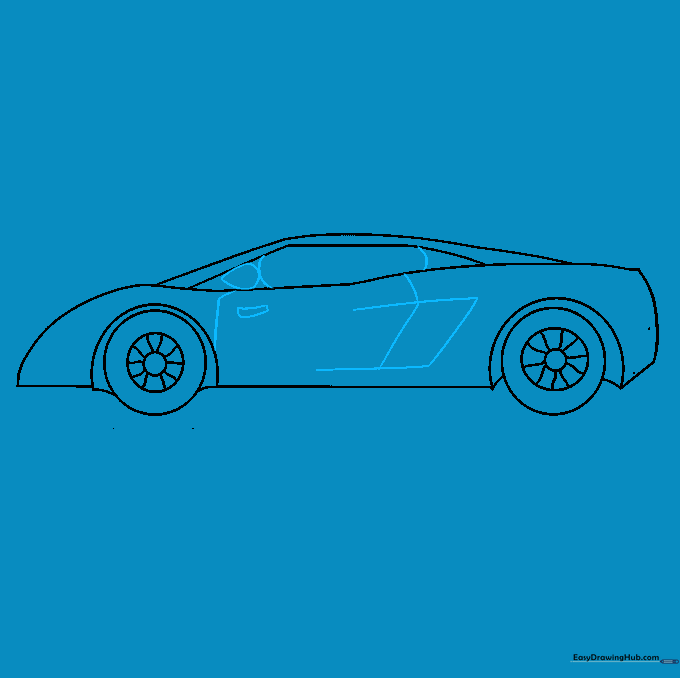
Add the window shapes and use 'L' shaped lines to define the door. Don't forget a small curved shape for the door handle!
Step 9: Final Details
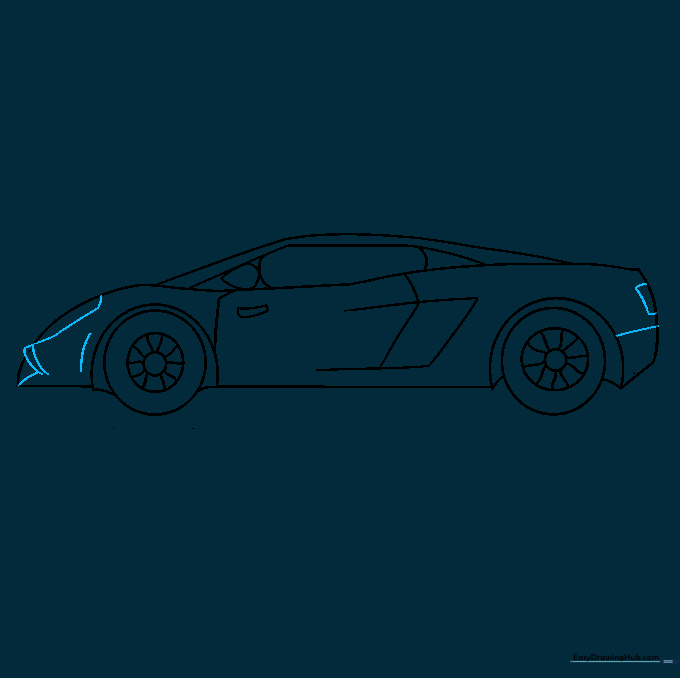
Draw the headlights and taillights using small, precise curves. Add a few lines around the fenders to give the car a muscular, finished look.
Step 10: Bring It to Life with Color
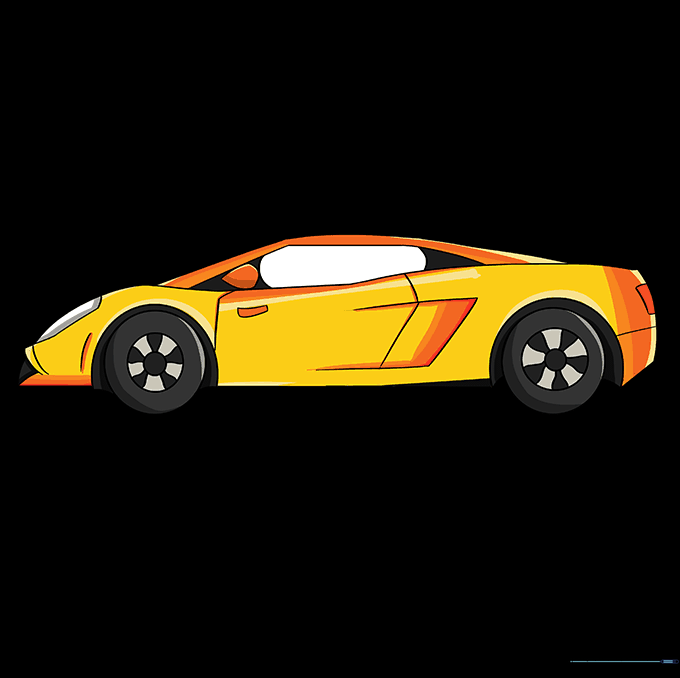
Time to color! Use bold, bright colors like red, yellow, or metallic blue. Tip: Use a darker shade of your main color to add shadows along the bottom for a 3D effect.
More Tutorials


