How to Draw a Labradoodle: Easy 10-Step Guide for Kids
Capture the charm of everyone's favorite curly-coated companion with this beginner-friendly drawing tutorial. Designed for young artists ages 5 and up, this guide uses simple shapes to build confidence and fine motor control. All you need is a pencil, an eraser, and a piece of paper to bring your own fluffy Labradoodle to life.
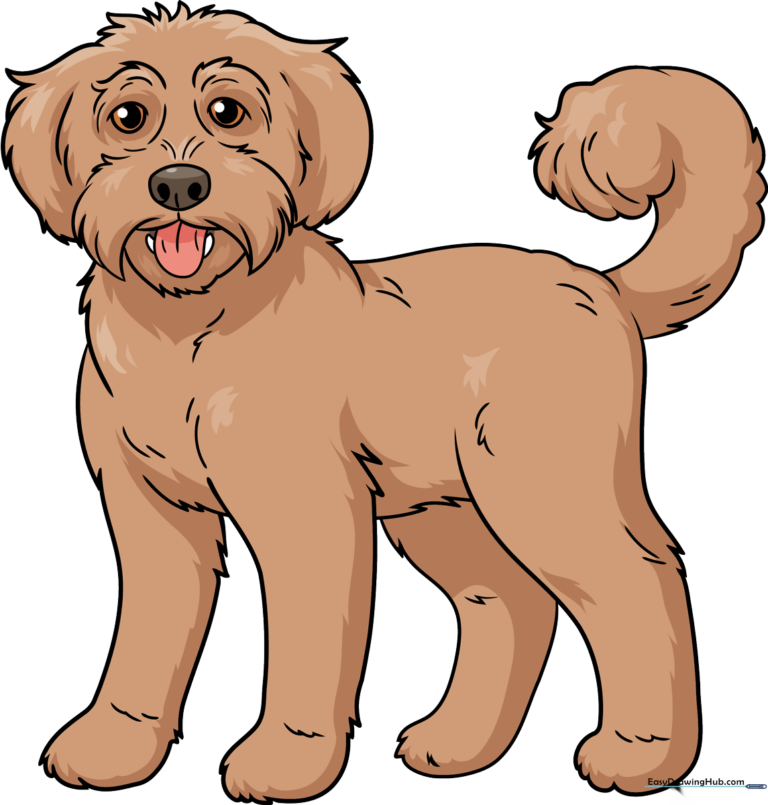
🎯 Final Result
Step-by-Step Instructions
Step 1: Sketching the Face and Snout
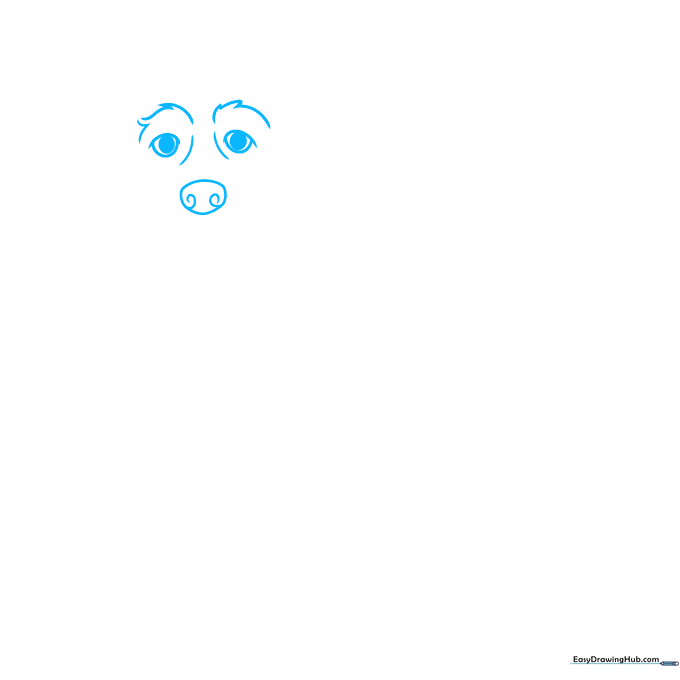
Start by drawing two small circles for the eyes, then shade them in, leaving a tiny white dot for a 'sparkle' effect. Add a rounded, irregular shape for the nose with two small spirals inside for nostrils. Teacher's Tip: Keep your pencil pressure light here so you can easily adjust the snout shape if needed.
Step 2: Defining the Fluffy Mustache
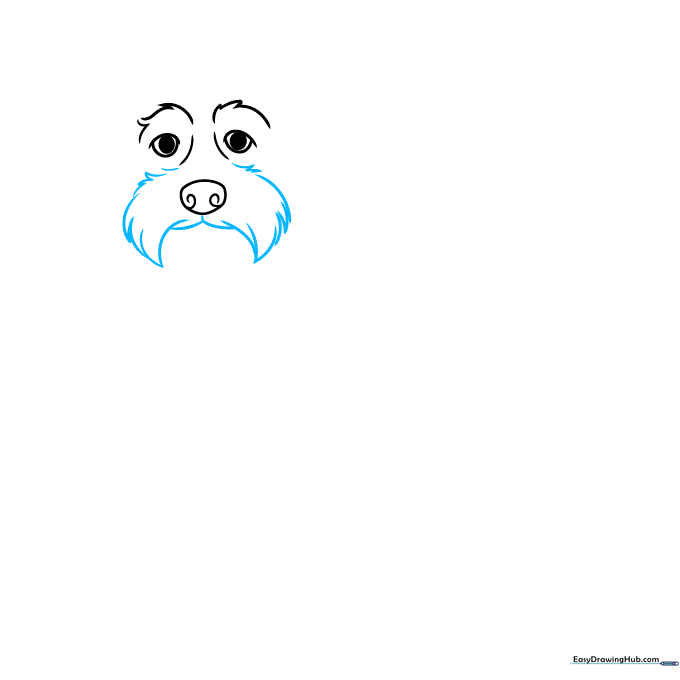
Use short, jagged lines to create the signature 'mustache' around the snout. These zig-zag motions represent the Labradoodle's curly hair. Tip: Don't worry about making the lines symmetrical; real dog fur is wonderfully irregular!
Step 3: Adding the Tongue and Jaw
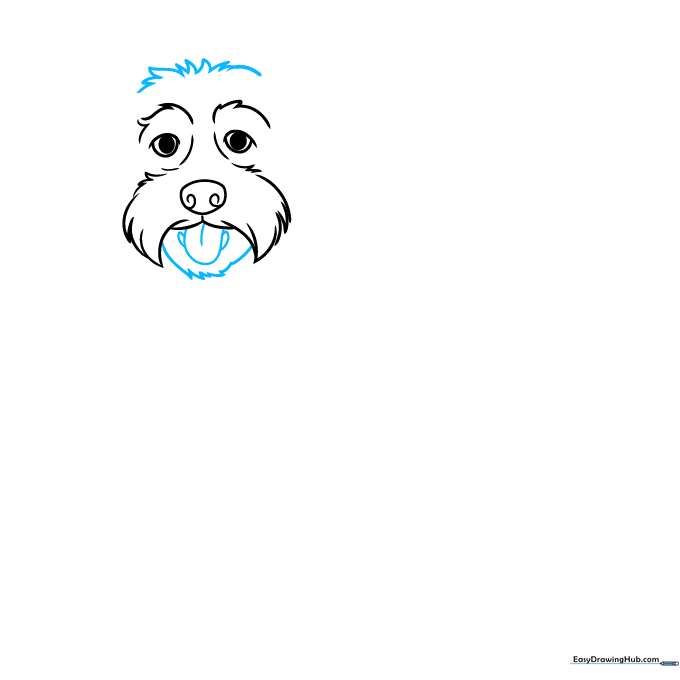
Draw a 'U' shape for the tongue and add a small curved line in the center for detail. Add two small triangles for teeth, then use jagged lines to outline the lower jaw and the top of the head. Tip: Make the top of the head slightly wider to give your dog a friendly, approachable look.
Step 4: Sketching the Floppy Ears
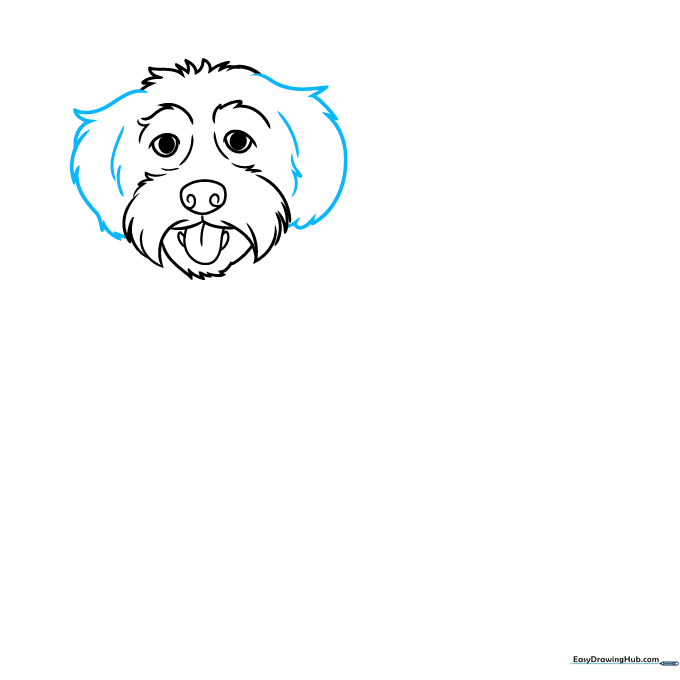
Draw the ears using long, curved lines that meet at jagged points. Labradoodles are known for their floppy, soft ears, so keep the lines loose and flowing. Tip: Draw one ear slightly lower than the other to give your dog a curious expression.
Step 5: Drawing the Chest and Front Leg

Use jagged lines to outline the shoulder, chest, and front leg. This creates the illusion of thick, curly fur. Tip: Imagine you are drawing a cloud—the lines should be soft and connected, not rigid.
Step 6: Adding the Second Leg
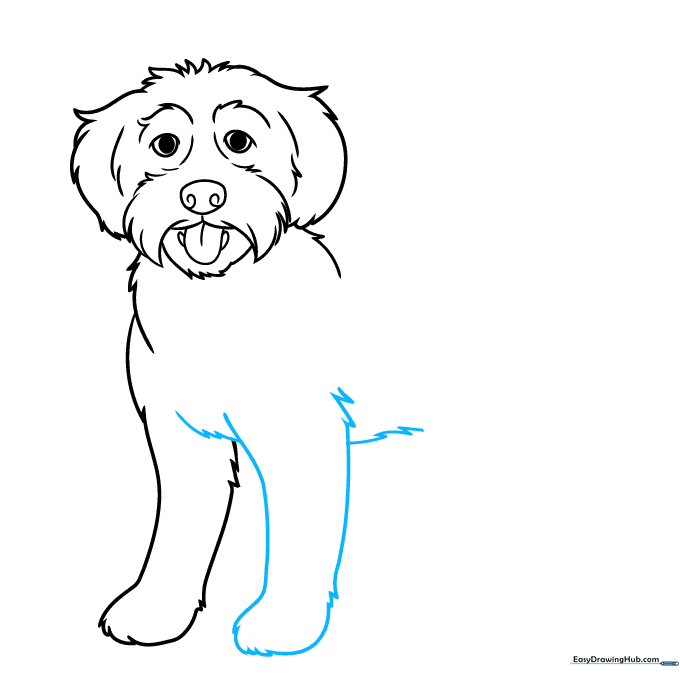
Draw the second front leg using the same jagged technique. Ensure the chest and belly lines connect smoothly to the legs to make the dog look like it's standing firmly. Tip: Keep the paws rounded to emphasize the 'cute' cartoon style.
Step 7: Shaping the Back and Rear Leg
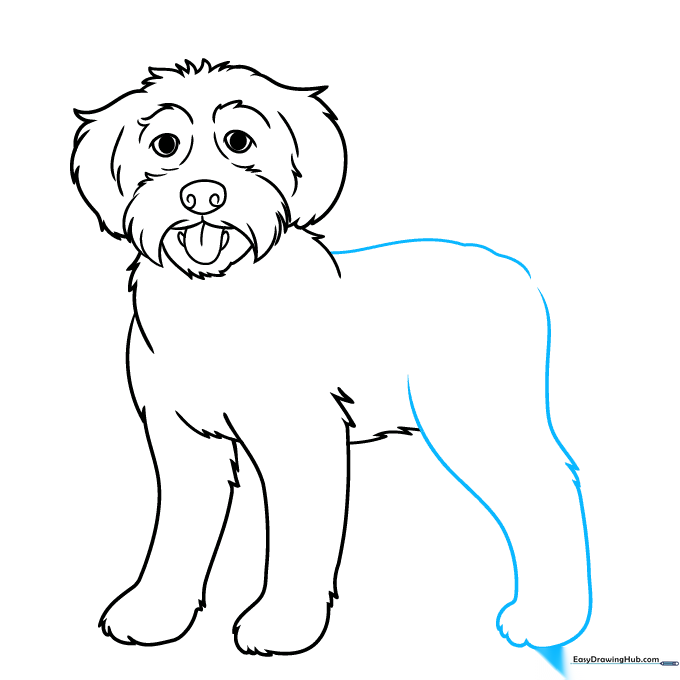
Draw the dog's back with a long, sweeping curve, then add the rear leg. Use those same jagged lines on the back of the leg to show the texture of the fur. Tip: Make the rear leg slightly thicker at the top to show the dog's muscle structure.
Step 8: Completing the Legs and Tail
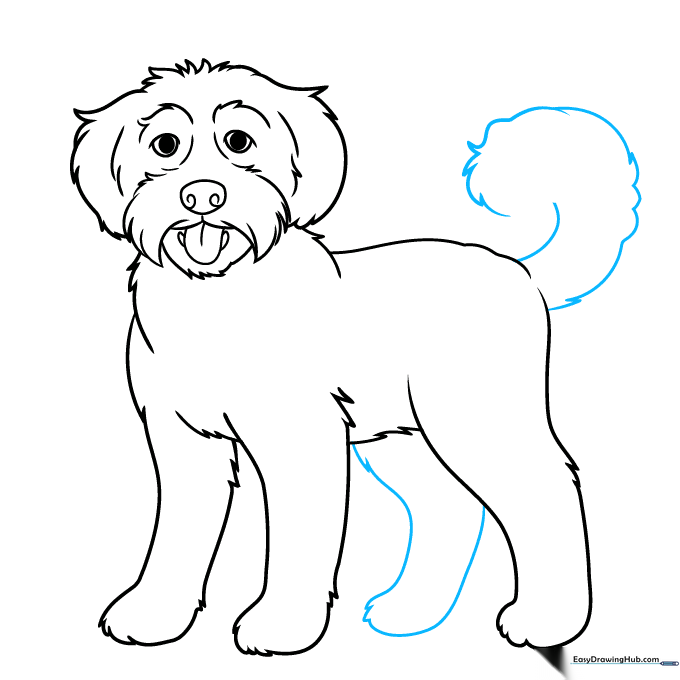
Draw the final rear leg and a happy, curly tail. The tail should be drawn with connected, overlapping curves to make it look bouncy. Tip: A high, curly tail makes the dog look excited and friendly!
Step 9: Adding Final Fur Texture
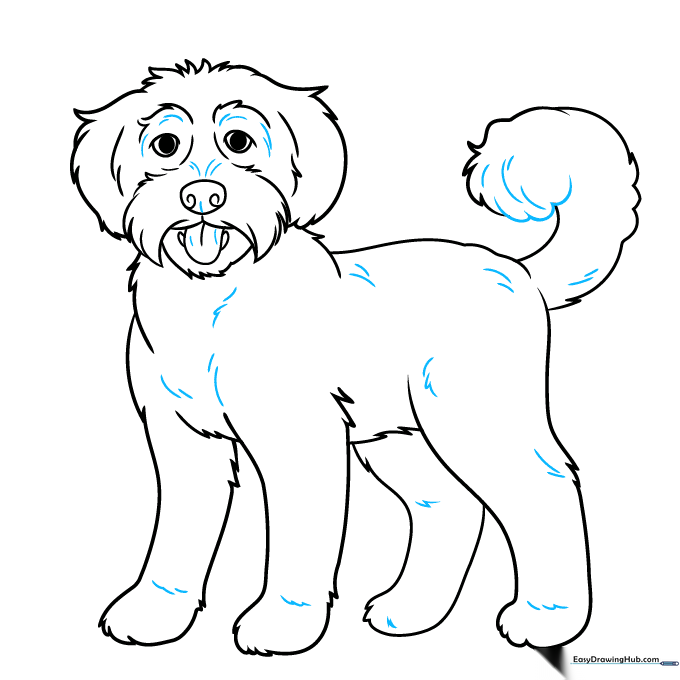
Go over your drawing and add small, short curved lines across the body, face, and tail. This 'fur texture' is what makes the Labradoodle look soft and cuddly. Tip: Don't overdo it—just a few lines in the right places will do the trick.
Step 10: Bringing Your Labradoodle to Life with Color
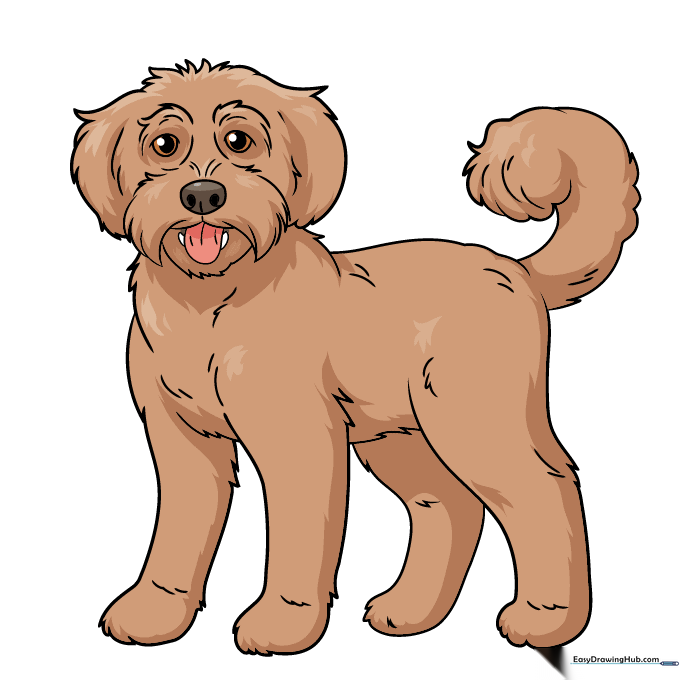
Now for the fun part! Color your Labradoodle. Whether you choose chocolate brown, cream, or a mix of colors, use light, circular motions with your pencil to keep the fur looking soft. Tip: Try using a slightly darker shade for the shadows under the ears and belly to give your drawing depth.
More Tutorials


