How to Draw a Science Lab: Easy Step-by-Step Guide
Ready to create your own mad scientist lair? This tutorial is perfect for young artists ages 6+ who love science. Grab your pencil, eraser, and paper to follow along as we build a detailed lab scene complete with flasks, a microscope, and bubbling experiments.
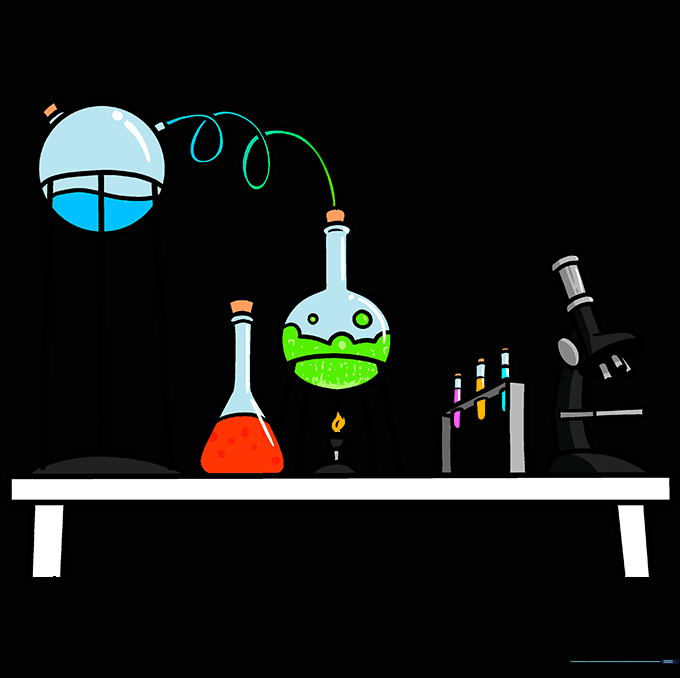
🎯 Final Result

Step-by-Step Instructions
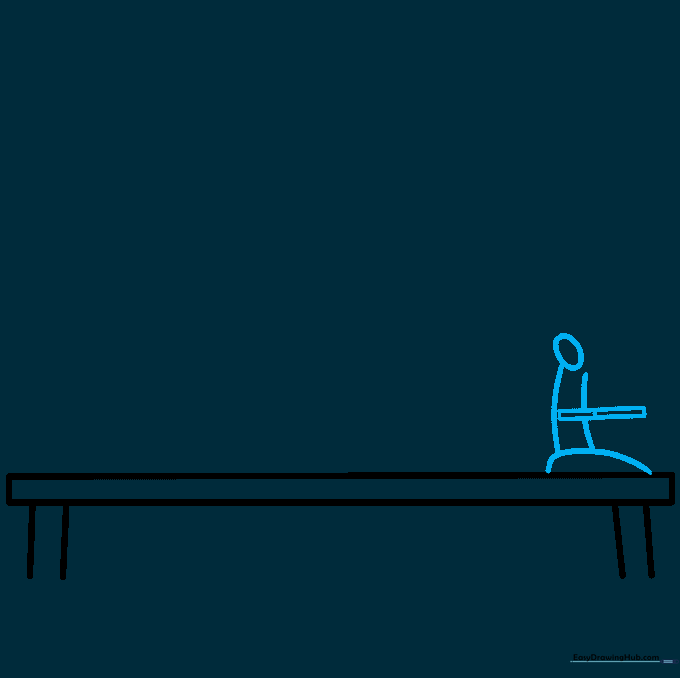
Step 1: Sketching the Lab Table

Start by drawing a long, narrow horizontal rectangle near the bottom of your page to serve as the tabletop. Add two sets of vertical lines underneath to create sturdy legs. Teacher's Tip: Use a ruler if you want perfectly straight edges, or keep it freehand for a more organic, cartoon look.
Step 2: Starting the Microscope Base
Draw a curved base for your microscope, then add a narrow rectangle above it with a short horizontal band. Extend two curved lines upward to form the frame. Teacher's Tip: Keep your pencil lines light and feathery so you can easily adjust the shape if it looks a bit wobbly.
Step 3: Detailing the Microscope
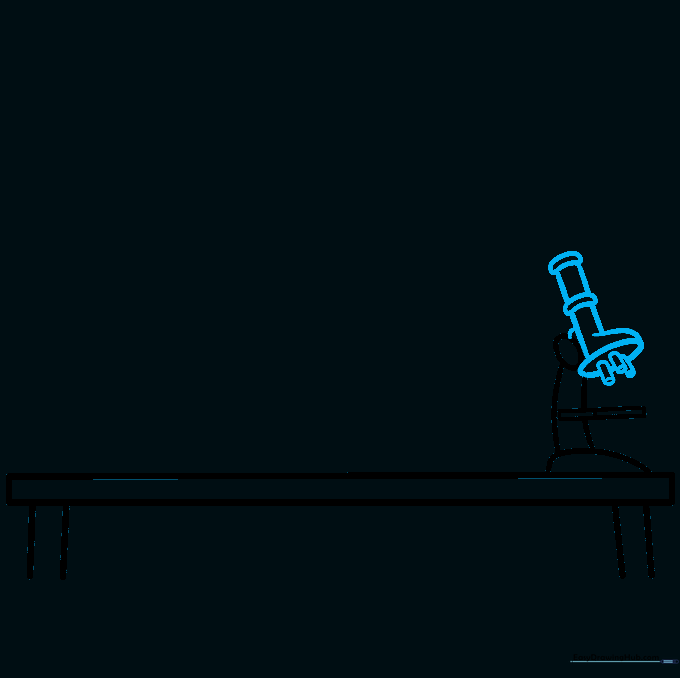
Add an oval at the top with three small cylinders to represent the lenses. Use overlapping curved lines to build the neck of the microscope. Teacher's Tip: Focus on the symmetry of the lenses—if they aren't perfectly aligned, it adds to the 'cartoon' charm!
Step 4: Drawing the Test Tube Rack
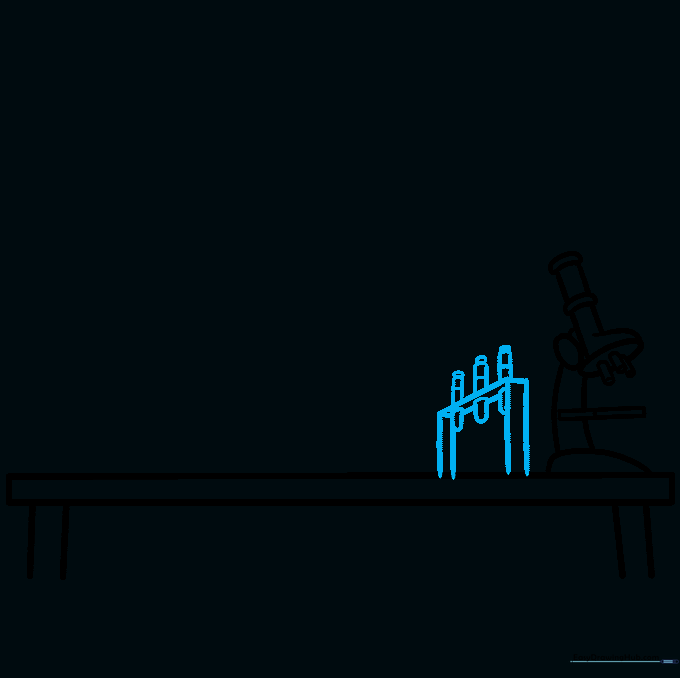
Draw a rectangle-within-a-rectangle to create the rack, then add 'U' shaped lines for the test tubes. Top them with small rounded rectangles for stoppers. Teacher's Tip: Make sure the test tubes are spaced evenly so the rack doesn't look too crowded.
Step 5: The Flask and Bunsen Burner
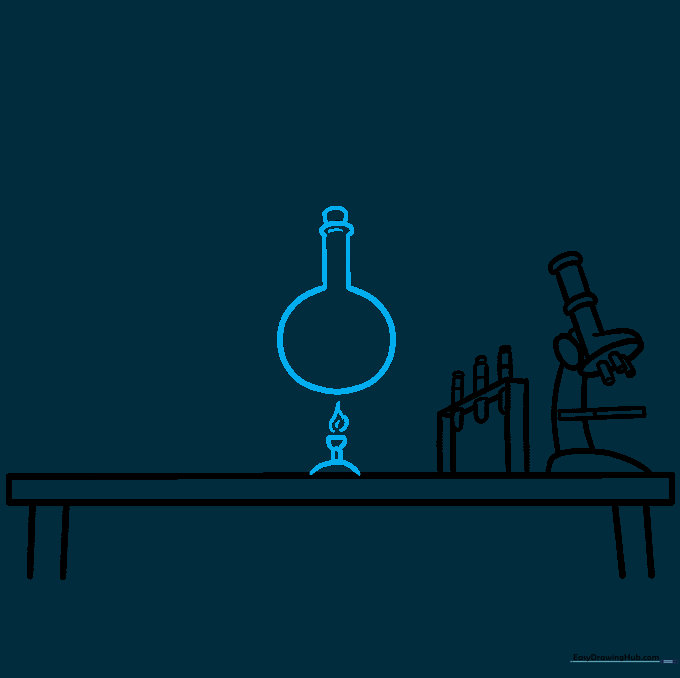
Draw a flask with a rectangular neck and a cork, then sketch a Bunsen burner below it using half-circles and jagged lines for the flame. Teacher's Tip: Use sharp, zig-zag lines for the flame to make it look hot and active!
Step 6: Adding Support and Bubbles
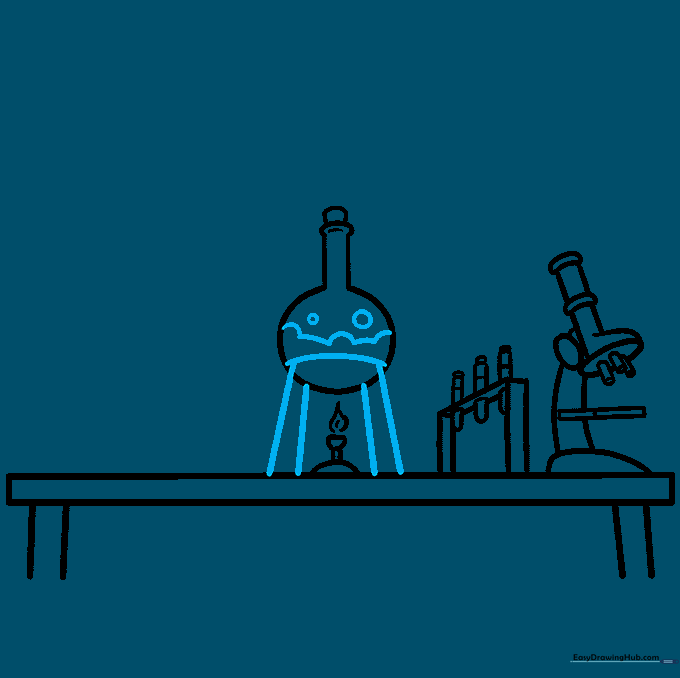
Draw the stand holding the flask with straight lines connecting to the table. Add curved lines for the liquid and small circles above the flask to show it's bubbling. Teacher's Tip: Vary the size of the bubbles to make the experiment look more realistic.
Step 7: Drawing Another Flask
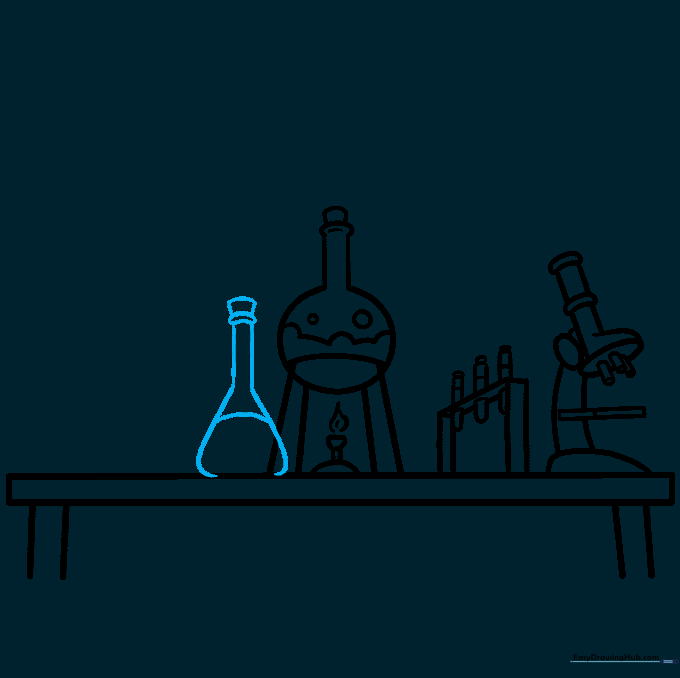
Sketch a second flask with a wide base and narrow neck. Add a stopper and a curved line inside to show the liquid level. Teacher's Tip: Try drawing this flask at a slightly different height than the first one to create depth.
Step 8: Adding a Tall Flask Stand
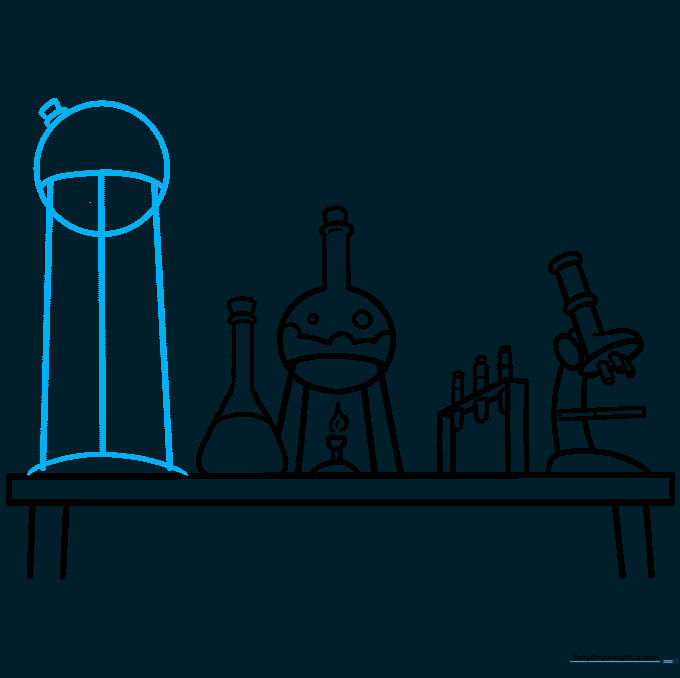
Draw a tall flask on a stand using a circle for the body and rectangles for the neck. Connect it to the table with straight lines. Teacher's Tip: Use a ruler for the stand lines to contrast with the round shapes of the glassware.
Step 9: Connecting the Lab Equipment
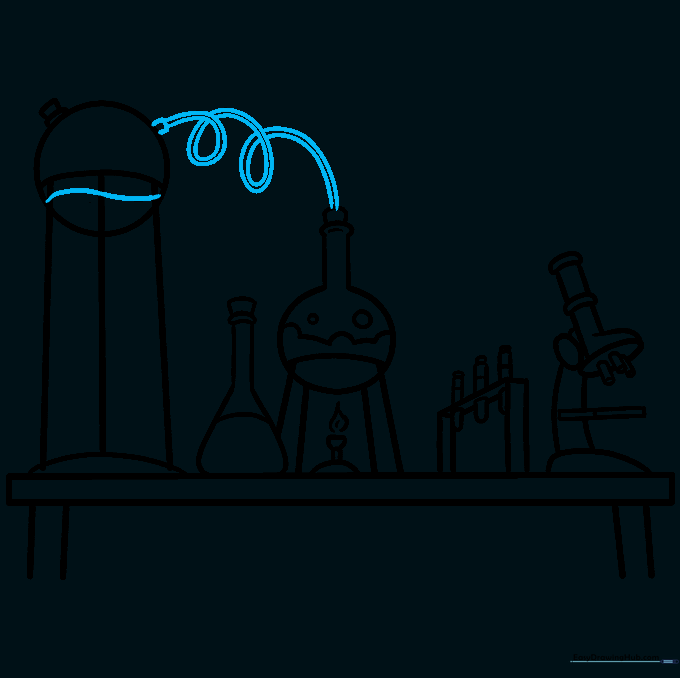
Connect your flasks with a spiral coil of tubing. Add a wavy line inside the final flask to represent the liquid. Teacher's Tip: A spiral is tricky! Take your time and draw it slowly to keep the lines smooth.
Step 10: Bringing Your Lab to Life with Color
Time to color! Use bright neon colors for the chemicals to make them look like magical potions. Teacher's Tip: Use a light blue or grey for the glass to give it a transparent, reflective look.
More Tutorials


